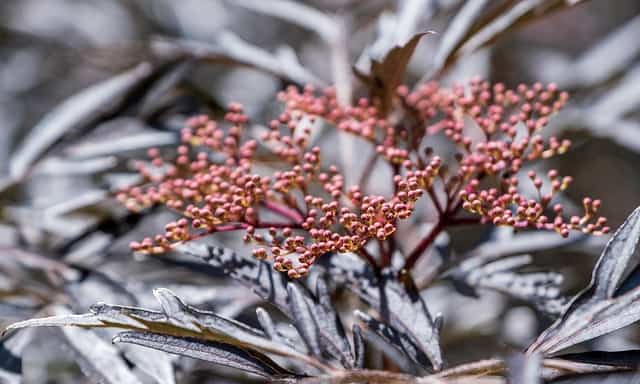
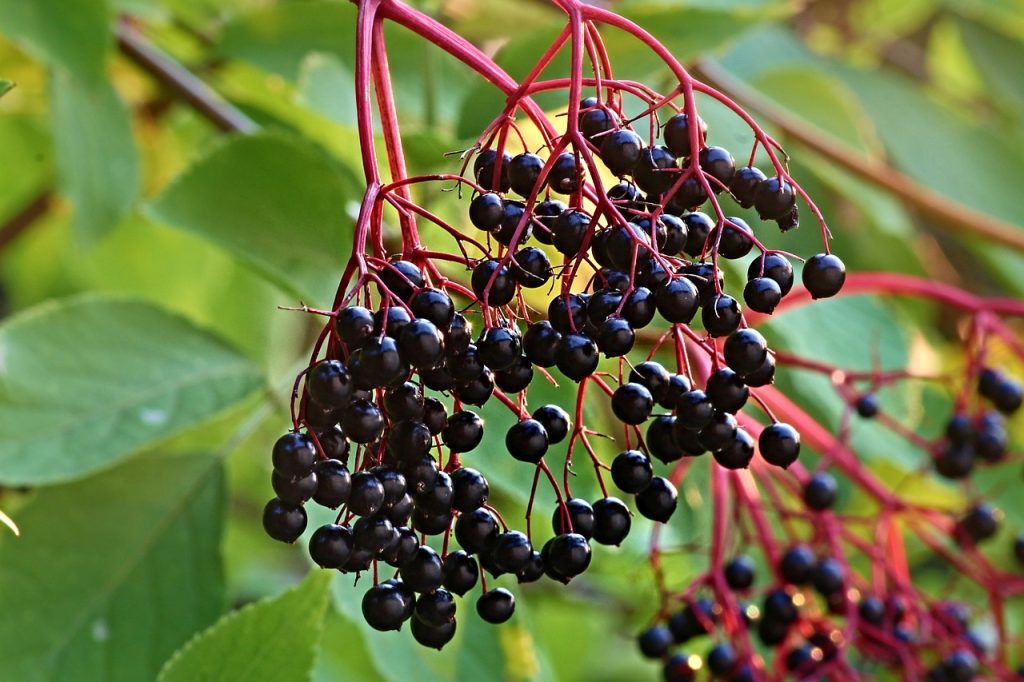
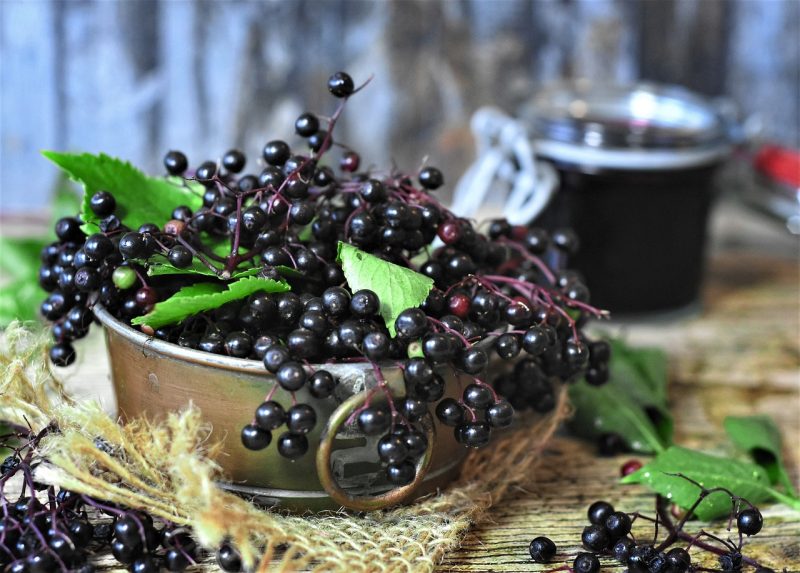
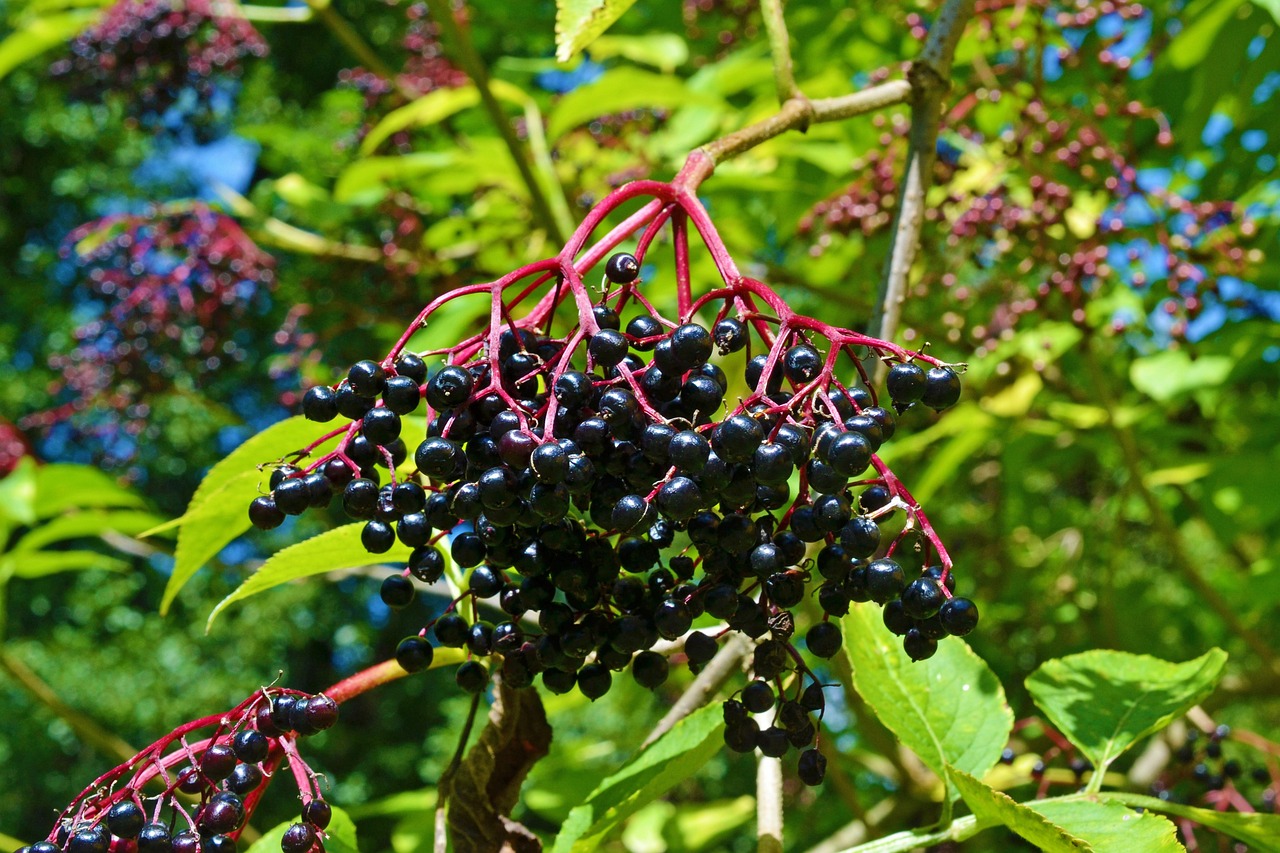
Elderberries have gained significant popularity among gardeners and foragers alike. Known for their medicinal properties, delicious berries, and vibrant flowers, these hardy shrubs are relatively easy to grow and can thrive in a variety of conditions.
For those interested in expanding their garden or sharing these remarkable plants with friends, propagating elderberry plants is an excellent way to do so. Below, you will find everything you need to know about propagating this versatile shrub.
Understanding Elderberry Varieties

Before you begin propagating elderberry, it’s essential to understand that there are two main species: Sambucus nigra (black elderberry) and Sambucus canadensis (American elderberry). Both varieties produce similar fruits, but their growth habits and preferred climates may differ. Native to North America, Sambucus canadensis is often recommended for gardeners in the U.S., while Sambucus nigra is more common in Europe. Selecting the appropriate variety for your region will influence your success in propagation.
When to Propagate Elderberry Plants
The best time to propagate elderberries is during the spring or early summer when the weather is warm and the plants are actively growing. This period provides optimal conditions for root development and establishes a strong foundation for the new plants.
Propagation Methods for Elderberry Plants
There are several methods to propagate elderberry, including stem cuttings, layering, and seed propagation. Below, we provide a summary of each technique:
1. Stem Cuttings
Materials Needed:
Sharp pruners or scissors
Clean potting soil
Small pots or container
A plastic bag or humidity dome
Instructions:
Take Cuttings: In late spring or early summer, select healthy, green stems that are at least 6-8 inches long. Cut just below a node to encourage rooting.
Remove Lower Leaves: Strip away the leaves from the lower half of the cutting to prevent them from rotting in the soil.
Prepare Pots: Fill your pots with potting soil and lightly moisten it.
Plant Cuttings: Insert the cuttings into the soil, making sure at least one node is buried. Space them adequately to allow for air circulation.
Create Humidity: Cover the pots with plastic bags or humidity domes to maintain moisture and warmth.
Provide Light: Place the pots in a bright location, but avoid direct sunlight that could scorch the cuttings.
Monitor and Care: Check the soil moisture regularly and remove the cover once you see new growth, which usually occurs after a few weeks.
2. Layering
Layering is a simple and effective method for propagating elderberry directly in the garden.
Instructions:
Select a Low Branch: Choose a healthy, flexible branch that can easily bend to the ground without breaking.
Prepare the Soil: Clear the soil where you want to encourage rooting, making it loose and ready for the branch.
Bend and Attach: Gently bend the branch down to the soil, creating a small trench. Cover a section of the branch with soil, leaving the tip exposed. This buried section will develop roots.
Secure: To hold the branch in place, use a garden staple or a small rock.
Patience: Over time, the buried section will develop roots. This process may take several months.
Once established, you can sever the new plant from the parent and transplant it to the desired location.
3. Seed Propagation
While growing elderberries from seeds can be rewarding, it requires more patience and a bit more preparation.
Instructions:
Collect Seeds: Wait until the berries are fully ripe. Crush them to extract the seeds.
Stratify Seeds: Since elderberry seeds require cold stratification, place the cleaned seeds in a moist paper towel inside a sealed bag or container. Refrigerate them for 2-3 months to simulate winter conditions.
Sow Seeds: After stratification, plant the seeds in pots with potting soil and keep them evenly moist in a warm, sunny location.
Transplanting: Once the seedlings are several inches tall and have developed true leaves, you can transplant them to larger pots or directly into the garden.
Tips for Successful Propagation
Avoid Disease: Always choose healthy parent plants to reduce the risk of disease in the new cuttings or seedlings.
Water Wisely: Ensure the young plants do not dry out but avoid over-watering, which can lead to root rot.
Fertilization: After a few weeks, you can introduce a diluted liquid fertilizer to encourage healthy growth.
Pest Management: Keep an eye out for pests, such as aphids and spider mites, which can affect young plants. Regularly inspect your elderberry cuttings and seedlings, and consider using organic pest control methods as needed.
Choosing the Right Location for Your Elderberry Plants
Once your elderberry plants are ready to be transplanted, selecting the right location is crucial for their continued growth and fruit production. Elderberries thrive in full sun but can tolerate partial shade. Here are some key points to consider:
Soil Type: Elderberries prefer well-draining, loamy to sandy soils rich in organic matter. If your soil is heavy clay, consider amending it with compost to improve drainage.
Moisture: These shrubs enjoy moist soil but dislike standing water. An area with consistent moisture, like near a pond or stream, can be ideal, but ensure there’s good drainage.
Spacing: When planting elderberries, space them about 6 to 10 feet apart to give them room to grow. This will also help with air circulation, making plants less prone to disease.
Care and Maintenance of Elderberry Plants

Once established, elderberry plants require some routine maintenance to ensure their health and productivity.
Watering: Young plants need regular watering, especially during dry spells. As plants mature, they become more drought-tolerant but will still benefit from consistent moisture during fruit development.
Fertilizing: Fertilizing your elderberries in early spring with a balanced fertilizer can promote vigorous growth and fruiting. Organic options like compost or well-rotted manure are excellent choices.
Pruning: Pruning is essential to maintain the health and shape of elderberry plants. Remove dead or diseased wood and thin out crowded areas to enhance airflow. Aim to do this in late winter or early spring before new growth begins.
Harvesting Elderberries

Once you’ve successfully propagated and established your elderberry plants, you’ll look forward to harvesting the berries. Typically, elderberries are ready for harvest in late summer to early fall when the clusters turn a deep purple-black color.
Harvesting Technique: Use sharp scissors or pruners to cut the berry clusters. Be cautious, as elderberries contain small seeds that can be toxic if consumed raw. Always cook the berries before eating them to remove any potential toxins.
Uses for Elderberries: The berries are versatile and can be made into jams, jellies, syrups, wine, and even used in baking. Additionally, elderberries are celebrated for their immune-boosting properties, making them popular in herbal remedies.
Conclusion
Propagating elderberry plants is a rewarding endeavor that not only enhances your garden but also provides you with a wealth of culinary and health benefits. Whether you choose to propagate through cuttings, layering, or seeds, you will find that elderberries are relatively easy to cultivate with a little patience and care. Remember to choose the right variety for your region, provide a suitable environment, and maintain good care practices to ensure healthy, fruitful plants.


