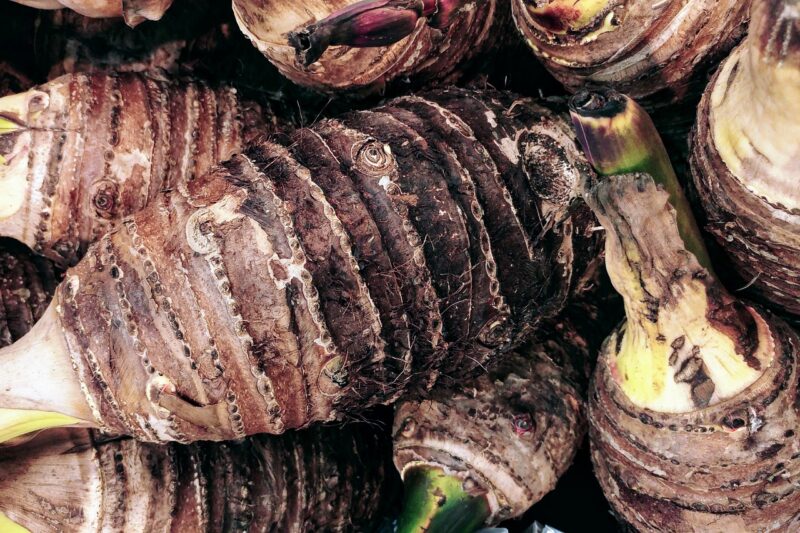
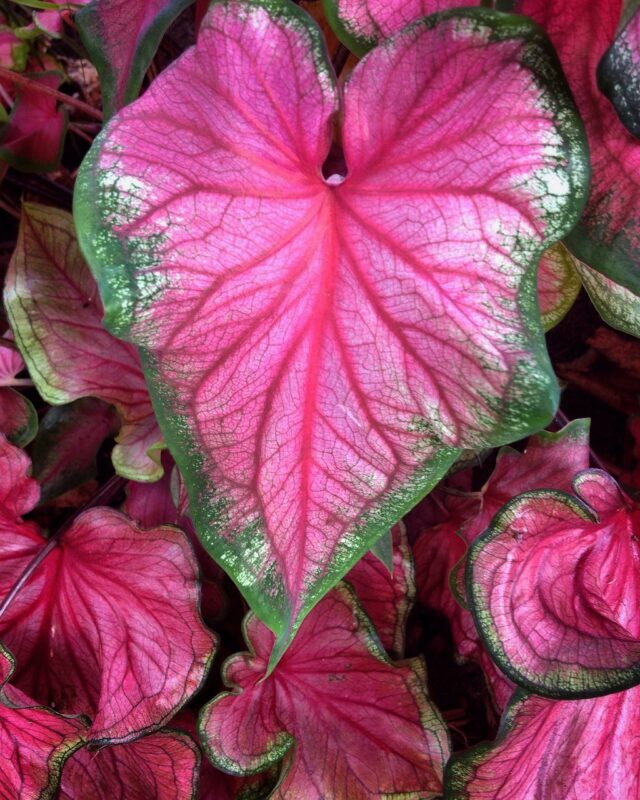
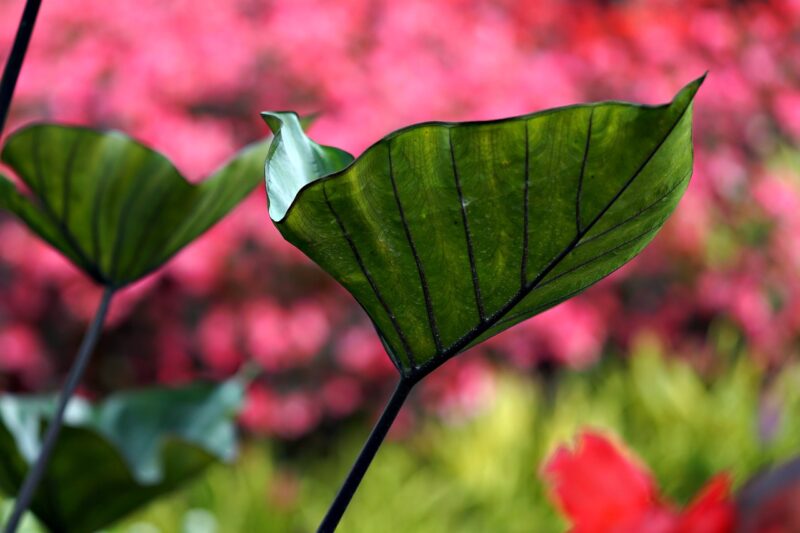
Caladiums, prized for their strikingly beautiful foliage, are a favorite among gardeners looking to add a splash of color and vibrancy to their landscapes. Though these tropical plants shine during the growing season, their over-wintering requires special attention to ensure they survive and thrive when the warmer weather returns.
Below, we will thoroughly explore the methods and techniques for successfully overwintering Caladium bulbs, ensuring that your next growing season is just as spectacular as the last.
Understanding Caladiums: Growth Cycle and Habitat
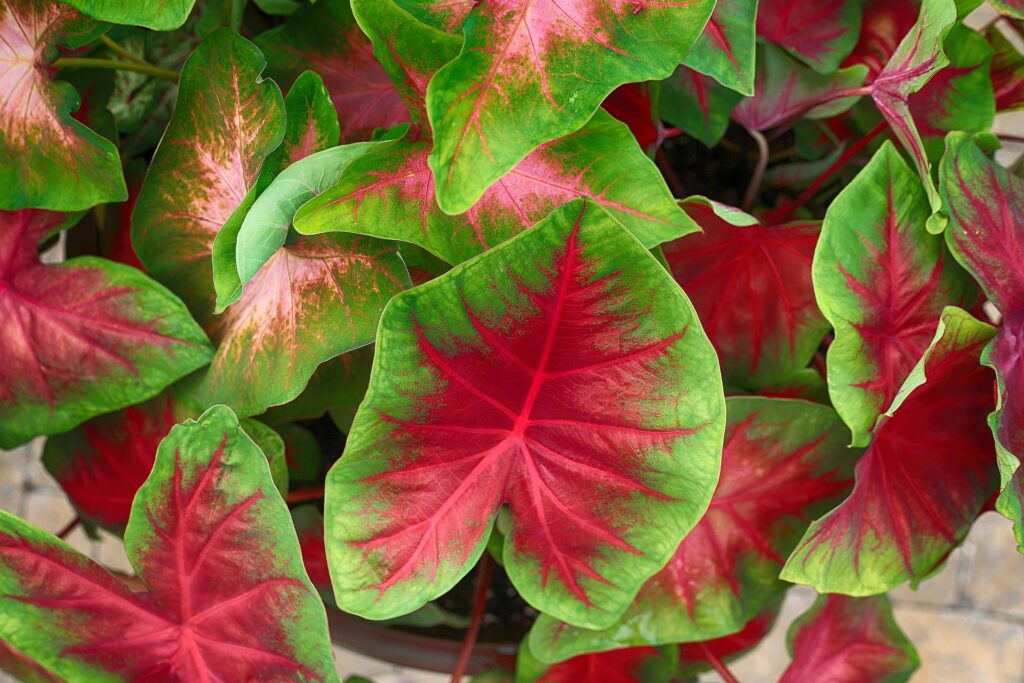
Before diving into the specifics of overwintering, it’s essential to grasp the growth cycle and natural habitat of Caladiums. Caladiums thrive in warm, humid conditions typically found in tropical regions such as South America. They grow from tuberous bulbs and prefer partial shade or filtered sunlight, which accentuates their stunning foliage patterns and colors.
During the growing season, which generally begins in late spring and continues through summer, Caladiums exhibit vigorous growth. However, as temperatures begin to drop in the fall, these plants start to enter a dormant phase. Their leaves will turn yellow and die back, indicating that it’s time to prepare for winter.
Knowing this growth cycle is critical as it informs the timing and methods for overwintering these plants, allowing you to protect the bulbs from freezing temperatures that would otherwise destroy them.
Signs That Your Caladiums Are Ready for Overwintering
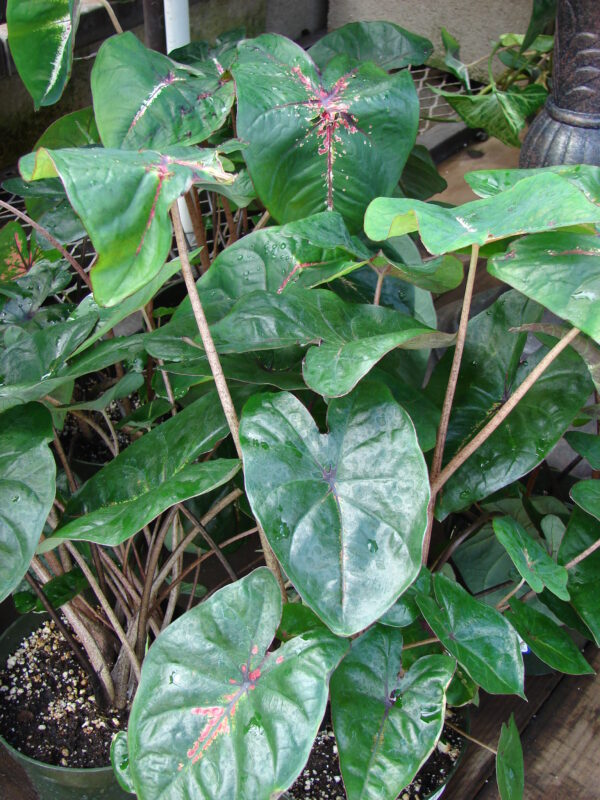
Recognizing when your Caladiums are ready for overwintering is the first step in ensuring their survival through the colder months. Generally, as autumn transitions into winter, your Caladiums will begin to show signs that indicate dormancy:
Yellowing Leaves: One of the most noticeable signs is when the vibrant leaves start to turn yellow. This is a signal that the plant is slowing down and preparing to enter dormancy.
Dropping Leaves: Following the yellowing phase, the leaves will begin to drop, with the plant focusing its energy on conserving resources in the bulb.
Changing Temperatures: As nighttime temperatures consistently drop below 50°F (10°C), it’s a clear indicator that it’s time to prepare the bulbs for storage.
Decreased Water Needs: You might notice that the plant requires less water as it enters dormancy. This decline in water uptake is another sign that it’s time to begin the overwintering process.
Being attuned to these signs will enable you to act in a timely fashion, ensuring that your Caladium bulbs are prepared for the dormant period ahead.
Preparing Caladium Bulbs for Overwintering
Once you’ve identified that your Caladiums are ready for winter, the next step is to prepare the bulbs for overwintering. This process involves careful digging, cleaning, and storage to protect them from harsh conditions.
1. Timing the Digging Process
The best time to dig up your Caladium bulbs is after the leaves have wilted and turned yellow, ideally before the first frost. This prevents potential damage to the bulbs from freezing and allows you to retain as many nutrients in the bulb as possible.
2. Careful Digging
Using a spade or garden fork, gently dig around the base of the plant. Be cautious not to pierce the bulb while lifting it from the soil. A distance of about 6-8 inches from the main stem is a good starting point for digging.
3. Cleaning the Bulbs
Once you have lifted the bulbs from the ground, remove any excess soil or debris. Gently rinse them under lukewarm water to ensure that they are clean and free from dirt. It is crucial to handle them delicately to avoid bruising or damaging the bulbs.
4. Drying
After cleaning, allow the bulbs to dry in a shaded area away from direct sunlight. Spreading them out on a cloth or newspaper for a few days will help eliminate moisture that could lead to mold or rot during storage.
Storing Caladium Bulbs for Winter
Once your bulbs are clean and dry, storing them properly is critical to ensure they remain healthy through the winter months. Here are some effective methods for storing Caladium bulbs:
1. Choosing the Right Storage Medium
You have several options for storing the bulbs:
Dry Peat Moss: A widely used medium that allows airflow while absorbing excess moisture.
Sphagnum Moss: Similar to peat, sphagnum provides excellent moisture control.
Perlite: This lightweight, sterile medium is great for providing airflow and reducing the risk of rot.
Paper Bags: For minimal handling, you can place bulbs in a breathable paper bag alone.
2. Temperature and Location
The ideal temperature for storing Caladium bulbs should range between 50°F and 60°F (10°C to 15°C). Too cold or hot environments can lead to premature sprouts or decay. Choose a location such as a basement or a temperature-controlled room with good airflow. Avoid damp basements or garages as these can cause the bulbs to mold.
3. Regular Checks
Throughout the winter months, it’s wise to periodically check your stored bulbs for any signs of rot or decay. If you notice any unhealthy bulbs, isolate them to prevent any spread of disease. If you find any mold, you may lightly dust the bulbs with fungicide.
Spring Awakening: Preparing Your Caladium Bulbs for Planting
After a long winter, as temperatures begin to rise and spring approaches, it’s time to prepare your Caladium bulbs for the growing season. This process involves giving them a bit of a head-start before they go back into the ground.
1. Inspecting the Bulbs
Before planting, inspect the stored bulbs carefully. Look for any signs of rot or damage. Healthy bulbs should be firm and plump. Discard any bulbs that appear mushy or have developed dark spots.
2. Pre-Soaking the Bulbs
About 24 hours before planting, it can be beneficial to soak the bulbs in water to rehydrate them. This step helps jump-start their growth as they absorb moisture, encouraging sprouting once planted.
3. Choosing the Right Time for Planting
Understanding the right timing for planting is essential, as Caladiums prefer temperatures above 70°F (21°C) for optimal growth. Plant them after the danger of frost has passed in your region, usually in late spring.
Planting Caladium Bulbs for Best Return
When you finally decide to plant your Caladium bulbs, certain factors significantly influence their success. Paying attention to the right conditions and techniques will ensure your bulbs produce stunning foliage.
1. Soil Preparation
Caladiums prefer loose, well-draining soil with a mix of organic matter. Before planting, amend your garden bed with compost or well-rotted manure to increase fertility. A slightly acidic to neutral pH (around 6.0 to 6.5) works best for Caladiums.
2. Planting Depth and Spacing
Typically, plant Caladium bulbs about 2 inches deep and space them about 12 to 24 inches apart depending on the variety. Wider spacing is generally preferred for larger varieties as it allows for optimal air circulation and growth.
3. Watering After Planting
Once the bulbs are planted, give them a thorough watering. Continue to keep the soil consistently moist but not soggy as they begin to sprout. An adequate watering schedule helps promote strong and healthy growth.
Conclusion: Ripe for a New Season
Successfully overwintering Caladium bulbs can seem a daunting task for any gardener, but with careful preparation, proper storage methods, and a little patience, these beautiful plants can thrive year after year.
By understanding their growth cycle and providing the right conditions, you ensure not only the survival of your Caladiums through the cold months but also prepare them for a vibrant and lush return in the spring. As you embark on this seasonal journey, remember that every step in the overwintering process contributes to that captivating show of color and leaves that Caladiums are renowned for.


