Starting seeds indoors is a rewarding gardening practice that allows you to get a head start on the growing season, ensuring your plants have a strong start when it comes time to move them outdoors. Whether you want to grow vegetables, herbs, or flowers, learning the ins and outs of seed starting can enhance your gardening experience and yield a bountiful harvest.
In this comprehensive guide, we will explore everything you need to know about starting seeds indoors, from timing to techniques, ensuring you have all the knowledge needed to succeed.
When to Start Seeds Indoors
The first step in your seed starting journey is determining the best time to start seeds indoors. Timing varies by plant type, local climate, and frost dates, so understanding these factors is crucial.
Typically, seeds should be started indoors 6 to 8 weeks before the last expected frost date in your area. You can find this information through USDA Plant Hardiness Zone maps or local extension services. For example, if your last frost date is around May 15, you should consider starting your seeds indoors between late March to early April.
It’s important to note that cool-season crops like tomatoes and peppers require different timing compared to warm-season crops. For instance, tomatoes often benefit from early starts due to their longer growing season needs, while crops like lettuce can be sown directly outdoors or started a bit later.
Additionally, consult the seed packets or gardening resources that provide specific germination timelines, ensuring you’re aligning your seed-starting schedule with the needs of the particular plants you’re growing.
Before Getting Started
Before you dive into seed starting, set yourself up for success with careful planning. Taking inventory of your gardening space, assessing your light sources, and ensuring you have the right environment will greatly influence the success of your seedlings.
Start by deciding what plants you want to grow and how much space you have. Some plants require more room than others, and others may need more light. Know your limitations and choose varieties that will suit your environment and your garden plan.
Also, familiarize yourself with your growing conditions, including temperature and humidity. Some plants thrive in warmer areas, while others prefer cooler conditions. Ensuring you can create an optimal environment inside will help your seeds germinate and grow into strong seedlings.
What You’ll Need
To ensure a successful seed starting experience, gather the necessary equipment and materials. Being prepared will streamline the process and minimize potential errors.
Equipment / Tools
Seed trays or pots: Small containers or trays are essential for starting seeds. They can be made of plastic, biodegradable materials, or recycled items like egg cartons.
Watering can or spray bottle: Gentle watering helps prevent disturbing the soil while ensuring moisture.
Labels: Labels will help you keep track of different seed varieties.
Pencil or pen: For labeling your seedlings, creating easy identification.
A grow light or a bright south-facing window: Many seeds require adequate light for proper growth; a grow light can supplement natural light.
Materials
Seed starting mix: Use a light and fluffy mix designed for seed starting, which provides good drainage and aeration.
Seeds: Choose high-quality seeds appropriate for your gardening zone and personal preference.
Plastic cover or humidity dome: This helps retain moisture while seeds germinate.
Instructions
With your tools and materials ready, it’s time to dive into the instructions for starting seeds indoors. Follow these steps to set your seeds up for success.
Prepare the Growing Medium
The foundation of seed starting success begins with the growing medium. Choose a high-quality seed starting mix that is light, sterile, and free from weed seeds. Standard potting soil is often too heavy and can inhibit germination.
Begin by moistening the seed-starting mix before filling your containers. This can generally be done in a large bowl or bucket; add water gradually and mix until the medium is evenly damp but not soaking wet.
Fill the Containers

Now, it’s time to fill your chosen containers or trays with the prepared seed starting mix. Keep the medium loose, leaving a little space at the top of the containers for watering. Gently tap down the soil to eliminate large air pockets, ensuring that the seeds have good contact with the growing medium.
Tip
Avoid using garden soil, as it may contain pathogens, weed seeds, or pests that can damage your seedlings. Stick to a sterile potting mix designed specifically for seed starting.
Plant the Seeds
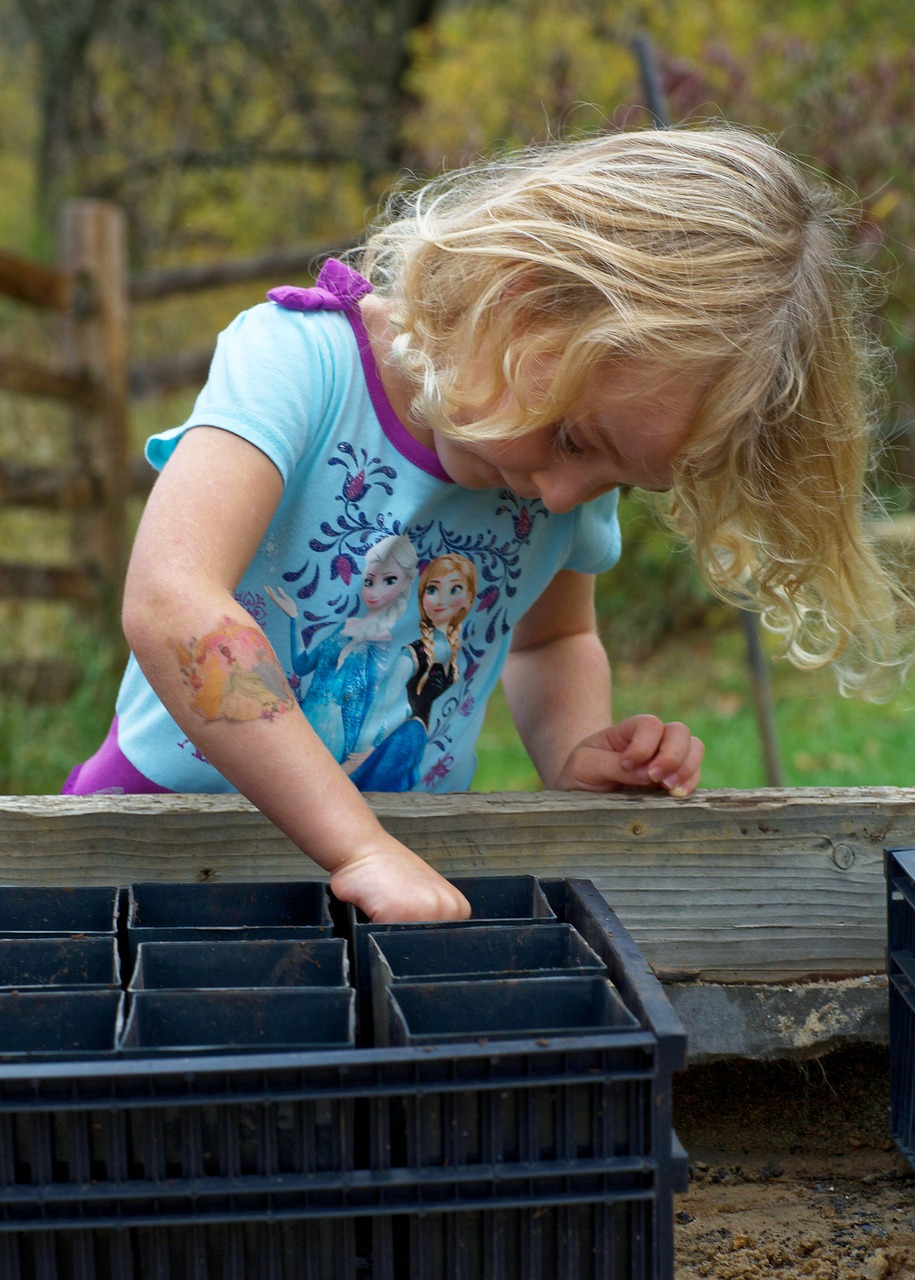
Follow the instructions on the seed packet regarding planting depth; generally, most seeds should be sown at a depth of two to three times their diameter. Use a pencil or your finger to make holes in the medium, spacing them according to the recommendations on the packet. Overcrowding can lead to poor air circulation and increased likelihood of disease.
Finish Planting
Once you have planted all the seeds, gently cover them with the growing medium. Lightly press down the soil to ensure that the seeds make good contact with the medium, which is critical for germination.
Tip
For small seeds, consider surface sowing them and pressing them lightly into the soil, rather than covering them, as some seeds require light to germinate.
Label the Seeds
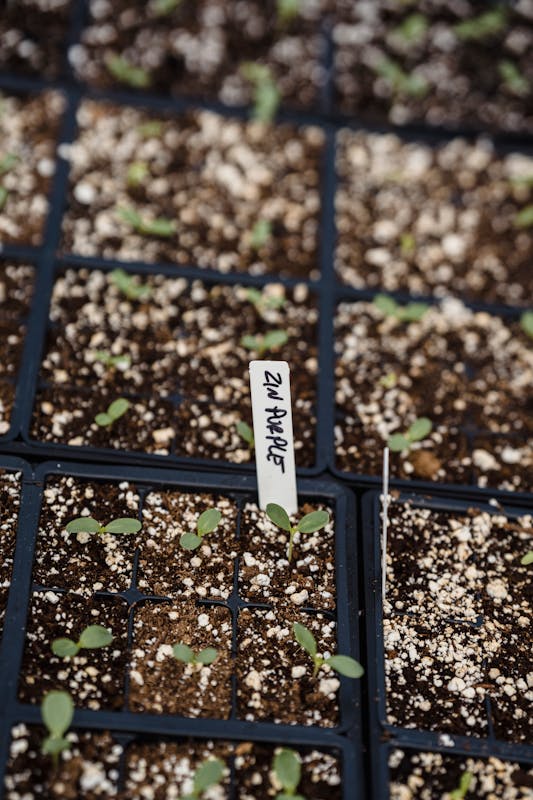
As soon as you’ve planted your seeds, clearly label each container with the seed variety and the planting date. This helps in tracking which seeds have been sown and when to expect germination.
Keep Seeds Warm and Humid
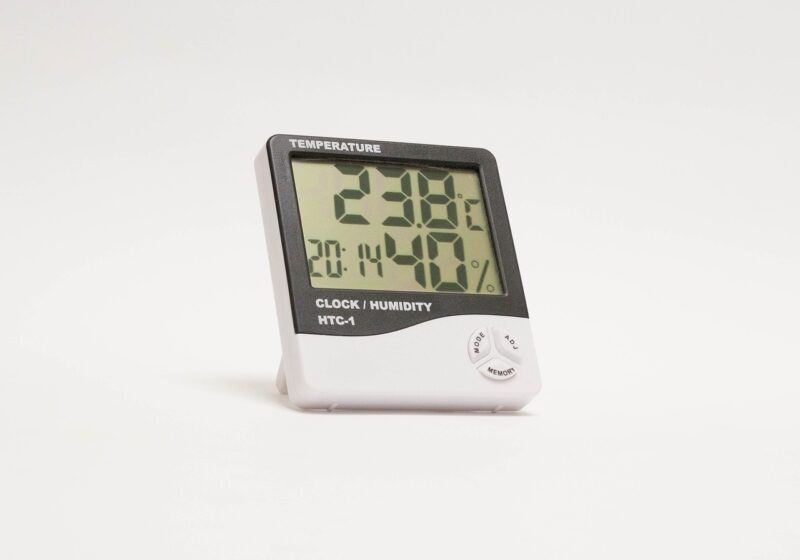
For optimal germination, maintain a warm and humid environment. Most seeds germinate best between 65°F and 75°F (18°C to 24°C). You can achieve this by placing seed trays on a heat mat or on top of your refrigerator.
Covering the trays with a plastic humidity dome can help retain moisture and warmth, creating an ideal microenvironment for germination. Make sure to monitor this closely; the seeds need light and air too!
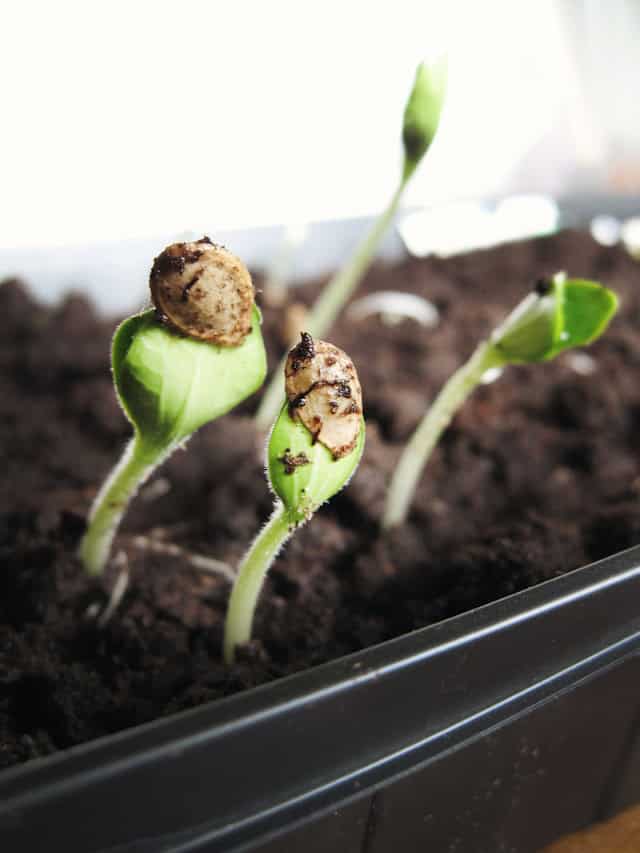
Monitor Seedling Growth
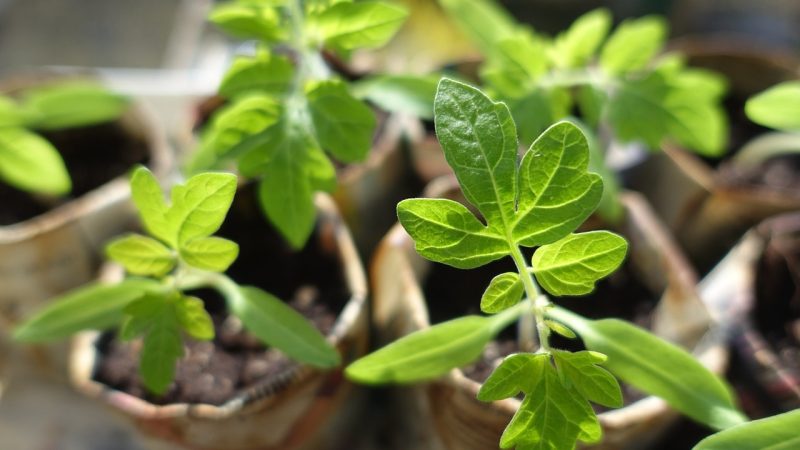
As the seeds germinate, monitor their progress daily. You should begin to see tiny sprouts emerging from the soil after several days to weeks, depending on the variety. Keep an eye on the humidity, making sure it is not getting too high which can lead to mold and damping-off disease.
Add Light
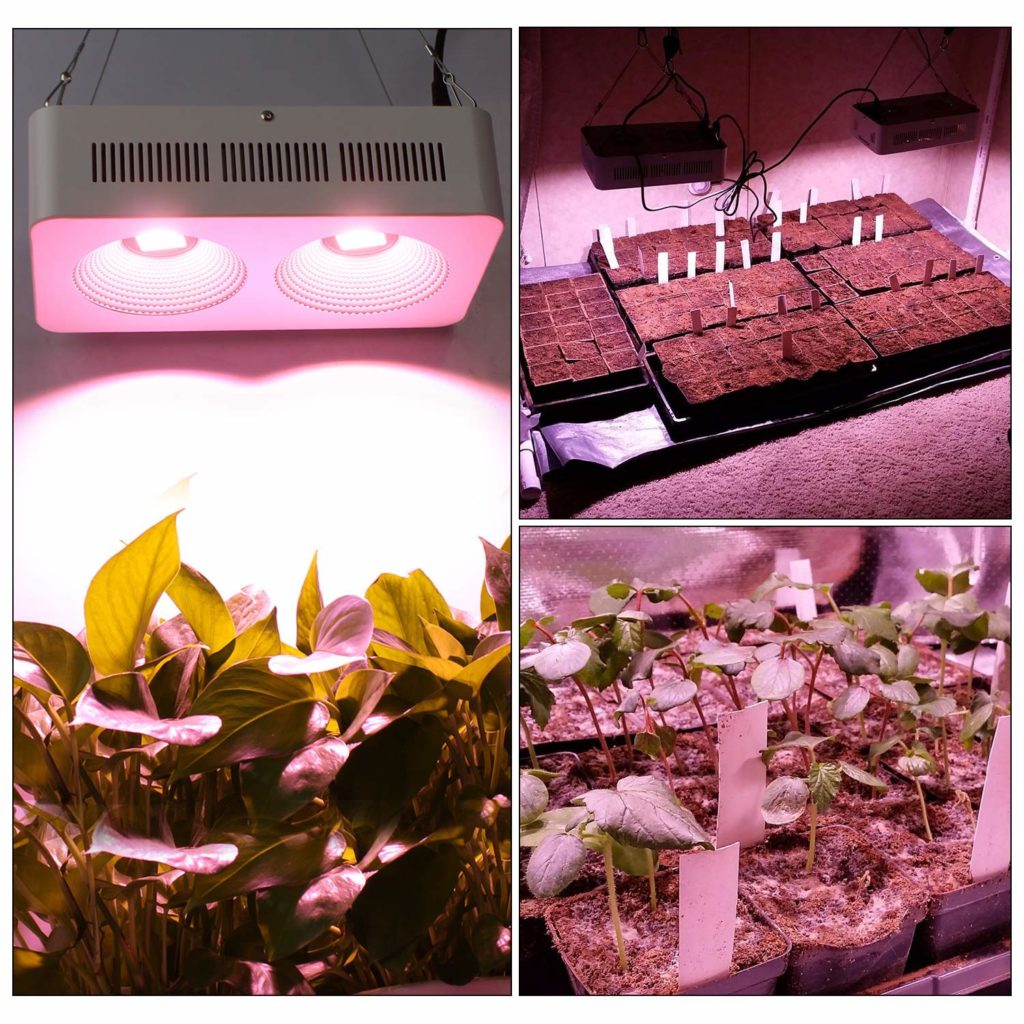
As soon as seedlings emerge, they need adequate light to thrive. If they are not getting sufficient sunlight from a window, set up grow lights above them. Ensure the lights are positioned about 2-4 inches above the seedlings and can be adjusted as they grow. Ideally, seedlings should receive 12 to 16 hours of light each day for strong, healthy growth.
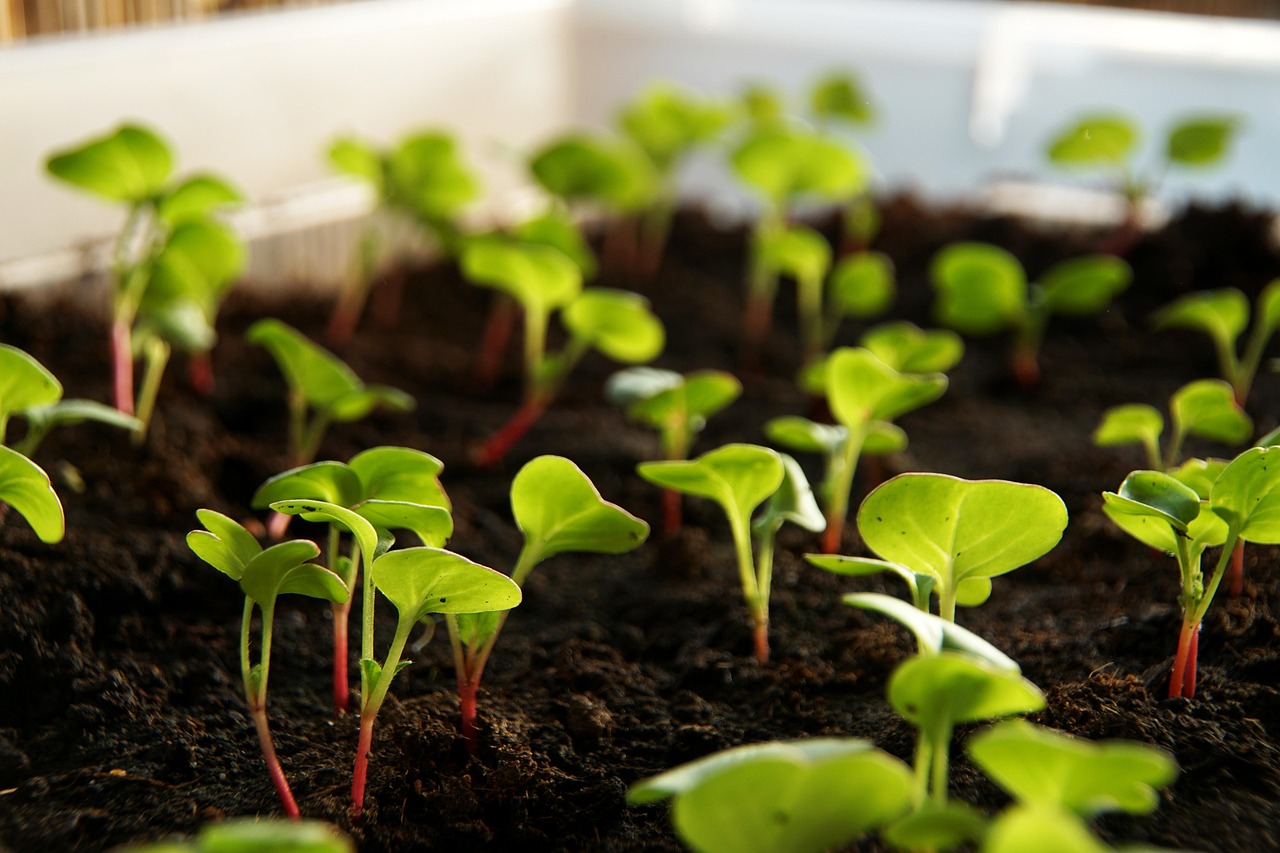
Keep Seedlings Moist
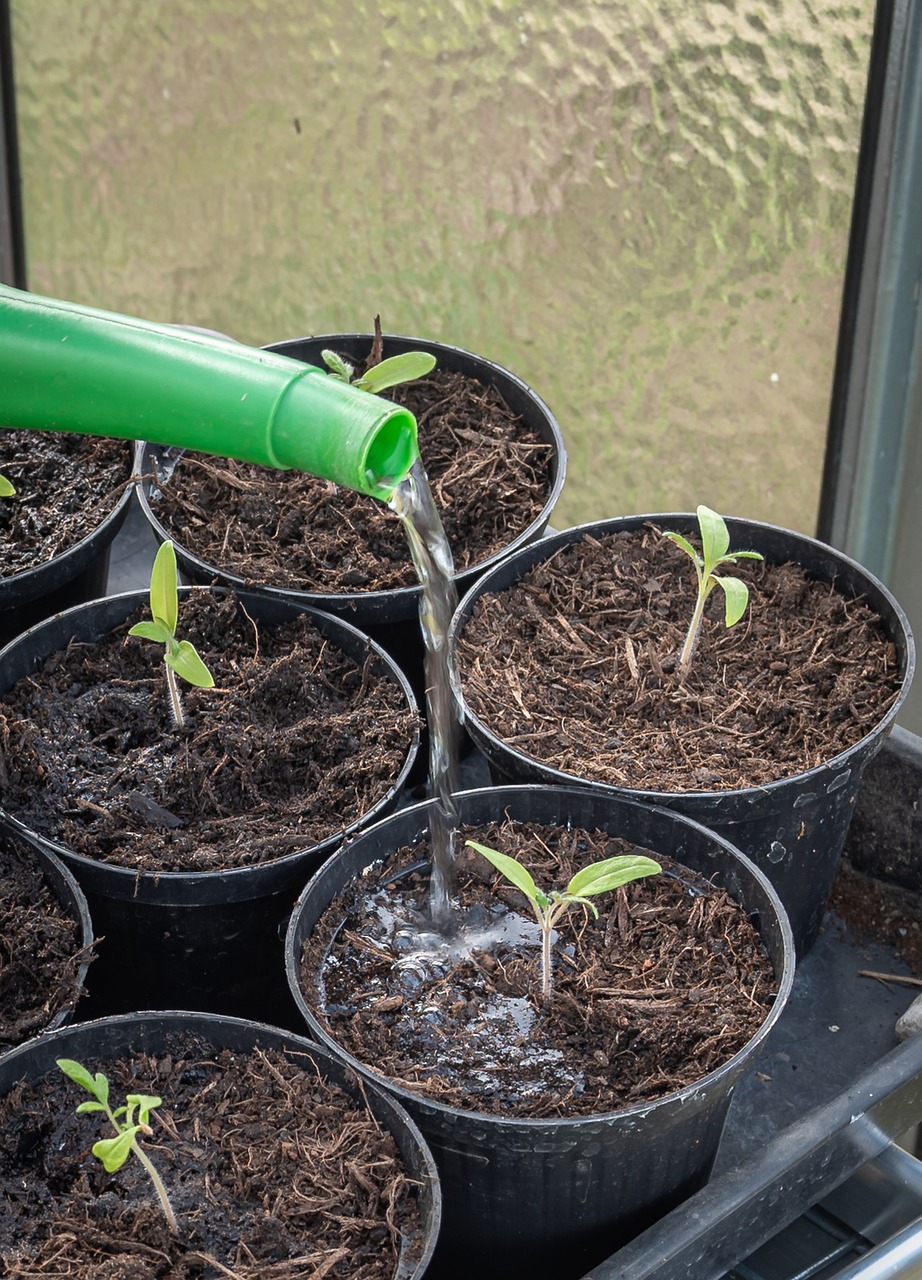
Water the seedlings regularly, ensuring the soil remains consistently moist but not soggy. A spray bottle may be beneficial for keeping the moisture levels up without over-saturating the soil. Avoid watering directly on the leaves; instead, water the soil to promote root development.
Begin Feeding
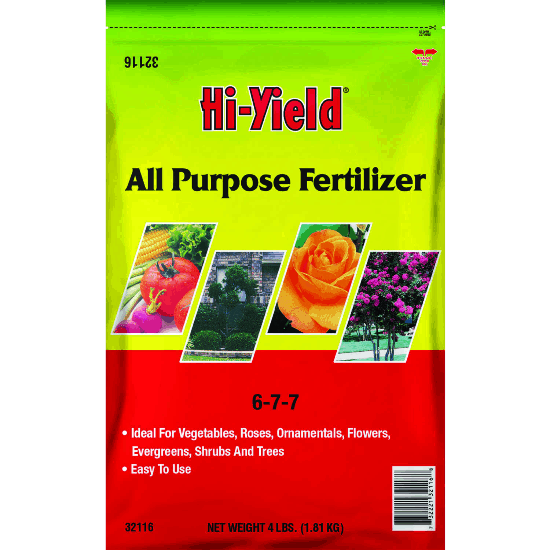
About two weeks after seedlings have emerged, begin to fertilize with a diluted balanced fertilizer. Look for a product with a 20-20-20 NPK ratio or similar. Feed seedlings every 1-2 weeks at half the recommended strength to avoid nutrient burn.
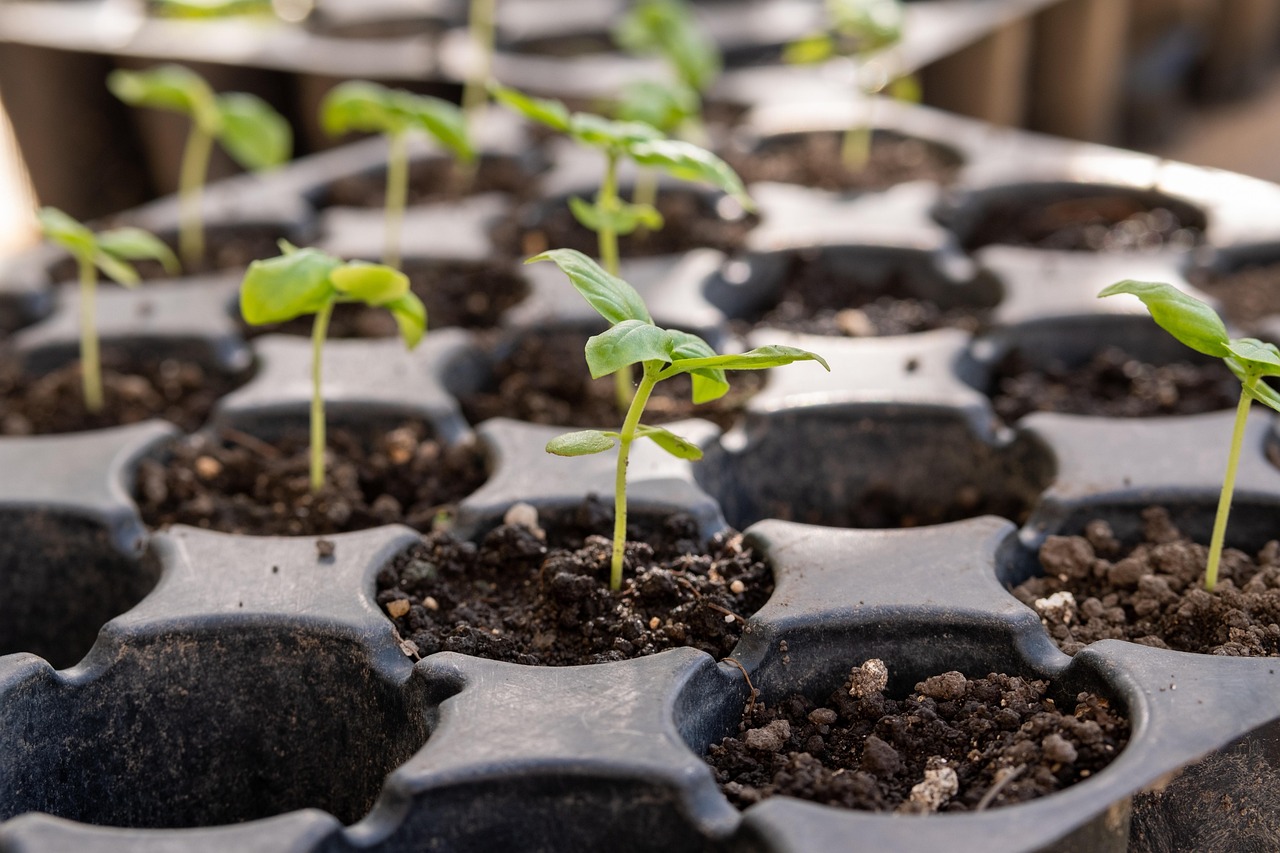
Pot Up If Necessary
As your seedlings grow and develop their first true leaves, they may become root-bound or outgrow their containers. If this happens, it’s time to pot them up into larger individual containers. Choose a pot about 4-6 inches in diameter and transplant them using fresh potting soil. Be gentle, handling by the leaves rather than the stem to minimize damage.
Harden Off the Seedlings
Before moving your seedlings outdoors, they must gradually acclimate to the conditions they will face. This process is known as “hardening off.” Start by placing them outside for a few hours a day, gradually increasing the time over a week or two. This helps them adjust to temperature fluctuations, wind, and direct sunlight without the shock that can occur when transplanting directly.
When to Transplant Seeds
Transplanting seedlings is the final step before they grow in your garden. Timing for transplanting seedlings outdoors will vary depending on your climate and the specific plants you have grown. Generally, wait until the seedlings are sturdy, have developed a few sets of true leaves, and the risk of frost has passed in your area.
For warm season crops, like tomatoes and peppers, transplant them outside when nighttime temperatures consistently stay above 50°F (10°C). For cool-season crops, you may transplant earlier as they can tolerate a light frost.
Acclimatize your seedlings as described previously. Make sure to choose a cloudy day or late afternoon for transplanting to reduce stress on the plants. Water your seedlings thoroughly before and after planting to help establish their new homes.
With patience and attention to detail, starting seeds indoors can yield a successful garden filled with vigorous, healthy plants. So roll up your sleeves, get your seeds, and dive into the wonderful world of indoor seed starting!