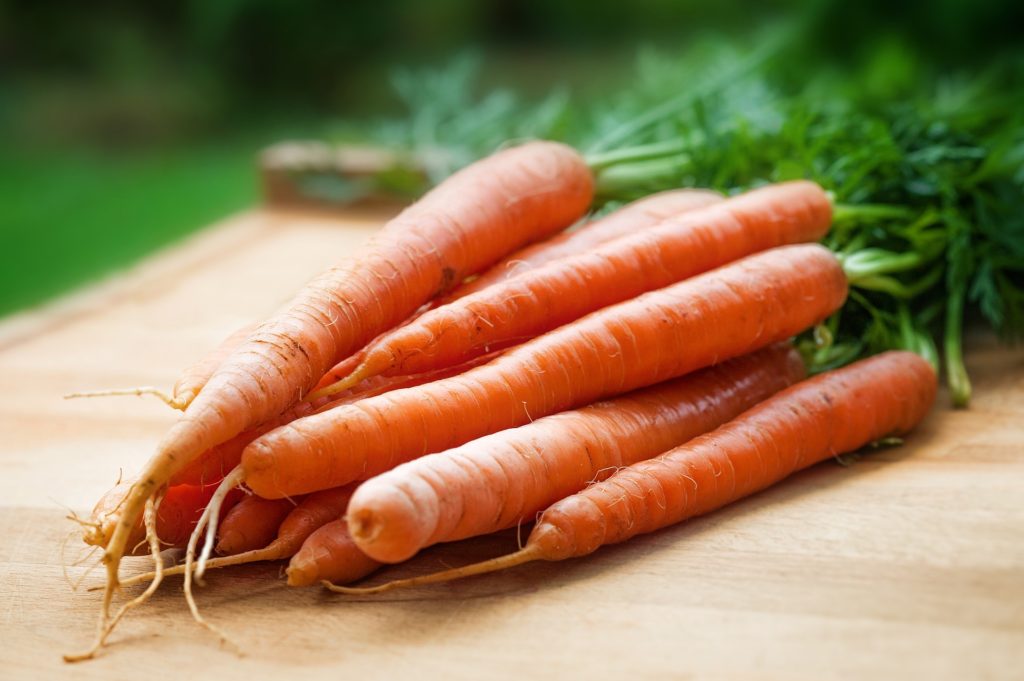
While growing carrots in pots can be highly rewarding, it doesn’t come without its challenges. From issues related to soil quality and drainage to pests and disease control, beginners may face obstacles that can discourage them from continuing their gardening journey. This guide will help you navigate these common problems and provide actionable solutions to ensure your pot-grown carrots thrive.
Key Challenges When Growing Carrots in Pots
1. Limited Space and Root Development
Problem: Carrots require ample space for their roots to grow. When planted in pots or containers that are too small, they may become stunted or produce deformed, forked roots.
Solution:
Choose the Right Container: Use pots that are at least 12 to 18 inches deep for standard varieties. For short or round varieties like ‘Thumbelina,’ a depth of 8 to 10 inches may suffice. Ensure that your container is wide enough to accommodate multiple carrots growing side by side.
Thinning: After seedlings germinate, adept thinning is crucial. Thin them out to about 2 to 4 inches apart depending on the variety to allow enough space for each carrot to develop freely.
2. Soil Quality and Drainage
Problem: Carrots thrive in loose, well-draining soil. Compacted or heavy soils can hinder root development and lead to deformities or rot.
Solution:
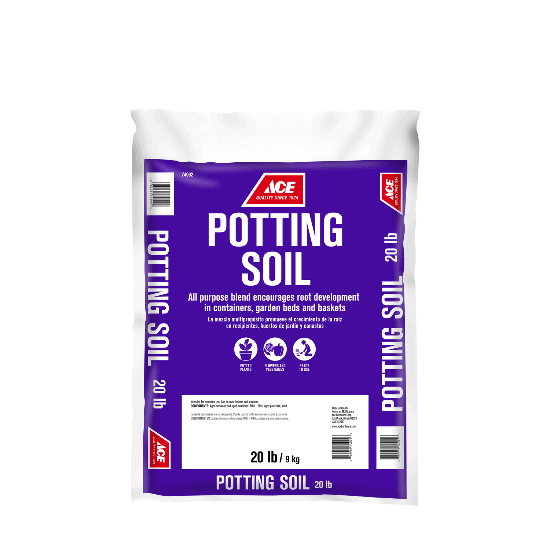
Soil Mix Preparation: Create a custom potting mix using equal parts of compost, peat moss (or coconut coir), and perlite or sand. This combination promotes aeration and drainage, allowing roots to grow straight and healthy.
Monitor Moisture Levels: Ensure the soil is not too wet or too dry. Overwatering can lead to root rot, while underwatering may cause carrots to become woody. Water consistently with attention to the moisture level one inch below the surface.
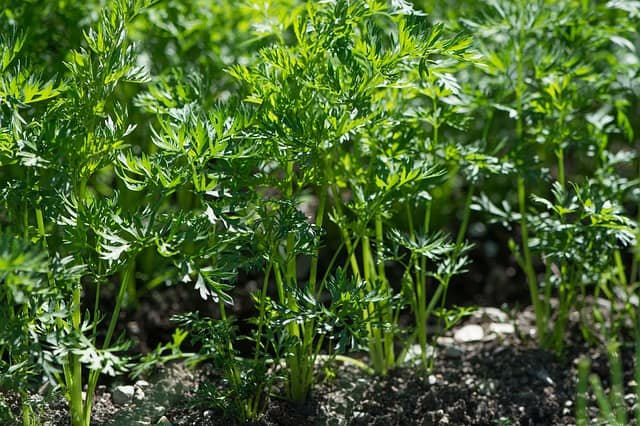
3. Insufficient Sunlight
Problem: Carrots require at least 6 hours of full sunlight daily. Without adequate light, growth may be splotchy, and carrots can become leggy or underdeveloped.
Solution:
Optimal Placement: Place your containers in a location that receives ample sunlight, preferably south-facing or on a sunny balcony. If using multiple pots, consider rotating them to ensure all receive equal sun exposure.
Supplement with Grow Lights: For those with limited sunlight (especially during shorter winter days), consider using grow lights to provide additional light, especially if you are growing carrots indoors.
4. Pests and Diseases
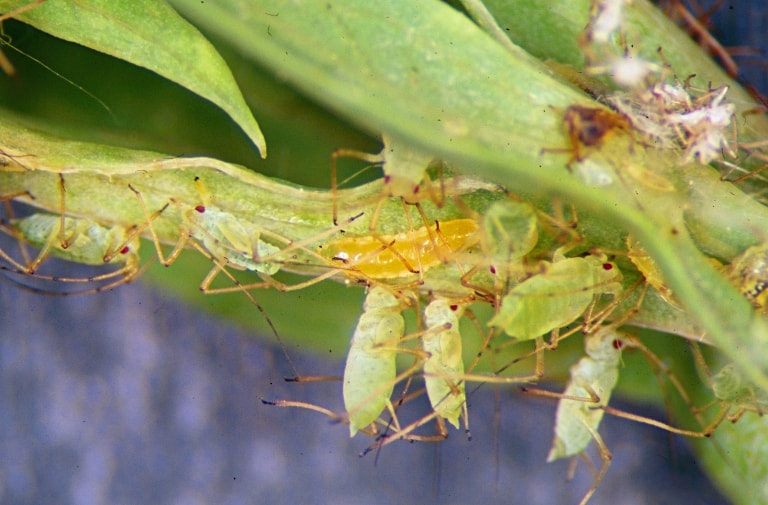
Problem: Container-grown carrots can attract pests like carrot flies, aphids, and fungal diseases if not properly managed.
Solution:
Preventive Measures: Use floating row covers to protect seedlings, especially in early spring when pests are most active. Ensure good airflow around the plants to minimize fungal disease risks.
Regular Inspection: Regularly check your carrot tops for signs of infestation or disease. Early detection is key. If you notice aphids or other pests, a strong blast of water can often dislodge them. For severe cases, you may need to apply organic insecticidal soap.
5. Nutrient Deficiency
Problem: Carrots can suffer from nutrient deficiencies due to limited soil volume in their containers, leading to pale tops or slow growth.
Solution:
Fertilization: Apply a granular, slow-release fertilizer or liquid fertilizer low in nitrogen but high in potassium and phosphorus to promote root development and overall health. Look for a fertilizer with an N-P-K ratio such as 5-10-10. Follow the application guidelines to avoid over-fertilization.
Organic Amendments: Supplement your potting mix with bone meal or compost tea to enhance nutrient content as your carrots grow. This can improve the flavor and overall growth of your carrots.
6. Temperature Fluctuations

Problem: Carrots are sensitive to temperature variations. Extreme heat can cause them to bolt (flower prematurely), while frost can damage tender leaves and stymie root growth.
Solution:
Timing: Plant carrots in the early spring or fall. These seasons typically have cooler temperatures, which are ideal for carrot growth. Avoid the hottest part of summer or extreme cold.
Season Extension Techniques: Use cloches, row covers, or shade cloths to help manage temperature. This protects the plants from frosts and can help to moderate extreme heat.
7. Inconsistent Watering
Problem: Growing carrots in pots means dealing with inconsistent moisture levels due to evaporation. Containers can dry out quickly, especially during hot weather, leading to cracks or stunted growth.
Solution:
Watering Schedule: Implement a regular watering schedule, checking the moisture before each watering. Use your finger to gauge moisture at the top inch of soil. Water deeply, allowing excess to drain out through the bottom holes commonly found in containers.
Mulching: Use organic mulch such as straw or wood chips on top of the soil to retain moisture and regulate temperature. This helps prevent the soil from getting too dry while suppressing weeds.
Optimizing Growth and Ensuring Success
Beyond addressing the core problems, there are strategies to maximize your chances of growing healthy, robust carrots in pots:
Select the Right Varieties: Opt for varieties suited to container gardening, such as ‘Little Finger’ or ‘Parisian,’ which are less likely to encounter space limitations and produce well in confined conditions.
Regular Maintenance: Check for weeds, pests, and diseases weekly. Tending to your carrots regularly can prevent larger issues from developing.
Educate Yourself: Familiarize yourself with common pests and diseases specific to carrots. Understanding potential problems can help you act quickly when issues arise.
Harvesting at the Right Time: If you harvest too late, carrots can become woody and lose their sweetness. Aim to pull them when they reach the desired size, typically around 1 inch in diameter for smaller varieties.
Experiment and Adapt: The beauty of container gardening lies in its adaptability. If something doesn’t work, don’t hesitate to make changes. Try different watering techniques, soil amendments, or even altering the container size next season.
How to Grow Carrots in Pots: A Step-by-Step Guide for Beginners
Step 1: Choosing the Right Container
1. Size Matters
Opt for a container that is at least 12 to 18 inches deep for standard carrots. This depth allows the carrot roots to develop fully without becoming stunted. For shorter varieties, such as ‘Thumbelina’ or ‘Little Finger,’ containers of 8 to 10 inches in depth will suffice.
2. Drainage
Select a container with drainage holes at the bottom to prevent water accumulation. Good drainage is vital for root health and prevents rot.
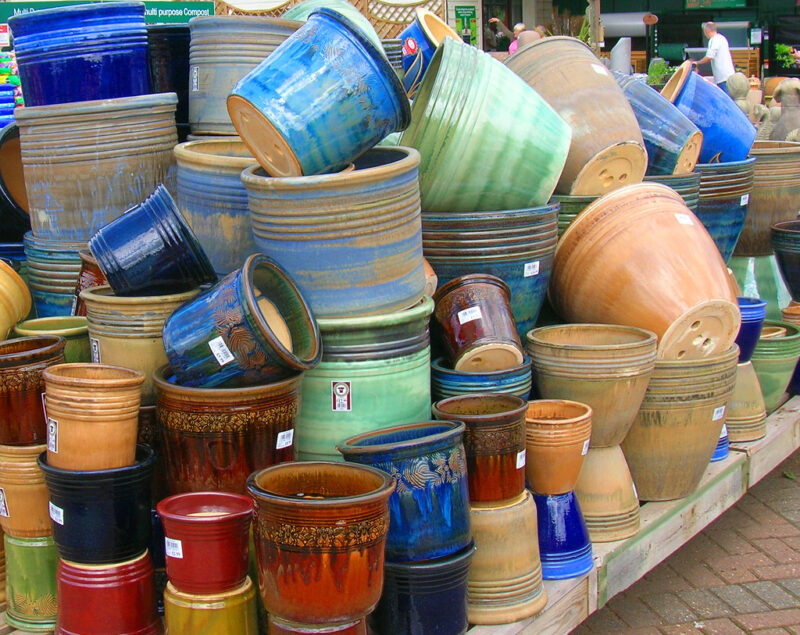
3. Material
You can choose from various materials:
Plastic: Lightweight, inexpensive, and easy to move.
Terracotta: This material is aesthetically pleasing but may dry out quickly, necessitating more frequent watering.
Fabric Pots: They provide good aeration and drainage, promoting stronger root development.
Step 2: Preparing Soil for Carrots
1. Soil Quality
Carrots prefer well-draining, loose soil that is free from clumps. Compacted soil can lead to deformed roots.
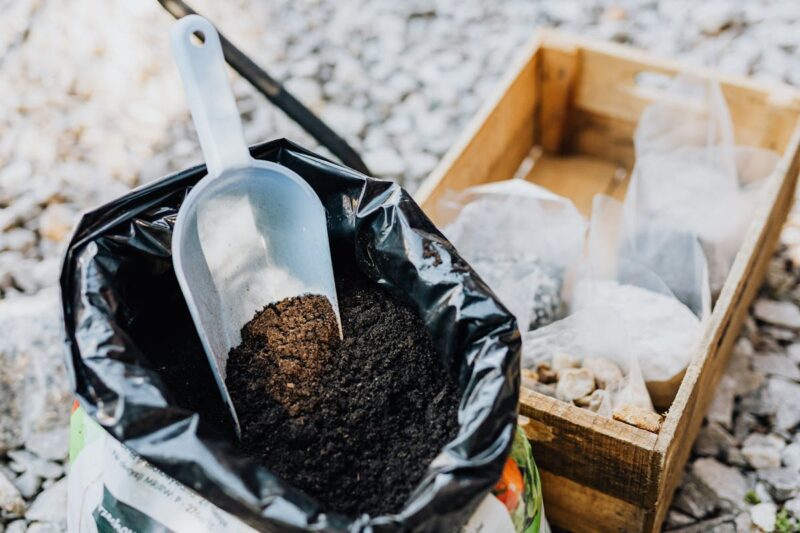
2. Crafting the Right Mix
Prepare a soil mix that includes:
1 Part Compost: This enriches the soil with nutrients.
1 Part Peat Moss or Coconut Coir: Helps retain moisture while ensuring aeration.
1 Part Sand or Perlite: Improves drainage and prevents soil compaction.
3. Nutrients
Before planting, mix in a slow-release fertilizer that has low nitrogen but higher phosphorus and potassium to encourage root growth. A balanced fertilizer with an N-P-K ratio like 5-10-10 is ideal.
Step 3: Selecting the Right Carrot Varieties

Certain carrot varieties are better suited for container gardening. Here are some excellent options:
1. Short or Round Varieties
‘Little Finger’: Tiny, 5-inch carrots that thrive in small spaces.
‘Parisian’: Round carrots that are perfect for pots.
2. Intermediate Varieties
‘Amsterdam Forcing’: Grows up to 6-8 inches long and is well-suited for containers.
3. Specialty Varieties
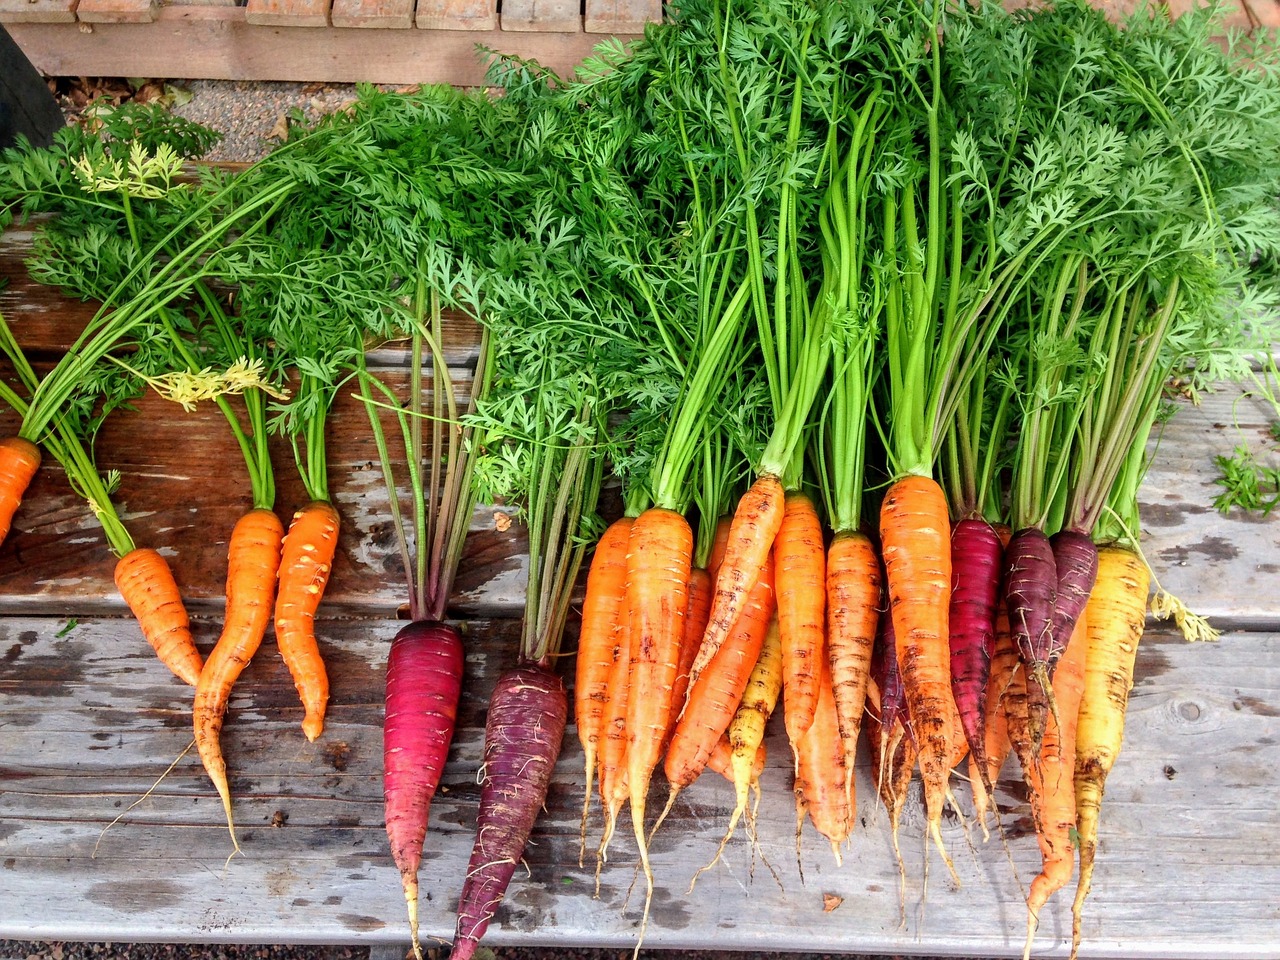
Consider growing colorful carrots like ‘Purple Haze’ or ‘Solar Yellow’ for added visual appeal and variety.
Step 4: Planting Carrots
1. Timing
Carrots are cool-season crops and can be planted in early spring as soon as the soil is workable. In many areas, a fall planting is also possible for a frost-tolerant harvest.
2. Sowing Seeds
Direct Seeding: Sow your seeds directly into the prepared soil in the container.
Spacing: Place seeds about 1 to 2 inches apart in rows, ensuring you leave 2 to 3 inches between rows.
Covering: Lightly cover seeds with soil, then water gently to avoid displacing them.
3. Thinning Seedlings
Once seedlings emerge and reach about 2-3 inches tall, thin them to 2-4 inches apart. This is vital for allowing each carrot enough space to grow properly.
Step 5: Caring for Your Carrots
1. Watering
Consistent moisture is key for carrot growth:
Consistency: Keep the soil consistently moist but not soggy. Water whenever the top inch of the soil feels dry.
Technique: Use a watering can with a fine spout or garden hose to gently water without disturbing the soil too much.
2. Sunlight Requirements
Carrots require full sunlight, so ensure your containers receive at least 6 hours of direct light each day. If growing indoors or in shaded areas, consider placing them in a bright spot or using grow lights.
3. Fertilization
Feeding your carrots is crucial:
Use a liquid fertilizer (diluted according to the instructions) every month for food input as your carrots grow.
Avoid high-nitrogen fertilizers, as they promote foliage growth instead of root development.
Step 6: Managing Pests and Diseases
1. Pest Prevention
Common pests include the carrot fly and aphids:
Floating Row Covers: Use these lightweight fabric covers to protect young seedlings from pests.
Regular Inspections: Keep an eye out for any signs of infestation, such as holes in the leaves or unusual sticky residues.
2. Disease Control
To mitigate diseases:
Avoid overwatering to prevent root rot and other fungal diseases.
Ensure good air circulation around your plants to decrease humidity levels that can promote fungal infections.
3. Organic Solutions
For pest control, consider using insecticidal soap or neem oil if infestations occur.
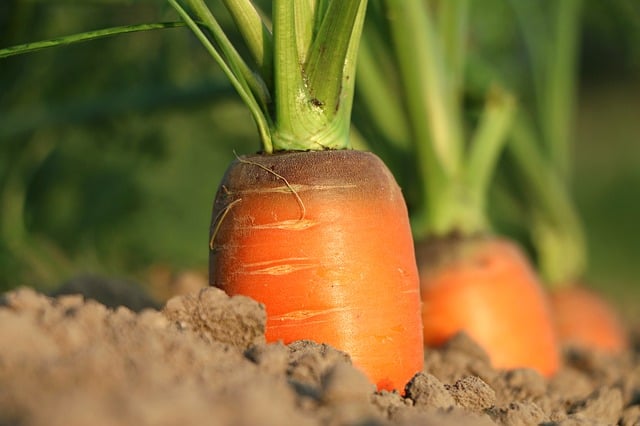
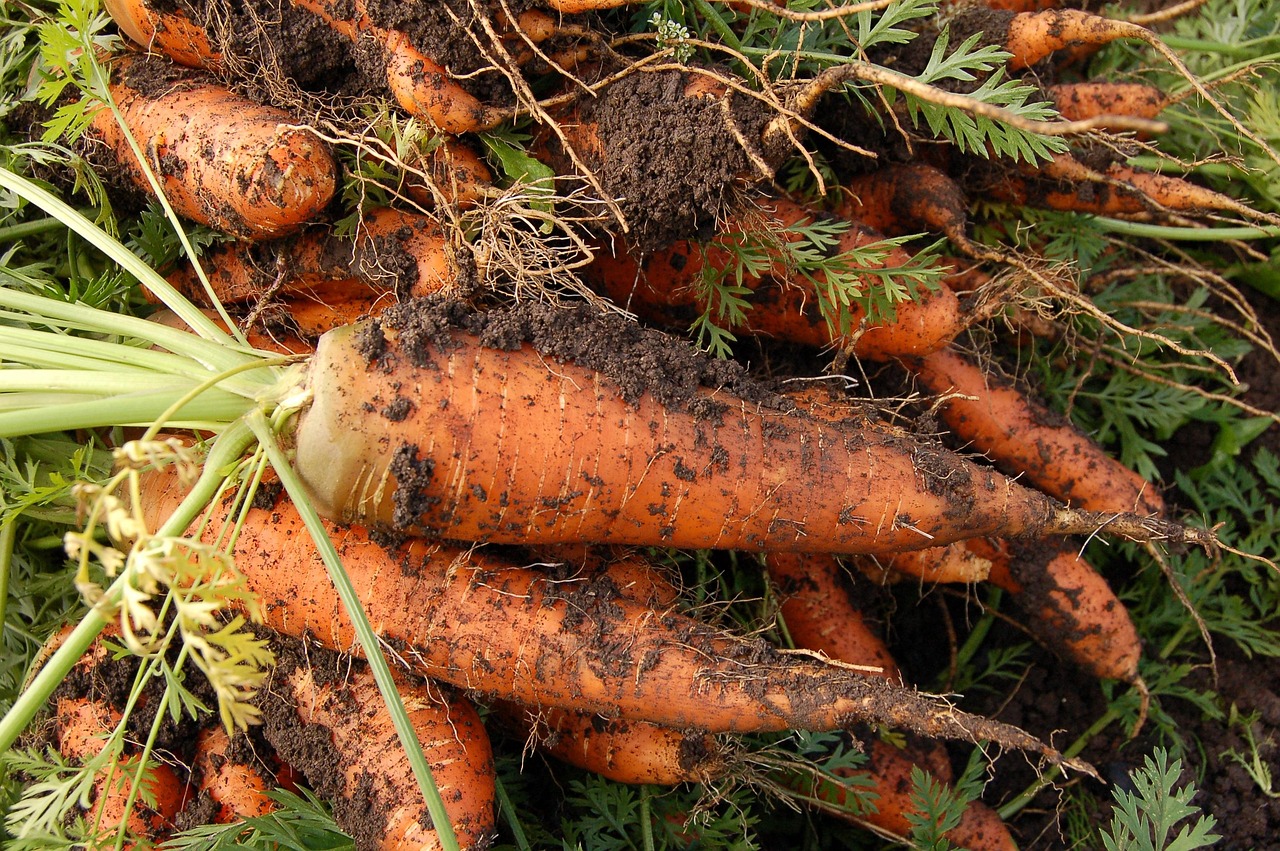
Step 7: Harvesting Carrots
1. Determining Time to Harvest
Carrots typically can be harvested about 70 to 80 days after planting, depending on the variety. Check seed packets for specific timing.
2. Harvesting Technique
Gently Loosen the Soil: Use a flat garden fork or hand tool to carefully loosen the surrounding soil to avoid damaging the roots.
Pull with Care: Grasp the foliage near the base and pull the carrot gently out of the soil. If they resist, use your fork or hand tool to loosen more of the surrounding soil.
3. Storage
If not using your carrots immediately, store them in the refrigerator’s crisper drawer. Place them in a plastic bag, ideally wrapped in a damp paper towel to maintain moisture.
Step 8: Troubleshooting Common Problems
Even if you follow all best practices, issues may still arise. Here’s how to troubleshoot:
1. Poor Germination
If seeds are slow to germinate, check if:
The soil was kept too dry or too wet.
Seeds were sown too deep. Ensure they are within the recommended depth for your variety.
2. Stunted Growth or Deformed Roots
If your carrots appear deformed, consider:
Thinning seedlings promptly to avoid overcrowding.
Ensuring loose, well-aerated soil.
3. Yellowing Foliage
If the tops of your carrots are turning yellow, this may indicate:
Nutrient deficiencies. Ensure you are fertilizing adequately.
Inadequate sunlight. Ensure your pots are in a sunny location.
Conclusion
Growing carrots in pots can be both a fun and rewarding venture. By following these steps, you can create ideal conditions for your carrots to thrive, ensuring flavorful, crunchy vegetables are just a few weeks away. Address challenges proactively and adapt your methods as needed. With a bit of patience and care, you’ll soon enjoy the satisfaction of harvesting your own fresh carrots right from your patio or balcony