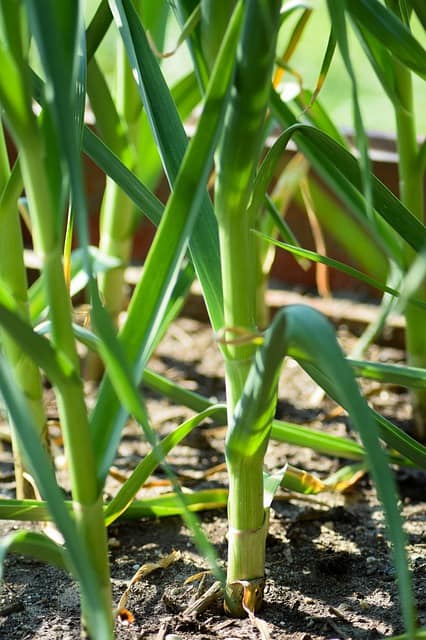
Garlic is a staple ingredient in many kitchens around the world, renowned for its distinct flavor and numerous health benefits. But did you know that you can easily grow garlic in pots or containers? Whether you have a small balcony, a tiny backyard, or simply want to try your hand at gardening for the first time, cultivating garlic in pots is a rewarding experience.
This guide will walk you through the entire process, from selecting garlic varieties to harvesting your flavorful bulbs.
Why Grow Garlic in Containers?
Growing garlic in pots provides several advantages, particularly for beginners or those with limited garden space. Here are a few reasons why container gardening for garlic is a great choice:
Space Efficiency: Containers allow you to maximize space, making it possible to grow garlic even if you have limited outdoor area.
Soil Control: You can control the soil quality and moisture levels in a container, which can lead to healthier plants.
Pest Management: Pots can help in managing pests and diseases that are common in garden beds.
Flexibility: Container gardening allows you to move your plants to a location with optimal sunlight and protection from adverse weather conditions.
Choosing the Right Container
The first step in growing garlic in pots is selecting the right container. Here’s what to keep in mind:
Size Matters
Depth: Garlic requires sufficient depth to develop its bulb. Choose a container that is at least 8 to 10 inches deep.
Width: A width of 12 to 14 inches is ideal, as garlic needs space for its roots to spread. If you’re planting multiple cloves, consider using a larger container.
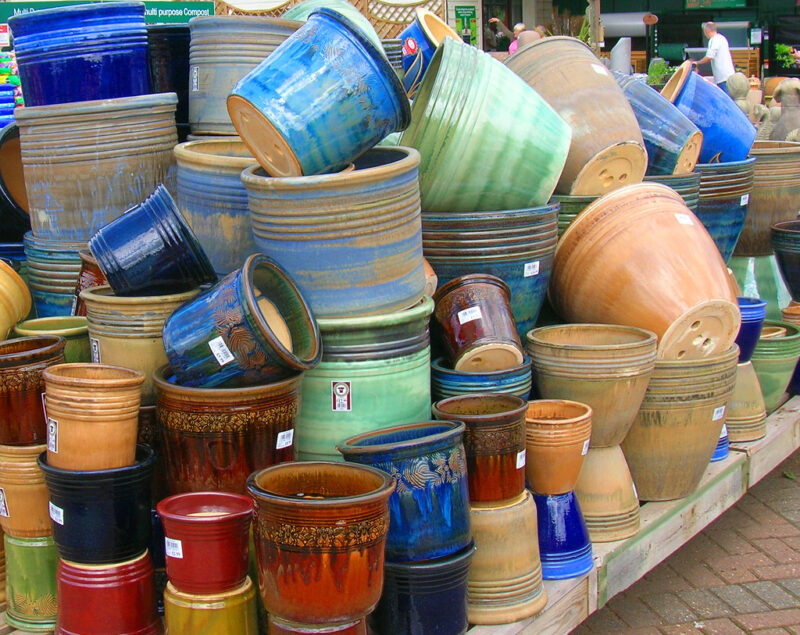
Material Options
Garlic can be grown in various types of containers, including:
Terracotta Pots: These are breathable and help with moisture control.
Plastic Containers: Lightweight and affordable, these are a good option but ensure they have drainage holes.
Fabric Pots: Excellent for aeration and root health, while providing good drainage.
Drainage is Crucial
Whatever container you choose, ensure it has adequate drainage holes. Garlic is sensitive to excess moisture, which can lead to rot. If your pot doesn’t have good drainage, consider adding gravel or stones at the bottom before filling it with soil.
Selecting Garlic Varieties
Different garlic varieties suit various growing conditions and flavor preferences. Here are two main categories to consider:
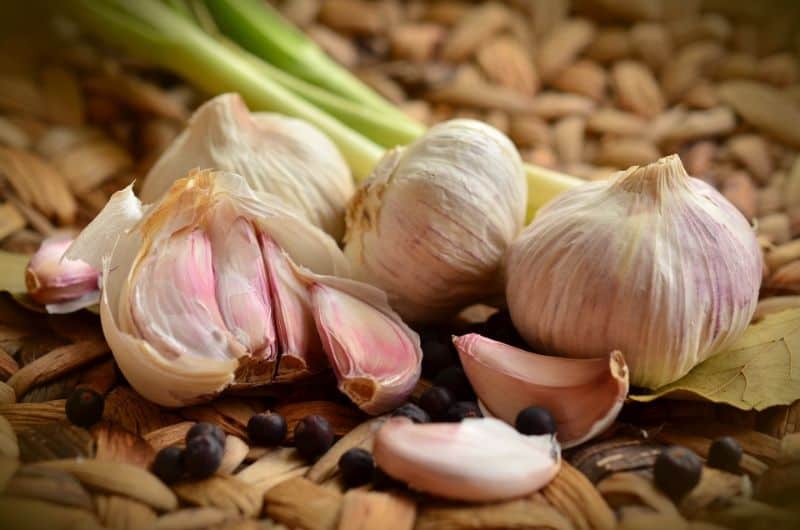
Hardneck Garlic
Characteristics: Known for its robust flavor and easy-to-peel cloves. They produce a flower stalk or “scape” that can be harvested and eaten.
Best for: Cold climates as they require a period of dormancy in winter.
Softneck Garlic
Characteristics: More tender and suited for warmer climates. This variety tends to have a longer shelf life and is typically what you find in supermarkets.
Best for: Mild winters and is ideal for beginners due to its easy cultivation.
When selecting garlic, consider acquiring organic or locally grown bulbs to ensure they are free from disease and adapted to your growing conditions.
Preparing the Soil
Garlic thrives in well-draining soil enriched with nutrients. Here’s how to prepare the perfect potting mix:
Soil Composition
An ideal potting mix for garlic should consist of the following:
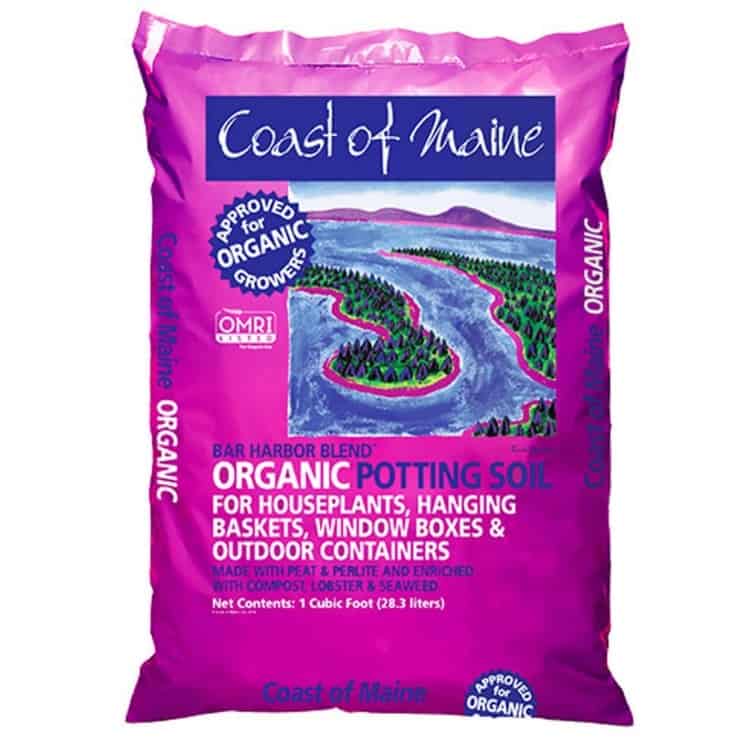
Potting Soil: Use a quality potting mix as the base, providing good drainage.
Organic Matter: Enhance the mix with compost or well-rotted manure to supply nutrients.
Perlite or Sand: Incorporate perlite or coarse sand to improve aeration and drainage.
pH Levels
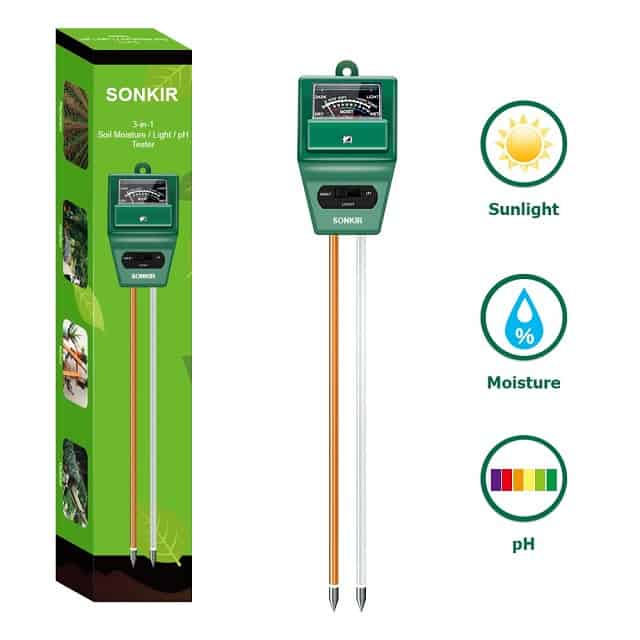
Garlic prefers a slightly acidic to neutral soil pH, ideally between 6.0 and 7.0. You can test your soil with a pH meter or test kit. If amendments are needed, adding lime can raise pH, while sulfur can lower it.
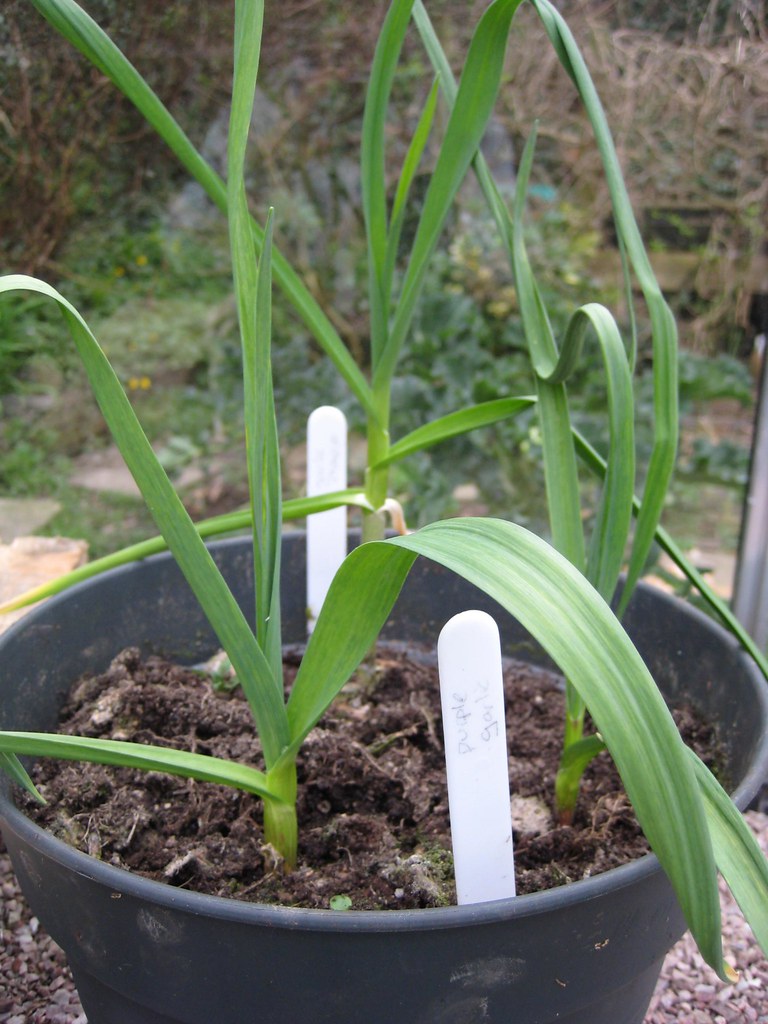
Planting Garlic
Once you’ve selected your container and prepared your soil, it’s time to plant your garlic. Follow these steps to ensure successful growth:
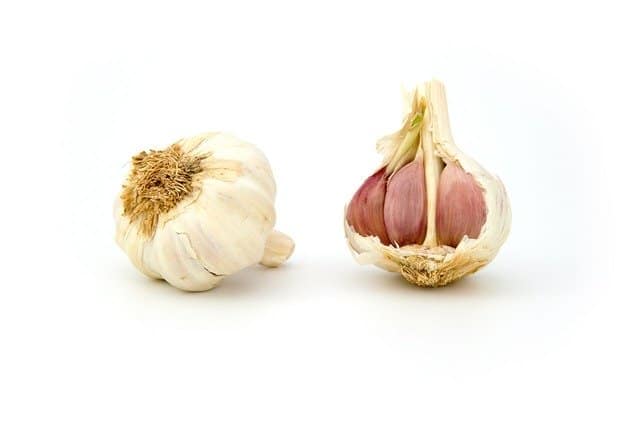
Clove Preparation
Separation: Start by separating the cloves from the bulb. Choose the largest, healthiest cloves for planting; this will lead to bigger bulbs upon harvest.
Peeling: Do not peel the cloves; the tunic (the outer layer) protects them during growth. However, removing any excess dirt can help prevent disease.
Planting Depth and Spacing
Depth: Plant each clove about 2 to 3 inches deep, with the pointed end facing upwards.
Spacing: Space cloves 6 to 8 inches apart to allow for adequate bulb development.
Watering After Planting
After planting, water the cloves gently to settle the soil around them. Be cautious not to overwater; the soil should be moist but not soggy. The goal is to encourage root growth while preventing rot.
Caring for Your Garlic Plants

Taking care of your garlic plants is crucial to achieving a bountiful harvest. Here are essential care tips:
Watering
Garlic needs consistent moisture, especially during the initial growth stages. Water the container whenever the top inch of soil feels dry. Be mindful of overwatering, which can lead to bulb rot.
Sunlight Requirements
Garlic loves sunlight and prefers locations that receive 6 to 8 hours of direct sun each day. If you’re growing garlic indoors or in a covered area, you may need to supplement with grow lights.
Fertilizing
Feeding your garlic with a balanced organic fertilizer can promote healthy growth. Look for fertilizers high in phosphorus, which aids bulb development. Feed your garlic once in early spring when growth resumes and as needed throughout the growing season.
Pest and Disease Management
Regular monitoring can help you catch any issues early. Here are some common pests and how to handle them:
Aphids: These can be washed off with a strong spray of water. Introduce beneficial insects like ladybugs to keep their population in check.
Whiteflies: Sticky traps can help, along with insecticidal soap if infestations are severe.
To prevent diseases, ensure proper spacing for air circulation, and practice crop rotation if planting garlic seasonally.
Supporting Garlic Growth
As your garlic plants grow, they may benefit from additional support. Here’s what you can do:
Mulching
Applying a layer of organic mulch (like straw or wood chips) around the base of the garlic will help retain soil moisture, suppress weeds, and regulate soil temperature.
Watering Strategies
Avoid watering the leaves, as wet foliage can lead to fungal diseases. Instead, water at the base of the plant and consider using a drip irrigation system for efficient moisture delivery.
Weeding Techniques
Regularly check your container for weeds, as they can compete for nutrients and water. Hand-pulling is often the most effective method for keeping the container weed-free.
Harvesting Your Garlic
Harvesting garlic is one of the most satisfying moments of the growing process. Timing is key to ensuring your bulbs are mature and flavorful.
Signs of Maturity
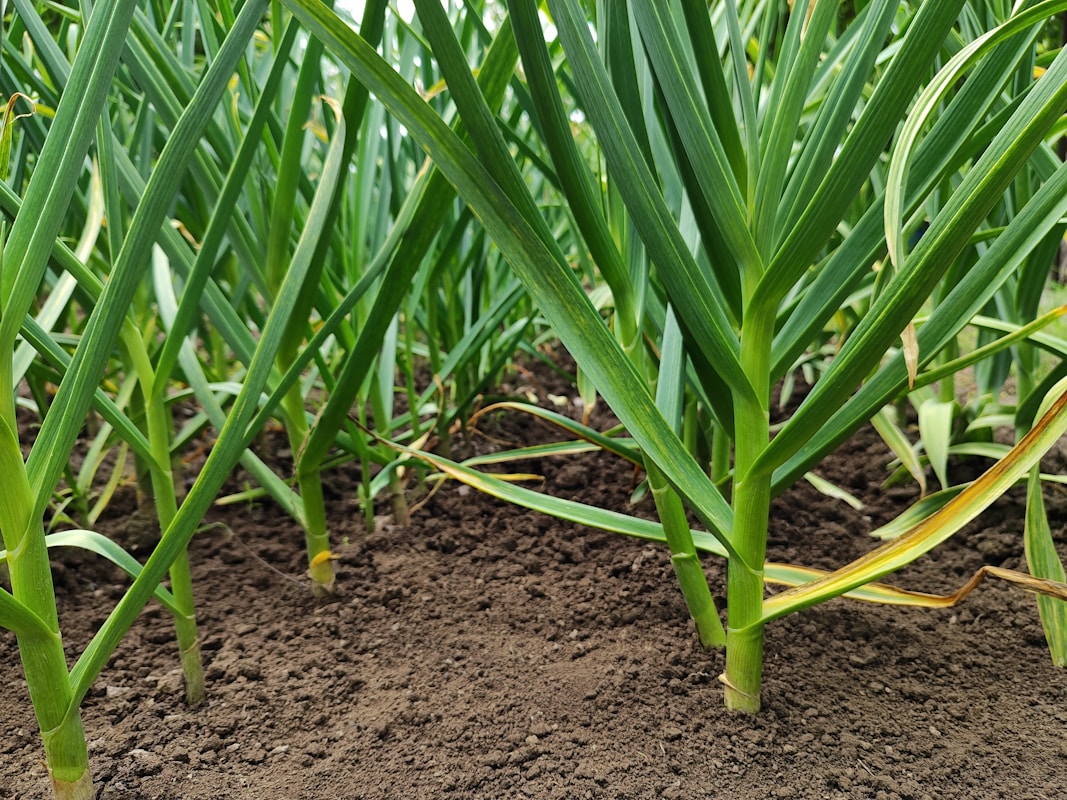
Garlic is typically ready to harvest when the lower leaves start to turn yellow and die back while the upper leaves remain green. This generally occurs in late spring to mid-summer, depending on your planting time.
Harvesting Process
Prepare to Harvest: A few days before you intend to harvest, stop watering your garlic plants. This allows the bulbs to dry out slightly, reducing the risk of rot during storage.
Loosen the Soil: Use a garden fork or spade to gently lift the bulbs from the soil. Be careful not to puncture the bulbs.
Remove Soil: Shake off excess soil gently and avoid washing the bulbs with water, as this can encourage rot.
Curing Garlic
After harvesting, garlic needs to be cured to prolong its shelf life. Here’s how:
Hang the Garlic: Tie the bulbs together by their tops and hang them in a dry, well-ventilated area away from direct sunlight.
Curing Duration: Allow the garlic to cure for about 2 to 4 weeks. When the outer skins are papery and the roots have dried, it’s ready for storage.
Storing Garlic
Proper storage is crucial to maintaining the flavor and quality of your garlic. Follow these tips:
Keep It Cool and Dry: Store garlic bulbs in a cool, dark place with good air circulation. Avoid refrigerating them, as this can cause sprouting.
Use Mesh Bags: Paper bags or mesh produce bags help with airflow. Avoid plastic bags, which retain moisture.
Check Regularly: Inspect your stored garlic for signs of mold or sprouting, and remove any affected bulbs immediately.
Growing Garlic Year-Round
With the right techniques and care, you can grow garlic year-round in containers. Here are a few tips to extend your garlic-growing season:
Planting in Fall
In colder regions, plant garlic in the fall for the best results. Garlic can withstand frost and will establish roots before the winter dormancy.
Successive Plantings
If you’re growing garlic in a mild climate, consider planting new cloves every few months for a continuous harvest.
Indoor Growth
Garlic can also be grown indoors throughout the year. Using a well-lit windowsill or grow lights, you can continue to enjoy the fresh taste of garlic regardless of the weather outside.
Conclusion: Enjoying Your Garlic Harvest
Growing garlic in pots or containers is not only feasible but also enriching and rewarding. From selecting the right variety to nurturing your plants and finally enjoying the harvest, this journey allows you to develop practical gardening skills while yielding delicious results. Once you have cracked the code on growing garlic, you may find yourself wanting to experiment with different varieties or expand into other culinary herbs and vegetables.