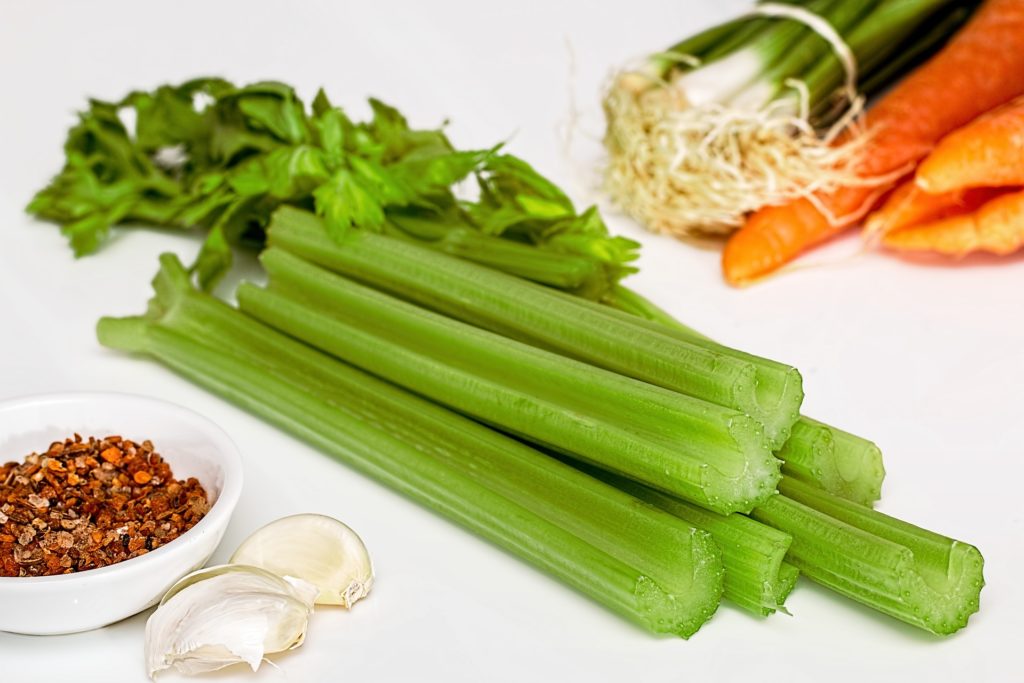
Growing celery in pots or containers is a rewarding experience, especially for those with limited garden space. Celery (Apium graveolens) thrives in a range of conditions, but when grown in containers, you can control variables like soil quality, moisture, and sunlight, ultimately resulting in healthy, flavorful stalks. Let’s dig into each aspect of growing celery in containers, ensuring you have all the information needed for a successful gardening adventure!
Choosing the Right Celery Varieties
Selection Criteria
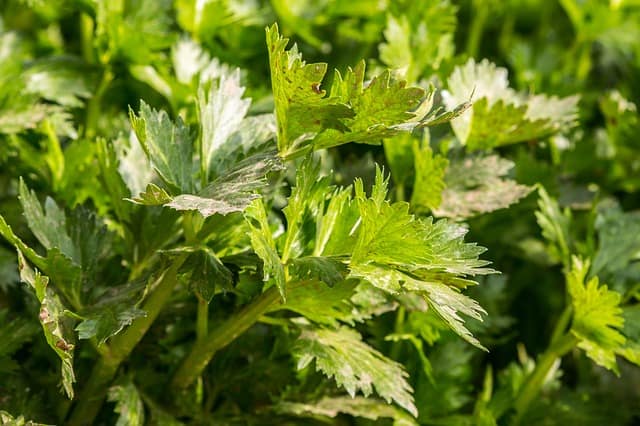
When selecting celery varieties, consider factors such as climate, growth habit, and culinary preference. Container gardening usually favors varieties that are compact yet yield robust results. Here’s a breakdown of some excellent choices:
Tall Utah: This high-yielding, traditional variety is known for its crisp, green stalks and resistance to bolting. It grows tall, making it perfect for container gardening, as it can provide some vertical interest in your space.
Golden Self-Blanching: Ideal for small spaces, this celery variety is shorter and requires less maintenance. Its unique self-blanching ability means the outer stalks will turn golden, making it both tasty and visually interesting for your garden.
California Golden: This variety is a favorite due to its resilience against diseases and pests. It produces thick stalks that are crisp and have a mild flavor, perfect for salads and soups. Its excellent yields in smaller spaces make it a top contender for container gardening.
Giant Pascal: If you’re looking for a variety that produces thick, crunchy stalks, consider Giant Pascal. It’s slightly taller, which allows it to take advantage of container space while still being manageable.
What You’ll Need
When you’re ready to begin your celery-growing journey, it’s important to be well-equipped. This not only facilitates a smoother experience but also enhances your chances of success.
Equipment / Tools

Container: Choose a pot that can accommodate the depth and width requirements for celery.
Trowel: A sturdy trowel is necessary for digging, mixing, and relocating soil.
Watering Can: A watering can with a fine spout provides a gentle flow to prevent soil displacement during watering.
Fertilizer Scoop: Use a dedicated scoop for applying granular fertilizers to ensure you’re adding the correct amount.
Labels: These are invaluable for tracking what varieties you’ve planted and when to expect harvest times.
Spray Bottle: A spray bottle can help maintain humidity, especially important if your environment is dry.
Materials
Potting Soil: A high-quality potting mix designed for vegetables is crucial. Look for mixes that contain organic matter and provide good aeration.
Fertilizer: A nitrogen-rich fertilizer (e.g., 10-10-10) is essential for leafy greens like celery, as it encourages healthy leaf development.
Mulch: Organic mulch such as straw or wood chips can help retain moisture and prevent weed competition. It also adds nutrients back into the soil as it decomposes.
Preparation is key, so ensure every tool and material is on hand before you start planting, which will make the process feel effortless.
Choose and Prepare Containers
Container choice directly influences the health and growth of your celery plants. Proper containers promote healthy root systems and ensure sufficient drainage.
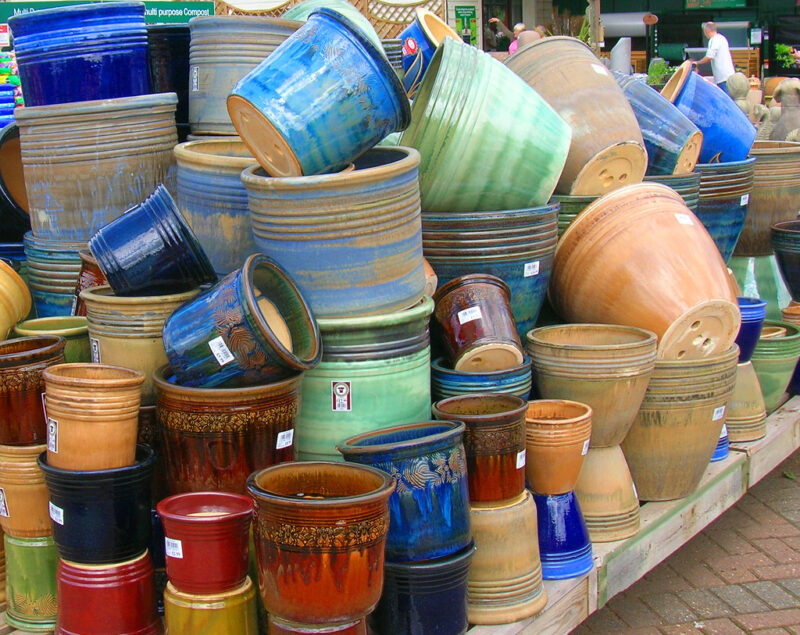
Type of Pot
Plastic: Lightweight and available in many sizes, plastic pots are often more affordable than other materials. They hold moisture well but check for drainage holes to prevent stagnant water.
Clay: These pots can regulate temperature, making them suitable for various climates. They are porous, allowing air exchange but may dry out faster, requiring more frequent watering.
Glazed Ceramic: Aesthetically pleasing and durable, glazed pots provide good moisture retention and are often heavier, which can be a bonus in windy areas.
Fabric: Fabric pots allow for excellent drainage and air circulation, promoting healthier root systems. They’re easy to transport and come in various sizes, perfect for small-space gardening.
Size
When selecting pot size, aim for a container that’s at least 12-18 inches deep and wide. Celery has a deep root system, and providing enough room allows for stronger growth. Over time, larger containers also retain moisture better, reducing the frequency of watering.
Drainage
Ensure the pots you choose have ample drainage holes. Celery’s roots are susceptible to rot if kept in overly moist soil. If using containers without holes, consider adding a thick layer of gravel at the bottom to facilitate drainage, or make your own drainage holes if possible.
Planting Instructions
Once you’ve selected the right containers and materials, it’s time to plant your celery!
Prepare the Potting Soil
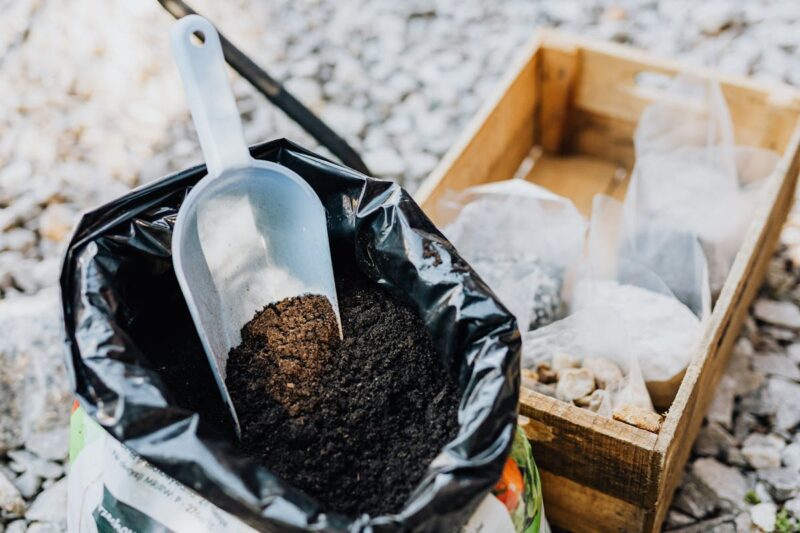
Before planting, moisten your potting mix. It should be damp but not soggy. This pre-watering ensures that the soil settles properly around the roots once transplanted and creates a favorable environment for germination.
Water
After filling your containers, water the soil gently to help settle it. Allow the water to drain out of the holes at the bottom. A well-drained container will help keep your celery healthy.
Fertilize
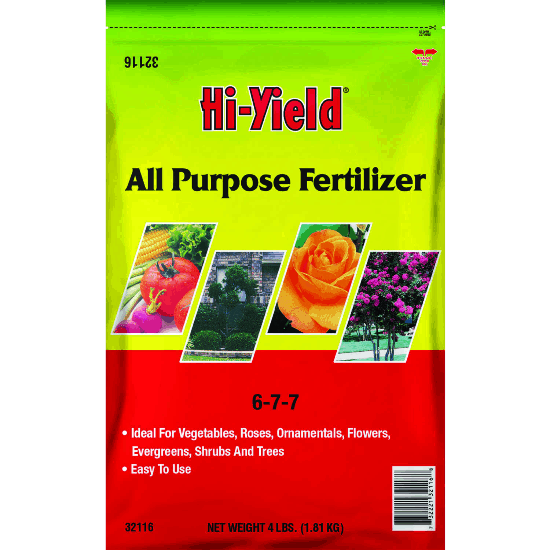
Use a balanced or nitrogen-rich liquid fertilizer when planting. An organic mix can also be beneficial. Always follow the manufacturer’s instructions for dilution and application to avoid nutrient burn. Fertilizing at planting provides your celery with the nutrients it needs to kick-start growth.
Sowing Seeds or Transplanting
When sowing seeds indoors, consider starting 10-12 weeks before the last frost. Scatter the seeds in rows, covering them lightly with soil. Transplanting young celery plants from a nursery can give you a head-start, typically allowing for an earlier harvest than if you started from seeds.
Space the seeds or seedlings about 12 inches apart. As celery can become overcrowded, thinning out seedlings to this distance allows for ample light and air circulation, reducing the risk of disease.
Care Instructions
With your celery planted, it’s essential to focus on proper care to support healthy growth.
Sun Exposure

Celery prefers full sun but is sensitive to excessive heat. It’s best positioned to receive at least 6-8 hours of sunlight each day. In hot climates, partial shade during peak afternoon sun can prevent the plants from bolting (flowering prematurely).
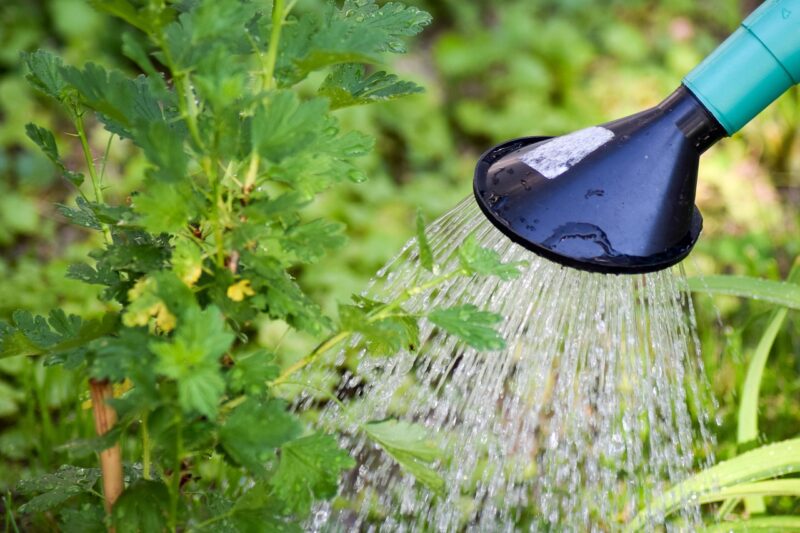
Stick to a Water Schedule

Watering requirements for celery are significant due to its high water content. Celery typically likes moist soil, and the top inch should remain consistently damp. Check moisture levels regularly by sticking your finger into the soil. Depending on the weather conditions, you may need to adjust your watering frequency.
During hot months, you might need to water more frequently, even every other day. Conversely, cooler weather may require less frequent watering. Always water deeply at the base, rather than a light sprinkle, to encourage root growth.
Protect From Excessive Heat and Freezing Temperatures
You can help your celery plants survive extreme conditions by providing shade cloth in sweltering weather. Ensure that newly planted celery isn’t exposed to intense sun right away; provide gradual exposure.
In winter, if temperatures threaten to drop below freezing, you can cover your pots with blankets or bubble wrap to insulate them. Alternatively, move portable pots indoors, preventing frost damage to young plants.
Harvesting Celery in Pots/Containers
The day has finally come: it’s harvesting time! This is the most enjoyable moment in the gardening process, where you actually get to reap the rewards of your efforts.
When to Harvest
Typically, celery is ready to harvest 80-100 days after sowing seeds. Harvest when the stalks reach about 8-10 inches in height and are approximately the thickness of a pencil. They should feel firm to the touch and have vibrant green leaves.
How to Harvest
Harvesting can be accomplished in two primary methods:
Cutting the Entire Plant: With a sharp knife, cut the celery at the base. This method is ideal if you want to remove the entire plant for a significant harvest.
Cutting Outer Stalks: This method allows continuous harvesting. Use a knife to cut the outer stalks at the base, allowing the inner stalks to continue growing, providing multiple harvests throughout the season.
Post-Harvest Care
After harvesting, clean the remaining stalks and remove any dead foliage or debris from around the plant, which can attract pests. Consider applying a balanced fertilizer to the remaining plants if you opted for the staggered harvest method, ensuring they remain nourished and healthy for extended periods.
Repotting Instructions

As your celery plants mature, they may need to be repotted if conditions become cramped. Recognize the signs for when repotting is necessary to support ongoing healthy growth.
Timing
Typically, celery might need repotting in early spring or if you notice that growth slows significantly. If you see roots starting to emerge through drainage holes or plants showing signs of stress, repotting is imminent.
Choosing a New Pot
Select a larger pot to give the roots plenty of space for growth—ideally, 12-18 inches deep gives your celery roots room to spread. A pot made of breathable material is a good choice to promote healthy root growth.
Repotting Process
Carefully remove the plant from its current container, taking care not to damage the roots. Gently loosen any compacted soil around the roots. Next, place the celery in the new pot with fresh potting soil, watering thoroughly after planting. Keep an eye on the moisture levels in the new pot, providing sufficient water as the plant adjusts to its updated environment.
Pests and Diseases

Gardening has its challenges, but understanding common pests and diseases as they pertain to celery can significantly enhance your chances for a successful crop.
Common Pests
Aphids: These small bugs congregate on the leaves and stems of celery. To manage an aphid problem, consider spraying plants with a mixture of water and soap or a neem oil solution. Regularly checking and treating plants can minimize infestations.
Slugs and Snails: These pests can cause significant damage to tender seedlings. To deter them, you can use barriers made from crushed eggshells, copper tape, or diatomaceous earth around the base of the pots.
Spider Mites: These can be difficult to detect due to their tiny size. Look for fine webs on the leaves. Regular misting of foliage can help prevent their establishment, and treating with insecticidal soap is effective when you see signs.
Diseases
Celery Blight: A common fungal infection, celery blight manifests as dark spots on leaves. Ensure good air circulation around your plants. If infected, promptly remove and dispose of affected leaves. Maintain a careful watering schedule to prevent excess moisture that promotes fungal growth.
Root Rot: Mostly caused by overwatering or poor drainage, root rot leads to wilting and decay. Ensure your pots have drainage holes and consider adjusting your watering routine to let the soil dry out slightly between waterings.
White Rust: This fungal disease manifests as white pustules on the leaves. Remove infected plants immediately, and avoid wetting the foliage during watering to minimize the risk.
Be diligent when monitoring for pests and diseases, and a preventative approach often works best. It’s always easier to address issues early rather than trying to fix established problems.
FAQ
1. Can I grow celery indoors?
Absolutely! Celery can thrive indoors provided it receives adequate sunlight. If natural light is limited, you may want to invest in grow lights to provide sufficient brightness. Just ensure the pots have good drainage.
2. How often should I fertilize my celery?
Regular fertilization ensures robust growth. Ideally, you should fertilize celery every 4-6 weeks during the growing season. Adjust the amount based on the condition of the soil and the health of your plants.
3. Is it easy to grow celery from seeds?
While it requires a bit of attention, growing celery from seeds is manageable with the right conditions. Keeping the soil consistently damp and ensuring proper light will greatly enhance your success rate.
4. Can I regrow celery from the base of the stalks?
Yes! Take the base of the celery stalk and place it in a shallow dish of water. After a few days, you’ll notice new shoots emerging. Once they reach 3-4 inches, you can transfer your newly sprouted stalk into soil for further growth.
Final Thoughts
Embarking on the journey of growing celery in pots is not only a delightful hobby but also an opportunity to enjoy fresh, homegrown produce.