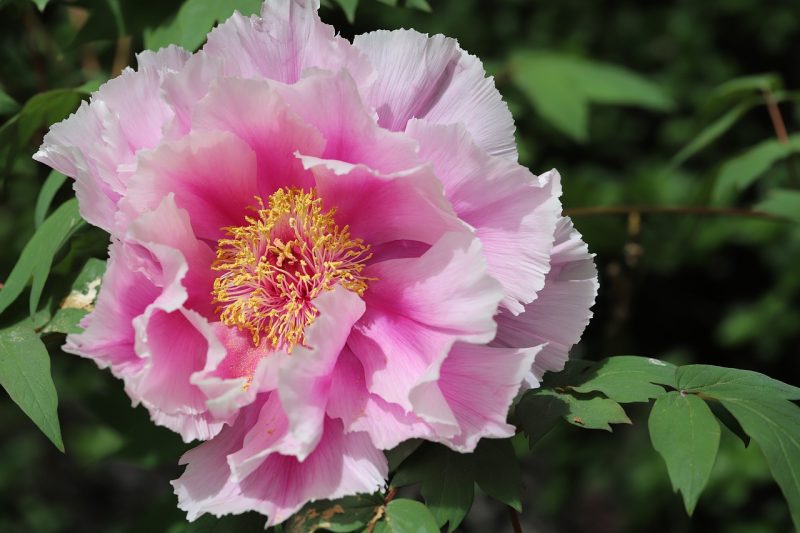
If you’re pondering the best time to transplant peonies, here we will cover the best timing, techniques, and tips to ensure your peony plants thrive after being transplanted.
Signs It’s Time to Transplant Peonies

Recognizing when it’s time to transplant your peonies is crucial for their vibrancy and vitality. Here are some signs that indicate your peony plants may need to be moved or divided:
Crowded Growth: If you notice that your peony plants are overcrowded, producing fewer blooms or no blooms at all, this is a clear indication that they need more space.
Declining Health: Yellowing leaves, reduced blooming, and stunted growth are signs of stress. Transplanting them may help reinvigorate their growth.
Neglected Soil Conditions: If the soil conditions have changed dramatically over time—such as shifts in drainage or soil quality—this could negatively affect your peonies.
Ideal Propagation: If you want to propagate your peonies to share with friends or extend your garden’s beauty, transplanting is the perfect way to do this.
Understanding these signs can prepare you for the task ahead and ensure that you transplant your peonies at the best possible time.
Timing is Key

So when exactly is the best time to transplant peonies? Timing can be crucial in ensuring their successful relocation and health in their new spot. Peonies are best transplanted during specific times of the year, and it’s essential to consider your local climate and the specific variety of peonies you have.
Early Fall: The Prime Transplanting Season
Generally, the best time to transplant peonies is in early fall, just after their blooming period, specifically in September or October. Here’s why:
Post-Bloom Rest: By early fall, peonies have finished their blooming cycle and are entering a dormancy period. This transition time allows the plant to focus on root establishment rather than flower production, allowing for more effective growth.
Soil Temperature: The soil is warmer in early fall, which is conducive for root growth. Warmer soil can encourage new root systems to establish before the frost sets in.
Moisture Availability: Often, early fall brings more consistent rainfall, ensuring that the plants have adequate moisture as they settle into their new location.
Less Stressful for Plants: Transplanting in cooler months helps reduce the stress on your peonies, preventing the shock that can occur during the heat of summer.
Spring Transplant Consideration
While fall is regarded as the ideal time, spring can also be an option—usually in early April to mid-May—before the plants begin to leaf out. However, this method comes with caveats:
Potential Shock: Spring transplanting can be more stressful for the plant, particularly as it begins its active growth phase. Shocking them can lead to poor blooming that season.
Delayed Growth: As spring is when peonies wake from their dormancy, relocating them can interfere with their establishment and blooming cycles. They may not bloom until the following year if moved too early.
In conclusion, early fall is typically the most advisable time to transplant peonies, while spring can be considered if fall is not an option.
Preparing for the Transplant

Once you’ve decided the best time to transplant your peonies, it’s vital to prepare correctly. Taking the right steps will help ensure their new home is conducive to thriving growth.
Gather Your Tools
Begin by gathering the necessary tools. You will need:
A shovel or spade for digging
A trowel for smaller jobs
Garden fork to loosen soil
Pruning shears
Watering can or garden hose
Mulch for protecting the roots post-transplant
Having the tools at hand in advance makes the process smoother and less stressful.
Understanding Your Soil
Peonies appreciate well-drained soil rich in organic matter. Prior to transplanting, assess the soil of the new location. Here are a few tips for preparing the soil:
Soil Testing: Conduct a soil test to evaluate pH and nutrient levels. Peonies tend to thrive in slightly alkaline to neutral soil (pH 6.0-7.5).
Amend the Soil: If necessary, amend the soil with compost or well-rotted manure to provide nutrients that will help peonies settle into their new space.
Drainage Assessment: Ensure that the chosen site has good drainage. Avoid areas where water tends to pool, as peonies do not like “wet feet.”
The Transplanting Process

Now that you are prepared, let’s dive into the transplanting process itself. Here are the step-by-step instructions for successfully relocating your beloved peonies:
Step 1: Timing the Dig
On a cool, overcast day, which minimizes stress on the plants, start the transplanting process. Aim to do this either early in the morning or later in the afternoon to reduce heat exposure.
Step 2: Digging Up the Peony
Using your shovel, dig around the peony plant’s root system. Aim to create a hole that extends at least 12 inches away from the plant, as peony roots can reach deep and outward. A 12- to 18-inch space will allow you to preserve the root system intact as much as possible.
Step 3: Lifting the Plant
Once you have dug deep enough, carefully lift the peony from the soil, shaking off excess dirt. This is a delicate process as peonies don’t have as deep a taproot as other plants, so take care to avoid damaging the roots.
Step 4: Pruning the Roots
After lifting the plant, assess the root system. If any roots appear damaged or overly long, use the pruning shears to cut them back. This helps encourage new growth and allows the plant to establish itself in the new location more efficiently.
Step 5: Preparing the New Location
At the new location, dig a hole twice the size of the root ball you just lifted. This will allow ample space for the roots to spread out and ensure proper establishability.
Step 6: Positioning and Backfilling
Gently place the peony in the center of the hole, making sure that the eyes of the plant (the small, round growth points) are at the soil level—this is crucial for herbaceous peonies. Backfill the hole with the amended soil and pat down firmly to eliminate air pockets.
Step 7: Watering
Once the peony is securely in place, water deeply to help settle the soil around the roots. It’s essential to keep the newly transplanted peony adequately moist but not waterlogged as they adjust to their new surroundings.
Step 8: Mulching
Apply a layer of mulch around the base of the peony after transplanting. This helps retain moisture, suppress weeds, and insulate the roots from temperature extremes.
Post-Transplant Care

Once your peonies are relocated, they will need some extra care as they adjust to their new environment.
Mulching and Watering
Maintain a consistent watering schedule, especially during dry spells. Mulching provides benefits beyond temperature regulation; it helps keep the soil evenly moist, which peonies appreciate.
Monitoring for Stress
Keep an eye on your peonies for any signs of transplant shock over the following weeks. Yellow leaves or wilting could indicate stress. If observed, ensure they receive a little extra water but avoid overwatering.
Fertilizing and Pruning
After a couple of months, consider lightly fertilizing your peonies with a balanced, slow-release fertilizer to provide a boost to the roots as they get established. Pruning is essential for herbaceous peonies; you may want to cut back old foliage in late fall or early spring to prevent disease and promote fuller growth.
Patience is Key
Finally, be patient! It’s essential to remember that peonies are slow-to-establish plants. While they may not produce abundant blooms in their first year post-transplant, establishing a strong root system will lead to better growth and more beautiful flowers in subsequent seasons.


