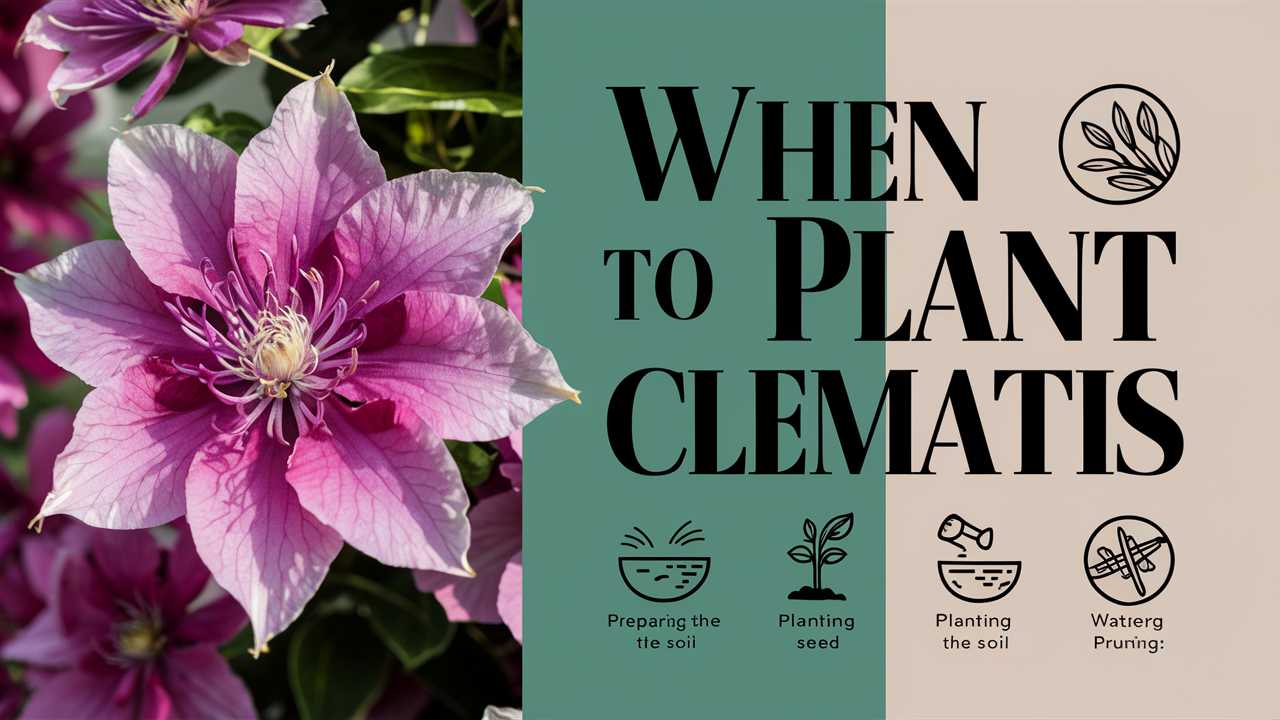
In this guide, we will explore when to plant clematis, key factors to consider, and tips for successful growth.
Understanding Clematis Varieties
Before diving into the best planting times, it’s important first to understand the variety of clematis available, as they differ in their needs and blooming times. Broadly, clematis can be divided into three main groups based on their flowering habits:
Group 1 Clematis: These bloom in spring and early summer on last year’s wood. Examples include Clematis montana and Clematis alpina.
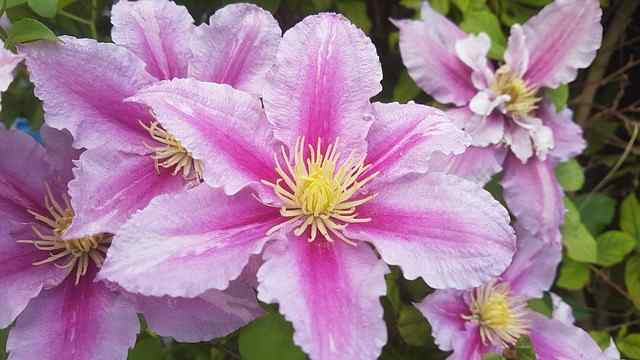
Group 2 Clematis: This group produces flowers in late spring to early summer and also develops blooms later in the summer on new growth. This category includes, for instance, Clematis ‘The President’ and Clematis ‘Nelly Moser.’
Group 3 Clematis: These varieties flower from late summer to fall and bloom on new growth of the current season. Popular examples include Clematis ‘Jackman’s Blue’ and Clematis viticella.
Understanding these groups will aid in planning your planting schedule based on when they bloom.
The Ideal Planting Time
Spring Planting
One of the best times to plant clematis is in spring, as the soil begins to warm and the days gradually lengthen. Planting in the spring allows the roots to establish before the summer heat arrives. Generally, it’s ideal to plant clematis after the last frost, which can vary based on local climate conditions, but typically falls between late March and mid-May.
Benefits of Spring Planting
Establishment Period: Spring offers the perfect conditions for the roots to assimilate water and nutrients as they begin to grow.
Availability of Seedlings: Most garden centers stock a wide variety of clematis in the spring, making it easier to find the specific type you want.
Fall Planting
Another right time to plant clematis is during the fall, roughly from late August to early October. This allows the plant to establish itself during the cooler months while benefiting from fall rains. Additionally, clematis planted in the fall enjoy a head start in spring.
Benefits of Fall Planting
Cooler Temperatures: The drop in temperature helps prevent stress on new plants while they establish roots.
Soil Moisture: Fall rains can give newly-planted clematis a consistent moisture supply to encourage healthy root development.
Consider Your Local Climate
When determining the best time to plant clematis, it’s crucial to take into account your local climate. For example, areas with milder winters might allow for a more extensive planting window than regions with harsh temperatures.
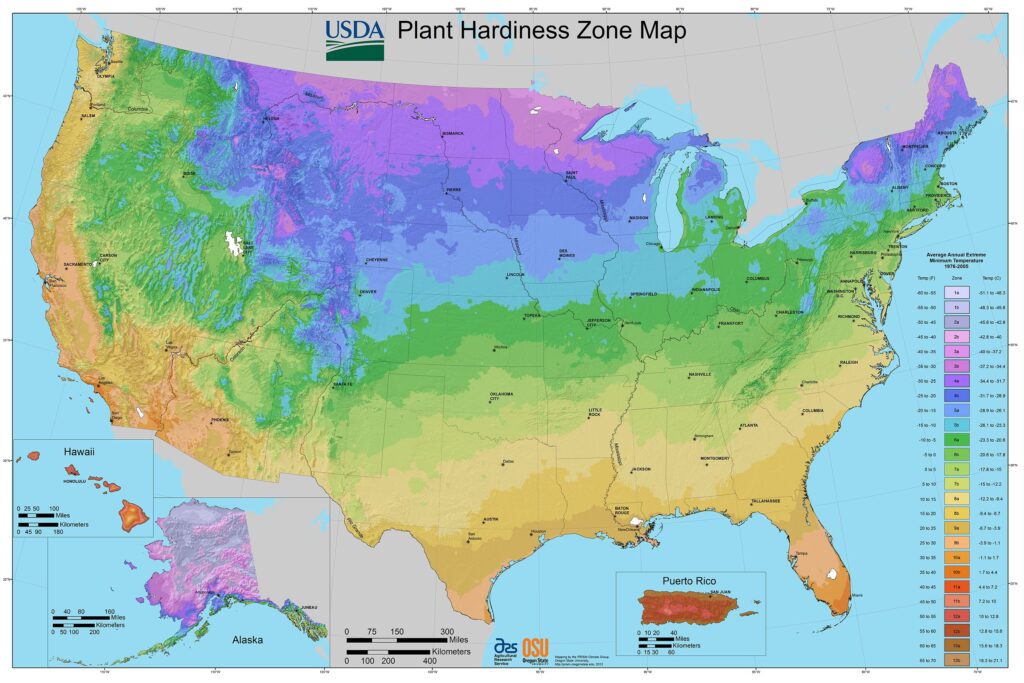
Hardiness Zones
Different clematis varieties thrive in different USDA Hardiness Zones. Knowing your zone can guide your planting decisions. For instance, Clematis integrifolia can thrive in USDA zones 4-9, while others like Clematis terniflora prefer warmer climates.
Importance of Zone Understanding
Understanding your zone ensures that you choose the right varieties for your region and that you plant them at the right time. A clematis that thrives in warmer zones might not survive the winter in a cooler region.
Microclimates within Your Garden
Your garden may have varying conditions, including shaded areas, direct sun, or wind exposure. These microclimates influence when and where you should plant clematis. If you live in a particularly windy area, for instance, you might want to plant clematis in the spring after frost and ideally in a more sheltered location.
Soil Preparation: Before You Plant
Preparing the soil well in advance of planting increases the chances of healthy growth. Clematis prefer well-draining soil rich in organic matter. Follow these steps for proper soil preparation:
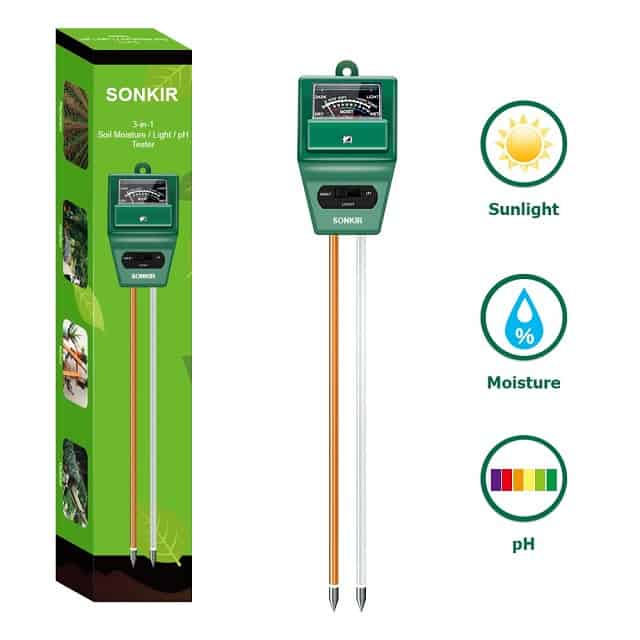
Testing Soil pH
Clematis thrive in slightly acidic to neutral soil, ideally with a pH ranging from 6.0 to 7.0. Consider testing your soil to determine its pH level.
Improving Soil Quality
If your garden soil is poor, consider amending it with compost or well-rotted manure. This not only enriches the soil with nutrients but also improves drainage, which is essential for clematis, as they dislike “wet feet.”
Tilling and Aerating
Till the soil to a depth of at least 12 inches and mix in any amendments to ensure a fluffy texture that allows oxygen and nutrients to reach the roots effectively. Thorough aeration supports root growth and health.
Planting Techniques
When you’re ready to plant, there are specific techniques to follow to ensure the success of your clematis.
Choosing the Right Location
Selecting an appropriate spot in your garden is crucial. Most clematis enjoy full sun but benefit from some afternoon shade, especially in hotter climates. Look for a location with variables, like a structure or tree nearby, which can act as a natural climbing source while providing some shelter.
Planting Depth
When planting clematis, bury the root ball about 2-3 inches deeper than it was in its nursery pot. This promotes sturdy growth and protects the plant from potential cold snaps.
Stake or Support Systems
Since clematis is a climbing plant, installing a trellis, arbor, or other support structures during planting ensures that the plant has something to latch onto as it grows.
Care After Planting
Once you’ve planted your clematis, the next challenge is to care for them properly. This includes watering, mulching, and pruning based on the specific needs of the variety you’ve chosen.
Watering
Keep an eye on soil moisture, especially in the early weeks after planting. While clematis prefer consistently moist soil, avoid waterlogging. Using mulch can help conserve moisture while suppressing weeds.
Mulching
Applying a layer of mulch around the base of your planted clematis provides insulation and moisture retention, as well as protection for the roots against temperature fluctuations.
Fertilizing
Feeding clematis during the growing season keeps them healthy and boosts their blooming potential. Use a slow-release fertilizer to nourish them without overwhelming the roots. Typically, fertilizing once in early spring as new growth appears and once again after the first flush of blooms can keep them vigorous.
Pruning
Clematis pruning differs by variety, so be sure to familiarize yourself with the specifics of yours. Group 1 clematis requires minimal pruning, while Groups 2 and 3 have different guidelines. Pruning at the appropriate time aids in maintaining compact growth and encourages thriving blooms.
Troubleshooting Common Issues

Knowing when to plant clematis is only part of the equation; being aware of potential challenges can help you maintain their beauty and strength over time.
Pests and Diseases
Common pests include aphids and spider mites. If you notice pests, treat them with insecticidal soap or neem oil. Maintain good air circulation to help prevent mildew and rot, especially in humid climates.
Wildlife Interference
Birds and insects often visit clematis for nectar. While most insects are beneficial, large animals like deer may treat your clematis as lunch. If wildlife is a persistent problem, consider fencing or using deterrents.
Environmental Stress
Be mindful of extreme weather conditions, such as excessive heat or unexpected frost. Using row covers or shelters can offer added protection when unusual weather strikes.
Seasonal Considerations

Timing for planting clematis isn’t just about spring or fall; it also extends to understanding how seasonal changes can impact your gardening decisions.
Seasonal Planting Calendar
Develop a seasonal planting calendar that outlines best practices for planting and caring for clematis throughout the year. This helps you stay organized and ensures you’re ready for each growth stage.
Seasonal Pruning
Pruning should align with your clematis variety. For instance, Group 1 should be pruned after flowering, while Group 3 varieties can be pruned back significantly in early spring to encourage new growth.
Preparing for Winter
As fall gives way to winter, some clematis may require extra protection from the cold. For hardy varieties, a layer of mulch can protect the roots, while for more delicate varieties, burlap or plant covers may be necessary.
Conclusion: Timing is Everything
In summary, planting clematis successfully involves understanding the right time based on variety, local climate, soil preparation, and care techniques.