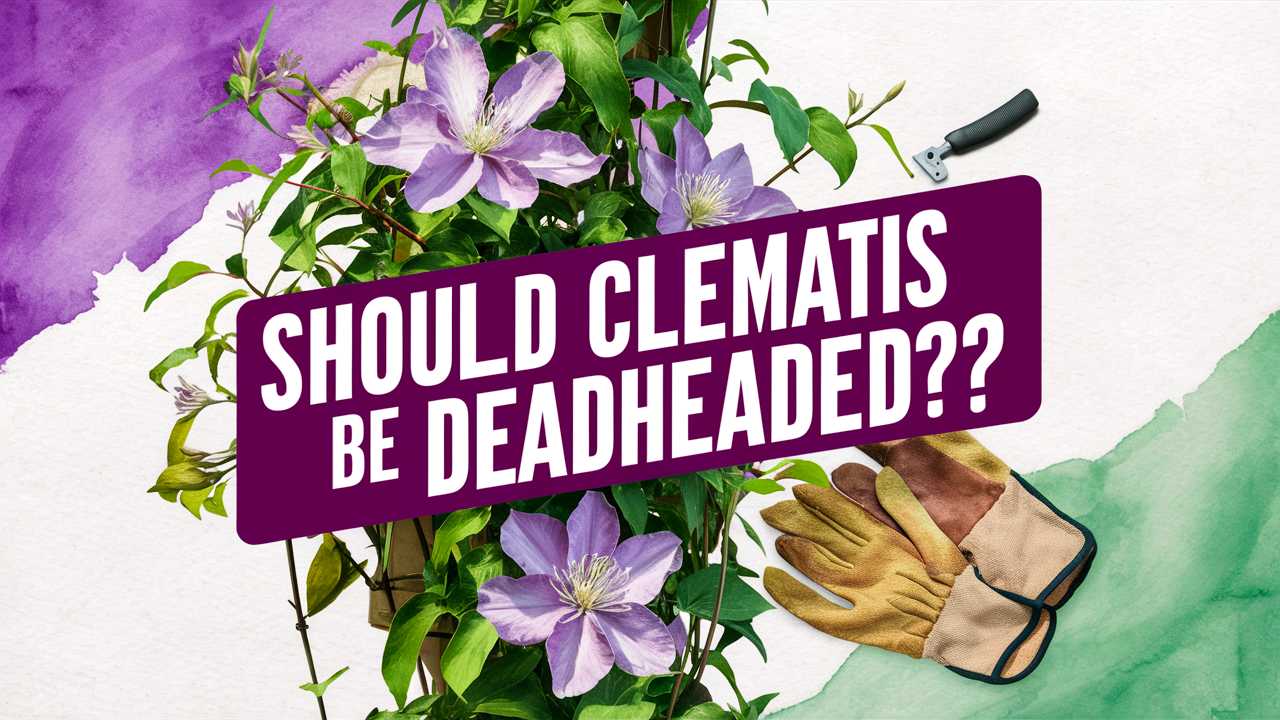
In this post, we will dissect the practice of deadheading clematis, investigate its benefits, and discuss best practices for this essential gardening technique.
Understanding Clematis and Its Growth Habit

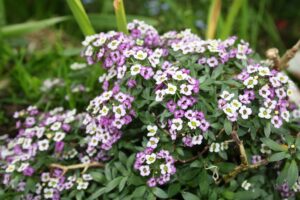
Before jumping into the specifics of deadheading, let’s take a moment to appreciate what clematis is all about. There are over 300 species and countless hybrids of clematis, making it one of the most diverse flowering plants. They can be categorized into three pruning groups:
Group 1: Blooms on old wood. They flower early in spring, and deadheading is often unnecessary as they produce flowers on established growth.
Group 2: Produces blooms on both old and new wood, usually flowering mid-season and again in late summer to fall.
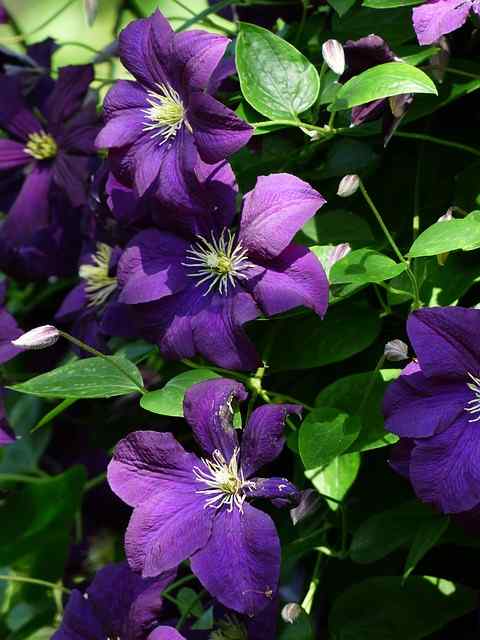
Group 3: Thrives on new wood and tends to bloom later in the summer. Most gardeners deadhead these plants to encourage more blooms.
Each of these groups has distinct needs and flowering patterns, which significantly influences the necessity and approach to deadheading. Understanding your clematis’s classification is the first step in determining how to manage its flowers effectively.
What is Deadheading?
Deadheading is the gardening practice of removing spent or faded flowers from a plant. At first glance, this may seem like an insignificant task, but deadheading serves multiple purposes:
Promotes New Growth: By removing lifeless blooms, the plant is redirected toward producing new ones. This is especially true for Group 2 and Group 3 clematis, which thrive under such attention.
Enhanced Aesthetics: Deadheading improves the overall appearance of the plant, preventing the sight of wilting and decaying flowers that can detract from the plant’s appeal.
Disease Prevention: Faded blooms can harbor pests and diseases. By deadheading, you essentially create a cleaner environment for your plant, helping it to flourish.
The Benefits of Deadheading Clematis
Now that we’ve established what deadheading is, let’s take a closer look at its specific benefits for clematis plants.
1. Extended Blooming Period
One of the most immediate benefits of deadheading clematis is the prolongation of its flowering period. When you remove spent flowers, it signals the plant to allocate energy towards producing additional blooms. This is particularly true for Group 2 and Group 3 varieties, making deadheading essential if you want an extended display of vibrant colors throughout the growing season.
2. Improved Plant Health
Continuous blooming can take a toll on a plant as it exhausts its energy reserves. By deadheading, you allow your clematis to conserve energy, redirecting resources toward vibrant new blooms rather than maintaining the old ones. This can ultimately result in a healthier plant, one that displays lush foliage and robust growth.
3. Better Air Circulation
Faded flowers and wilting plant material can lead to a crowded environment that restricts air circulation. This creates a breeding ground for pests and diseases. Regularly deadheading keeps the plant tidy and encourages better air flow around the foliage, significantly reducing the risk of fungi or pests taking hold.
4. Enhanced Visual Appeal
Every gardener knows that aesthetics play a crucial role in the joy of gardening. A plant laden with dead, brown blooms is far less appealing than a tidy one adorned with new flowers. By deadheading, you not only enhance your plant’s beauty but also encourage the growth of vibrant, fresh flowers that can elevate the look of your garden.
Techniques for Deadheading Clematis
Now that you’re sold on the idea of deadheading, let’s discuss the best techniques to do so effectively. It’s essential to remember that clematis blooms in various ways based on their growth habit, so your method might vary slightly depending on the type of clematis you have.
1. Identify the Right Time
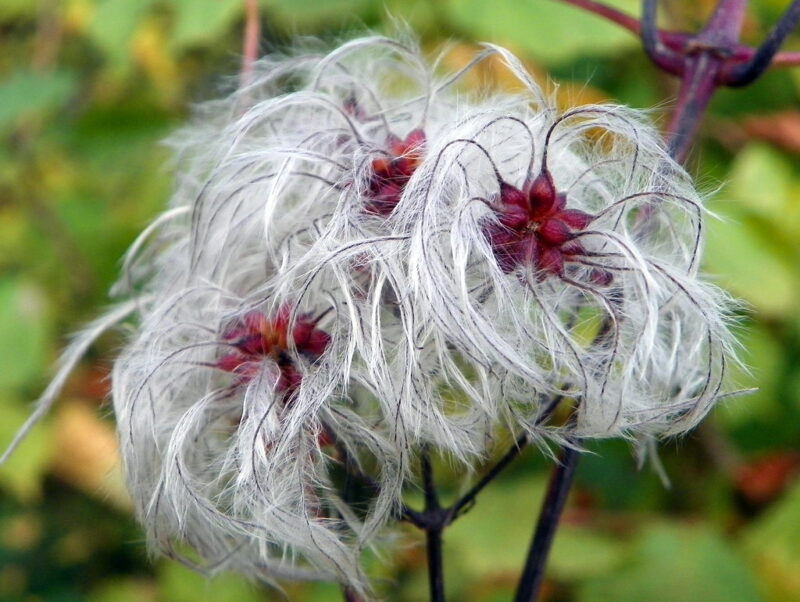
Timing is everything when it comes to deadheading clematis. The best time to deadhead is right after the flowers begin to fade. The goal is to snip before the flowers set seed, as this can divert unnecessary energy away from blooming.
2. Tools You’ll Need
For effective deadheading, you’ll need the right tools:
Pruning Shears: Sharp, clean shears will make clean cuts, ensuring that the plant is not damaged.
Gloves: While not always necessary, gloves can protect your hands from sharp thorns or potential irritants within some clematis varieties.
3. The Procedure
When deadheading, you should aim to remove the spent flowers just above the first set of healthy leaves. This not only encourages new growth but also provides a nice, neat appearance. In the case of Group 3 clematis, don’t hesitate to cut back more aggressively after the last flowers of the season. This encourages vigorous growth in the upcoming season.
4. Keep an Eye on New Growth
As your clematis starts to produce new buds, you can employ some more strategic deadheading. When new flowers emerge, keep an eye out for any fading blooms, removing them to ensure all energy goes to the newly developing flowers.
Special Considerations for Different Clematis Groups
As previously mentioned, the clematis species are broad, so let’s delve deeper into how deadheading varies based on the group to which your clematis belongs.
Group 1 Clematis
These varieties bloom on last year’s growth. Deadheading is generally not necessary for Group 1 during their early spring blossoms. The best practice here is to wait until late summer or early fall to prune for overall plant health, shaping, and vigor.
Group 2 Clematis
For those in this category, you can deadhead for additional blooming opportunities. After the initial flush of flowers, deadhead faded blooms and make a radical cut post-flowering to encourage fresh blooms. Remember to keep some leaves intact for overall energy conservation!
Group 3 Clematis
Deadheading is highly beneficial for Group 3 clematis. This group blooms on new wood, which means they greatly benefit from an aggressive deadhead action. After the last flowering, you can prune hard back to strong buds on the plant, preparing it for a jubilant burst of growth next season.
Common Mistakes When Deadheading Clematis
Even avid gardeners can make blunders when it comes to clematis care. Let’s take a moment to recognize common deadheading mistakes that could hinder your clematis’s success.
1. Deadheading Too Late
Timing is crucial; allowing clematis to set seed detracts from its energy for blooming. As a rule of thumb, the sooner you deadhead after flowers fade, the better it is for the plant.
2. Not Using Clean Tools
Fungal diseases posed by dirty tools can sideline even the healthiest plants. Always ensure your tools are sanitized, especially between different plants, to prevent the spread of potential diseases.
3. Forgetting About Leaf Buds
In the eagerness to prune, don’t succumb to cutting back too far. Always look out for healthy leaf buds below your cuts. These buds will drive new growth and flowering, so think strategically.
The Seasonal Timeline of Deadheading

Creating a timeline can help illustrate the best practices and potential benefits at each stage of the clematis growing season.
Spring
As the season begins, most Group 1 clematis will already be sprouting new leaves and buds. In this early part of the year, focus on observing the plant and relish its early blooms without deadheading.
Early Summer
Around late spring to early summer, Group 2 varieties will burst into bloom. After the first flush, it’s essential to start deadheading faded flowers promptly. This will encourage a follow-up blooming period in late summer.
Late Summer
For Group 3 clematis, this section marks the prime deadheading period. As you recognize fading blooms, deadhead actively to ensure that the plant channels energy into new growth.
Fall
As autumn rolls in, the end of the growing season for all groups means it’s important to assess your plants. For Groups 1 and 2, consider pruning back for a fresh start in spring. For Group 3, feel free to cut back harder to prepare for the upcoming cycle.