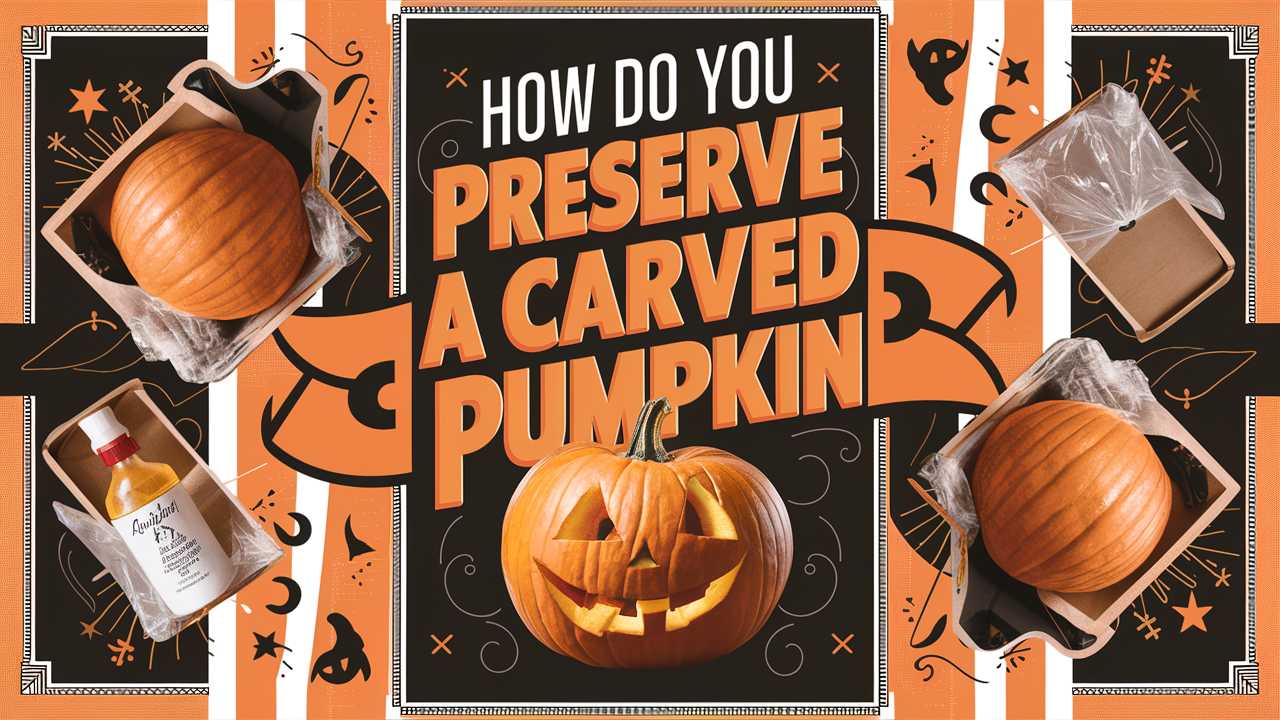
As autumn paints the landscape in hues of orange, gold, and crimson, carved pumpkins emerge as a quintessential symbol of the season. From spooky jack-o’-lanterns that twinkle in the twilight to intricate designs that showcase artistic flair, these pumpkins bring both joy and creativity to Halloween festivities.
However, the beauty of a carved pumpkin is fleeting, often succumbing to decay much faster than one might hope. The good news is that with proper care and techniques, you can extend the life of your artistic gourd. In this guide, we’ll explore the many ways to preserve a carved pumpkin so you can enjoy your creation throughout the season.
Understanding the Lifecycle of a Carved Pumpkin
To effectively preserve a carved pumpkin, it’s essential to understand what happens to it once the integrity of its skin is compromised. When you carve a pumpkin, you’re exposing the flesh to air, allowing moisture to escape and inviting bacteria and mold to enter. The pumpkin’s natural defenses are weakened, and without intervention, the decay process begins almost immediately.
During the first few days after carving, a pumpkin can look vibrant and fresh. However, wilting can set in quickly. Changes in color, a shrinkage in size, and the eventual emergence of mold can ruin your masterpiece. By actively managing these environmental factors, you can prolong its life significantly.
Choosing the Right Pumpkin

Before you even pick up a carving knife, the journey of preserving a carved pumpkin begins at the selection stage. Not all pumpkins are created equal, and making a sound choice can make a world of difference.
Selecting Healthy Specimens
When choosing a pumpkin, look for one with a smooth, blemish-free surface. The skin should be firm and free of soft spots or dark patches that could indicate rot. Heaviness is another sign of freshness; a good pumpkin feels weighty for its size, indicating ample moisture inside.
Size and Shape Considerations
Depending on your design, you may want to consider the size and shape of the pumpkin. Smaller pumpkins might be easier to carve but can also dry out more quickly. Larger pumpkins give you more flesh to work with and can hold intricate designs well; however, they require careful handling and may also decay more rapidly if not cared for properly.
Preparation Before Carving
Proper preparation before diving into the artistic process can enhance the pumpkin’s durability. Here are some steps to take before you start carving.
Cleaning the Surface
Start by washing your pumpkin with a mild soap and water solution. This removes surface dirt and bacteria, reducing the risk of early spoilage. Be sure to dry it thoroughly before moving on to carving.
Choosing Your Tools
Using the right tools can make a significant difference. Opt for sharp knives and carving tools specifically designed for pumpkin work. Dull blades can crush the flesh and create more surface area for decay to set in.
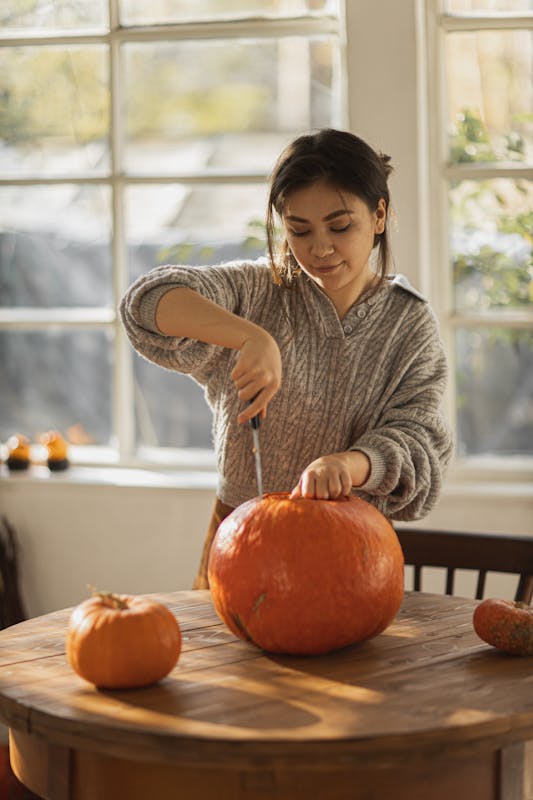
Carving Techniques
When it comes to the actual carving, the technique employed plays a crucial role in preservation.
The Power of Precision
Precision matters. Clean cuts reduce the risk of bruising the pumpkin flesh. When carving intricate designs, it’s best to start with a simple pattern and gradually build complexity. This not only allows for better structural integrity but also lessens the likelihood of creating jagged edges that can deteriorate more rapidly.
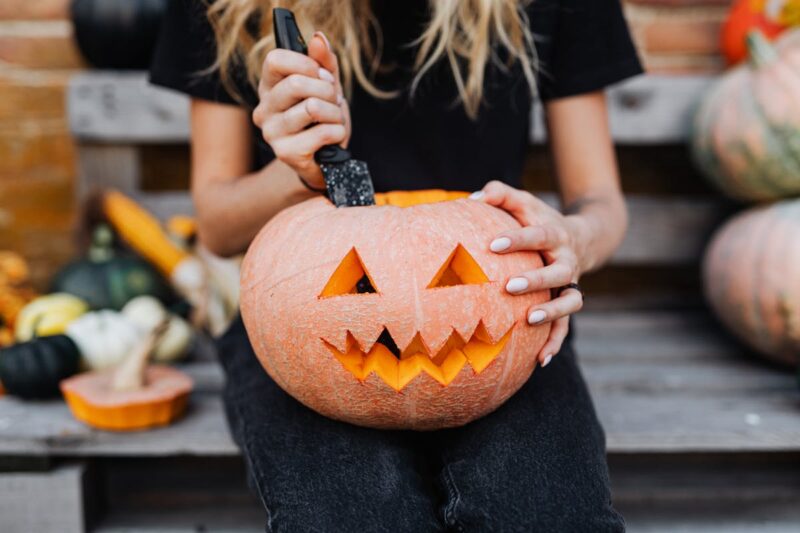
Removing Interior Flesh
Removing as much of the interior flesh as possible minimizes the available moisture that bacteria and mold thrive on. However, be careful not to puncture the outer skin too deeply, as this can compromise its defenses.
Immediate Post-Carving Care
Once you’ve completed your masterpiece, that’s when the real preservation work begins. Freshly carved pumpkins are particularly vulnerable and need immediate attention.
Rinsing and Drying
After carving, gently rinse the inside of the pumpkin to remove any loose seeds and pulp. Follow this with a thorough drying to help prevent decay. Letting the pumpkin sit upside down for a bit can help wick away moisture effectively.
Sealing Techniques
Applying a sealant can be incredibly beneficial. Inside the carved areas, consider using petroleum jelly or clear acrylic spray. These create a protective barrier that slows moisture evaporation and hinders mold growth.
Storing Your Carved Pumpkin
How you store your pumpkin once it’s been carved significantly affects its preservation.
Optimal Temperature and Environment
Carved pumpkins fare best in cool environments. If you can, try to store your pumpkin in a cooler spot, ideally between 50-60°F. Avoid placing it in direct sunlight, which can hasten the wilting process. If possible, keep it in a shaded outdoor area or on a porch.
Daily Maintenance
Check your pumpkin each day. If you spot any signs of decay, gently remove those sections. Spritzing with a diluted bleach solution (one tablespoon of bleach in a quart of water) can help eliminate mold spores. Just be careful to rinse any excess solution afterward.
Extended Preservation Techniques
For the committed pumpkin carver, several advanced techniques can extend the life of your creation even further.
Light Solutions
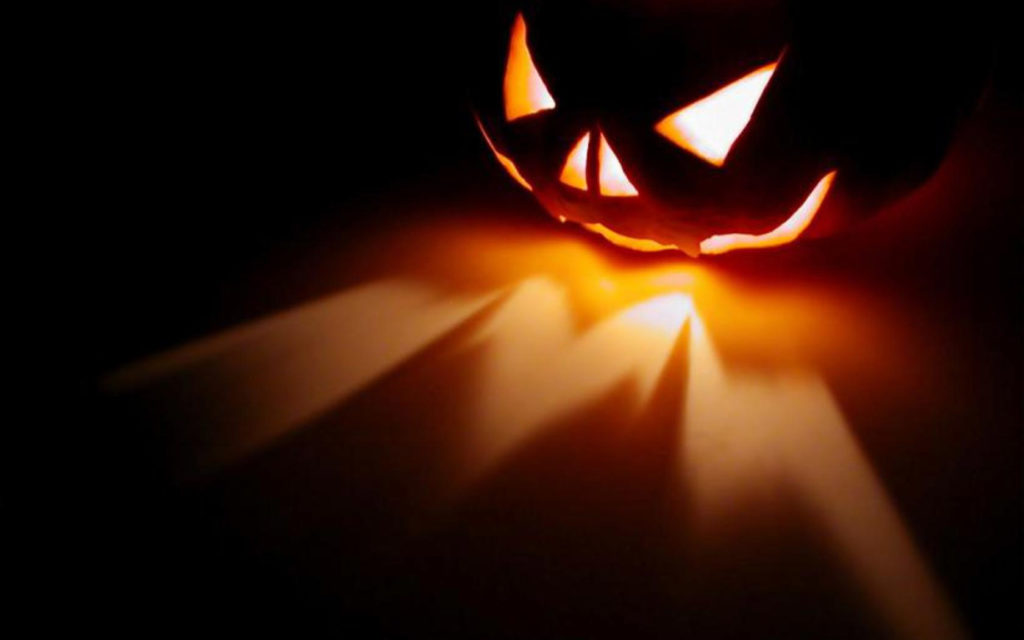
Instead of candles or standard light bulbs, consider using LED lights. These options produce less heat, which can cause the pumpkin to spoil more quickly. Battery-operated tea lights can safely illuminate your pumpkin while preserving its freshness.
Refrigeration
If you must take a break from displaying your pumpkin, think about refrigeration. While it may alter the appearance somewhat, storing your carved creation in a refrigerator can help maintain freshness for several extra days. Just wrap it gently in a breathable material, ensuring it’s not subject to any pressure.
Creative Displays
How you showcase your carved pumpkin can also affect its lifespan. Choosing the right display method can create an aesthetic impact while extending preservation.
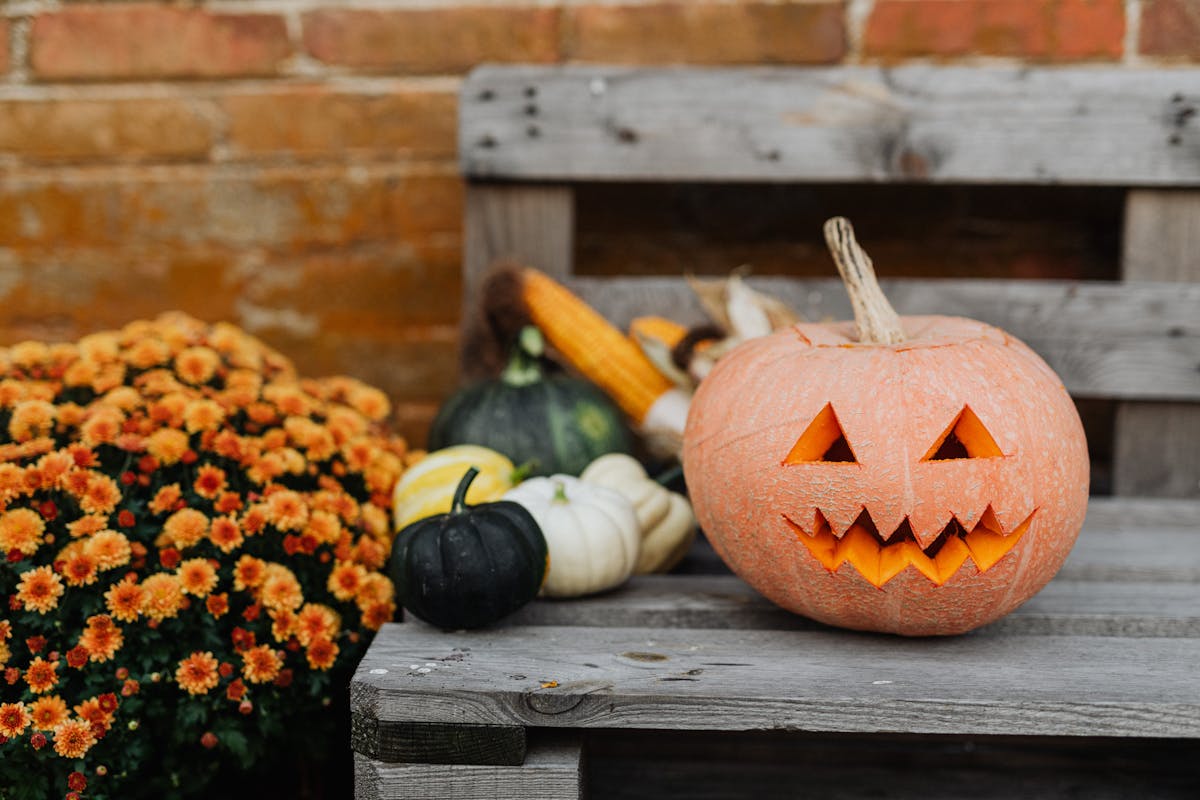
Elevation and Air Circulation
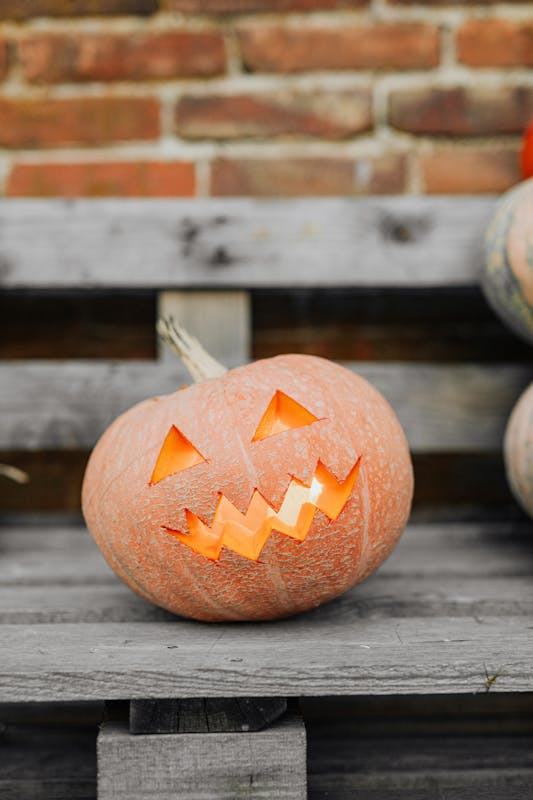
Avoid placing carved pumpkins directly on soil or grass, as moisture from the ground can seep into the pumpkin. Instead, use wood, pallets, or decorative trays to elevate your pumpkin. This also allows for better air circulation around the gourd, reducing the potential for rot.
Group Displays
Consider grouping carved pumpkins together. The proximity can create an enchanting visual, and covering them with a light gauze layer during the night can help regulate moisture when they’re outside.
When All Else Fails: Creative Repurposing
Inevitably, as the days go by, even the best-preserved pumpkin might start to show signs of wear. Rather than simply discarding your creation, think about creative ways to repurpose it.
Culinary Uses
Even a decaying pumpkin can find a second life in the kitchen. If it’s still mostly intact, consider turning it into pumpkin puree, or roast the seeds for a tasty snack.
Composting
If your pumpkin has reached a point where it’s no longer aesthetically pleasing, consider composting it. Well-composted pumpkin scraps can enrich your garden soil, giving back to the earth in a meaningful way.
Final Thoughts on Carving and Preserving
The art of carving pumpkins encompasses creativity, tradition, and a bit of science. From selecting the right gourd to employing careful preservation methods, your endeavor can transform a simple pumpkin into a lasting symbol of autumnal spirit. Understanding the lifecycle of a carved pumpkin fosters deeper connections with the seasonal festivities.