When summer rolls around, one of the true delights of the season is the sweet and succulent taste of corn on the cob. Whether it’s a family barbecue, a picnic in the park, or just a cozy dinner at home, corn on the cob is often found center stage.
However, as the warm months wane and chilly autumn evenings inch closer, you might wonder: can you freeze corn on the cob? The short answer is yes, but let’s unpack the details, tips, and techniques to ensure your frozen corn remains a delicious reminder of summertime.
Why Freeze Corn On The Cob?
The thought of preserving corn on the cob for those colder months is tempting. Freezing corn enables you to enjoy fresh summer flavors all year round. It’s also a sensible way to prevent waste if you have an abundance of corn after a harvest or summer market visit.
The flavor and nutritional value of corn can diminish over time, so freezing provides a way to retain that sweetness. When done correctly, frozen corn can taste as good as fresh, making it a valuable addition to your winter recipes.
How to Freeze Corn On The Cob
Step 1: Selecting Fresh Corn
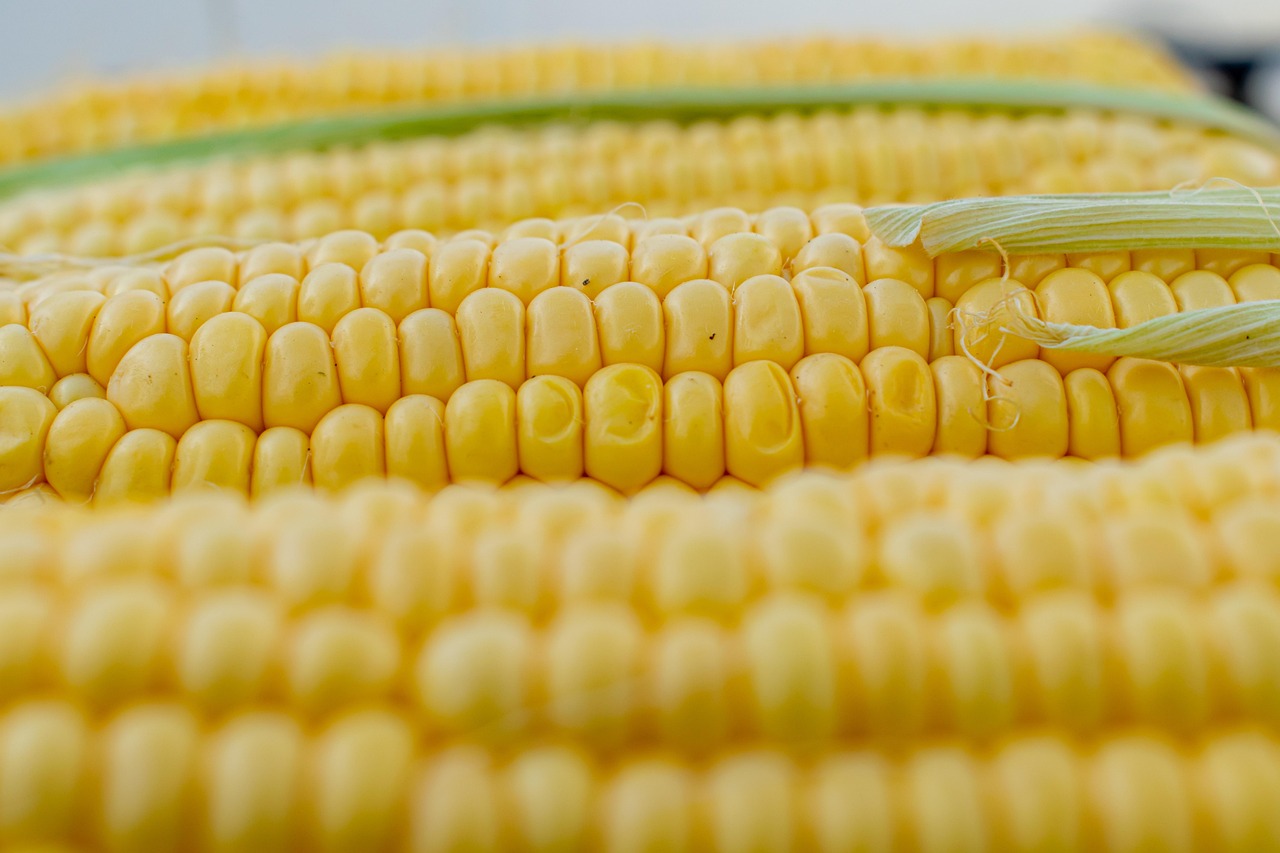
Start by selecting the freshest corn you can find. Look for ears that are still in their husks, ensuring they are plump and filled. The silk at the top should be slightly brown and not dried out, indicating that the corn is fresh. Choosing sweet corn ensures that the final product won’t be overly starchy once frozen.
Step 2: Preparing the Corn
Husk the Corn: Remove the outer husk of each ear of corn. Pull the husks down from the top and wiggle them free. Remove any silk strands stuck to the kernels.
Trim the Ends: You may want to trim the ends slightly to ensure they fit better in your freezer bags or containers.
Step 3: Blanching the Corn
Blanching is a crucial step when freezing corn on the cob. This process stops the enzyme actions that can cause loss of flavor, color, and texture.
Boil a Large Pot of Water: Fill a large pot with water and bring it to a rolling boil.
Prepare an Ice Bath: In a separate bowl, fill it with ice and cold water. This will stop the cooking process once the corn is removed from the boiling water.
Blanch the Corn: Carefully place your corn ears into the boiling water. For small ears, leave them in for about 4 minutes; for larger ears, about 6-7 minutes will do the trick.
Ice Bath: Once the time is up, promptly transfer the corn to the ice bath for the same duration, effectively halting the cooking process.
Step 4: Dry and Pack the Corn
After the corn has cooled in the ice bath, it’s time to dry it. Use a clean towel to pat off any moisture.
Packing Options:
Freezer Bags: Place the cooled corn in heavy-duty freezer bags. Remove as much air as possible, as air can lead to freezer burn.
Air-tight Containers: If you prefer, you can also use air-tight containers, though this method may take up more space.
Step 5: Label and Freeze
Don’t forget to label your bags or containers with the date of freezing. This will help you keep track of how long they’ve been stored. Ideally, try to use the corn within 6-12 months for the best flavor.
Storage Tips for Frozen Corn
Even after proper preparation, the way you store frozen corn can impact its longevity and taste. Here are some tips to ensure optimal storage:
Avoid Overcrowding: Make sure you’re not stuffing your freezer too tightly. This can prevent even cooling and lead to a less-than-ideal texture when you thaw your corn.
Temperature Check: Keep your freezer at 0°F (-18°C) or lower. This helps maintain the quality of frozen foods.
Rotate Stock: When you add freshly frozen corn, use the older stock first. This will help minimize waste and maintain freshness.
Cooking with Frozen Corn On The Cob
Once you’ve successfully frozen corn on the cob, the next question is how to cook it. Here are several methods to enjoy your sweet, frozen treat:
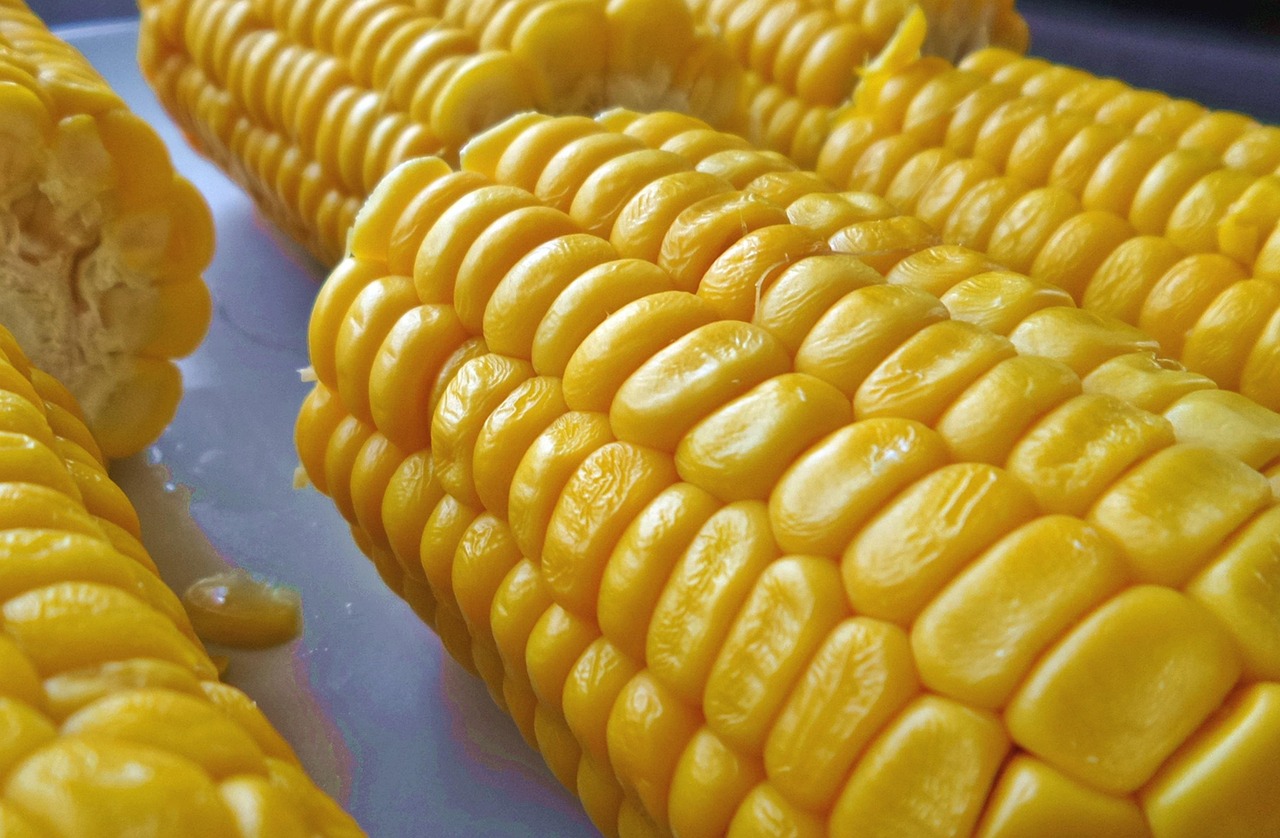
Boiling
Place Corn in Boiling Water: There’s no need to thaw; simply place the frozen corn directly into boiling water.
Cook for 5-7 Minutes: Allow it to cook until heated through.
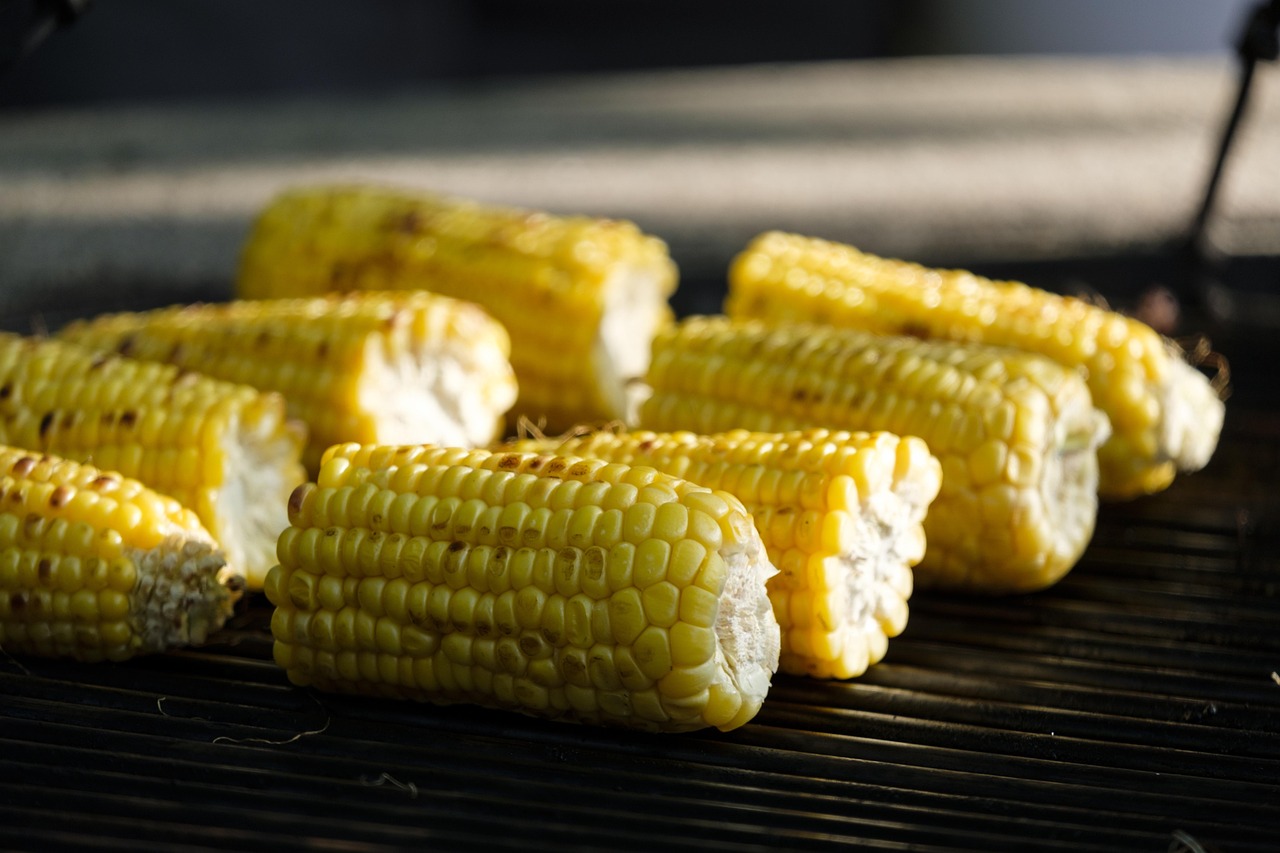
Grilling
Grilling adds a delightful charred flavor that transforms your frozen corn into an irresistible dish.
Wrap in Foil: Lightly butter the corn or brush it with olive oil, sprinkle with salt, and wrap it in aluminum foil.
Grill: Cook on medium heat for 15-20 minutes, turning occasionally, until heated through.
Roasting
Roasting can bring out the natural sweetness and offer a nice texture.
Preheat Oven: Set your oven to 400°F (200°C).
Place Corn on a Baking Sheet: Arrange the corn (frozen or thawed) on a baking sheet.
Roast: Bake for about 20-25 minutes. You can add herbs or spices to enhance the flavor.
Microwave
If you’re short on time, the microwave is a quick alternative.
Place in a Microwave-Safe Dish: Add a little water to the dish, cover with a lid or plastic wrap.
Cook for 5 minutes: Check for doneness; it may need a bit more time depending on your microwave.
Nutritional Benefits of Corn On The Cob
Corn on the cob not only satisfies your taste buds but also nourishes your body. Here’s a closer look at some of the key nutrients:
Fiber: Corn is high in dietary fiber, which aids digestion and helps keep you full.
Vitamins: Corn contains essential vitamins such as vitamin A (important for eye health), B vitamins (crucial for energy production), and vitamin C (which boosts your immunity).
Antioxidants: Corn is rich in antioxidants, which help neutralize harmful free radicals in the body.
Creative Recipes with Frozen Corn On The Cob
Once you’ve frozen your corn, you might be eager to go beyond the traditional methods of preparation. Here are some inventive uses for your corn on the cob:
Corn Salad
A refreshing corn salad makes for a perfect summer side:
Ingredients: Frozen corn, cherry tomatoes, avocado, red onion, cilantro, lime juice, and seasoning.
Preparation: Toss all ingredients together after thawing the corn in the microwave.
Corn Chowder
A hearty corn chowder is an excellent way to use your frozen corn:
Ingredients: Use diced potatoes, onion, garlic, your frozen corn, vegetable broth, cream, and spices to taste.
Preparation: Sauté the onion and garlic, add potatoes and broth, simmer until tender, then stir in the corn and cream.
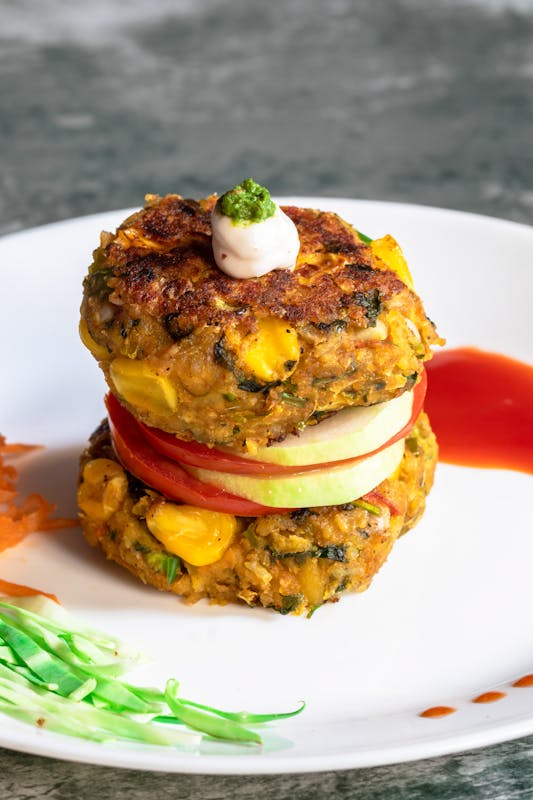
Corn Fritters
Delicious and easy to prepare, corn fritters make for a fantastic snack or side dish:
Ingredients: Frozen corn, flour, eggs, green onions, and seasonings.
Preparation: Mix together, form patties, and pan-fry until golden brown.
Corn Salsa
Spice up your tortilla chips with a zesty corn salsa:
Ingredients: Thawed corn, diced jalapeños, bell peppers, cilantro, lime juice, and salt.
Preparation: Mix all ingredients for a vibrant and tasty dip.
Common Freezing Mistakes to Avoid
While freezing corn on the cob is relatively straightforward, some common pitfalls can lead to a less-than-perfect result. Here are a few mistakes to steer clear of:
Skipping the Blanching Process: Not blanching corn before freezing can result in less flavor and a soggy texture post-thawing.
Freezing Without Packaging: Always pack corn tightly and air-sealed to reduce the risk of freezer burn.
Long Storage Times: Although frozen corn can last for months, flavor and texture degrade over time. Aim to cycle through your stock regularly.
Conclusion: Enjoying the Sweetness of Corn Year-Round
In conclusion, yes, you absolutely can freeze corn on the cob, and doing so allows you to enjoy the rich flavors of summer even as the weather turns colder. This versatile vegetable, when preserved correctly, can echo the sweetness of sun-drenched fields long after the harvest has ended.