This guide will explore the various methods of preserving garlic cloves, offering tips, insights, and personal anecdotes to inspire your journey into the world of garlic preservation.
Methods of Preserving Garlic Cloves
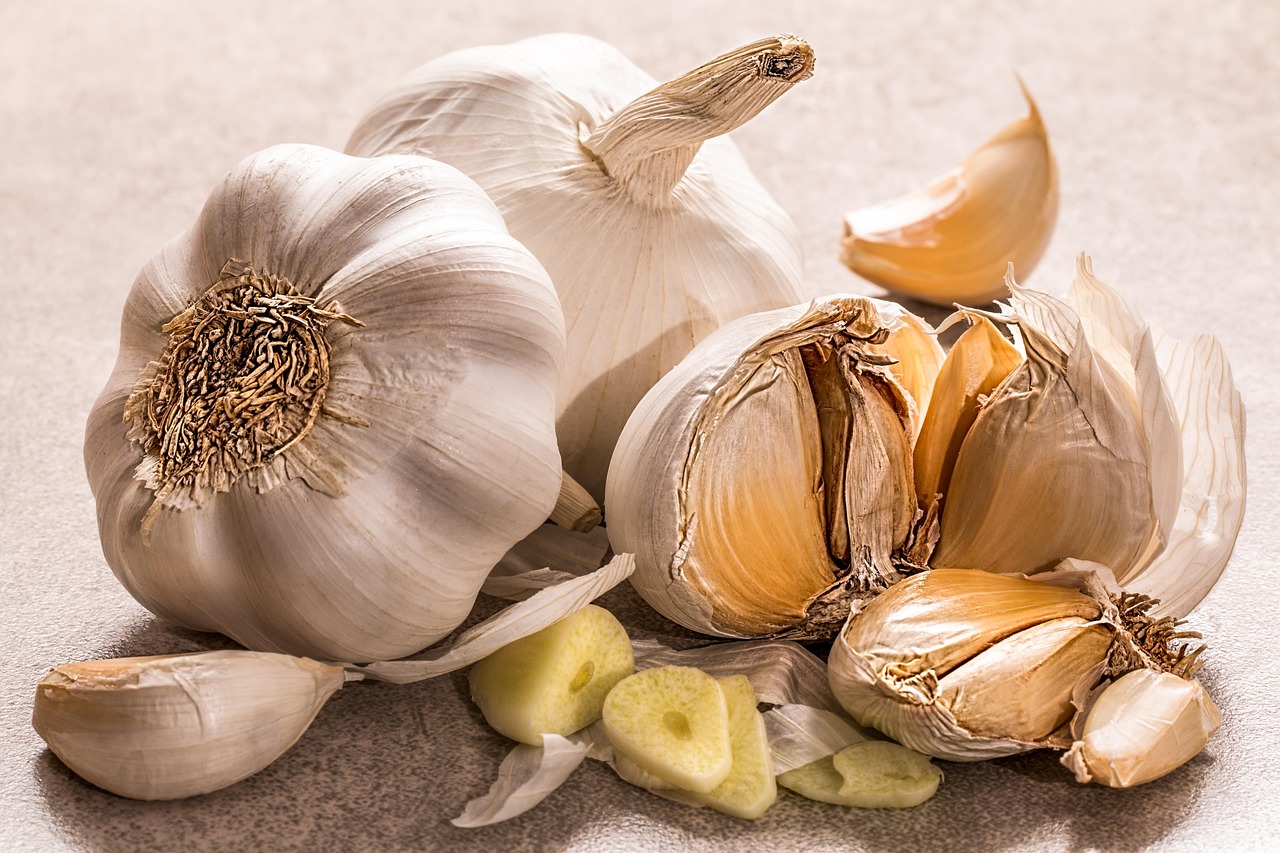
When it comes to preserving garlic cloves, several methods are at your disposal—each with unique benefits and flavors. We’ll explore each method thoroughly, providing you with detailed instructions, insights, and some personal experiences to help make your garlic preservation journey successful.
Freezing Garlic
Freezing garlic is one of the simplest and most effective methods to ensure you always have this kitchen staple on hand. By freezing garlic, you can retain much of its flavor and health benefits.
How to Freeze Garlic Cloves
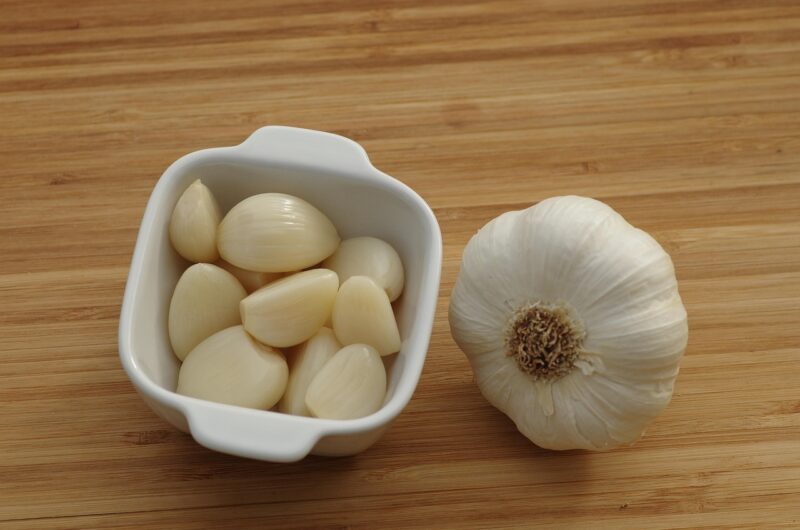
Preparation: Start by peeling the garlic cloves. You can also choose to chop or mince them based on your preference.
Blanching (Optional): Blanching cloves in boiling water for about 30 seconds can help preserve color and texture, but this step is optional.
Freezing Whole Cloves: Place individual cloves on a baking sheet lined with parchment paper and freeze until solid. Once frozen, transfer them to an airtight freezer bag or container.
Chopped or Minced Garlic: You can also freeze chopped garlic in ice cube trays. Just fill each compartment with chopped garlic and cover with water or oil. Once frozen, transfer the cubes to a freezer bag.
Storage: Properly stored, frozen garlic can last up to six months, maintaining both flavor and nutritional value.
Personal Anecdote: A Winter’s Preparation
Last winter, I prepared a large batch of frozen garlic before the holidays. It was a busy season, with family gatherings and festive dinners. When I needed to whip up a quick garlic sauce for a roast or add flavor to a soup, I simply reached into my freezer. Not only did this save time, but it also brought a comforting familiarity to my favorite recipes.
Dehydrating Garlic

Dehydrating garlic removes moisture, extending its shelf life dramatically while concentrating its flavor. Dehydrated garlic can be easily stored and used sparingly to add a punch of flavor to your dishes.
Steps to Dehydrate Garlic
Preparation: Peel the garlic cloves and slice them thinly for even drying.
Drying: Use a food dehydrator set at the recommended temperature for garlic, usually around 125°F (52°C). Spread the slices out in a single layer. If you don’t have a dehydrator, you can use an oven set to a low temperature.
Storage: Once dried, the garlic should be brittle. Store it in an airtight container in a cool, dark place. Properly stored, dehydrated garlic can last up to two years.
Flavor Profiles and Uses
Dehydrated garlic offers a more intense flavor than fresh garlic. When rehydrated for soups or stews, it can integrate well into a variety of dishes. Personally, I enjoy sprinkling dehydrated garlic powder into spice blends for grilling, providing a savory backdrop without the need for chopping.
Infusing Garlic in Oil
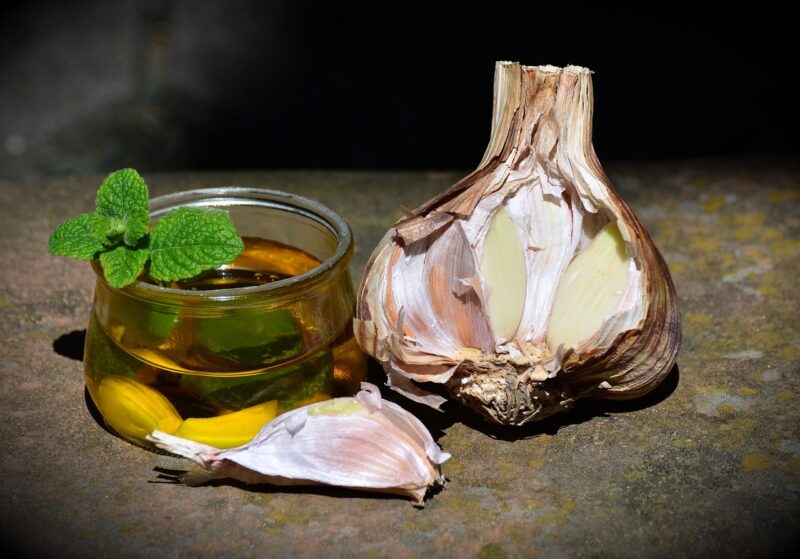
Garlic-infused oil not only preserves garlic but also creates a fragrant, flavorful oil to use in various culinary applications. However, proper safety precautions are vital to avoid the risk of botulism.
How to Make Garlic-Infused Oil Safely
Preparation: Peel and crush the garlic cloves to release their natural oils and flavors.
Infusion: Combine olive oil and garlic in a saucepan over low heat. Allow it to warm gently (do not boil) for about 30-60 minutes, then let it cool.
Storage: Strain the oil into a sterilized jar and store it in the refrigerator. It’s essential to consume the infused oil within a week to ensure safety.
Creative Uses for Garlic Oil
Garlic oil can elevate a range of dishes. I often use it as a base for salad dressings, drizzling it over roasted vegetables or mixing it into pasta salads. The flavor it imparts is subtle yet distinct, transforming even the simplest meals into gourmet experiences.
Pickling Garlic
Pickling garlic not only preserves it but also adds a delightful crunch and tangy flavor, making it a perfect addition to salads, sandwiches, and charcuterie boards.
How to Pickle Garlic
Preparation: Peel whole garlic cloves and blanch them in boiling water for about a minute.
Pickling Solution: Prepare a pickling solution using vinegar, water, salt, and sugar. Bring this mixture to a boil, ensuring the salt and sugar dissolve completely.
Jarring: Fill sterilized jars with the garlic cloves, pouring the hot pickling solution over them, leaving a bit of headspace at the top.
Sealing: Seal the jars with lids and let them cool to room temperature before refrigerating. Allow the pickled garlic to sit for at least 24 hours for optimal flavor.
Storage: Typically, pickled garlic can last up to several months in the refrigerator.
Culinary Adventures with Pickled Garlic
I still remember the first time I added pickled garlic to my homemade taco night. It was a game changer! The tangy flavor complemented the savory elements perfectly, and it quickly became a must-have in my fridge. Pickled garlic opens up a world of possibilities, inviting you to explore new flavor profiles and textures.
Storing Garlic in Honey
This unique method combines the flavor of garlic with the sweetness of honey. The result is a syrupy concoction that boasts both culinary and health benefits.
Steps to Store Garlic in Honey
Preparation: Peel whole garlic cloves.
Combining: Place the cloves in a jar and cover them completely with honey. You can lightly crush the garlic to release more flavor if desired.
Infusion: Allow the mixture to sit at room temperature for a couple of weeks, turning the jar occasionally.
Storage: Once ready, store it in the fridge. The garlic will infuse the honey, and vice versa.
Shelf Life: Properly stored, garlic in honey can last quite a while, potentially even up to a year.
Culinary Benefits
Using garlic in honey not only retains the health properties of both ingredients but also results in a delicious complement to vinaigrettes, glazes, and marinades. I like to drizzle it over grilled meats or use it when making homemade barbecue sauce, creating a delightful balance of sweet and umami.
Fermenting Garlic
Fermented garlic transforms raw garlic into a distinctively tangy and complex ingredient. This method not only preserves garlic but also offers a probiotic boost.
How to Ferment Garlic
Preparation: Peel the garlic cloves and pack them tightly into a clean, sterilized jar.
Brine: Prepare a brine solution using water and salt (about 1 tablespoon of salt per cup of water). Pour the brine over the garlic, ensuring it’s fully submerged.
Weighting Down: Use a fermentation weight or a smaller jar filled with water to keep the garlic submerged.
Fermentation: Seal the jar loosely to allow gases to escape, and let it sit at room temperature for a few weeks (usually 2 to 4 weeks) until fermentation bubbles stabilize.
Storage: Once fermented, it can be transferred to the refrigerator, where it will continue to develop flavor.
Integrating Fermented Garlic into Meals
Fermented garlic has a unique umami flavor that works wonders in various dishes. I enjoy adding it to salad dressings, sauces, or even simply spreading it on toast. The layered flavors it creates can elevate your meals, making them both nutritious and delicious.
Tips for Successful Garlic Preservation
As you embark on your garlic preservation adventure, it helps to have some practical tips at your disposal:
Select Quality Garlic: Start with fresh, firm bulbs that are free from blemishes or sprouting. The quality of your garlic will significantly affect the final outcome of your preservation method.
Clean and Sterilize: Always ensure your jars and utensils are clean and sterilized. This minimizes the risk of spoilage and contamination.
Experiment with Flavor: Don’t hesitate to experiment with additional herbs, spices, or flavorings during the preservation process. Infusing garlic with rosemary or chili flakes can yield exciting results.
Labeling: When storing preserved garlic, use labels on containers to note the storage method and date. This will help you keep track of freshness and usage.
Safety Considerations: Pay close attention to storage durations and temperatures, particularly for oil and vinegar infusions. Spoiled garlic can lead to foodborne illnesses, so always prioritize safety.
Why Preserve Garlic?
Before we explore the various methods of garlic preservation, it’s important to understand the motivations behind preserving garlic. Fresh garlic can last just a few weeks at room temperature, which may not suffice for avid cooks who enjoy using this pungent ingredient regularly. By preserving garlic, you can enjoy its robust flavor and health benefits for months, even years to come. From enhancing recipes to providing medicinal properties, the advantages of preserving garlic are numerous.
Health Benefits of Garlic
Garlic is lauded not just for its culinary uses but also for its health properties. It contains compounds like allicin, which studies suggest may offer anti-inflammatory and antioxidant benefits. Incorporating preserved garlic into your diet allows you to maintain these health benefits throughout the year. Plus, having stored garlic on hand can inspire you to whip up delicious dishes, knowing you have the base flavor already prepared.
Practical Applications in Cooking
Imagine having a jar of preserved garlic ready to add depth to your stir-fries, soups, or marinades without the need to peel and chop fresh cloves every time. The convenience of preserved garlic allows cooks of all levels to elevate their dishes effortlessly.
For instance, when I first started preserving garlic, I experimented with making a garlic-infused oil. The aroma that filled my kitchen was intoxicating and inspired me to use it in everything from homemade dressings to roasted vegetable dishes. This versatility is just one reason why preserving garlic is a worthy endeavor.
Conclusion
Preserving garlic is not just a practical task; it’s an adventure filled with flavors, aromas, and culinary creativity. With the methods outlined in this guide—freezing, dehydrating, infusing, pickling, storing in honey, and fermenting—you have the tools to ensure that garlic remains a staple in your kitchen year-round.