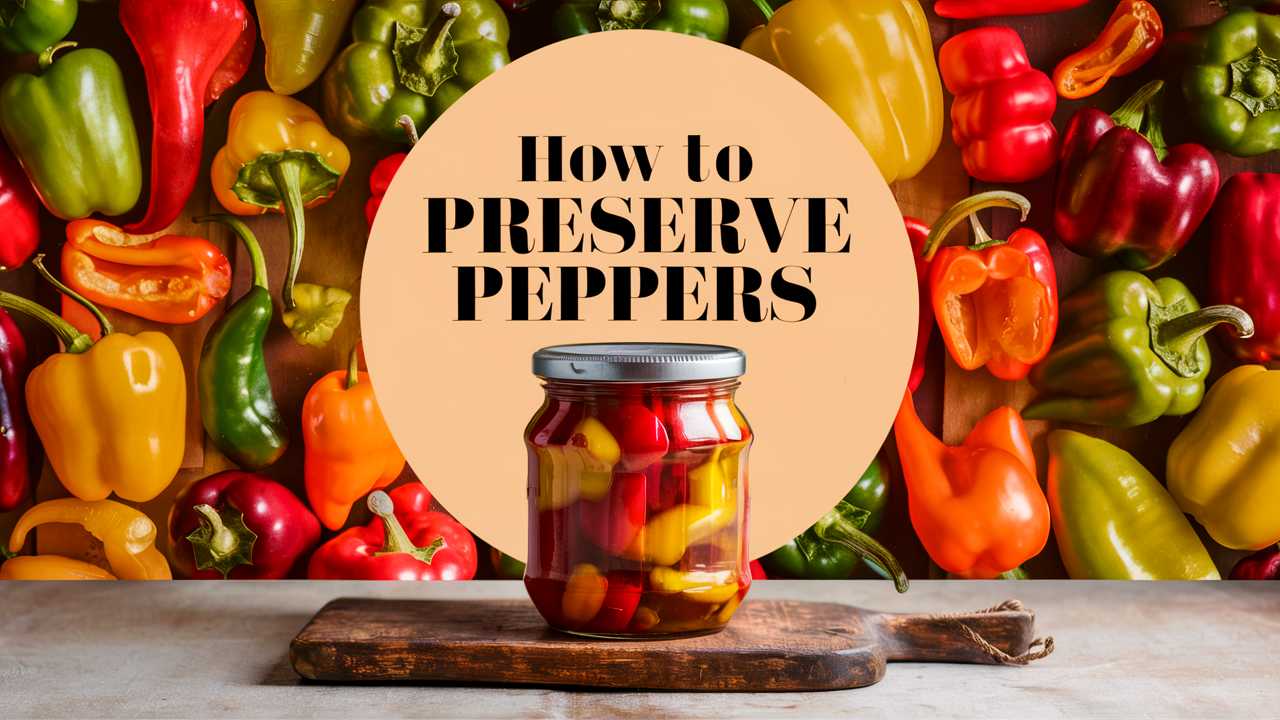
his guide is designed to take you on a journey through the various methods of preserving peppers, their benefits, and how to make the most of your pepper harvest.
Understanding Peppers
Before diving into preservation techniques, it’s essential to understand peppers and their characteristics. Peppers belong to the Capsicum genus and range from sweet to extremely hot, thanks to a compound called capsaicin, which determines their heat level. Besides their delightful flavors, peppers are nutrition-packed; they contain vitamins A, C, and K, along with various antioxidants.
Types of Peppers
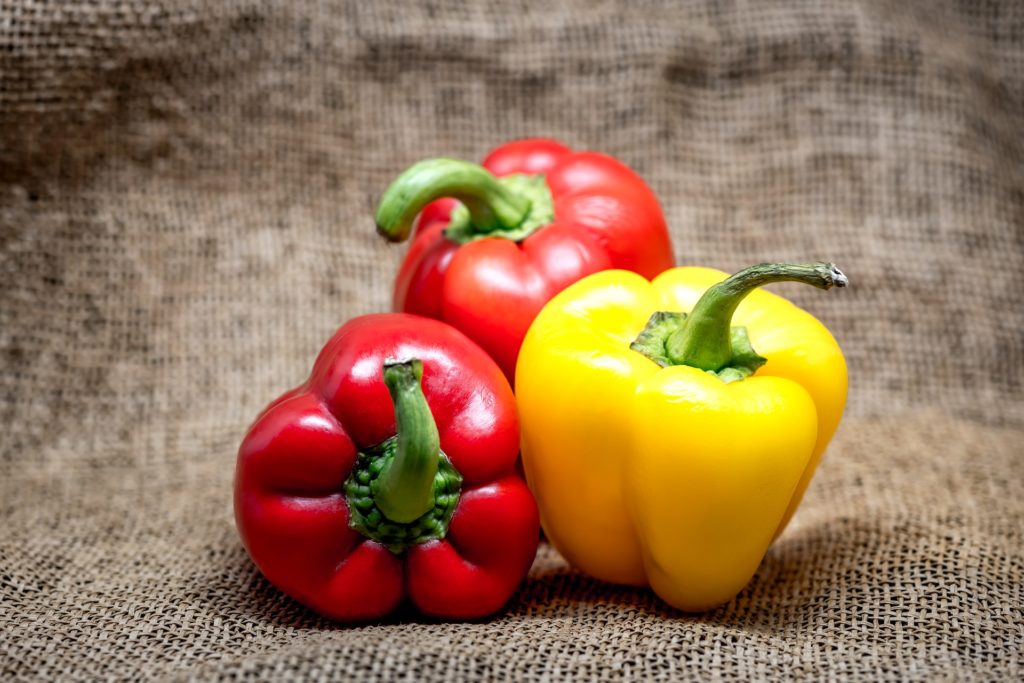
Sweet Peppers: These include varieties like bell peppers, which are excellent for salads, stir-fries, and as snacks.
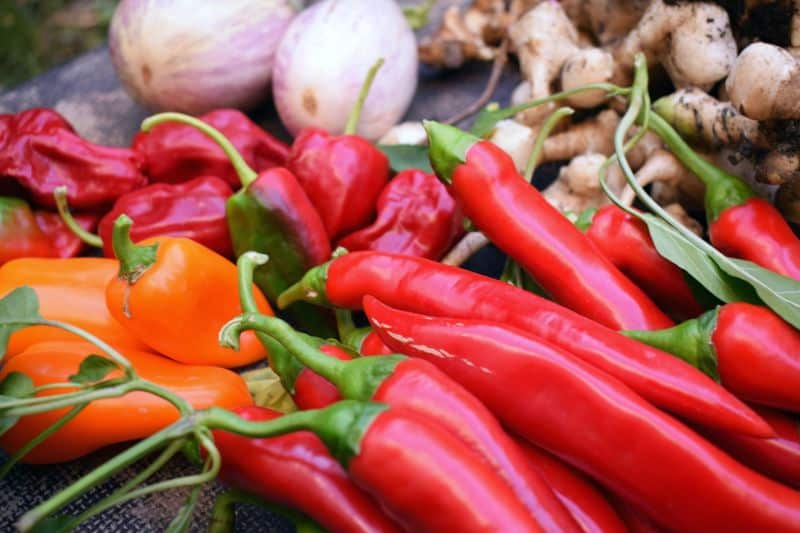
Hot Peppers: Varieties like jalapeños, habaneros, and cayenne are known for their heat and can be used to create salsas, hot sauces, and marinades.
Banana Peppers: Edible when pickled, these sweet peppers have a mild flavor, making them great for toppings and sandwiches.
The Benefits of Preservation
Preserving peppers keeps them usable long after the harvest season. Canned, dried, or pickled peppers can be enjoyed well into the winter months, allowing you to savor the tastes of summer all year round. Furthermore, preserving peppers reduces food waste, making it an eco-friendly practice. Lastly, having a stock of preserved peppers on hand can facilitate quick meal preparation.
Harvesting the Best Peppers
To ensure that your preserved peppers maintain their flavor and texture, harvesting them properly is critical. When growing your peppers, look for these signs:
Color: For most sweet peppers, bright color indicates ripeness, while hot peppers can often be harvested slightly green for less heat.
Firmness: Peppers should feel firm to the touch. Soft spots or wrinkles can indicate overripeness.
Size: Depending on the variety, size may vary, but ensure that they are fully developed before picking.
Harvesting in the morning, when the peppers are cool and full of moisture, can also enhance their quality.
Preparing Peppers for Preservation
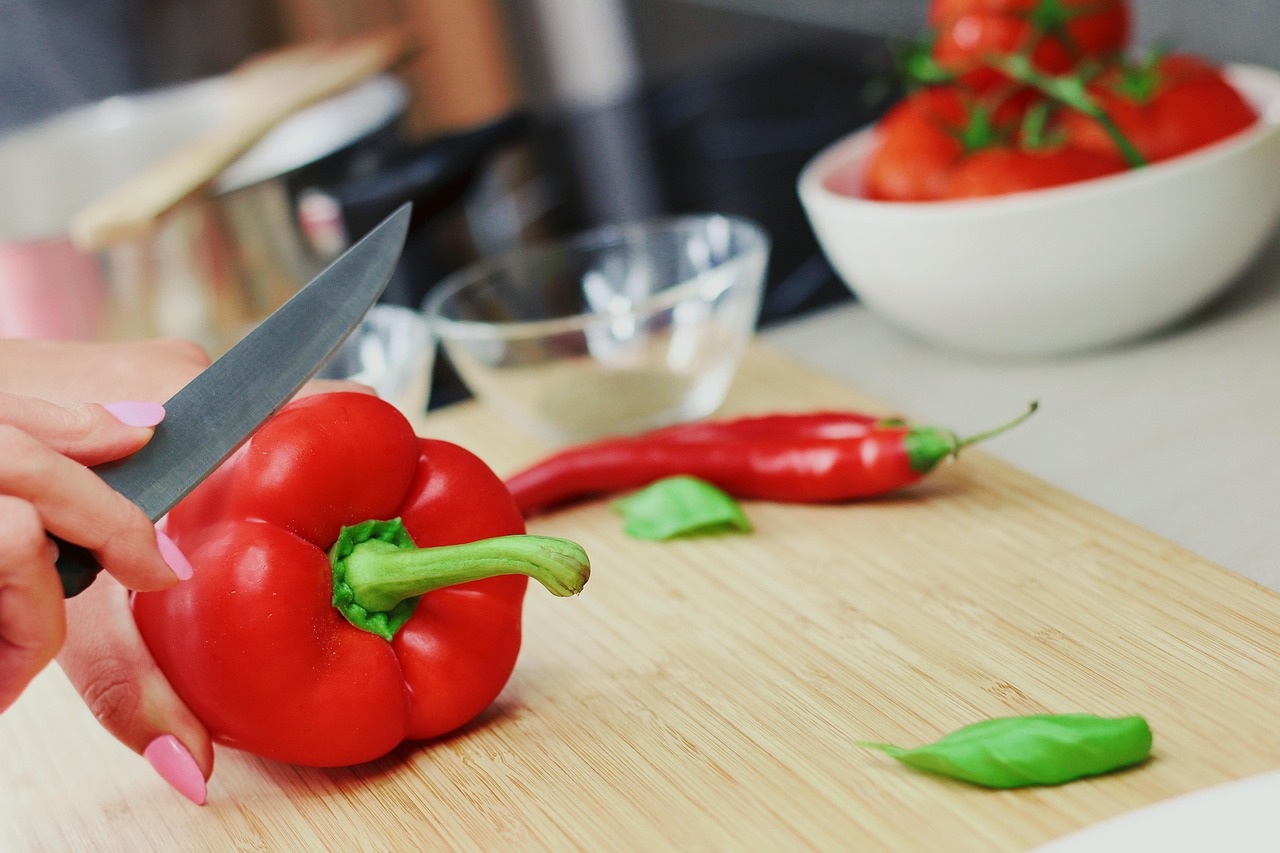
Once you’ve gathered your peppers, the next step is preparation.
Cleaning
Rinse each pepper under cold water to remove dirt and any pesticides. Pat them dry with a clean towel. If you’re working with produce from a local farm, consider washing them thoroughly to eliminate any contaminants.
Cutting and Removing Seeds
Depending on your preservation method, you may want to cut peppers into slices, halves, or maintain their whole form. Here are some tips:
For hot peppers, wearing gloves can prevent capsaicin from irritating your skin.
For sweet peppers, removing the seeds and membranes can help reduce bitterness and improve the texture.
Taking extra care in this preparation stage will pay dividends when it’s time to use your preserved peppers.
Preservation Techniques
Now that your peppers are clean and cut, it’s time to explore various preservation techniques. Each method brings out different qualities in the peppers and suits different culinary uses.
Freezing Peppers
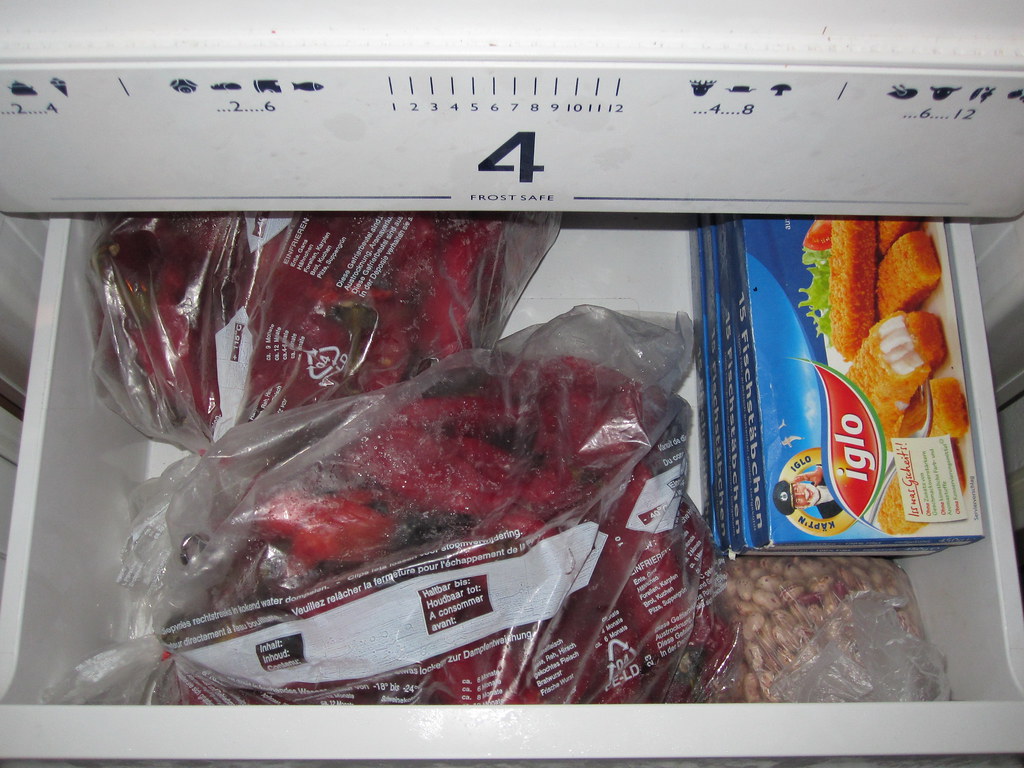
Freezing is one of the simplest and most effective methods for preserving peppers. This technique retains nearly all the flavor and nutritional value while allowing you to easily add peppers to your dishes later.
Steps to Freeze Peppers:
Prepare: After cleaning and cutting your peppers, spread them out on a baking sheet in a single layer.
Flash Freeze: Place the baking sheet in the freezer for several hours until the peppers are solid. This prevents them from clumping together.
Pack: Transfer the peppers into airtight freezer bags or containers. Remove as much air as possible to prevent freezer burn.
Label: Be sure to mark the date and type of pepper for easy identification later.
Frozen peppers can last up to six months, allowing you to enjoy their taste long after you’ve harvested them.
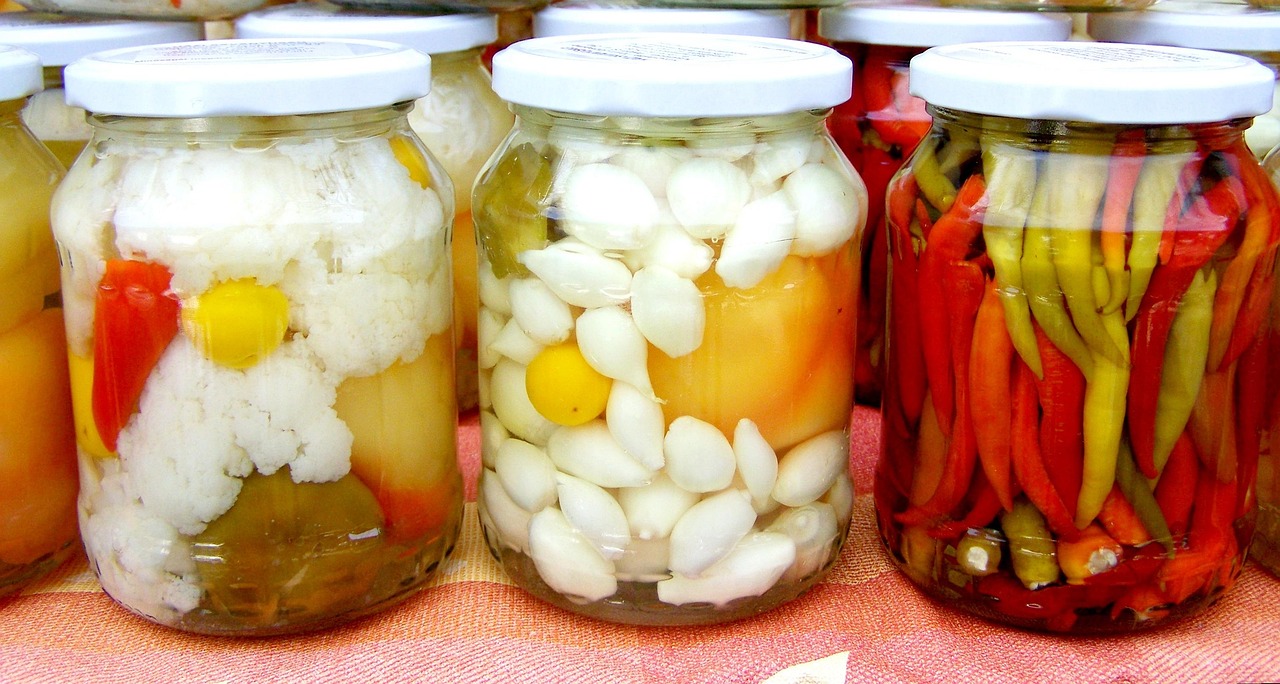
Canning Peppers
Canning is another popular and traditional method to preserve peppers. While a bit more involved than freezing, canned peppers provide a unique texture and flavor that can enhance soups, sauces, and salads.
Water Bath Canning Method
Prepare Jars: Sterilize glass jars and lids by boiling them in water for ten minutes. Ensure there are no chips or cracks that could compromise the seal.
Blanching: Give your peppers a quick blanch in boiling water for 2-3 minutes. This step helps preserve color and flavor and makes peeling easier if you prefer to use peeled peppers.
Fill Jars: Pack the hot peppers into the jars, leaving about half an inch of headspace.
Add Brine: Prepare a brine using vinegar, water, and salt (consult a canning guide for precise measurements) and pour over the peppers, ensuring they are fully submerged.
Seal and Process: Wipe the rims of the jars and seal with the lids. Process the jars in a boiling water bath for about 10-15 minutes, depending on your altitude.
Cool and Store: Allow the jars to cool completely before checking the seals. Store in a cool, dark place.
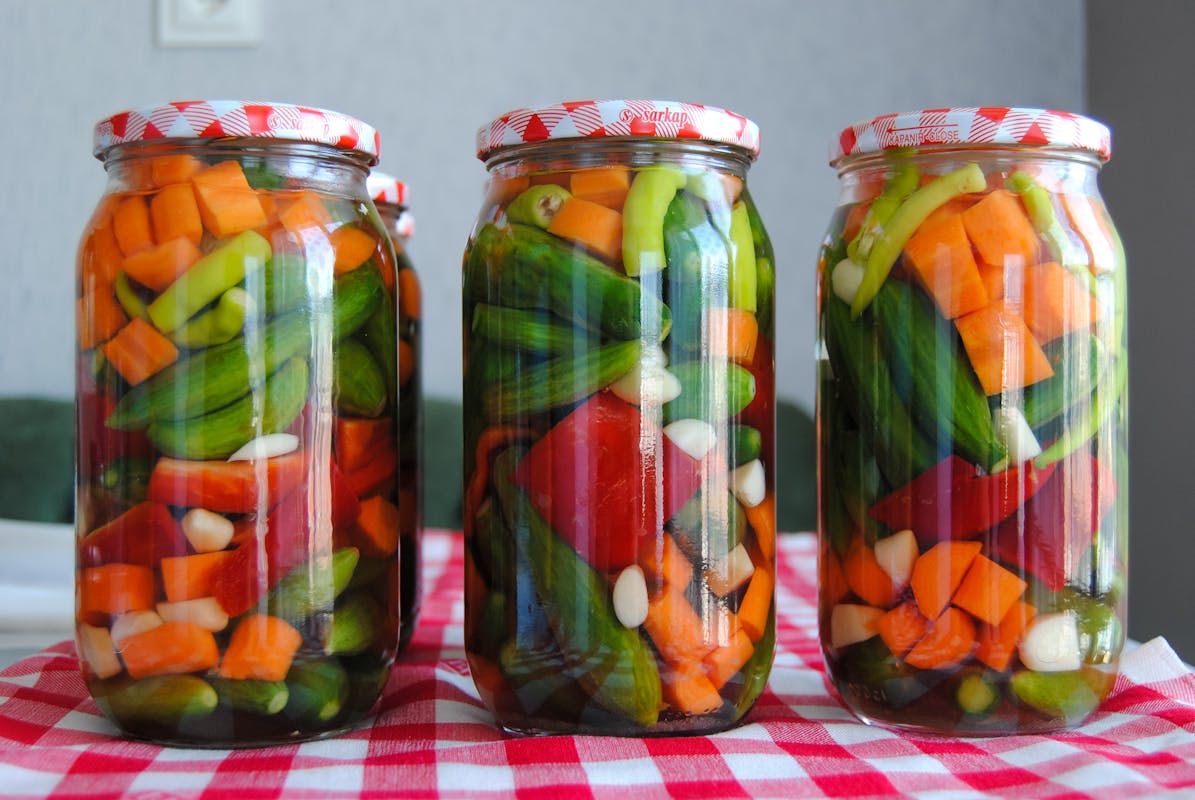
Pickling Peppers
Pickling is a highly favored method for preserving peppers, especially for those who enjoy bold, tangy flavors. Pickled peppers can be enjoyed by themselves or added to sandwiches, tacos, or layered on charcuterie boards.
Basic Pickling Recipe
Prepare Peppers: Clean and cut your peppers as desired.
Make Pickling Brine: In a pot, combine equal parts vinegar and water, adding sugar and salt to taste. Heat until the sugar and salt dissolve.
Fill Jars: Pack the peppers into sterilized jars, leaving some space at the top.
Pour Brine: Pour the hot brine over the peppers, ensuring they are completely covered.
Seal and Store: Cap the jars with lids and allow them to cool. Then, store in the refrigerator for up to three months or process them for long-term storage.
Drying Peppers
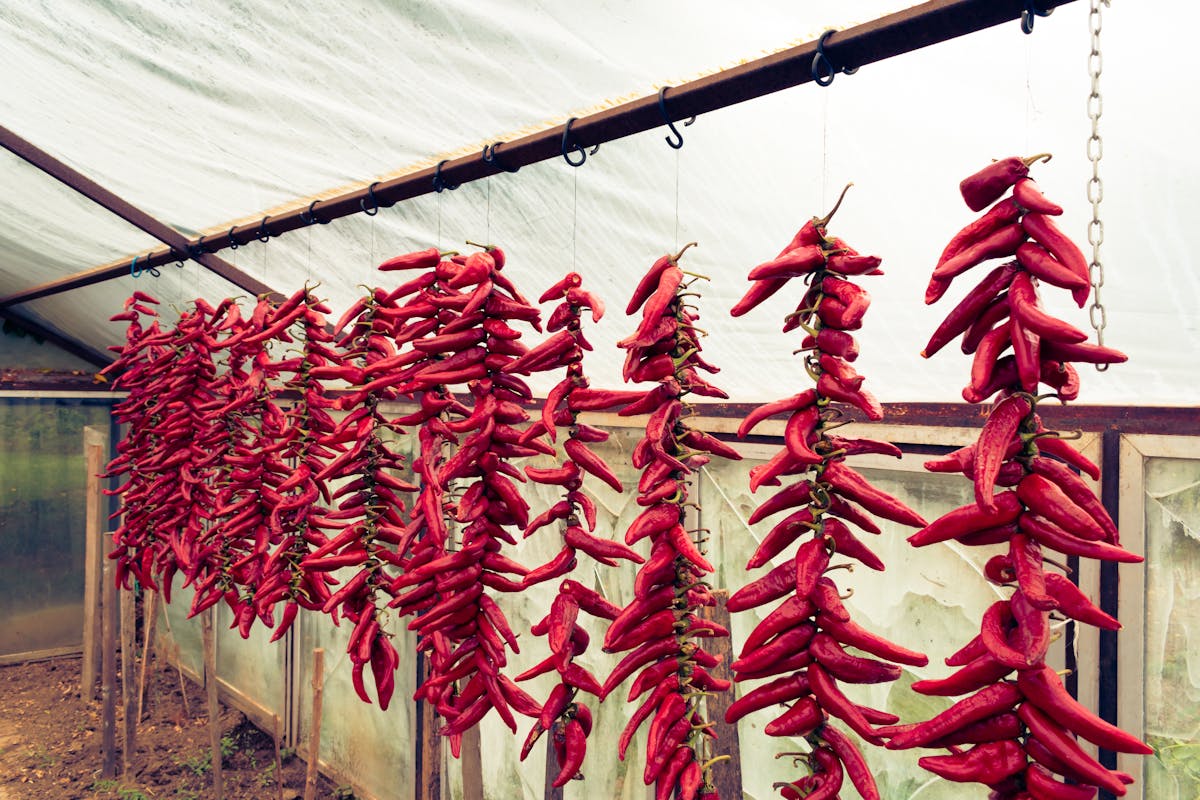
Drying peppers concentrates their flavors and is a great method to create spice blends or flavor enhancers. Dried peppers can be rehydrated for cooking or ground into powder for seasoning.
Methods of Drying Peppers
Air Drying: String up whole peppers and hang them in a dry, warm area with good airflow. This method may take several weeks but is energy-efficient.
Oven Drying: Place sliced peppers on a baking sheet and set your oven to the lowest temperature. Leave the door slightly ajar to allow moisture to escape, checking occasionally.
Dehydrator: If you have a food dehydrator, set it according to the manufacturer’s instructions for vegetables. This method is energy-efficient and ensures even drying.
Dried peppers can last for a year or more when stored in airtight containers in a cool, dry place.
Creating Hot Sauce
If you love spicy food, making hot sauce is a fantastic way to preserve your pepper haul. Hot sauce can be as simple or as complex as you desire, and it adds a unique flavor to a range of dishes.
Basic Hot Sauce Recipe
Prepare Peppers: Clean and chop about 2 cups of your favorite hot peppers, removing the seeds if desired.
Add Ingredients: Combine the peppers with garlic, onion, and vinegar in a blender. Adjust the vinegar to achieve your desired tanginess.
Blend and Cook: Blend until smooth, then simmer the mixture in a saucepan for about 10-15 minutes to meld the flavors.
Cool and Store: Once cooled, pour the sauce into sterilized bottles. It can last in the refrigerator for several months.
Infused Oils
Pepper-infused oils can add an exciting flavor twist to your dishes. Use the same peppers you love to create a vibrant oil to drizzle over salads, pasta, or grilled meats.
How to Create Pepper-Infused Oil
Select Your Oil: Choose a neutral oil like canola or a flavorful oil like olive oil.
Prepare Peppers: Slice your peppers and either remove or leave in the seeds, depending on your heat preference.
Combine and Heat: In a saucepan, gently heat the oil and add the peppers. Allow it to infuse on low heat for about 30 minutes. Be careful not to fry the peppers.
Strain and Store: Once cooled, strain the peppers out and store the oil in a dark glass bottle. Use within a month for optimal flavor.
Enjoying Your Preserved Peppers
Now that you’ve preserved your peppers through various methods, it’s time to incorporate them into your cooking. The possibilities are vast:
Frozen Peppers: Perfect for quick stir-fries, casseroles, or as pizza toppings.
Canned Peppers: Use in stews, on sandwiches, or in dips.
Pickled Peppers: Add to tacos, sandwiches, or as toppings for nachos.
Dried Peppers: Ground into powders for seasoning, added to sauces, or rehydrated in soups.
Hot Sauce: Use in marinades, dressings, or as an added kick to any meal.
Creative Recipes with Preserved Peppers
Stuffed Peppers: Use frozen or canned bell peppers and fill them with a mixture of rice, ground meat, beans, or cheese.
Pepper Salsa: Combine diced preserved peppers, tomatoes, onion, and cilantro for a quick salsa that pairs wonderfully with chips.
Roasted Vegetables: Toss preserved peppers with other seasonal vegetables, olive oil, and spices for a flavorful side dish.
Pepper Relish: Combine chopped pickled peppers with garlic and herbs for a topping on grilled meats or sandwiches.
Tips for Harmony in Preservation
Experiment: Don’t be afraid to mix different types of peppers in your preservation efforts for unique flavor profiles.
Check for Quality: Ensure any preserved jars are sealed correctly; a popped lid means the contents may be spoiled.
Taste Testing: Enjoy sampling your preserved peppers regularly to gauge the flavors and experiment with various dishes.
Final Thoughts
Preserving peppers is not just about extending their lifespan; it’s about embracing culinary creativity and sustainability. With each method providing its charm, you can pick and choose how to capture the essence of your peppers.