his guide explores the intricate world of preserving bell peppers so that you can enjoy them long after their harvest.
Preparing Bell Peppers for Preservation
The first step in preservation is proper preparation.
Selecting High-Quality Peppers
Always select fresh and firm peppers for preservation. Inspect them for blemishes, soft spots, or mold. Choosing organic peppers can also boost the quality and flavor of your preserved product.
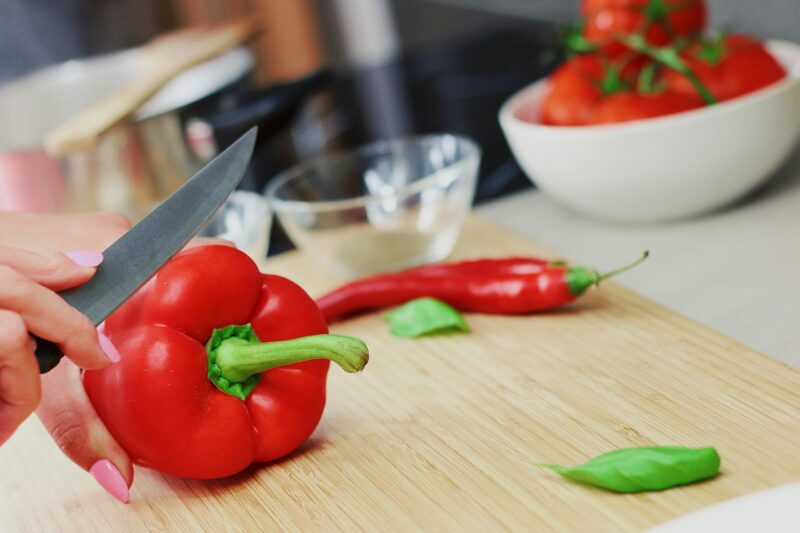
Cleaning and Cutting
Before the peppers can be preserved, they need to be thoroughly washed. Rinse them under cool water and dry them with a soft cloth or paper towel. You can cut them in various ways: strips, chunks, or rings, depending on how you plan to use them later.
Tip: If you plan to stuff the peppers or need whole peppers for roasting, keep them intact. For recipes requiring diced peppers, chopping them into uniform pieces will assist in even cooking later.
Preservation Methods
Bell peppers can be preserved using several techniques, including freezing, pickling, drying, and canning. Each method imparts its own unique flavor and texture to the peppers.
Freezing Bell Peppers
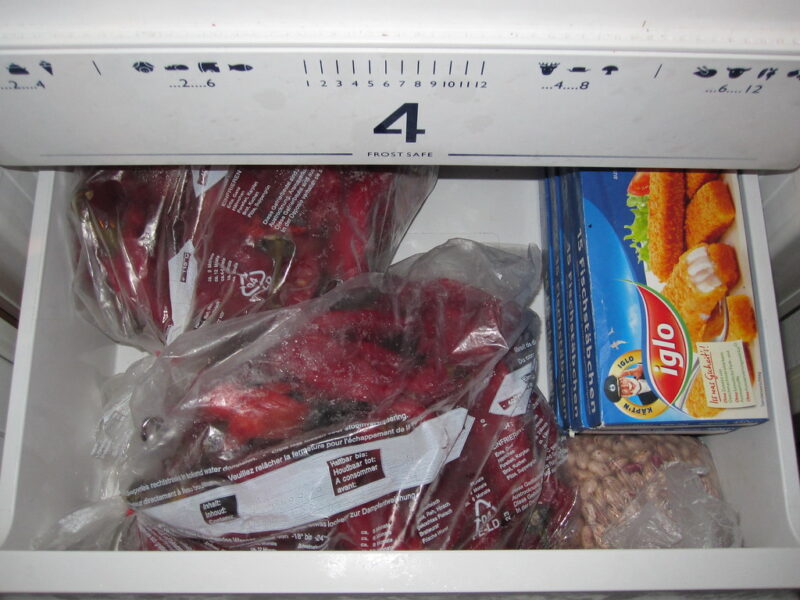
Freezing is one of the simplest, most effective ways to preserve bell peppers while retaining their nutritional value.
Step-by-Step Freezing Process
Preparing the Peppers: Wash, dry, and cut the peppers to your desired size.
Blanching (Optional): Some people prefer to blanch their vegetables before freezing. This involves boiling them for a few minutes and then placing them in ice water. This step can help preserve color and texture but is not mandatory.
Drying: Make sure to dry the peppers completely before freezing to prevent ice crystals from forming.
Bagging: Place the peppers in airtight freezer bags or containers. Make sure to remove as much air as possible to avoid freezer burn.
Labeling: Don’t forget to label the bags with the date of freezing.
Using Frozen Bell Peppers
Frozen bell peppers are incredibly versatile. They can be directly added to soups, casseroles, and stir-fries without needing to thaw.
Pickling Bell Peppers
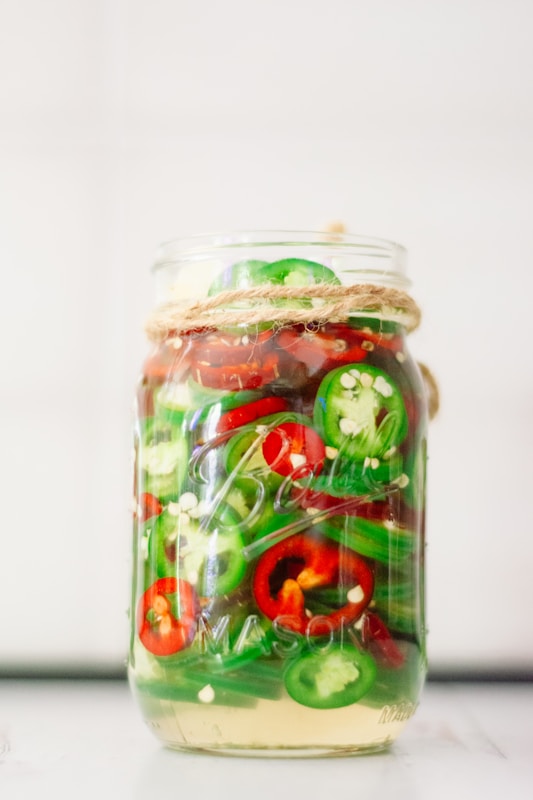
Pickling offers a zesty way to enjoy bell peppers long after they’ve left the garden. The pickling process not only extends shelf life but also introduces exciting flavors.
Pickling Process
Choose Your Brine: Start with basic pickling brine—water, vinegar, salt, and sugar. You can experiment with different spices like garlic, mustard seeds, and dill for a personalized flavor profile.
Prepare the Peppers: Cut the peppers into strips or rings.
Sterilizing Jars: Clean your jars thoroughly by boiling them or washing them in hot, soapy water. Rinse and let them dry.
Packing Jars: Pack the peppers into jars, leaving some space at the top for the brine.
Adding the Brine: Pour the hot pickling brine over the peppers, ensuring they are fully submerged. Seal the jars tightly.
Cooling and Storing: Once cooled, store the jars in the refrigerator for quick consumption or process them in a water bath for long-term shelf storage.
Enjoying Pickled Peppers
Pickled bell peppers make a fantastic addition to salads, sandwiches, tacos, and charcuterie boards. Their acidity cuts through rich flavors, adding freshness to any dish.
Drying Bell Peppers
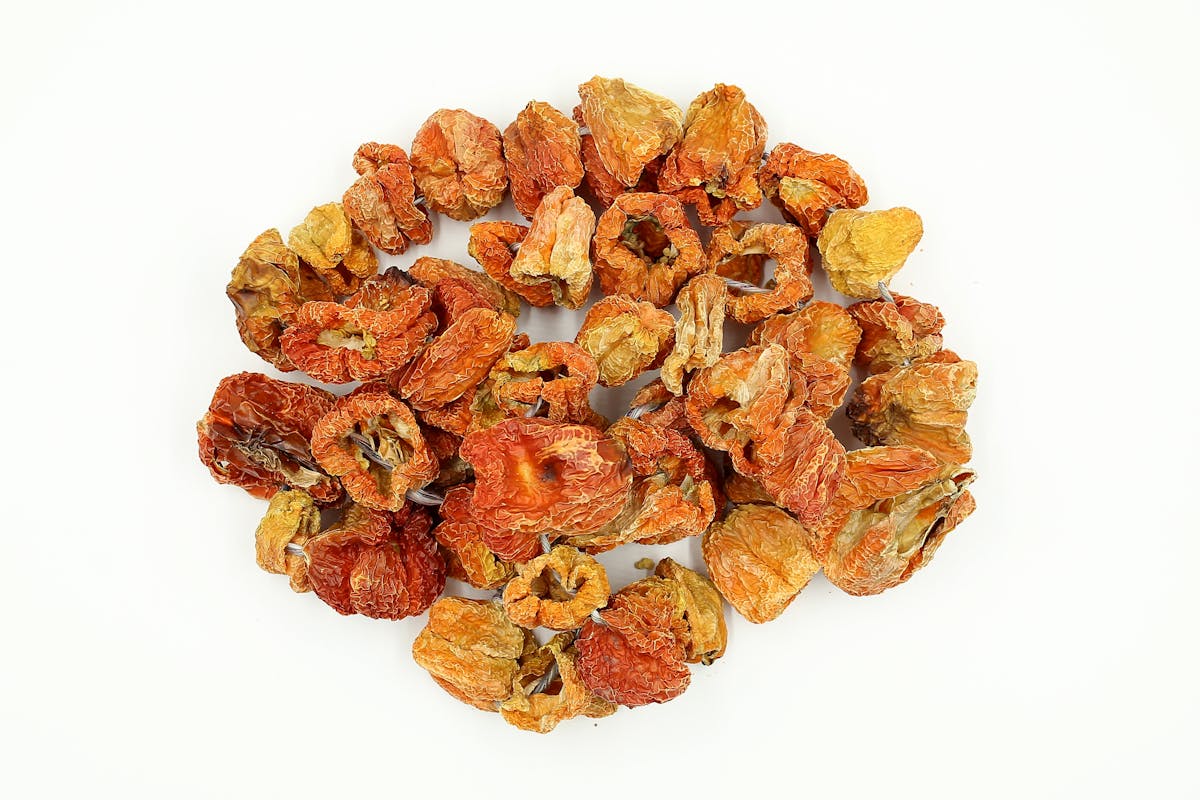
Dehydrating bell peppers concentrates their flavors and offers a lightweight, shelf-stable option.
Methods of Drying
Sun Drying: This traditional method requires sunny, dry weather and can take several days. Cut the peppers into strips and place them on a drying rack.
Oven Drying: Preheat your oven to the lowest setting. Spread the pepper strips on a baking sheet and leave the oven door slightly ajar to allow moisture to escape. This method can take several hours.
Using a Dehydrator: This is the most efficient and controlled method. Follow the manufacturer’s instructions for optimal results.
Storing Dried Peppers
Store dried bell peppers in airtight containers, away from sunlight. They can last for months or even years when stored correctly.
Utilizing Dried Peppers
Dried peppers can be rehydrated in water or broth, or they can be blended into powders for seasoning. They add incredible depth to stews, sauces, and marinades.
Canning Bell Peppers
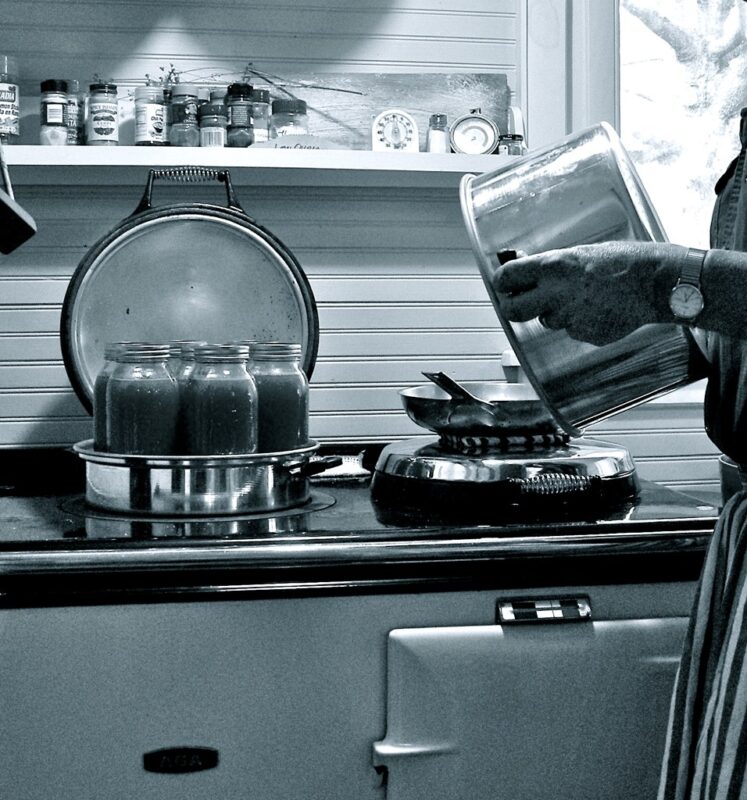
Canning provides a way to store bell peppers for extended periods without refrigeration.
Canning Process
Preparing the Peppers: Clean and cut the peppers as desired.
Sterilizing Jars: As with pickling, ensure your canning jars are freshly sterilized.
Filling the Jars: Pack the prepared peppers into the jars, leaving appropriate headspace based on your canning recipe.
Adding Liquid: Fill the jars with hot water or your choice of brine, leaving room at the top.
Processing: Follow boiling water canning or pressure canning guidelines based on your recipe to ensure safe preservation.
Cooling and Checking: Allow jars to cool completely, check seals, and store in a dark, cool place.
Using Canned Peppers
Canned bell peppers can be used in soups, stews, and casseroles or simply enjoyed as a side dish.
Specialty Preservation Methods
Beyond the standard methods, there are more innovative ways to enjoy bell peppers throughout the year.
Fermenting
Fermentation is gaining popularity as a health-conscious preservation method. You can create tangy bell pepper ferments by combining them with saline water and allowing them to ferment at room temperature. This method increases beneficial probiotics, making your peppers not only tasty but also great for gut health.
Oil Infusion
Infusing oils with bell peppers can add great flavor to your cooking. Chop roasted peppers and mix them into olive oil, allowing the flavor to meld over time. This infused oil can elevate salad dressings, marinades, and dips.
Storing Preserved Bell Peppers
Once you’ve preserved your peppers, proper storage techniques are essential for maintaining their quality.
Temperature Conditions
Store preserved bell peppers in a cool, dark place. For canned and pickled peppers, the pantry works well. Dried and frozen peppers should be kept in airtight containers in the freezer.
Shelf Life
Understanding the shelf life of your preserved peppers is vital in helping you use them before they spoil. Frozen peppers can last for up to a year, dried peppers can last for several months to years if properly stored, while pickled and canned peppers can remain good for one to two years when sealed correctly.
Culinary Uses for Preserved Bell Peppers
Having preserved bell peppers opens up a wealth of culinary possibilities.
Quick Recipes
Roasted Red Pepper Hummus: Blend canned or pickled roasted peppers with chickpeas, tahini, lemon juice, garlic, and olive oil for a creamy dip.
Stuffed Peppers: Use picked or frozen peppers to create stuffed peppers filled with rice, beans, and your choice of protein.
Mediterranean Pasta: Stir dried bell peppers into pasta dishes for an instant flavor boost.
Frittata: Add frozen or fresh preserved peppers to an egg frittata garnished with herbs for a colorful breakfast.
Creative Ideas
Experimenting in the kitchen can breathe new life into preserved bell peppers. Try adding preserved peppers to quesadillas, frittatas, or grain bowls. Their brightness can elevate your meals, adding not just flavor but also health benefits.
Personal Anecdotes
As someone who grew up in a household that celebrated gardening and preserving food, I recall long summer days spent in the blistering sun, cramming as many jars as possible with pickled bell peppers. The tantalizing aroma filled our kitchen, creating anticipation for the winter days ahead when we would crack open a jar and savor that summer essence. This connection to food, family, and tradition is what makes preserving bell peppers so rewarding.
Conclusion
Preserving bell peppers allows you to enjoy their delightful crunch and vibrant flavor long after the growing season ends. Whether through freezing, pickling, drying, or canning, each method has unique benefits and can be tailored to your culinary needs. By understanding the preservation process, you can harness the natural goodness of bell peppers and enhance your meals year-round.