This in-depth exploration of how to repot a spider plant will delve into the reasons for repotting, the best practices to follow, and aftercare strategies to ensure your plant thrives in its new home. Whether you’re looking to enhance your plant’s health or simply upgrade its aesthetic appeal, this guide will equip you with the insights needed to do so effectively.
Understanding the Spider Plant

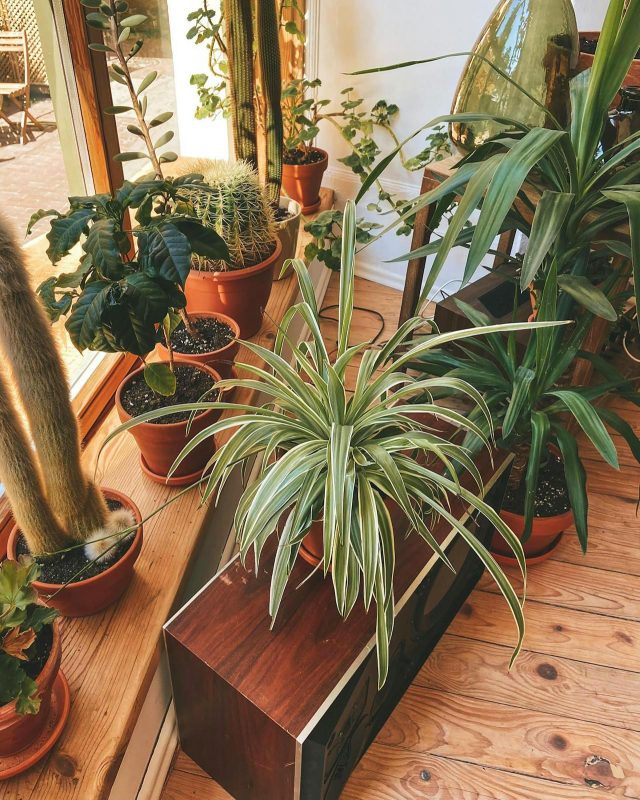
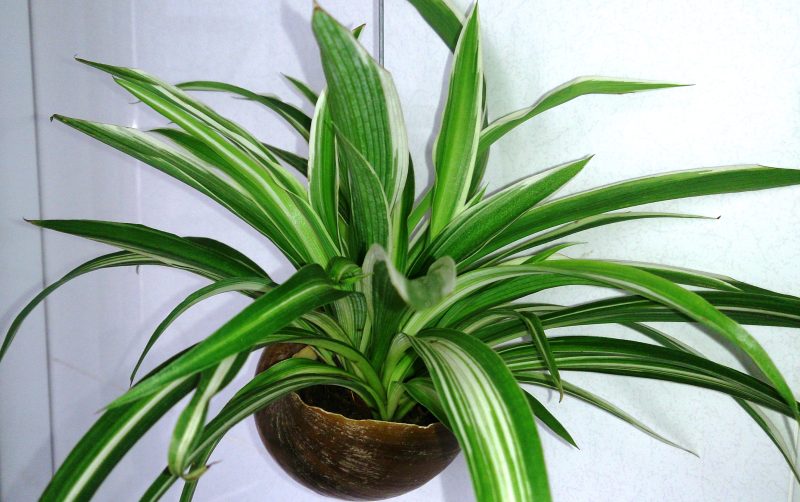
Before we dive into the steps for repotting a spider plant, let’s take a moment to appreciate what makes this plant so charming and valuable. Originating from southern Africa, spider plants are well-known for their air-purifying properties, making them practical additions to homes and offices alike. With their long, slender leaves that can develop into a luscious green mass, these plants can bloom with small white flowers, eventually producing “pups” or offshoots that can be propagated easily.
When well-cared for, spider plants can grow quite large, filling spaces with their lush green leaves. However, to maintain their health and vibrancy, repotting becomes essential. Over time, as a spider plant grows, it can become root-bound in its container, leading to a host of issues, including stunted growth, poor water absorption, and an overall decline in vitality.
Recognizing When to Repot
The first step in your repotting journey is recognizing when it’s actually time to repot your spider plant. Several signs can indicate that your plant needs a new home:
Root Bound: If you notice roots growing through the drainage holes at the bottom of the pot or if the roots start wrapping around themselves, this is a clear sign that your plant has outgrown its current container.
Soil Depletion: Healthy soil is critical for plant growth. If the soil appears depleted, compacted, or has an abundance of salt or mineral buildup (often visible as a white crust), it’s a good indication that a repot is necessary to refresh the soil.
Stunted Growth: If you observe that your spider plant has suddenly slowed its growth or appears lethargic, it might be struggling to absorb nutrients effectively due to root crowding or nutrient-deficient soil.
Water Issues: If you find that the water isn’t soaking in as it should, or conversely, if the soil remains soggy for longer than normal, your plant may require a new pot and fresh soil to enhance drainage.
Choosing the Right Time to Repot
Timing can make a significant difference in how well your spider plant adjusts to its new home. Spring is typically the best time to repot, as this is when most houseplants resume their growth cycle. Repotting in spring gives your plant a booster shot of fresh nutrients as it prepares for the warm, growing season.
However, if your spider plant is in urgent need of repotting outside of the optimal season—due to being root-bound or suffering from poor soil conditions—don’t hesitate. Sometimes prompt action can save your plant from deeper problems.
Selecting the Right Pot and Soil
Once you’ve determined that your spider plant needs repotting, it’s time to choose the right pot and soil. Here’s what to consider:
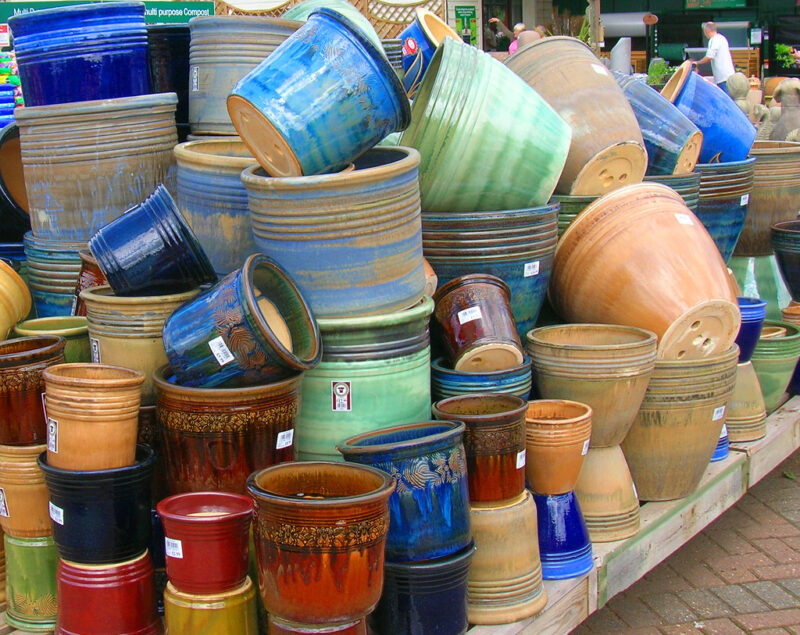
Pot Size: Choose a pot that is only slightly larger than the current one, typically just one to two inches in diameter wider. This helps prevent waterlogging and offers the plant room to grow without overwhelming it.
Material: Terracotta pots are great options because they’re porous and facilitate good airflow to the roots. However, plastic pots are also acceptable and lighter for handling, although they may retain more moisture.
Drainage: Ensure that your selected pot has sufficient drainage holes to prevent water from pooling at the bottom, which could lead to root rot.
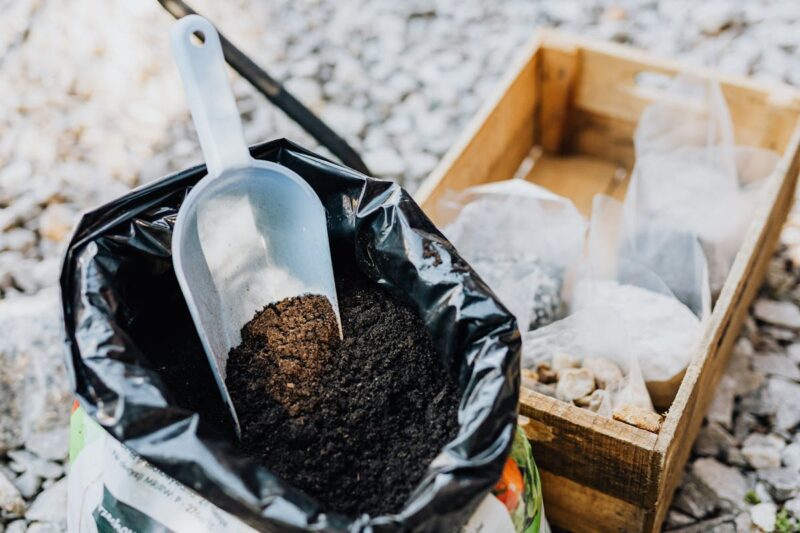
Soil Mix: Spider plants thrive in a well-draining potting mix. A blend designed for houseplants is often appropriate, but you can also create your own by mixing standard potting soil with perlite or coarse sand to enhance aeration and drainage.
Gathering Your Tools
Preparing for the repotting process requires some essential tools and materials to make the transition smooth. Here’s a handy checklist for your repotting kit:
Fresh potting soil
A slightly larger pot with drainage holes
A trowel or small shovel
Pruning scissors or shears
A small bowl of water (for watering the plant afterward)
Gloves (if preferred) to keep your hands clean
Optional: A newspaper or tarp to keep your workspace tidy
Once you’ve gathered your materials, you’ll be ready to dive into the physical act of repotting, allowing you to engage with your plant in a more hands-on manner.
The Repotting Process
Now that you understand the signs that your spider plant needs repotting, the ideal timing, and the materials required, it’s time to walk through the actual process step by step.
Step 1: Preparations
Before repotting, ensure that the new pot is clean and dry. If it’s used, give it a good wash to remove any old soil and potential pathogens. This helps prevent diseases that could harm your plant.
Step 2: Remove the Plant
Carefully extract your spider plant from its current pot. To do this, gently squeeze the sides of the pot (if it’s plastic) to loosen the soil. If the pot is ceramic, you may need to tilt it at an angle and apply gentle pressure to the base of the plant.
Be cautious not to damage the roots; if your plant is heavily root-bound, use your hands to gently tease the roots apart. You’ll want to handle this part delicately, as spider plant roots tend to be more fragile than some other species.
Step 3: Inspect the Roots
Once your spider plant is out of its pot, take a moment to inspect the roots. Look for any that appear dark, mushy, or rotten—they should be firm and white. Trim away any unhealthy roots with your pruning scissors, making clean cuts to avoid introducing pathogens.
Step 4: Prepare the New Pot
Fill the bottom of your new pot with a layer of fresh potting soil, ensuring that the soil level will support the plant root structure comfortably. This is critical; you don’t want the plant sitting too deep in the new pot, as it could invite issues such as root rot.
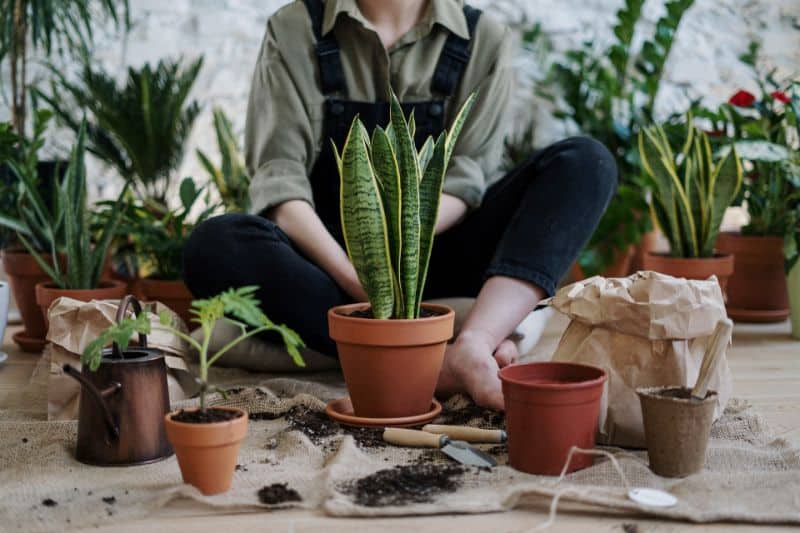
Step 5: Place the Plant
Position your spider plant in the center of the new pot and fill in around the edges with more potting soil. Make sure to position the plant at the same depth it was previously growing, meaning the soil line should remain consistent.
Step 6: Firm the Soil
Gently press down on the soil to eliminate air pockets, being careful not to compact it too much. This will help anchor the plant and create a solid foundation for growth.
Step 7: Water Generously
Once repotted, give your spider plant a good drink of water. Ensure that the soil is thoroughly moistened but not saturated. Allow any excess to drain out of the bottom of the pot, as this helps avoid waterlogging.
Step 8: Clean Up and Monitor
After repotting, clean up your workspace. You can also take this opportunity to wipe down the leaves of your spider plant with a soft cloth to remove any dust. This helps the plant absorb light better.
Aftercare: Nurturing Your Repotted Spider Plant
The work doesn’t end once you’ve repotted. Giving your spider plant optimal care after the transition is integral to its recovery and future growth.
Light and Placement
Once repotted, place your spider plant in a location with bright, indirect sunlight. Direct sunlight can scorch the leaves, while too little light may hinder growth. A window with filtered light is often ideal.
Watering Routine
Initially, the plant may require more frequent watering as it settles into its new environment. Monitor the soil moisture closely. You want the top inch of soil to dry out before watering again. By keeping a regular watering schedule, you can promote healthy root growth.
Humidity and Temperature
Spider plants enjoy moderate humidity and temperatures. If you live in a dry climate or during winter months when indoor air can be quite arid, consider misting the leaves or placing a humidifier nearby.
Fertilization Practices
After repotting, you may choose to fertilize your spider plant. A balanced, water-soluble fertilizer can give it a nutrient boost as it adjusts. Follow the manufacturer’s guidelines for dilution, and avoid over-fertilizing, as this can lead to salt buildup in the soil.
Monitoring for Pests
Keep an eye on your spider plant for signs of pests, such as spider mites or aphids. Regularly inspecting the leaves and stems will help you catch any issues early on. If you notice any pests, consider using insecticidal soap or neem oil as a natural remedy.
Troubleshooting Post-Repotting Issues
Even with the best of intentions, sometimes things don’t go as planned after repotting. Here are some common issues and how to tackle them:
Leaves Wilting or Yellowing: This could indicate overwatering or underwatering. Check the soil moisture and adjust your watering habits accordingly.
Leaf Tips Browning: Browning leaf tips can be a sign of low humidity or too much fertilizer. Monitor humidity levels and ensure you’re fertilizing correctly.
Sluggish Growth Post-Repotting: It’s common for houseplants to experience a temporary stasis after repotting. It may take a few weeks for your spider plant to adjust, so be patient and give it time.
Propagating Your Spider Plant
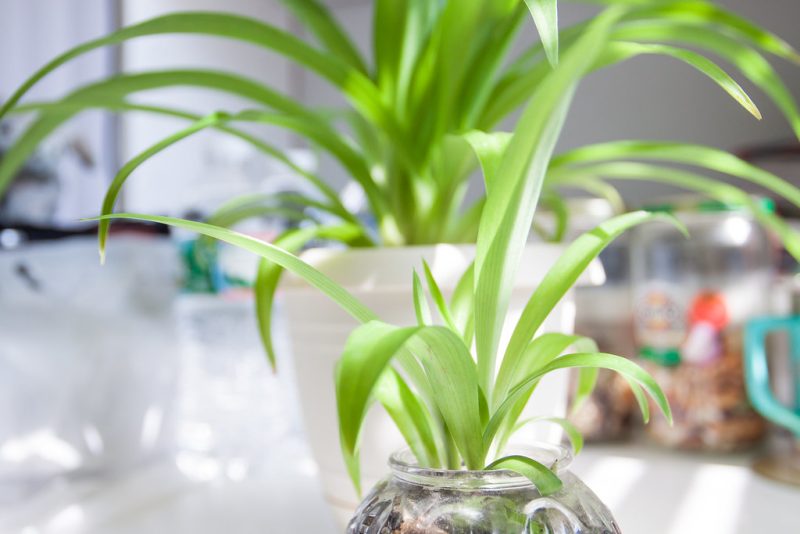
One of the joys of owning a spider plant is the ability to propagate it easily. When repotting, you may discover that your plant has developed numerous pups, or you may simply choose to propagate your spider plant as an added venture. Here’s a quick guide to getting started:
Select Healthy Pups: Look for pups that have roots of their own. These will be more likely to thrive once removed from the mother plant.
Cutting Pups: Using clean scissors, cut the pups from the main plant. Be cautious not to disrupt the roots too much.
Potting Food for Pups: Transplant the pups into their own small pots filled with fresh potting soil.
Water and Conditions: Similar to adult spider plants, give these pups a good watering and place them in a location with indirect sunlight.
This propagation method not only allows you to expand your plant collection but also helps to rejuvenate the parent spider plant, making it more manageable.
Conclusion
Repotting a spider plant may seem like a simple task, but it embodies a much deeper metaphor for nurturing growth and wellness—both for our plants and ourselves. By understanding the needs of your spider plant, choosing the right time and materials, and providing attentive care afterward, you invest not only in your plant’s future but also in your gardening journey.