Dividing irises is a vital practice that not only maintains their health but also enhances their beauty. This post will guide you through the art and science of dividing irises, exploring everything from the best practices to practical tips, ensuring your garden thrives.
Understanding the Iris Plant

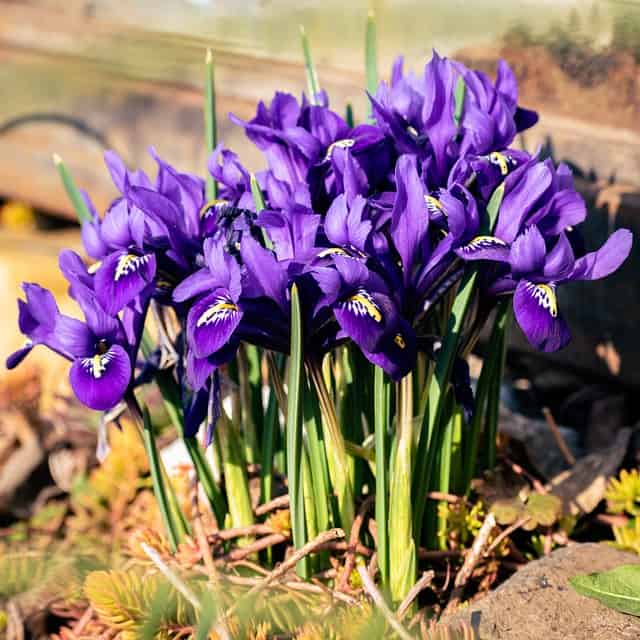
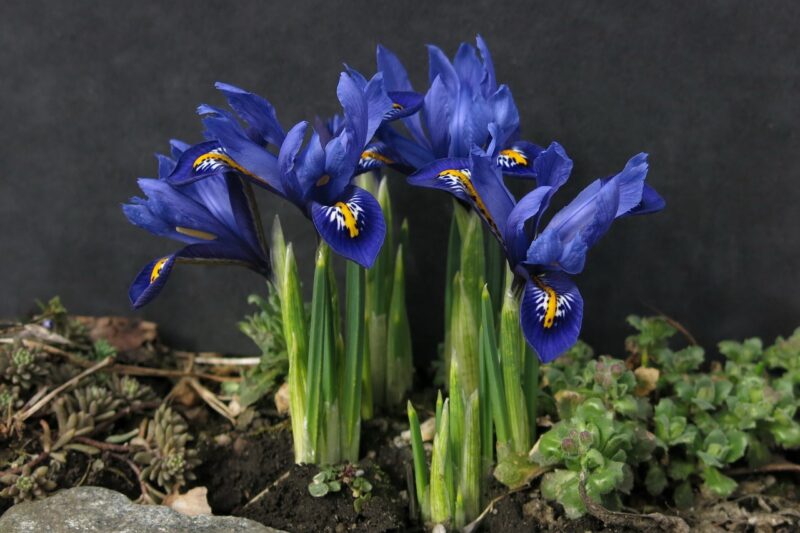
Before we dive into the specifics of dividing irises, it’s essential to understand the plant itself. Irises belong to the family Iridaceae, with over 300 species and countless hybrids, displaying a wide range of colors and shapes. They typically bloom in late spring to early summer, making them a highlight of many perennial gardens.
Their structure consists of a rhizome (an underground stem) that stores nutrients and supports the plant’s growth. Rhizomes enable irises to spread out over time, leading to dense clumps that may inhibit their ability to thrive. This is where the practice of dividing irises becomes crucial.
The Importance of Dividing Irises
Dividing irises boosts their vigor, promotes more abundant flowering, and helps manage overcrowding. When rhizomes grow too close together, they compete for nutrients and water, leading to stunted growth or fewer blooms. By dividing them every 3 to 5 years, gardeners can maintain healthy plants and ensure they continue to thrive.
Moreover, dividing irises is an excellent opportunity for propagation. If you’ve ever admired a friend’s vibrant iris display, dividing your own plants allows you to share the beauty with others or expand your garden without incurring significant costs.
When to Divide Irises
Timing is crucial for successful division. The optimum time to divide irises is in late summer or early fall, typically around late July to early September, just as the blooming period ends. During this time, irises are preparing for dormancy, allowing them to recover quickly from the division process.
Dividing irises in spring is typically not recommended, as the plants require their energy for blooming. Digging up and disturbing them during this period may result in diminished flower production and stress on the plants.
Tools You’ll Need

Before you start dividing your irises, gather the necessary tools to ensure a smooth process. Having the right equipment on hand will make everything easier and more efficient:
Sharp garden spade or shovel: A sharp tool will help you cut through roots with minimal damage.
Hand pruners: Useful for trimming any dead or wilting foliage.
Garden gloves: Protect your hands while you work.
Bucket or wheelbarrow: To transport the divided rhizomes.
Fungicide (optional): If you live in an area where iris borers are common, consider applying a fungicide to prevent rot or disease during the division process.
Preparing Your Site

Before dividing your irises, it’s important to prepare your planting site to ensure that the divided sections have the best chance to flourish. Choose a spot that receives full sun to partial shade, as irises thrive in warm, well-draining soil. If you’re relocating them, consider soil quality, drainage, and sunlight to create an optimal environment.
If the soil quality is poor, take the time to enrich it with organic matter such as compost or aged manure, which improves fertility and structure. Also, take note of your local climate, as well-draining soils are particularly important in regions with high rainfall.
How to Divide Irises Step-by-Step
With your tools in hand and site prepared, it’s time to get down to the nitty-gritty of dividing irises. Follow these steps for a successful operation:
Assess Your Irises
Start by observing the crowding of your iris clumps. Look for signs of stress, such as reduced flowering or weak foliage. Healthier clumps will often produce numerous blooms, so focus on those that appear to have overgrown.
Digging Up the Clumps
Using your spade or shovel, carefully dig around the perimeter of the clump, making sure to penetrate deep enough to avoid damaging the rhizomes. Ideally, you’ll want a robust root system to ensure successful replanting. Once you have adequately loosened the soil, lift the clump from the ground and transfer it to your bucket or wheelbarrow.
Separating the Rhizomes
Once you have the clump out of the ground, it’s time to separate the rhizomes. Look for natural divisions where the rhizomes connect. Gently pull them apart or use your pruners to cut through any stubborn connections. Each section should ideally have a healthy root system and a few leaves attached.
Discarding the Old or Diseased Portions
As you divide your irises, take a moment to inspect each rhizome. Look for signs of rot, damage, or disease. Any unhealthy portions should be discarded. A healthy rhizome typically has firm flesh, smooth surfaces, and a vibrant color.
Preparing Divided Rhizomes for Planting
Now that you have your healthy rhizomes, it’s essential to prepare them for planting. Trim the foliage down to about 6 inches to prevent moisture loss and stress on the plant. If you notice any cuts or bruises on the rhizomes, let them dry out for a day or two in a shaded area—this helps protect them from rot once planted.
Planting Divided Irises

With your rhizomes prepared, it’s time to replant them. Follow these guidelines for successful planting:
Planting Depth: Place the rhizomes horizontally in the soil, making sure that the top half is exposed and the bottom half is buried. A common method is to plant them at a depth of about 1-2 inches, allowing the tops to see the sun.
Spacing: Ensure that you space your irises about 12-24 inches apart to prevent overcrowding, allowing for air circulation and nutrient access.
Backfilling: Fill in the soil, gently pressing down around each rhizome to eliminate air pockets. Water them thoroughly after planting to help settle the soil.
Caring for Newly Divided Irises
Post-planting care is crucial for helping your newly divided irises adapt and thrive. Here are some tips to nurture them through this critical phase:
Watering: Provide consistent moisture, especially during the first few weeks after planting. However, take care not to overwater, as soggy soil can lead to rot.
Fertilization: Wait a few weeks before applying fertilizer, allowing the plants to acclimatize. Once they show growth, feed them with a balanced, slow-release fertilizer.
Mulching: Consider adding a layer of organic mulch around the base of your irises to maintain soil moisture, suppress weeds, and regulate soil temperature.
Common Issues to Watch For
Even with the best care, certain problems can arise after dividing and planting irises. Being proactive is essential to maintain healthy plants:
Pests: Iris borers and aphids can attack irises. Regular inspections will help catch infestations early. You can treat infestations with insecticidal soap or natural predators.
Disease: Fungal infections can be a concern, especially if conditions are overly damp. Make sure to provide good air circulation by spacing your plants adequately and avoiding overhead watering.
Environmental Stress: After planting, new divisions may experience transplant shock. Look for wilting or yellowing leaves, and be sure to water and provide care as needed.
Expanding Your Iris Collection
One of the joys of dividing irises is the potential for expanding your collection. If you’re a lover of diverse plant varieties, consider swapping divided rhizomes with friends or fellow gardeners. This camaraderie not only cultivates community but also brings new colors and varieties into your flower beds.
Plus, attending local plant swaps or garden shows can provide an opportunity to discover unique or rare iris varieties, allowing you to enrich your garden landscape further.
Creative Uses for Divided Irises
As you continue to cultivate your irises, consider innovative ways to incorporate them throughout your garden. Here are some inspiring ideas:
Borders and Edging: Use irises to create vibrant borders along walkways or garden beds. Their vertical growth provides structure and height.
Complementary Planting: Pair irises with complementary perennials or annuals to create dynamic color combinations. Consider plants such as daylilies or salvia that bloom around the same time for a visually striking display.
Container Gardening: If space is limited, consider growing irises in containers. Choose tall pots that allow for good root growth and provide excellent drainage.