In this extensive guide, we’ll explore the rich history of lilies, their diverse varieties, best growing practices, disease management, and how to ensure your lilies flourish each year.
Exploring the History and Significance of Lilies

To truly appreciate lilies, it helps to understand their deep-rooted history and symbolism. Lilies have been cultivated for thousands of years, with evidence dating back to ancient civilizations like the Egyptians and Greeks. Their presence in artwork, literature, and religious texts speaks to their significance across cultures.
In the language of flowers, lilies symbolize purity and refined beauty. In Christianity, the Madonna Lily is associated with the Virgin Mary, representing innocence. In other cultures, the lotus lily is seen as a symbol of enlightenment and spiritual awakening. This rich background imbues every lily bloom with a sense of connection to human history.
Personal Motivation: As a gardener, you might find that understanding the symbolism behind the flowers you grow enhances your appreciation of them. For instance, every time you gaze upon a lily, you are not just witnessing a flower but celebrating a legacy that spans millennia.
Understanding Different Lily Varieties
Lilies belong to the genus Lilium, which encapsulates a fantastical array of species and hybrids. Understanding these varieties is essential for selecting the right lilies for your garden.
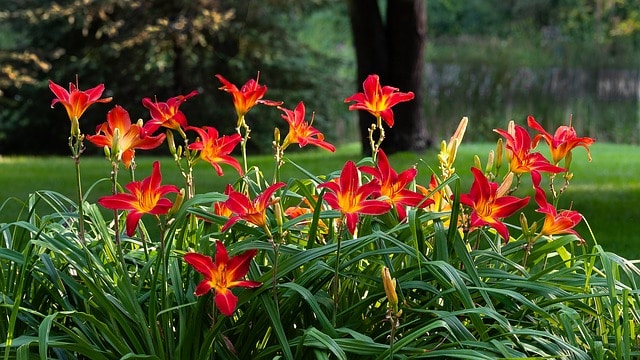
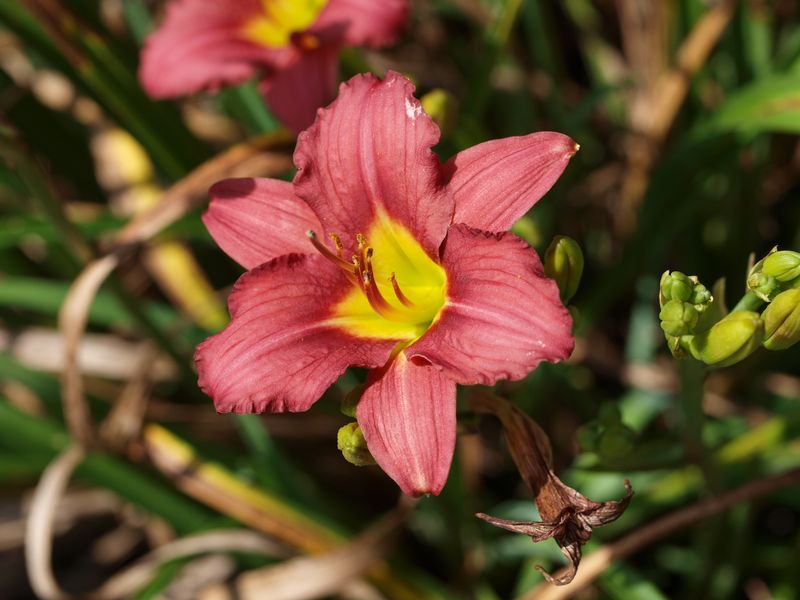
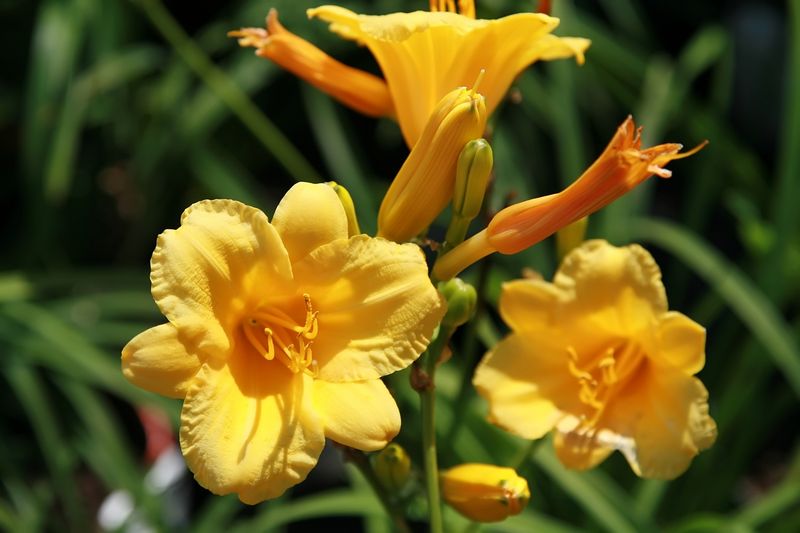
Asiatic Lilies: One of the most popular and hardy types, Asiatic lilies bloom early in the summer and come in various vibrant colors. Their upright growth and ability to naturalize make them suitable for borders and containers.
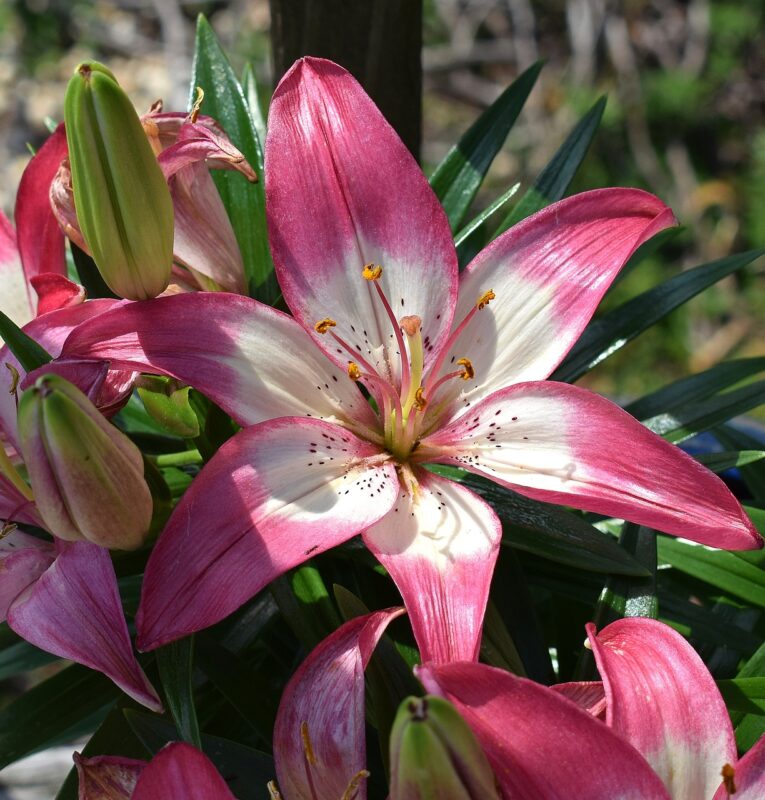
Oriental Lilies: Known for their intoxicating fragrance, Oriental lilies bloom later in the season and are often larger than their Asiatic counterparts. They thrive in well-drained soil with plenty of sunlight.
Trumpet Lilies: Featuring large, trumpet-shaped flowers, these bulbs can reach impressive heights and produce spectacular blooms. Their size and robust nature make them ideal for the back of beds or borders.
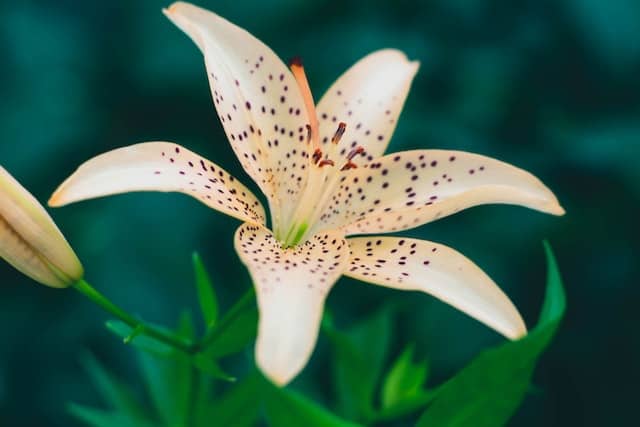
Tiger Lilies: Characterized by their distinctive spots and bold colors, Tiger lilies are resilient and can thrive in less-than-ideal conditions. They offer a cascading look, making them an attractive choice for informal gardens.
Martagon Lilies: With their unique downward-facing blossoms, Martagon lilies are perfect for shady spots in your garden. They add an old-world charm and can live for years with minimal attention.
Diving deeper into these varieties, consider how each type fits into your personal gardening style or the aesthetic of your outdoor space. Are you drawn to the simplicity of Asiatic lilies, or does the elegance of Oriental lilies resonate with you more? Your choice might be guided by the color palette, height, or fragrance you wish to cultivate.
Essential Growing Conditions for Lilies
Creating an optimal environment for your lilies sets the stage for their stunning displays. Lilies are relatively easy to grow but thrive under specific conditions that cater to their needs.
Soil Requirements: Lilies prefer well-draining, slightly acidic to neutral soil. Incorporate organic matter, such as compost, to enhance soil structure and fertility. Conduct a soil test prior to planting to determine its pH and nutrient content.
Sunlight: Most lilies require full sun to partial shade. Ideally, they should receive at least six hours of direct sunlight each day. However, in extremely hot climates, some protection during the hottest part of the day can prevent wilting.
Watering: Consistent moisture is vital, particularly during their growing season. Water deeply but infrequently, allowing the top few inches of soil to dry out between watering sessions. This practice encourages deep root growth and prevents mold.
Spacing: Ensure adequate spacing between bulbs—generally 12-18 inches apart—to promote healthy air circulation and minimize disease.
Temperature: While most lilies are hardy, they thrive best in regions with moderate temperatures. Excessive heat can scorch blooms, while frost can damage tender buds. If you live in an area with severe winters, consider mulching to protect the bulbs.
As you ponder the ideal conditions for your lilies, reflect on your local climate and garden layout. Evaluating your gardening environment can ensure that every lily you plant has the best chance to thrive.
Planting Lilies: Step-by-Step
The process of planting lilies can be straightforward yet momentous as you set the foundation for future blooms. Here’s a step-by-step guide:
Timing: The best time to plant lily bulbs is in the spring or, for the earliest varieties, in the fall. Plant them after the last frost when the soil temperature has warmed to at least 60°F.
Choosing the Right Bulb: Select healthy bulbs that are firm, plump, and free from blemishes. The size of the bulb often correlates with the size of the flower, so larger bulbs typically yield more impressive blooms.
Preparing the Site: Clear the planting area of weeds and debris. Dig a hole about 6-8 inches deep, ensuring there’s good drainage. If needed, amend the soil with compost or well-rotted manure.
Placement: Position the bulb upright, allowing the pointed end to face up. Cover the bulb with soil, allowing about an inch of soil above the top. Water the area lightly to settle the soil without over-saturating.
Mulching: Applying a layer of mulch not only enhances the aesthetic appeal but also conserves moisture, suppresses weeds, and moderates soil temperature.
Record Keeping: Take time to jot down where you’ve planted specific varieties. This record will help you monitor growth patterns and flowering times, enhancing your understanding of each plant’s preferences.
As you plant each bulb, imagine the vibrant blooms that will emerge, and let your enthusiasm carry you through the process. The anticipation of seeing your efforts blossom can be one of the most rewarding aspects of gardening.
Caring for Your Lilies Throughout the Growing Season
Once your lilies are in the ground, their care becomes essential for achieving stunning flowers. Each phase of growth presents unique challenges and rewards.
Watering Regimen: Establish a consistent watering schedule. During periods of dry weather, water lilies deeply every week. However, avoid watering in the evening, as this can encourage fungal diseases.
Fertilization: About a month after planting, begin a monthly feeding schedule with a balanced fertilizer. Look for a formula that is high in phosphorus to promote flowering. Avoid high-nitrogen fertilizers, as they can encourage lush foliage growth at the expense of blooms.
Pruning and Deadheading: As the flowers begin to fade, deadheading—removing spent blooms—redirects energy to the bulb for next year’s growth. Don’t cut back the foliage too early; the leaves continue to photosynthesize, replenishing the bulb’s energy reserves until yellowing occurs.
Pest Management: Common pests that may affect lilies include aphids, lily beetles, and slugs. Regularly inspect your plants, and if pests are spotted, take action promptly. Hand-picking beetles or using insecticidal soap can effectively manage infestations.
Disease Prevention: Lilies can fall victim to various diseases, such as botrytis blight and viral infections. Provide adequate spacing for air circulation, avoid overhead watering, and promptly remove any affected parts to reduce the risk of spreading disease.
By forging a consistent care routine and remaining vigilant, you can ensure that your lilies receive the nourishment and attention they need to thrive. The joy of nurturing plants will fill your gardening experience with anticipation and satisfaction.
Dealing with Seasonal Change: Preparing for Winter

As the growing season winds down, transitioning your lilies for winter is an essential process to ensure they return each year in abundance. Knowing how to care for them during this period can significantly impact their longevity.
Letting Foliage Die Back: Allow the foliage to die back naturally. Cutting it prematurely can hinder the bulb’s energy storage, which is crucial for the next season’s growth. Once the leaves are brown and completely dead, you can remove them.
Mulching: After the first frost, apply a layer of mulch around the base of the plants. This protective barrier insulates the soil and maintains a more stable temperature. Organic mulch, such as shredded leaves or straw, not only adds protection but also enriches the soil as it decomposes.
Bulb Lifting (Optional): In colder climates where the ground might freeze, consider lifting the bulbs and storing them for the winter. Carefully dig them out post-foliage die-back, clean off excess soil, and store them in a cool, dry place in peat moss or vermiculite.
Monitoring for Pests: Overwintering bulbs can sometimes be a target for pests, such as rodents. If you’ve lifted the bulbs, keep an eye out for any signs of chew marks or burrowing. Consider using repellents if you’re worried about critters getting to your stored bulbs.
This ritual of preparation can often be overlooked, but it’s crucial for ensuring that your lilies return with vigor, allowing your garden to bloom vibrantly year after year.
Propagation: Sharing the Beauty of Lilies
Part of the joy in growing lilies is sharing their beauty and brilliance with others or expanding your own garden space through propagation techniques. There are several methods to propagate lilies, each offering opportunities for creativity and experimentation.
Bulb Division: This is the most common method for propagating established lilies. After a few growing seasons, you can divide bulbs. Carefully lift the bulb cluster and gently pull apart the smaller bulbs. Replant these in well-prepared soil and watch them establish themselves.
Offsets: Many lily varieties produce offsets, small bulbs that form around the base. These can be removed during the division process and re-planted. This method is straightforward, allowing you to gradually increase your collection.
Seeds: Although less commonly practiced due to the lengthy process, you can also propagate lilies by planting seeds. This requires patience, as it may take several years for seedlings to produce blooms. However, it can be a fascinating endeavor if you enjoy the experiment.
Grafting: Some experienced gardeners may venture into grafting lily varieties. This method involves joining two plants together to encourage hybridization. While complex, it can yield unique and uncommon varieties, making it exciting for the adventurous gardener.
By sharing bulbs with friends or trying your hand at seed propagation, you can bring a touch of joy to your gardening community while expanding your floral haven.
Creating Companions: Landscaping with Lilies
The versatility of lilies allows them to shine in various landscape designs, making them an ideal centerpiece for any garden. Pairing them strategically with other plants enhances their beauty while creating a harmonious visual feast.
Mixing Colors and Textures: Consider blending lilies with other perennial flowers that bloom at similar times. Combining lilies with plants like delphinium, phlox, or salvia can create breathtaking color contrasts and layers of texture, allowing the lilies to stand out.
Utilizing Foliage: Lilies are often complemented best by plants with contrasting foliage. For example, the deep burgundy leaves of a heuchera can beautifully juxtapose with the bright colors of lilies, creating a stunning visual appeal even when the lilies are not in bloom.
Creating Height Variation: Use taller lily varieties at the back of borders or intermixed with smaller flowers at the front. This not only provides a structural framework for your garden design but also ensures that every flower gets its moment in the sun (or shade).
Containers and Pathways: Lilies thrive in containers, too. Experiment with planting bulbs in pots alongside trailing plants such as ivy or creeping thyme to create stunning displays on patios and walkways. Positioning containers at varying heights adds visual interest and depth.
Your garden is a canvas, and with lilies as one of your primary strokes, you can paint a landscape that reflects your personality and passion for nature. This opportunity to play with various planting techniques can lead to delightful surprises.
Conclusion: The Rewarding Journey of Growing Lilies
Growing lilies is not merely about enjoying their beauty; it’s about engaging with nature, embracing challenges, and cultivating a deeper connection to the earth. From choosing the right variety to understanding their planting and care, each step in this journey unveils new layers of appreciation for these magnificent blooms.