Whether you’re a beginner gardener or a seasoned pro, harvesting arugula can be a rewarding experience. Here’s everything you need to know about the process, from planting to enjoying your homegrown greens.
Understanding Arugula
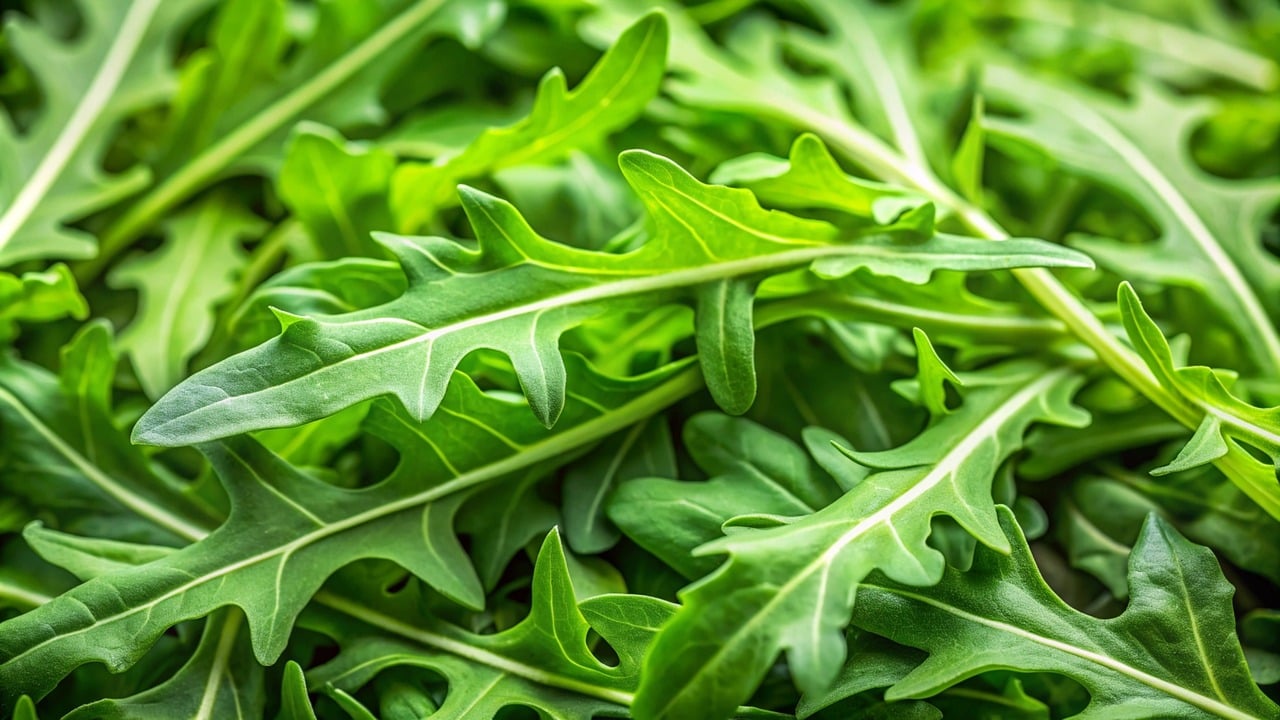
Arugula (Eruca sativa) is a leafy green vegetable that belongs to the mustard family. It’s commonly used in salads, pizzas, pastas, and various other dishes, adding a distinct flavor that enhances many meals. This plant is particularly valued for its nutritional benefits, packed with vitamins A, C, and K, as well as important minerals like calcium and potassium.
The Best Timing for Harvesting
Arugula is typically ready to harvest about 40-50 days after planting, but this can vary based on growing conditions and the specific variety of arugula. Here are some signs that your arugula is ready for a successful harvest:
Size: Look for leaves that are 4 to 6 inches long. This is when they are tender and flavorful.
Color: The leaves should be a vibrant green. If they start to yellow or wilt, it may signal that they are overripe or stressed.
Taste: If in doubt, tasting a leaf is a foolproof way to determine readiness! The flavor should be pleasantly peppery.
How to Harvest Arugula
When it comes to harvesting arugula, you have a couple of options: full harvest or cut-and-come-again.
Full Harvest
If your arugula plants have gotten a bit too mature or you want to clear a space for another crop, you may opt for a full harvest. Here’s how to do it:
Choose a dry day to avoid any excess moisture on the leaves, which can lead to spoilage.
Using a sharp knife or garden scissors, cut the entire plant close to the base. Make sure to leave any smaller, younger leaves intact if you plan to harvest again later.
Cut-and-Come-Again
This method allows you to enjoy a continuous supply of arugula throughout the growing season. Follow these steps for this technique:
Use scissors or shears to snip the outer leaves of the plant, cutting about one to two inches above the soil line.
Leave the inner leaves and crown intact, allowing the plant to continue growing. With proper care, you can return for more greens in about two weeks.
Storing Your Harvest
To enjoy your freshly harvested arugula, proper storage is key. Here’s how to keep your greens fresh:
Remove any damaged leaves and rinse arugula gently in cool water to remove dirt or insects.
Pat the leaves dry with a clean kitchen towel or use a salad spinner to eliminate excess moisture.
Store your arugula in a breathable bag or container in the refrigerator. Ideally, arugula will stay fresh for about 3-5 days, but it’s always best enjoyed right after harvesting.
Tips for Success
Regularly Harvest: The more you collect, the bushier the plant will grow. Regular harvesting encourages new growth and prevents the plant from bolting (going to seed).
Watch for Pests: Keep an eye out for aphids and flea beetles, which can damage your arugula. Natural methods such as insecticidal soap can be effective.
Companion Plants: Protect your arugula by planting it alongside herbs like parsley or flowers like marigolds that deter pests.
Plan for Succession Planting: To ensure a continual harvest, consider planting new seeds every few weeks. This practice allows you to enjoy fresh arugula from early spring through fall.
Conclusion
Harvesting arugula can be a gratifying experience that adds fresh flavor to your kitchen. By following these straightforward guidelines, you’ll be well-equipped to enjoy the unique taste of homegrown arugula and reap the benefits of growing this culinary gem in your own backyard. So get your hands dirty and relish in the satisfaction of knowing you’ve brought another wonderful green into your meals!