This guide will provide you with essential information on how to harvest okra effectively, ensuring that you enjoy the best of what this wonderful plant has to offer.
Understanding Okra

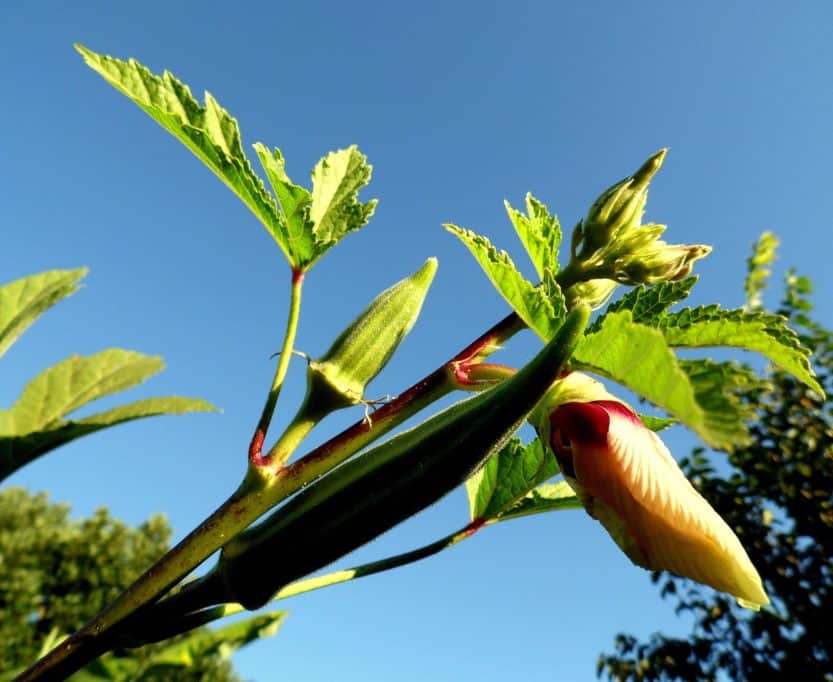
Okra, often referred to as “gumbo” in some cultures, is scientifically known as Abelmoschus esculentus. This warm-season vegetable is a staple in Southern cooking but is also enjoyed in cuisines worldwide. The plant thrives in sunny environments and performs best in well-drained soil. Okra plants can grow quite tall, sometimes reaching up to 6 feet, and they produce beautiful yellow or white flowers before forming the edible pods.
When to Harvest Okra
Timing is crucial when it comes to harvesting okra. The best time to pick okra is when the pods are 2 to 4 inches long. At this size, they are tender and have the best flavor. Here are some signs to look for:
Pod Size: Check the length of the pods regularly. If they exceed 4 inches, they may become tough and less enjoyable to eat.
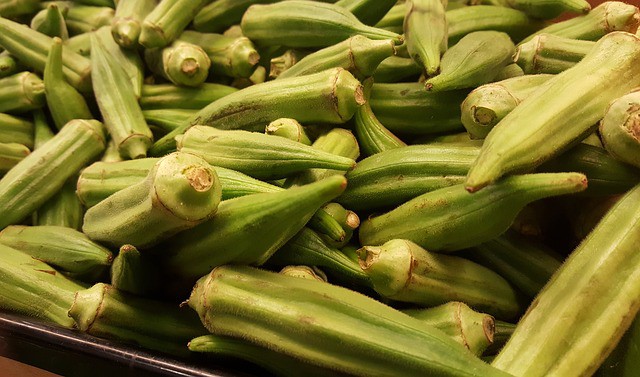
Color: Harvest when the pods are bright green. Any signs of browning or a dull appearance indicate they are overripe.
Texture: Young pods should feel firm and smooth. If the pods start to feel spongy or fibrous, they are past their prime.
For an optimal yield, it is beneficial to harvest okra every other day once the pods start to form. Regular harvesting encourages the plant to produce more pods.
How to Harvest Okra
Gather your tools and prepare for the harvesting process. Here’s what you need to do:
1. Wear Protective Gear
Okra plants can be prickly. It’s advisable to wear gloves and long sleeves to protect your skin from the tiny spines that may irritate if brushed against.
2. Use the Right Tools
While you can often snap off the okra pods with your hands, using a pair of garden shears or scissors will ensure a clean cut and reduce damage to the plant.
3. Cut, Don’t Pull
Gently twist and cut the okra pod from the plant instead of pulling it. This reduces the risk of breaking the stem or harming new pods that are forming nearby.
4. Store Properly
Once harvested, place the okra in a cool, dry area. Ideally, keep it in the refrigerator if you’re not planning to use it immediately. Okra can start to lose its quality within a day of picking, so freshness is key.
After Harvesting: Storing and Using Okra
Okra can be enjoyed in numerous delicious ways, whether fried, boiled, or added to soups and stews. Here are a few tips on how to store and cook with your freshly harvested okra:
Storage Tips
Refrigeration: Place your okra in a paper bag or an unsealed container in the fridge. Avoid airtight containers, as moisture can make them slimy.
Freezing: If you have more okra than you can use, blanch it for a few minutes in boiling water, cool it quickly in ice water, and then freeze it in airtight bags. This preserves flavor and texture.
Cooking Ideas
Fried Okra: This classic Southern dish involves battering and frying okra pods until crispy. Serve as a side dish or appetizer.
Okra Gumbo: A hearty, flavorful stew filled with various ingredients, where okra adds thickness and taste.
Grilled Okra: Toss the pods in olive oil, season with salt and pepper, and grill them for a quick, smoky flavor.
Encouraging Continuous Growth
To keep your okra plants producing after the initial harvest, consider the following:
Watering: Ensure your okra remains well-hydrated, especially during dry spells. Consistent watering encourages further growth.
Fertilization: Feed your plants with a balanced fertilizer every few weeks to support ongoing production.
Pest Control: Monitor for common pests that may affect the health of your plants. Using organic pesticides or introducing beneficial insects can help keep your garden thriving.
Conclusion
Harvesting okra is a rewarding experience that allows you to enjoy fresh produce right from your garden. With the right techniques and timing, you can maximize your yield and add a unique flavor to your meals. Remember that the key to successful okra harvesting lies in observation and regular upkeep of your plants.


