In this guide, we’ll discuss everything you need to know about harvesting yellow onions so you can enjoy the fruits of your labor.
Understanding Yellow Onions
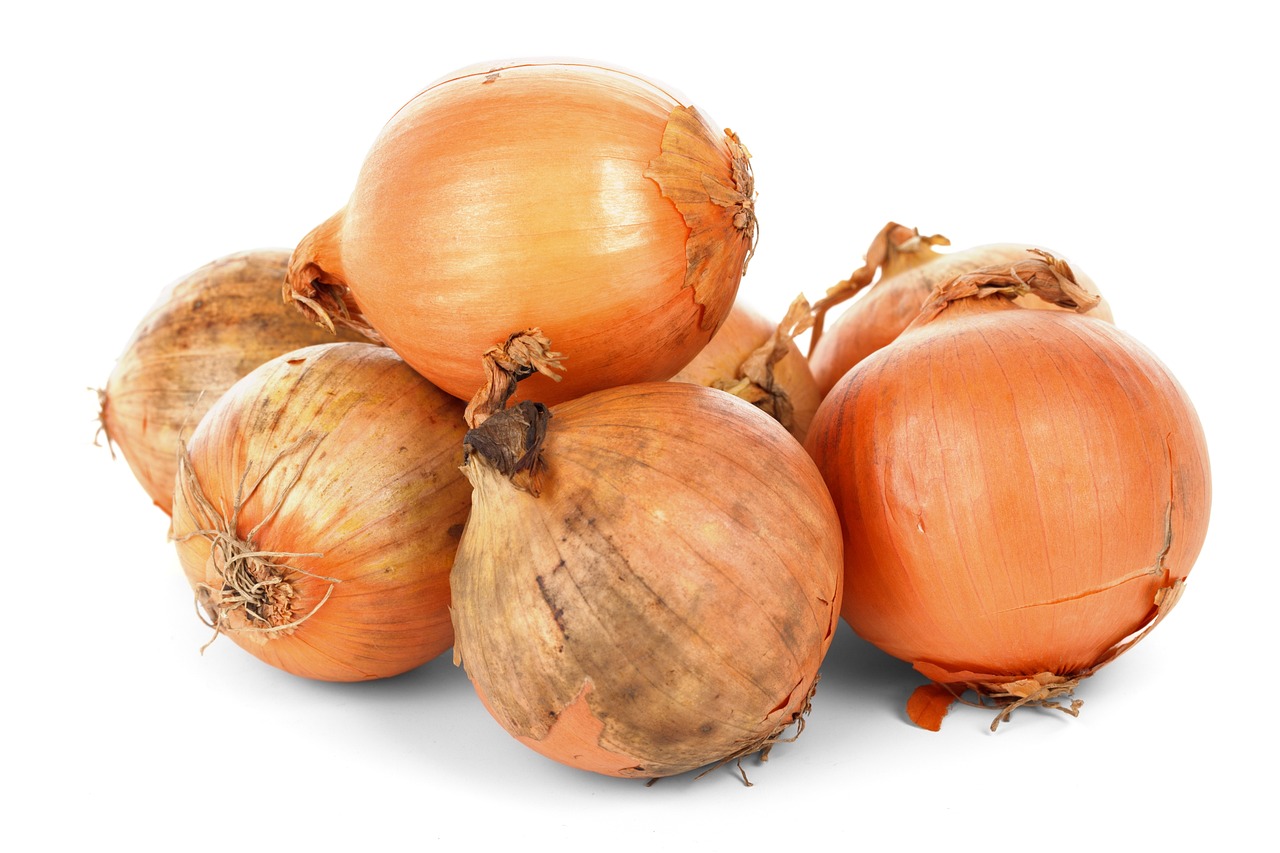
Yellow onions are the most commonly grown onion variety and are recognized for their papery golden skin and sweet, robust flavor. These onions can be used in a myriad of dishes, from sautéing to caramelizing, making them an essential component of countless recipes. They take approximately 90 to 120 days from planting to harvest, depending on your climate and the specific variety.
When to Harvest Yellow Onions
Timing is crucial when it comes to harvesting onions. You want to ensure they are fully matured to achieve the best flavor and storage longevity. Here are some signs that your yellow onions are ready to be harvested:
Top Fall Over: When the green stems (tops) of the onions begin to yellow and fall over, this is a strong indication that the onions have reached maturity.
Bulb Size: Inspect the bulbs by gently brushing away the soil. They should be large and firm. A mature yellow onion typically has a diameter of at least 3 inches.
Skin Texture: The outer skins should be dry and papery. If the skins are still moist or the tops are green, it’s best to wait a little longer.
Time of Year: Yellow onions are usually harvested in late summer or early fall. Timing can vary slightly based on your growing zone, so always pay attention to the specific conditions of your garden.
Harvesting Techniques
Once you’ve determined that your yellow onions are ready to be harvested, follow these simple steps:
Preparation: Gather your tools. You’ll need a digging fork or spade, gardening gloves, and a basket for collecting the onions. Avoid using a sharp shovel, as this could bruise the bulbs.
Loosen the Soil: Gently insert the digging fork or spade about 6 inches away from the onion bulb and lift it slightly to loosen the soil. This will help protect the bulbs and prevent damage.
Remove the Onions: Grasp the base of the green tops and pull the onions from the soil. Be careful not to tug too hard, as this can cause the bulbs to split or bruise.
Clean the Bulbs: Once harvested, remove any excess soil and trim the roots carefully. Leave the tops attached at first; this helps preserve the onions and prevents moisture loss.
Curing Yellow Onions
Curing is an essential step post-harvest as it enhances the onions’ flavor and extends their shelf life. Here’s how to do it:
Drying Area: Find a dry and well-ventilated area out of direct sunlight. A shed, garage, or shaded area in your garden works well.
Spread Them Out: Lay the onions in a single layer on a screen, mesh, or a table. Ensure that they are not piled on top of each other to allow proper air circulation.
Cure Time: Leave the onions to cure for about 2-3 weeks. During this time, the outer layers will dry out, and the bulbs will develop a stronger flavor.
Trim Tops and Store: After curing, cut the tops to about an inch from the bulb. Store your onions in a cool, dark, and dry place, ideally at temperatures around 32-40°F (0-4°C). Avoid storing them in plastic bags as this can lead to moisture buildup.
Troubleshooting Common Issues
While harvesting yellow onions can be straightforward, a few issues can arise:
Rot: If some bulbs appear mushy, that may indicate rot. It’s important to harvest promptly and ensure they’re properly cured and stored.
Pests and Disease: Watch out for onion maggots and fungal diseases. These can affect your onions if they’re not managed quickly. Regularly inspect your plants during the growing season.
Conclusion
Harvesting yellow onions is a rewarding experience that can provide you with fresh produce to enhance your cooking. By understanding when to harvest, how to do it properly, and how to cure and store them, you can enjoy delicious yellow onions for months to come.