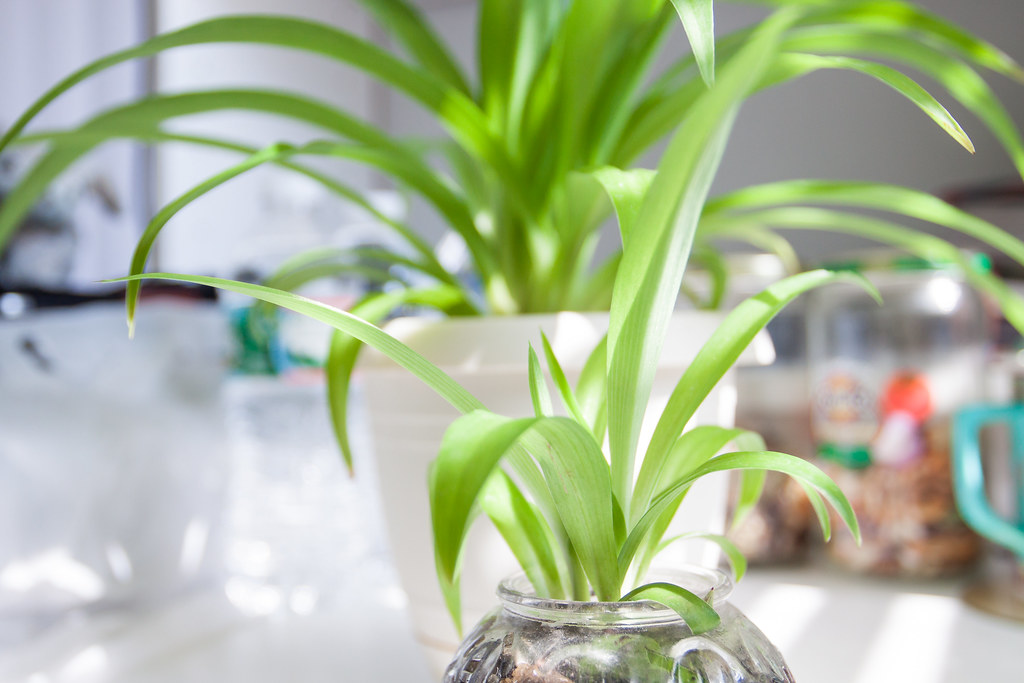
Spider plants (Chlorophytum comosum) are beloved household favorites known for their arching green leaves and unique spider-like offshoots.
They are superb air purifiers and are relatively easy to care for, making them perfect for both novice and seasoned plant enthusiasts.
If you’re curious about how to propagate spider plants effectively, this guide provides all the information you need.
Understanding Spider Plant Propagation
Spider plants are known for producing “pups,” which are small offshoots that grow from the mother plant. These pups are often the key to successful propagation. This method not only results in new plants but also helps control the size of the mother plant, keeping it healthy and vibrant.
Supplies Needed for Propagation
Before getting started, gather the following supplies:
Scissors or pruning shears: These will be used to cut the pups from the parent plant.
Potting soil: A good-quality potting mix will provide the nutrients needed for the new plants.
Small pots: Choose pots that are appropriate for the size of the pups being propagated.
Water: Keep the soil moist but not overly saturated during the rooting process.
Container or tray: If you prefer, you can root the pups in water before transferring them to soil.
Steps to Propagate Spider Plants
1. Identify the Pups
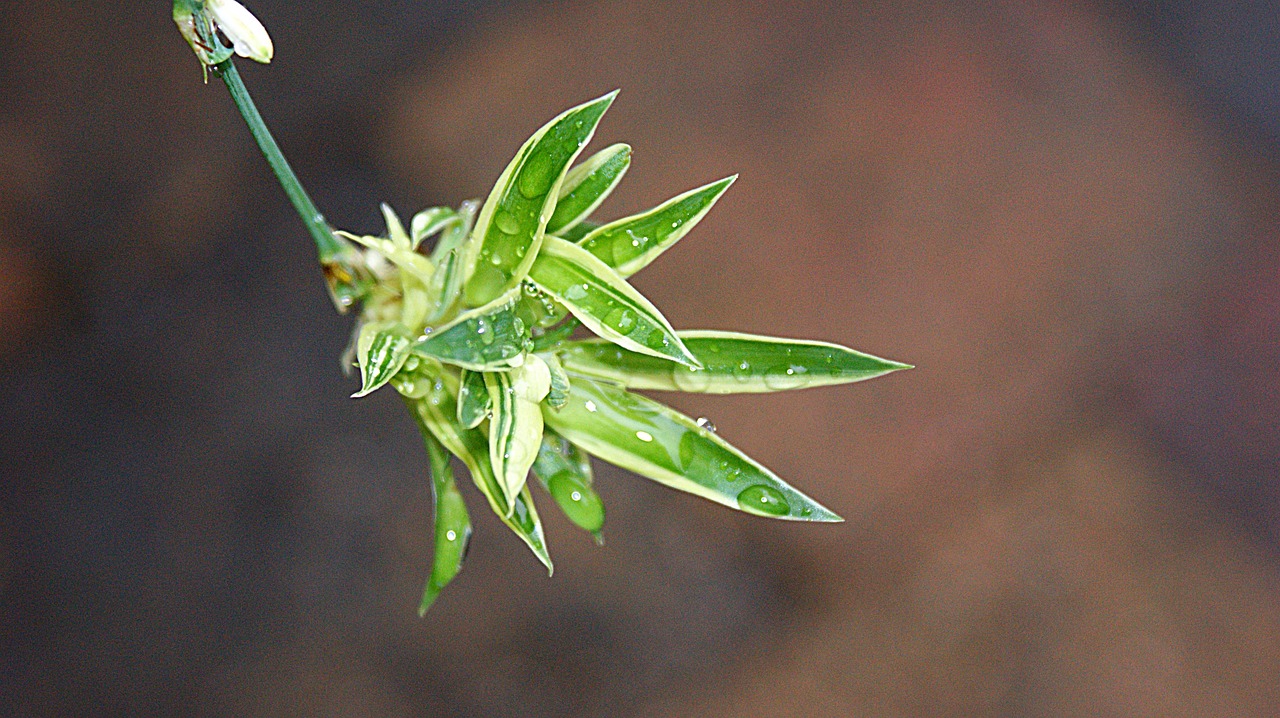
Look for healthy pups that have grown to about three to four inches in length. Ideally, these pups will have their own roots starting to develop, which can significantly enhance the rooting process.
2. Cut the Pups
Using clean scissors or pruning shears, carefully cut the pups from the mother plant. Make sure to include any roots if they have started to grow. This step is crucial as it minimizes stress on the plant and promotes quick recovery.
3. Prepare the Pots
Fill small pots with potting soil, ensuring there are drainage holes at the bottom. Moisten the soil lightly; it should be damp but not soggy. For those who wish to root the pups in water first, fill a clear container with water to monitor root growth.
4. Planting or Water Rooting
Soil Method: Plant the pups directly into the prepared soil, ensuring the roots are buried and the foliage is above the soil line.
Water Method: Place the pups in water, making sure only the roots are submerged. Change the water every few days to keep it fresh.
5. Provide the Right Environment
Place the planted pups in bright, indirect sunlight. Spider plants thrive in well-lit areas but should be protected from harsh direct sun, which can scorch the leaves. If rooting in water, ensure the container is in a well-lit area as well.
6. Watering and Care
Keep the soil consistently moist, but avoid overwatering. If using the water method, monitor the roots regularly. In 2-4 weeks, the pups should begin developing new root systems. Once you see roots that are about 2-3 inches long in the water, it’s time to transplant them to soil if they haven’t been potted already.
Transplanting and Ongoing Care

Once adequately rooted, whether coming from soil or water, transfer the pups to individual pots. Continue caring for your new spider plants by:
Watering when the top inch of soil feels dry.
Fertilizing every 4-6 weeks during the growing season (spring and summer). A balanced liquid fertilizer diluted to half strength works well.
Monitoring for pests like spider mites or mealybugs, especially in warmer months.
The Joy of Sharing

One of the best parts about propagating spider plants is the potential for sharing your new green friends. Whether gifting plants to friends or expanding your own indoor jungle, propagating these resilient plants fosters a sense of community among plant lovers.
Troubleshooting Common Issues
If you notice that the pups are wilting or not growing, consider the following tips:
Overwatering: Make sure that your pots have proper drainage to prevent root rot.
Under-lighting: If the plants are not getting enough light, move them to a brighter location.
Pest infestations: If you see any signs of pests, treat the plants with insecticidal soap or neem oil.
Conclusion
Propagating spider plants is an enjoyable and straightforward way to expand your plant collection or share the joy of gardening with others. By understanding the process and providing proper care, you’ll end up with thriving new plants to brighten your home. With a little patience and attention, the rewards are plentiful, making spider plant propagation a fulfilling endeavor for anyone passionate about plants.