In this guide, you’ll find everything you need to know about propagating Dieffenbachia, from the best methods to care tips for your new plants.
Understanding Dieffenbachia
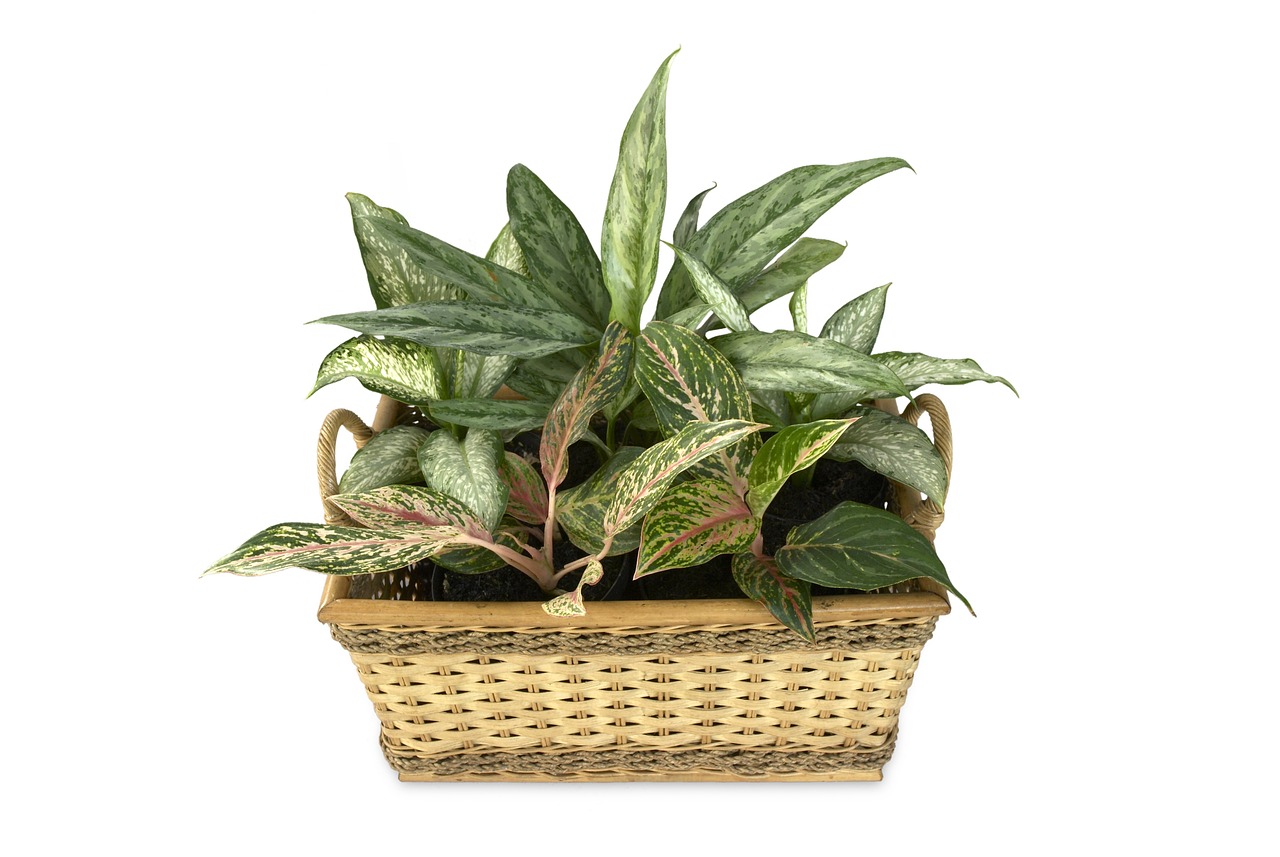
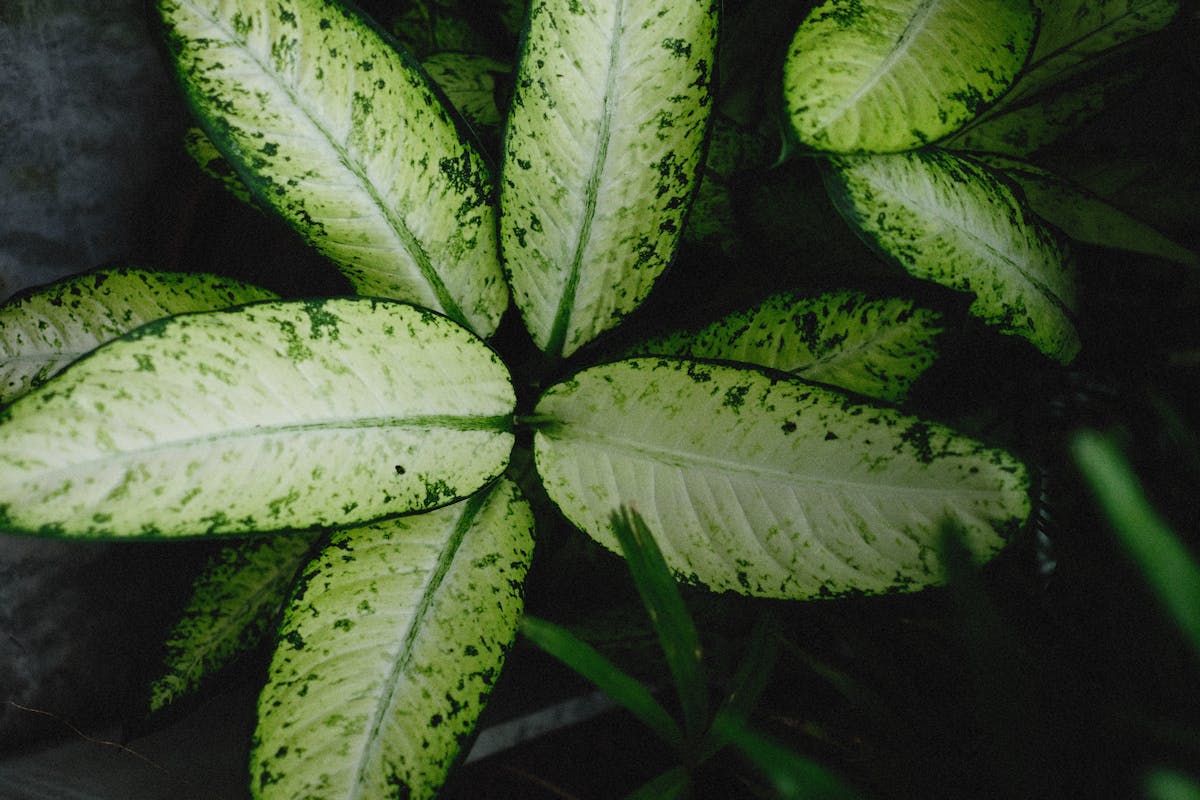
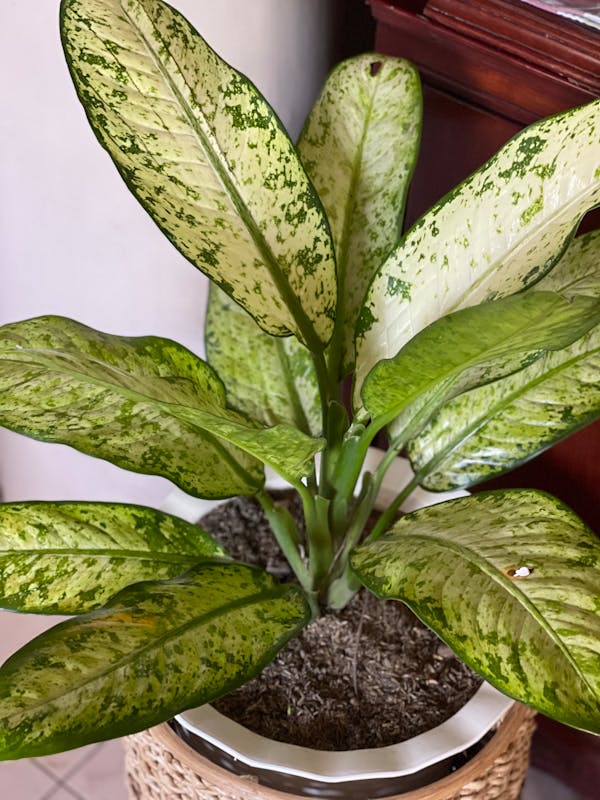
Before jumping into propagation techniques, it’s important to understand what Dieffenbachia is all about. Native to the tropical regions of Central and South America, Dieffenbachia is known for its large, attractive leaves that can reach impressive lengths. While it’s a low-maintenance houseplant, it’s also crucial to handle it with care, as its sap is toxic if ingested.
Why Propagate Your Dieffenbachia?
There are several reasons to propagate Dieffenbachia:
Cost-Effective: Instead of purchasing new plants, you can create more from your existing Dieffenbachia.
Gift Giving: Share your love for plants with friends and family by gifting them a propagated Dieffenbachia.
Fuller Plants: Regular propagation encourages bushier growth, giving your main plant a fuller appearance.
Best Methods for Propagating Dieffenbachia
Propagating Dieffenbachia can be done through two primary methods: stem cuttings and division. Let’s break down each method.
1. Stem Cuttings
Stem cuttings are one of the easiest ways to propagate Dieffenbachia. Here’s how to do it effectively:
Materials Needed:
Sharp, clean scissors or pruning shears
A glass of water or pot with well-draining potting soil
A small plastic bag or humidity dome (optional)
Steps:
Choose a Healthy Stem: Look for a healthy stem with at least a few leaves. It’s best to choose a stem that is at least 6 inches long.
Make the Cut: Use clean scissors to cut the stem just below a leaf node. This is where new growth will emerge.
Water Propagation: Place the cutting in a glass of water, ensuring that the leaf nodes are submerged. Change the water every few days to keep it fresh. You should see roots developing in about 2-4 weeks.
Soil Propagation: Alternatively, you can plant the cutting directly in a pot filled with well-draining soil. Water lightly and keep the soil moist but not soggy. In about 4-6 weeks, roots should establish.
2. Division
Division is suitable for larger Dieffenbachia plants that have multiple stems. This method not only helps propagate new plants but also aids in controlling the size of your main plant.
Materials Needed:
Sharp, clean knife or spade
Potting soil
Pots for new plants
Steps:
Remove the Plant: Carefully take the Dieffenbachia out of its pot, making sure to preserve as many roots as possible.
Identify Sections: Look for natural divisions in the plant. Each section should have roots and at least one or two stems.
Cut and Replant: Using a knife, separate the sections and pot each one in its own container filled with well-draining soil. Press the soil around the roots gently, making sure not to pack it too tightly.
Water and Care: Water the newly potted plants and place them in a warm location with indirect sunlight.
Aftercare for Your Propagated Dieffenbachia
Once you’ve propagated your Dieffenbachia, proper care is essential to help your new plants thrive:
Light: Place your propagated plants in bright, indirect light. Too much direct sunlight can scorch the leaves, while too little light can hinder growth.
Watering: For cuttings in water, keep the water level consistent. For soil-planted cuttings, water when the top inch of soil feels dry. Overwatering can lead to root rot, so ensure good drainage.
Humidity: Dieffenbachia loves humidity. Mist the leaves regularly, or consider using a humidity tray or humidifier to maintain adequate moisture levels.
Temperature: Keep your plants in a warm environment, ideally between 65°F and 80°F (18°C – 27°C). Avoid placing them in drafty areas or near heating vents.
Fertilizing: Once your new plants are established, feed them with a balanced liquid fertilizer every 4-6 weeks during the growing season (spring and summer).
Pruning: Regularly check your Dieffenbachia for any yellow or damaged leaves and prune them as necessary. This not only improves the appearance of your plant but also promotes healthy growth.
Repotting: If your propagated plants start to outgrow their pots, plan to repot them in a slightly larger container. Fresh soil will provide the nutrients necessary for continued growth.
Common Challenges with Dieffenbachia Propagation

While propagating Dieffenbachia can be rewarding, some challenges may arise. Here are a few common issues and how to troubleshoot them:
Failure to Root: If your stem cuttings aren’t developing roots, ensure that you’re using healthy stems and that the leaf nodes are submerged if propagating in water. For soil cuttings, make sure the soil is kept moist but not overly wet.
Yellowing Leaves: This can be a sign of overwatering or too much direct sunlight. Adjust the watering schedule and move the plant to a location with filtered light.
Pests: Spider mites, mealybugs, and aphids can sometimes infest Dieffenbachia. Keep an eye out for any signs of pests and treat infestations with insecticidal soap or neem oil as needed.
Share Your Journey on Pinterest
Pinterest is an excellent platform for sharing your propagation journey. Consider creating a board dedicated to your Dieffenbachia propagation journey. You can document your progress through photographs, share tips that worked for you, and discover other plant enthusiasts who are passionate about their own propagation experiences.
Conclusion
By following the methods and tips outlined above, you’re well on your way to enjoying a flourishing home filled with the beauty of Dieffenbachia. Whether you’re gifting your propagated plants or simply enjoying their splendor in your own space, you’ll undoubtedly appreciate the vibrant charm they bring to your living environment.