In this guide, we will cover everything you need to know about propagating African violets successfully.
Understanding African Violets

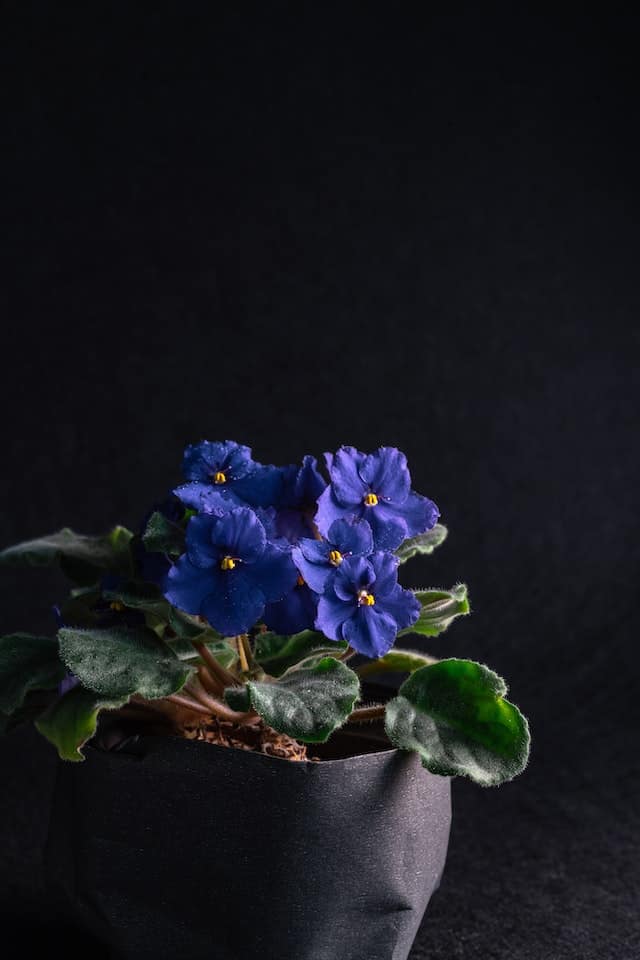
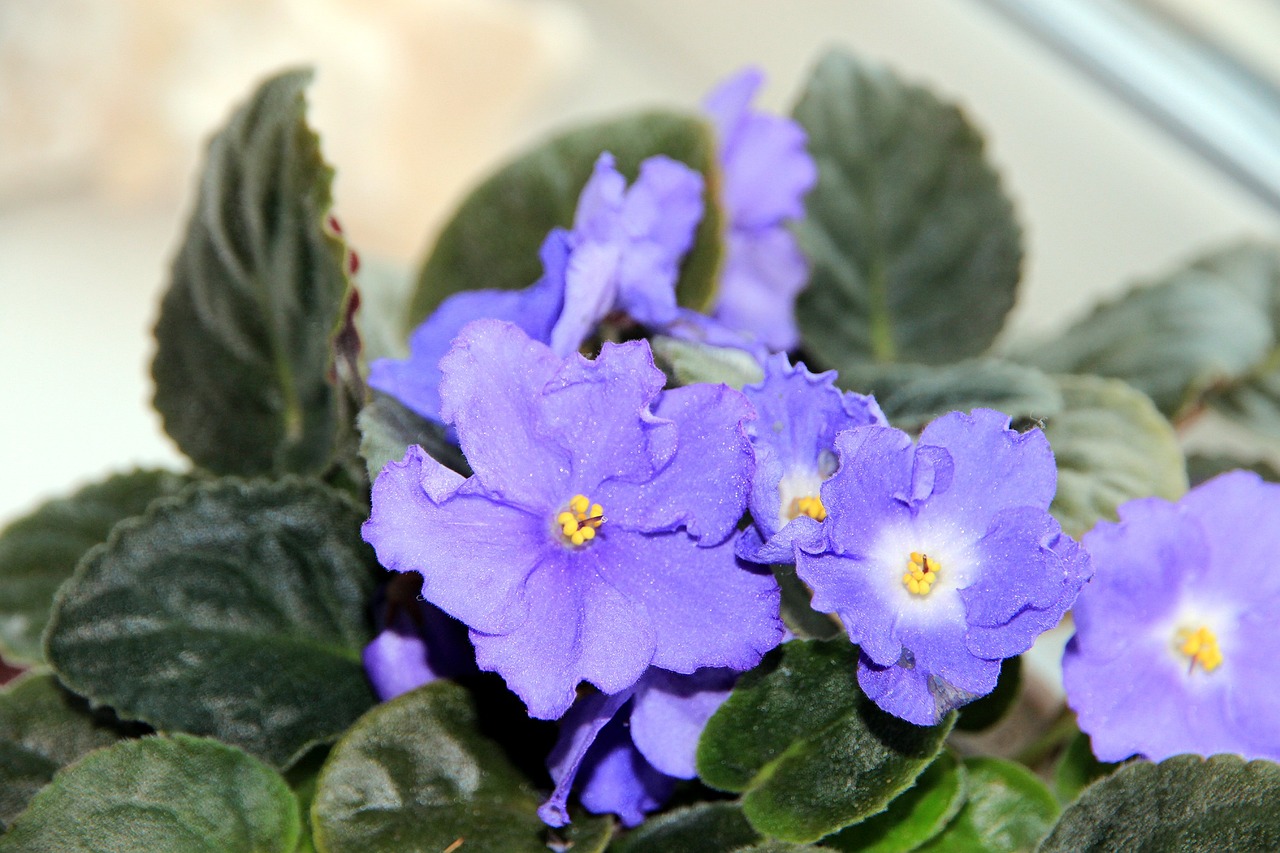
Before jumping into propagation, it’s essential to understand the African violet (Saintpaulia). This flowering plant is known for its velvety leaves and delicate flowers that bloom throughout the year. Native to Tanzania and Uganda, these plants flourish in warm, humid environments—a factor that should be considered when propagating.
Why Propagate African Violets?
There are several motivations for propagating African violets:
Expand Your Collection: If you have a favorite variety, propagation allows you to multiply your plants.
Gift-Giving: Sharing propagated plants is a thoughtful gesture for friends and family who appreciate houseplants.
Plant Health: Sometimes, older plants may need rejuvenation. Propagation can help you start anew with healthy cuttings.
Methods of Propagation
There are two primary methods to propagate African violets: leaf cuttings and offsets (also known as plantlets). Let’s break down each method.
1. Propagation by Leaf Cuttings
This method is the most popular and easiest way to propagate African violets.
Materials Needed:
Healthy African violet plant
Sharp, clean scissors or knife
Small pots
Potting mix (preferably African violet potting mix)
Water
Steps:
Select a Leaf: Choose a healthy leaf from the parent plant. Look for a leaf that is firm and free from blemishes.
Cut the Leaf: Using your scissors or knife, cut the leaf at a 45-degree angle, leaving about 2-3 inches of the petiole (the leaf stem) attached.
Prepare the Pot: Fill a small pot with your chosen potting mix. Make sure it’s well-draining.
Plant the Leaf: Insert the cut end of the petiole into the soil, burying it about an inch deep. If you have multiple cuttings, leave space between each one.
Water Gently: After planting, water the soil lightly. Ensure it’s moist but not soggy.
Create Humidity: To encourage growth, cover the pot with a plastic bag or a clear plastic dome to retain moisture. Be sure to ventilate occasionally to prevent mold.
Place in Indirect Light: Keep the pot in a warm place with indirect sunlight. Avoid direct sun, as it can scorch the leaves.
Wait for Roots: Roots should develop within a few weeks. Once you see new leaves emerging, it’s a sign the cutting has successfully rooted and can be potted individually.
2. Propagation by Offsets (Plantlets)
Offsets are small plantlets that grow around the base of the parent plant. This method requires a bit more care, but it’s equally rewarding.
Steps:
Identify Offsets: Look for small plantlets growing around the base of the main plant.
Remove Offsets: Carefully separate the offsets from the parent plant using your hands or a sharp knife. Ensure roots are attached to the offsets.
Pot the Offsets: Place the plantlets in small pots filled with potting mix, ensuring the roots are covered.
Water and Care: Water them lightly and cover with a plastic bag or dome to maintain humidity. Keep them in indirect light.
Monitor Growth: As with leaf cuttings, watch for new growth, which indicates the offsets are successfully rooting.
Tips for Successful Propagation
Check for Pests: Always inspect leaves and plants for pests or diseases before propagating.
Use Clean Tools: Prevent infection by using sterilized scissors or knives when making cuts.
Be Patient: Propagation takes time. Some cuttings may take longer than others to establish roots.
Adjust Watering: Ensure the soil is moist but not soggy, as overly wet conditions can lead to rot.
Conclusion
Propagating African violets is a fulfilling endeavor that can enhance your plant collection and brighten your space. Whether you choose to propagate by leaf cuttings or offsets, following the right steps and providing proper care can lead to success.
So gather your supplies, select a healthy plant, and start your propagation journey. With patience and a little love, you’ll soon find yourself with a thriving collection of African violets that can bring joy for years to come.


