This guide will walk you through everything you need to know about propagating these charming plants.
Understanding Hoya Plants
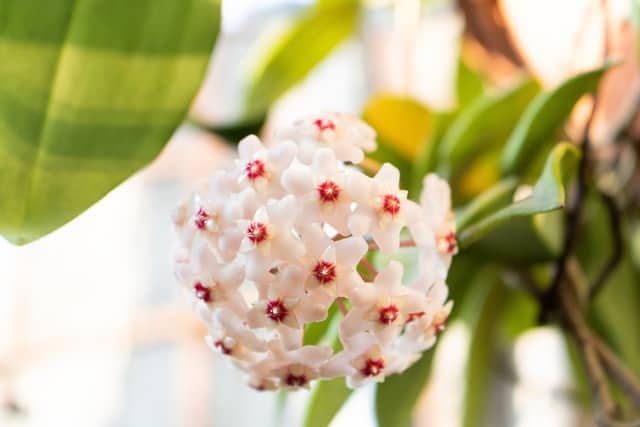
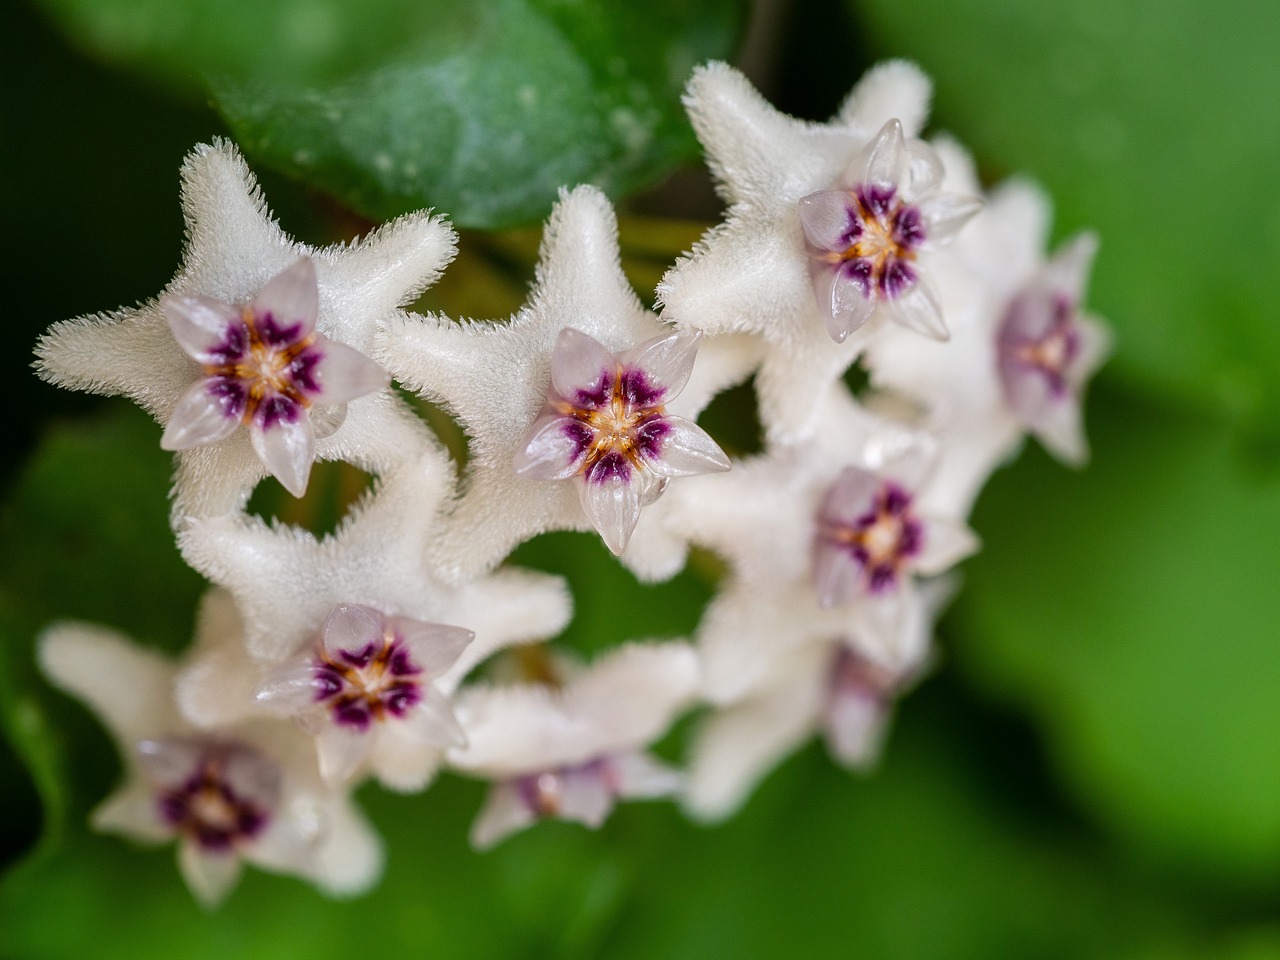
Hoya, often called wax plants, belong to the Apocynaceae family and are native to Southeast Asia. There are numerous species, each with unique foliage and flowering habits. Hoyas are generally easy to care for, making them popular among indoor gardeners. They thrive in bright, indirect light and prefer well-draining soil.
Why Propagate Hoyas?
Cost-Effective: Propagating a hoya allows you to create new plants without purchasing them from a store.
Sharing is Caring: If you have friends or family who love plants, propagating hoyas is a great way to share your passion.
Increase Collection: Adding more hoya varieties to your collection can enhance the aesthetics of your home.
Healthy Plants: Propagation can help rejuvenate a neglected hoya by allowing new growth to emerge.
The Best Time to Propagate
While you can propagate hoyas at any time of year, the optimal season is during spring and summer when the plant is actively growing. During these months, the warmer temperatures and increased light encourage healthy root formation.
Tools You’ll Need
Before starting the propagation process, gather the following tools:
Sterilized Scissors or Shears: This helps prevent the spread of disease.
Container or Pot: Use a small pot with drainage holes for planting your cuttings.
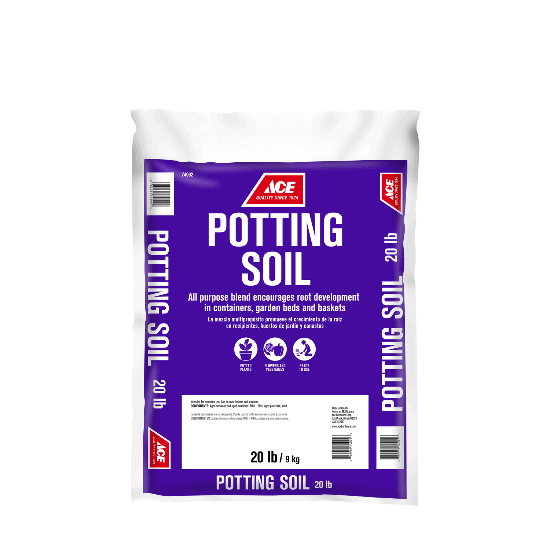
Well-Draining Potting Mix: A mix suitable for succulents or a blend of regular potting soil and perlite works well.
Water: For water propagation, a clear vase or jar is needed.
How to Propagate Hoya Plants
Step 1: Select a Healthy Stem
Choose a healthy stem that has several leaves and at least one node. The node is the part of the stem where leaves emerge and is crucial for root development. Avoid stems that show signs of disease or damage.
Step 2: Take the Cutting
Using your sterilized scissors or shears, cut a section of the stem about 4-6 inches long. Make your cut just below a node. If you have multiple nodes on the stem, you can take a longer cutting, but aim to have at least one node for successful propagation.
Step 3: Remove Lower Leaves
Once you have your cutting, remove the lower leaves. This will expose the node and prevent the leaves from rotting once placed in soil or water.
Step 4: Allow to Callus (Optional)
For cuttings taken in humid conditions, letting the cut end callus for a few hours to a day can help prevent rot. This step is not mandatory but can improve success rates in some cases.
Step 5: Choosing Your Propagation Method
You can choose to propagate your hoya cuttings in water or soil. Here’s how to do both:
Water Propagation
Place the cutting in a jar of water, ensuring that the node is submerged, but the leaves are above the waterline.
Place the jar in a spot with indirect sunlight.
Change the water every few days to keep it fresh.
After a few weeks, you should see roots developing.
Soil Propagation
Fill a small pot with well-draining potting mix.
Make a small hole in the soil and insert the cutting, covering the node with soil.
Water the cutting lightly to settle the soil.
Place the pot in a warm, bright spot with indirect light.
Step 6: Care for Your Cuttings
Watering: If propagating in soil, keep the soil slightly moist but not soggy. For water propagation, monitor the water levels and change it regularly.
Humidity: Hoyas enjoy humidity, so consider placing a plastic bag over soil-propagated cuttings to create a mini greenhouse effect. Make sure to ventilate it periodically.
Light: Both methods require bright, indirect light. Too much direct sunlight can scorch the leaves, while too little may inhibit growth.
Step 7: Transfer to a Larger Pot
Once your cuttings have developed healthy roots (approximately 2-4 inches), or if they have a few sets of leaves, you can transfer them to a larger pot with standard potting soil.
Troubleshooting Common Issues
Yellowing Leaves: This could be a sign of overwatering or poor drainage. Ensure that the pot has drainage holes and that you’re allowing the soil to dry out slightly between waterings.
No Root Development: If you’re propagating in water and see no root growth after several weeks, check the water quality or the health of your cutting. For soil propagation, simply be patient, as roots might take some time to form.
Wilting Leaves: Wilting can be an indication that your cutting needs more water or possibly more humidity. If propagating in a dry environment, consider increasing humidity application or misting the leaves.
Share Your Success!
After you have successfully propagated your hoya plants, consider sharing your journey on Pinterest! Create beautiful boards showcasing your propagation techniques, tips, and the stunning results. Engaging with the online plant community not only provides inspiration but also helps others who are embarking on their propagation journey.
Final Thoughts on Hoya Propagation
Propagating hoya plants can be a rewarding and enjoyable experience. Not only will you gain new plants to cherish, but you’ll also deepen your connection with your existing hoya collection. Each cutting nurtured into a new plant allows you to witness the beauty of these resilient and lovely plants from the start.
Take your time throughout the process and remember to have patience. Every hoya has its own growth rate and quirks, and part of the enjoyment is observing each plant’s journey.