This comprehensive guide will walk you through propagation methods, ideal conditions, and care tips to ensure your success.
Understanding Azaleas
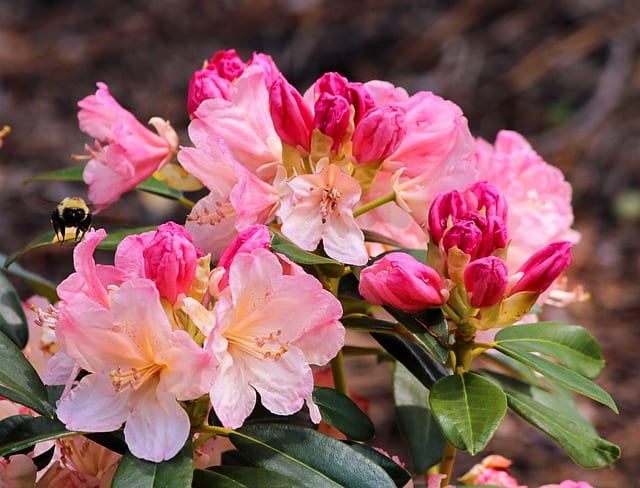
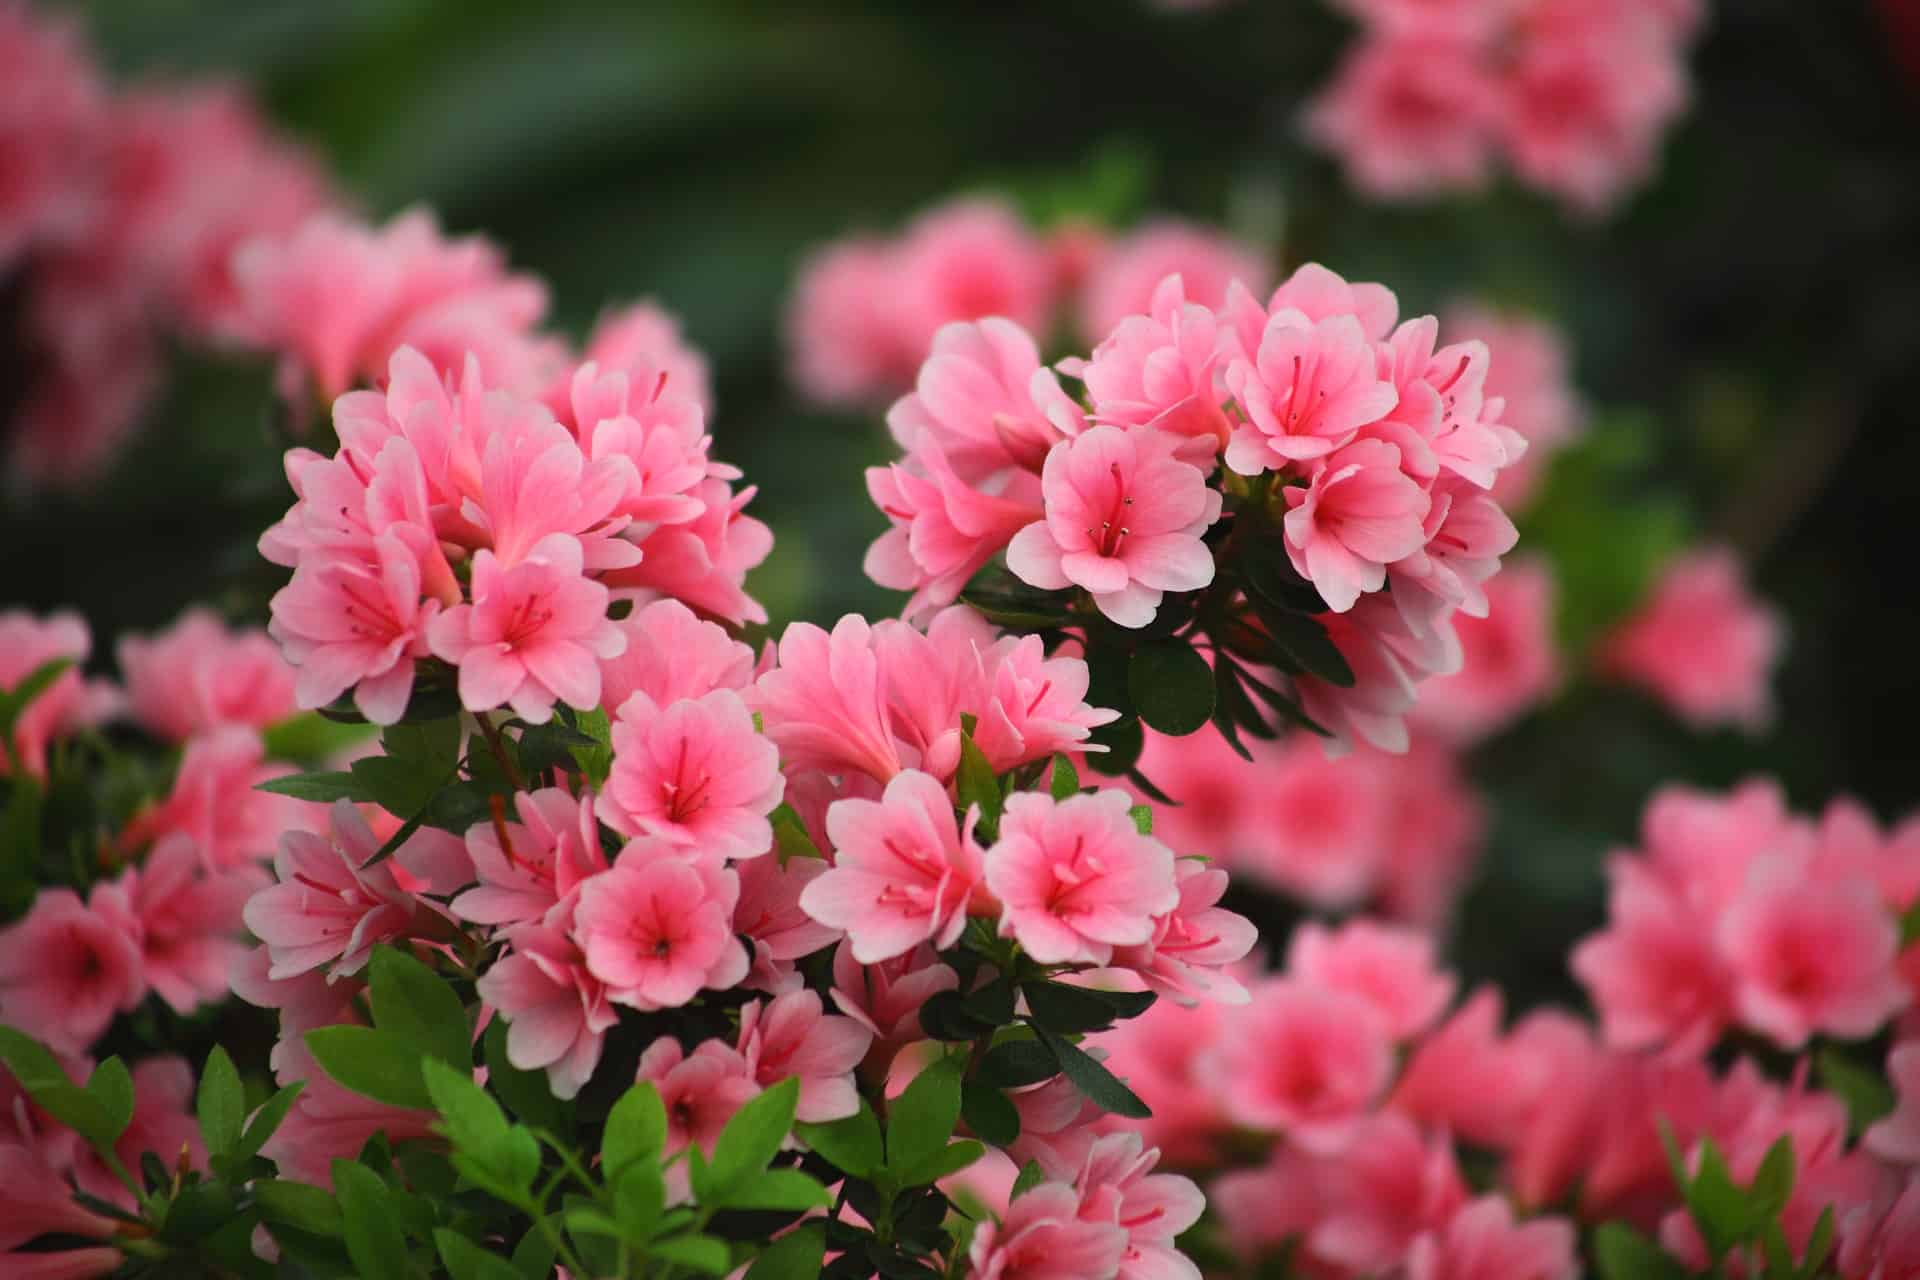
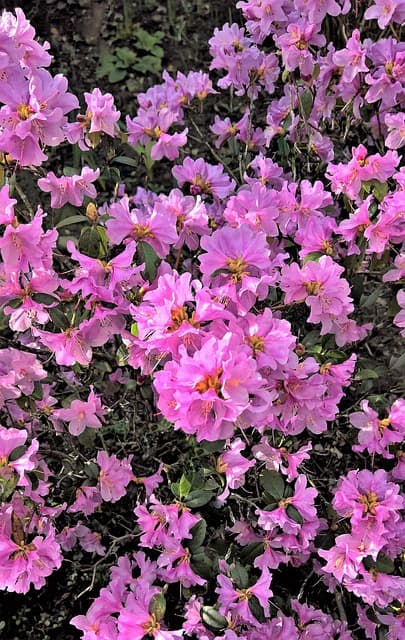
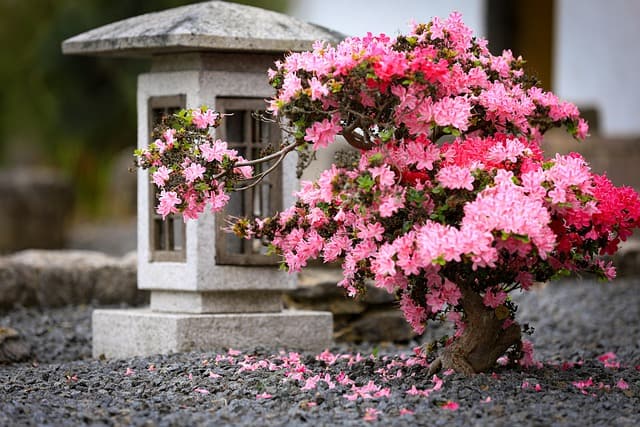
Before propagating azaleas, it’s essential to know what they are. Azaleas belong to the Rhododendron family and are characterized by their vibrant flowers which bloom in various colors during spring. These hardy plants thrive in well-drained, slightly acidic soil and prefer partial shade to full sun, depending on the variety.
Why Propagate Azaleas?
There are numerous reasons to propagate azaleas. Perhaps you want to:
Create New Plants: Expand your garden or create a landscape feature.
Save Money: Growing your own plants can be cost-effective.
Preserve a Variety: Maintain specific traits of a beloved azalea, particularly if it has sentimental value.
Methods of Propagation
There are several methods for propagating azaleas, but the most common include cuttings and layering. Here’s how to do each.
1. Propagation by Cuttings
One of the easiest ways to propagate azaleas is through stem cuttings. Here’s how to do it:
Step-by-Step Process:
Choose the Right Time: Late spring to early summer is ideal for taking cuttings from new growth.
Select Cuttings: Pick healthy branches that are about 4 to 6 inches long. Look for stems that have recently bloomed.
Prepare the Cuttings:
Use sharp, sterile pruning shears to make a clean cut just below a leaf node.
Remove the leaves from the bottom half of the cutting to minimize moisture loss.
Use Rooting Hormone (optional): Dip the cut end of the cutting in rooting hormone to encourage root development. This step is not mandatory but can improve your success rate.
Plant the Cuttings:
Fill a seed tray or small pots with a well-draining potting mix, such as a mixture of peat and perlite or sand.
Make a hole in the soil with a pencil or your finger, and gently insert the cutting about 2 inches deep. Firm the soil around it.
Provide Humidity: Mist the cuttings lightly and cover them with a clear plastic bag or a humidity dome to maintain moisture.
Place in Indirect Light: Keep the cuttings in a warm spot with indirect sunlight. Avoid direct sunlight, which can scorch them.
Watering: Keep the soil moist but not soggy. Check daily for moisture levels, and mist if needed.
Wait for Roots: Typically, you can expect roots to develop within 4 to 8 weeks. You can gently tug on the cuttings to feel for resistance, indicating root growth.
Transplanting: Once the cuttings have established roots, transplant them into individual pots for further growth.
2. Propagation by Layering
Layering is another effective method for propagating azaleas. This technique involves rooting a branch while it’s still attached to the parent plant.
Step-by-Step Process:
Select a Branch: Choose a healthy, flexible branch that can easily be bent down to the ground.
Prepare the Site: Find a spot on the ground where the branch can touch the soil.
Girdle the Branch: Make a small cut on the underside of the branch (about a third of the way through) to encourage root growth.
Bend the Branch: Carefully bend the branch so that the cut part makes contact with the soil.
Anchor the Branch: Use a small rock or stake to hold the branch in place and cover the girdled area with soil, leaving the tip exposed.
Water and Wait: Water the area thoroughly and keep it moist. It may take several months for roots to develop.
Sever the New Plant: Once you see new growth on the tip and roots underneath, cut the new plant from the parent and transplant it to a pot or garden bed.
Care for Newly Propagated Azaleas
After propagating azaleas, proper care is crucial to their successful growth:
Watering: Keep the soil consistently moist but not soggy. Water when the top inch feels dry.
Light: Ensure the new plants receive partial shade, especially in hot weather.
Fertilizing: Use a balanced, slow-release fertilizer to provide nutrients as the plants establish.
Pruning: Remove any dead or damaged leaves and branches to promote airflow and encourage healthy growth. However, avoid heavy pruning until the plants are well-established.
Monitoring for Pests and Diseases
Even newly propagated azaleas can be vulnerable to pests and diseases. Regularly check for common issues such as:
Leaf Spot: Look for spots on the leaves indicating fungal infections. If you spot these, remove affected leaves and consider applying a fungicide.
Aphids: These small insects may cluster on new growth. If you find them, a gentle spray of water or insecticidal soap can help control them.
Root Rot: Overwatering can lead to root rot. Ensure proper drainage and adjust your watering schedule if the soil is overly saturated.
Hardening Off
Before planting your azaleas outdoors, they will need to be hardened off, especially if they were started indoors.
Gradual Exposure: Start by placing your azaleas outside for a few hours a day in a shaded location, gradually increasing the amount of sunlight and the time spent outdoors over one to two weeks.
Monitor Conditions: Keep an eye on the weather, as sudden changes (like frost) can be harmful. If a cold snap occurs, bring the plants back inside temporarily.
Final Planting
Once the new azaleas are hardened off and well-established, they can be planted in their permanent location:
Choose the Right Spot: Look for an area that meets the light and soil requirements for azaleas. Morning sun and afternoon shade are ideal.
Prepare the Soil: Use well-draining, acidic soil. If your garden soil is not acidic enough, you can mix in peat moss or specific azalea mix potting soil.
Digging the Hole: Dig a hole that is twice as wide and as deep as the root ball of the plant.
Placement: Place the plant in the hole, ensuring the roots are spread out and the top of the root ball is level with the soil surface.
Watering and Mulching: Water thoroughly after planting and apply a layer of mulch to help retain moisture and suppress weeds. Organic mulch like pine bark or shredded leaves is a good choice.
Conclusion
Propagating azaleas can be a gratifying and enjoyable experience, allowing you to create beautiful new plants for your garden or share with friends. With patience and proper care, you can cultivate thriving azaleas that will enhance the beauty of your landscape for years to come.
Remember that every propagation attempt can teach you something new, so don’t be discouraged by any setbacks. As you gain experience, you will become more confident in your techniques and enjoy watching your azaleas flourish.