In this guide, we’ll walk you through everything you need to know about propagating asparagus ferns to ensure your gardening venture is a success.
Understanding Asparagus Fern

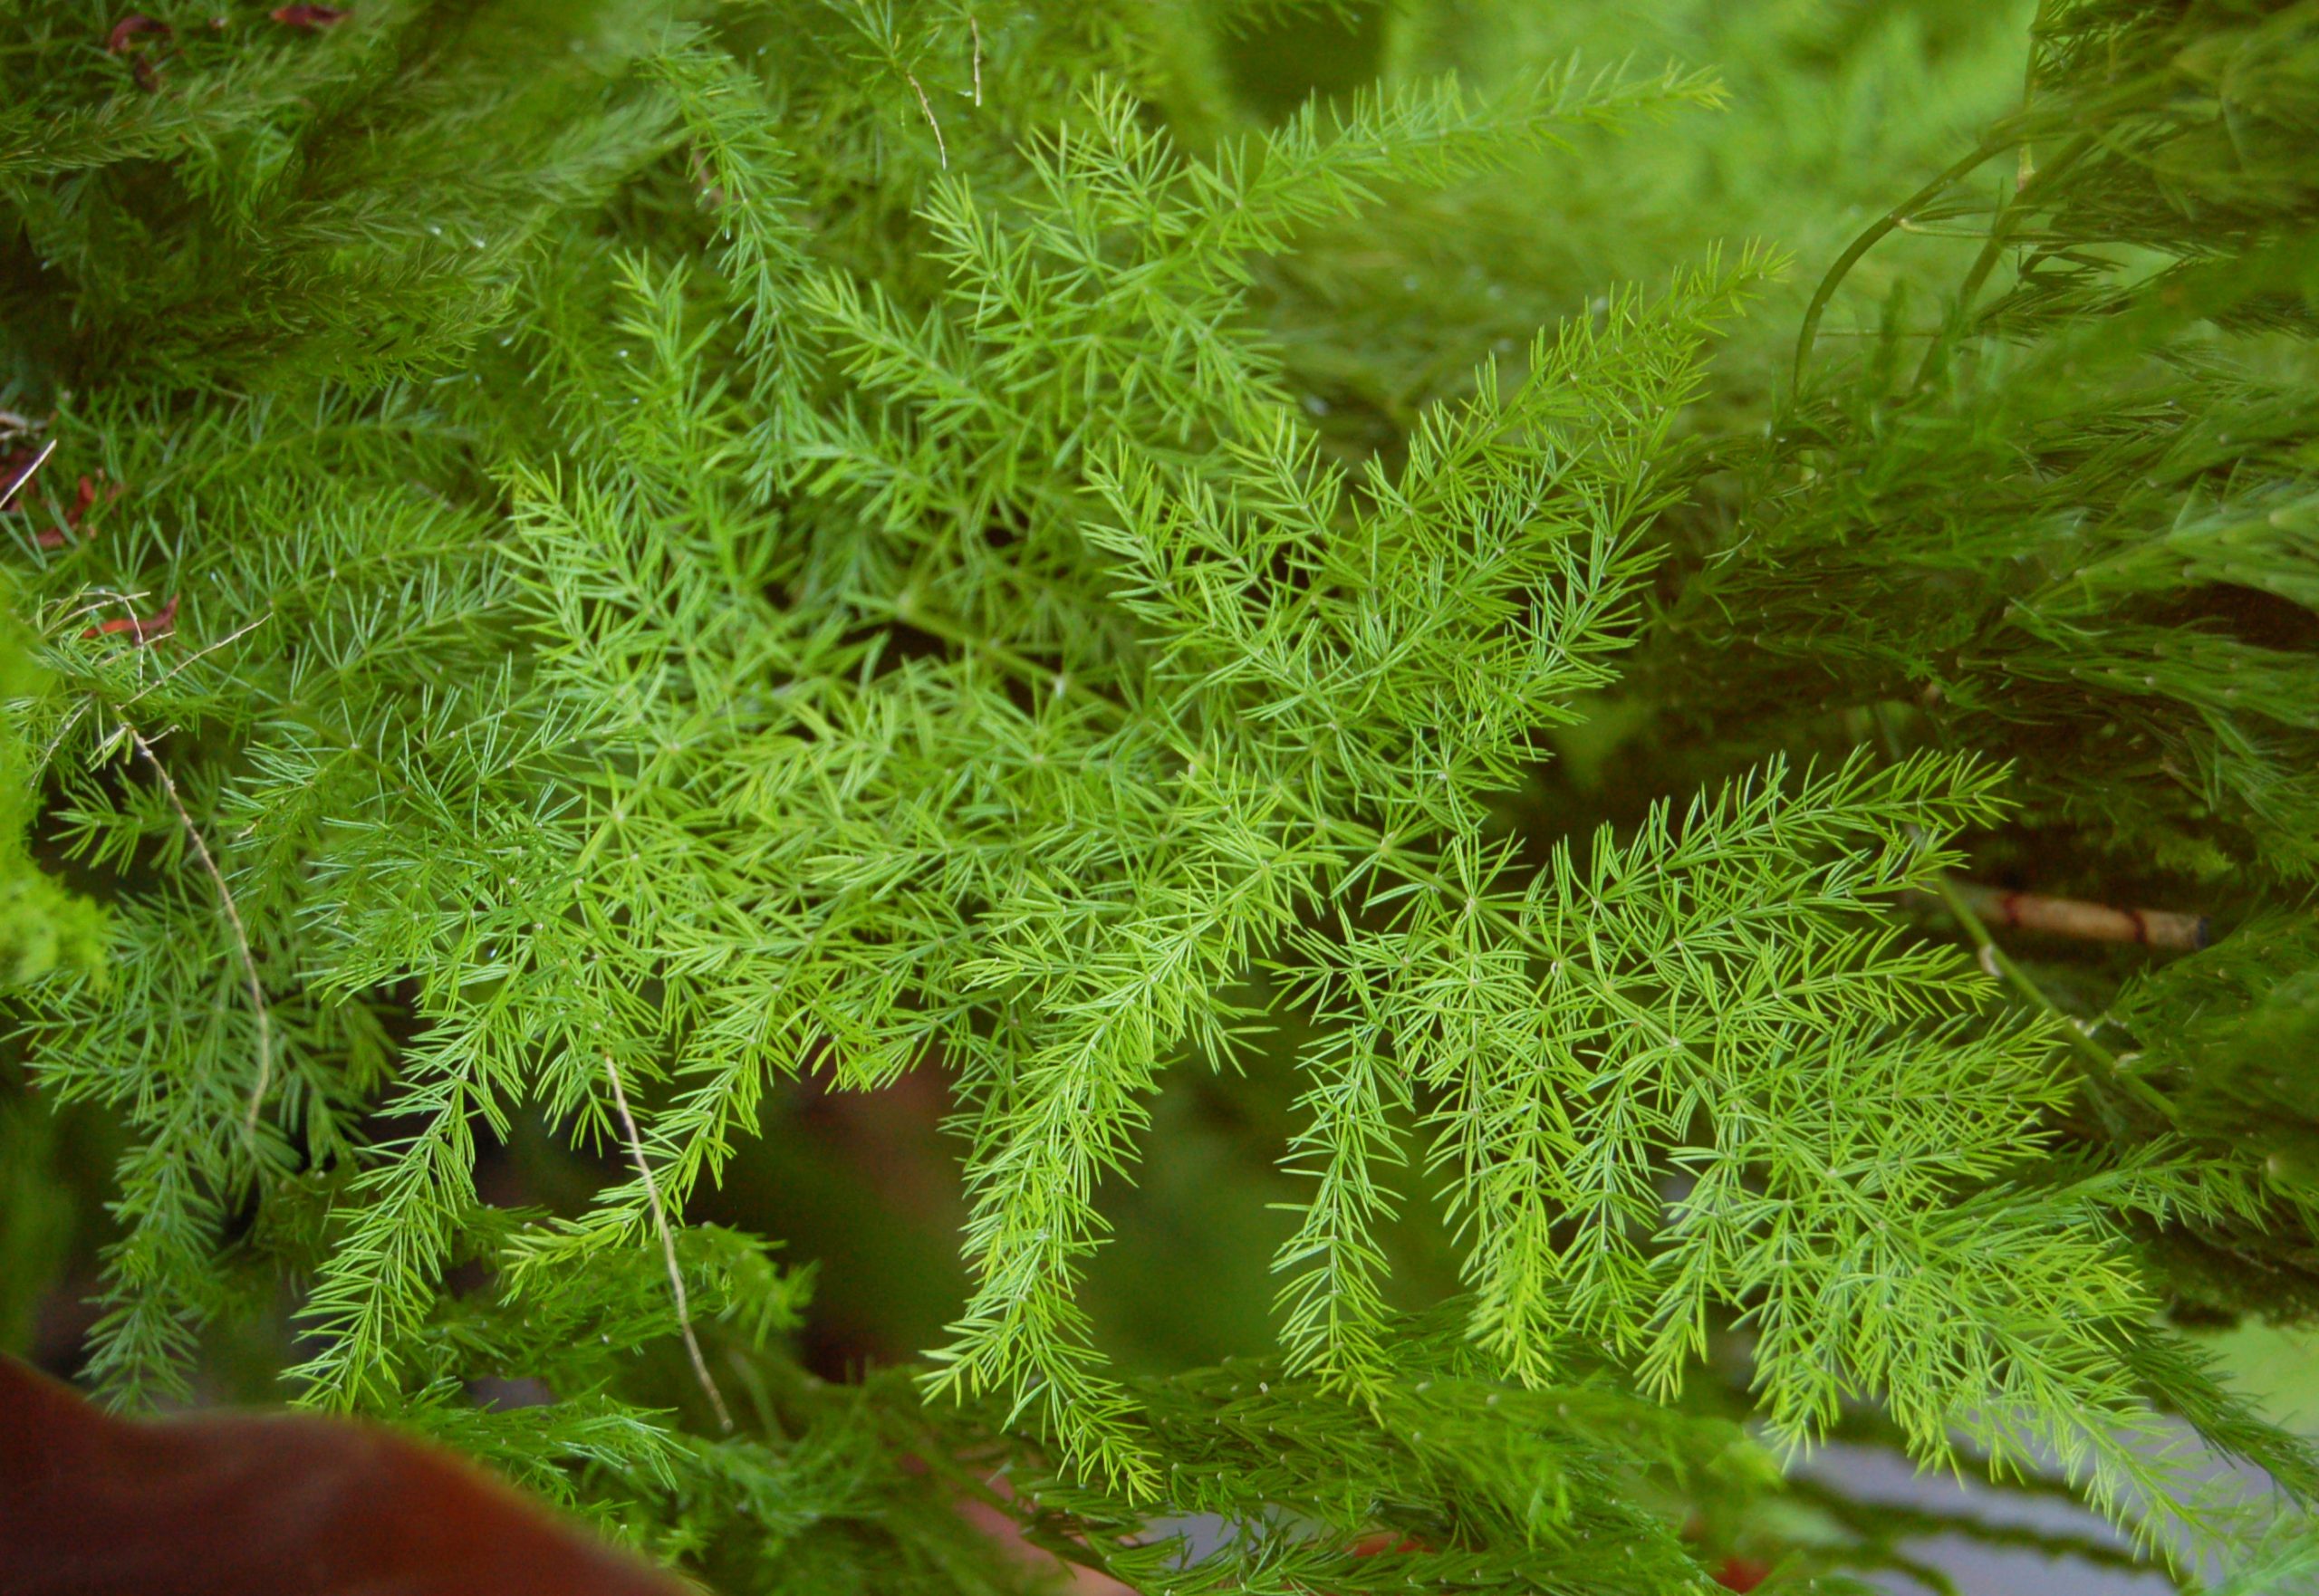
Before jumping into propagation, it’s important to understand what asparagus ferns are. Despite the name, asparagus ferns are not true ferns but rather belong to the asparagus family. They are characterized by their delicate, needle-like leaves and arching stems, which can add a touch of grace to any space. While they can grow outdoors in warmer climates, asparagus ferns are commonly kept indoors as houseplants due to their adaptability and forgiving nature.
Why Propagate Asparagus Fern?
Propagating asparagus ferns can be beneficial for several reasons:
Cost-effective: Instead of buying new plants, you can create more from existing ones.
Sharing: You can gift plants to friends and family, spreading the joy of gardening.
Space Management: If your asparagus fern has outgrown its pot or space, propagation can help manage its size.
Personal Satisfaction: There’s a reward in watching a new plant grow from a propagation effort.
Methods of Propagation
Asparagus ferns can be propagated through several methods: division and cuttings are the most common. Let’s go through each method step-by-step.
1. Propagation by Division
This method is often the simplest and most effective way to propagate asparagus ferns, especially when dealing with mature plants.
Steps:
Choose the Right Time: Spring is the best season for division, as the plant is gearing up for growth.
Remove the Plant from Its Pot: Gently take the fern out of its pot, being careful not to damage the roots. You can do this by running water over the root ball or tapping the sides of the pot.
Inspect the Roots: Look for natural divisions in the root system. Asparagus ferns can have multiple crowns or clumps.
Divide the Plant: Using a sharp, clean knife or pair of scissors, cut through the root ball to separate the plant into smaller sections. Each section should have roots and some greenery.
Replanting: Prepare new pots with fresh potting mix. Plant each division at the same depth it was previously growing, and water lightly.
Care Post-division: Place the new plants in a warm, bright location but avoid direct sunlight for a few days. This helps them to settle and encourages root development.
2. Propagation by Cuttings (Less Common)
While division is preferred, you can also propagate asparagus ferns through cuttings, though this method might take longer to produce visible results.
Steps:
Select Healthy Stems: Choose healthy, vigorous stems from the parent plant.
Make the Cut: Using clean scissors, cut a stem that is at least 4 to 6 inches long. Make sure to cut right below a node, as this is where new growth will emerge.
Prepare for Rooting: Allow the cut end to dry and callous for a few hours. This helps prevent rot when placed in the soil.
Rooting Medium: Fill a small pot with a well-draining potting mix, or use a 50/50 mix of potting soil and perlite for better drainage.
Plant the Cutting: Insert the dried cutting about an inch deep into the soil. Water lightly.
Creating a Mini-Greenhouse: Place a plastic bag over the pot or use a propagation dome to maintain humidity while the cutting establishes roots. Ensure some airflow to prevent mold growth.
Care for the Cutting: Keep the soil moist but not soggy. After a few weeks, gently tug on the cutting; resistance indicates root development.
3. Maintenance and Care for Propagated Plants
Once your asparagus ferns have been propagated, proper care is essential for their growth.
Light: Place your new plants in bright, indirect sunlight. Too much direct sunlight can scorch the leaves.
Watering: Allow the top inch of soil to dry out between waterings. Asparagus ferns prefer consistent moisture, but overwatering can lead to root rot.
Humidity: These plants thrive in humid conditions, so consider misting them or placing a pebble tray filled with water nearby.
Fertilization: Use a balanced houseplant fertilizer every 4-6 weeks during the growing season (spring and summer).
Troubleshooting Common Issues
Even with diligent care, you might encounter some challenges while propagating or maintaining your asparagus ferns. Here’s how to address common issues:
Yellowing Leaves
Cause: Overwatering is typically the culprit. Excess moisture can lead to root rot, causing leaves to turn yellow and drop.
Solution: Check the roots for rot; if they’re mushy, remove the plant and cut away the affected roots. Repot in fresh, well-draining soil and adjust your watering schedule.
Wilting
Cause: Underwatering or a sudden drop in temperature can lead to wilting.
Solution: Assess your watering routine and increase the frequency if the soil is dry. Additionally, ensure the plant isn’t exposed to cold drafts or extreme temperature changes.
Pests
Cause: Common pests for houseplants include spider mites, aphids, and mealybugs.
Solution: Inspect your asparagus ferns regularly. If you find pests, treat them with insecticidal soap or neem oil sprays. Make sure to wipe the leaves clean to remove any remaining pests.
Conclusion
By following these simple strategies to propagate asparagus ferns, you can enjoy the lush and vibrant greenery these plants provide while fostering your gardening passion. Whether you’re expanding your collection, gifting new plants, or simply managing your space more effectively, propagation can be a rewarding and enjoyable experience.
As you nurture your asparagus ferns, remember to be patient. Growth takes time, and each plant is unique. With care and attention, you’ll be rewarded with beautiful and thriving ferns that add a touch of elegance to your home.
Happy propagating, and may your asparagus ferns flourish! If you have any questions or need further advice, feel free to leave a comment or share your experiences with us. We’d love to hear about your propagation success stories!