Tthis comprehensive guide will provide you with all the essential information you need to successfully propagate fig cuttings.
Why Propagate Fig Cuttings?
Propagating fig cuttings is an economical and effective way to create new plants. Here are a few reasons why you might consider this method:
Cost-Effective: Rather than purchasing a new fig tree from a nursery, you can easily propagate from an existing tree for free.
Preservation: If you have a favorite variety, propagating cuttings allows you to preserve that specific cultivar.
Sharing and Gifting: Propagated cuttings can be given as gifts or shared with friends and family, spreading the joy of gardening.
Flexibility: You can create multiple plants to fill your garden, patio, or indoor space.
Choosing the Right Time
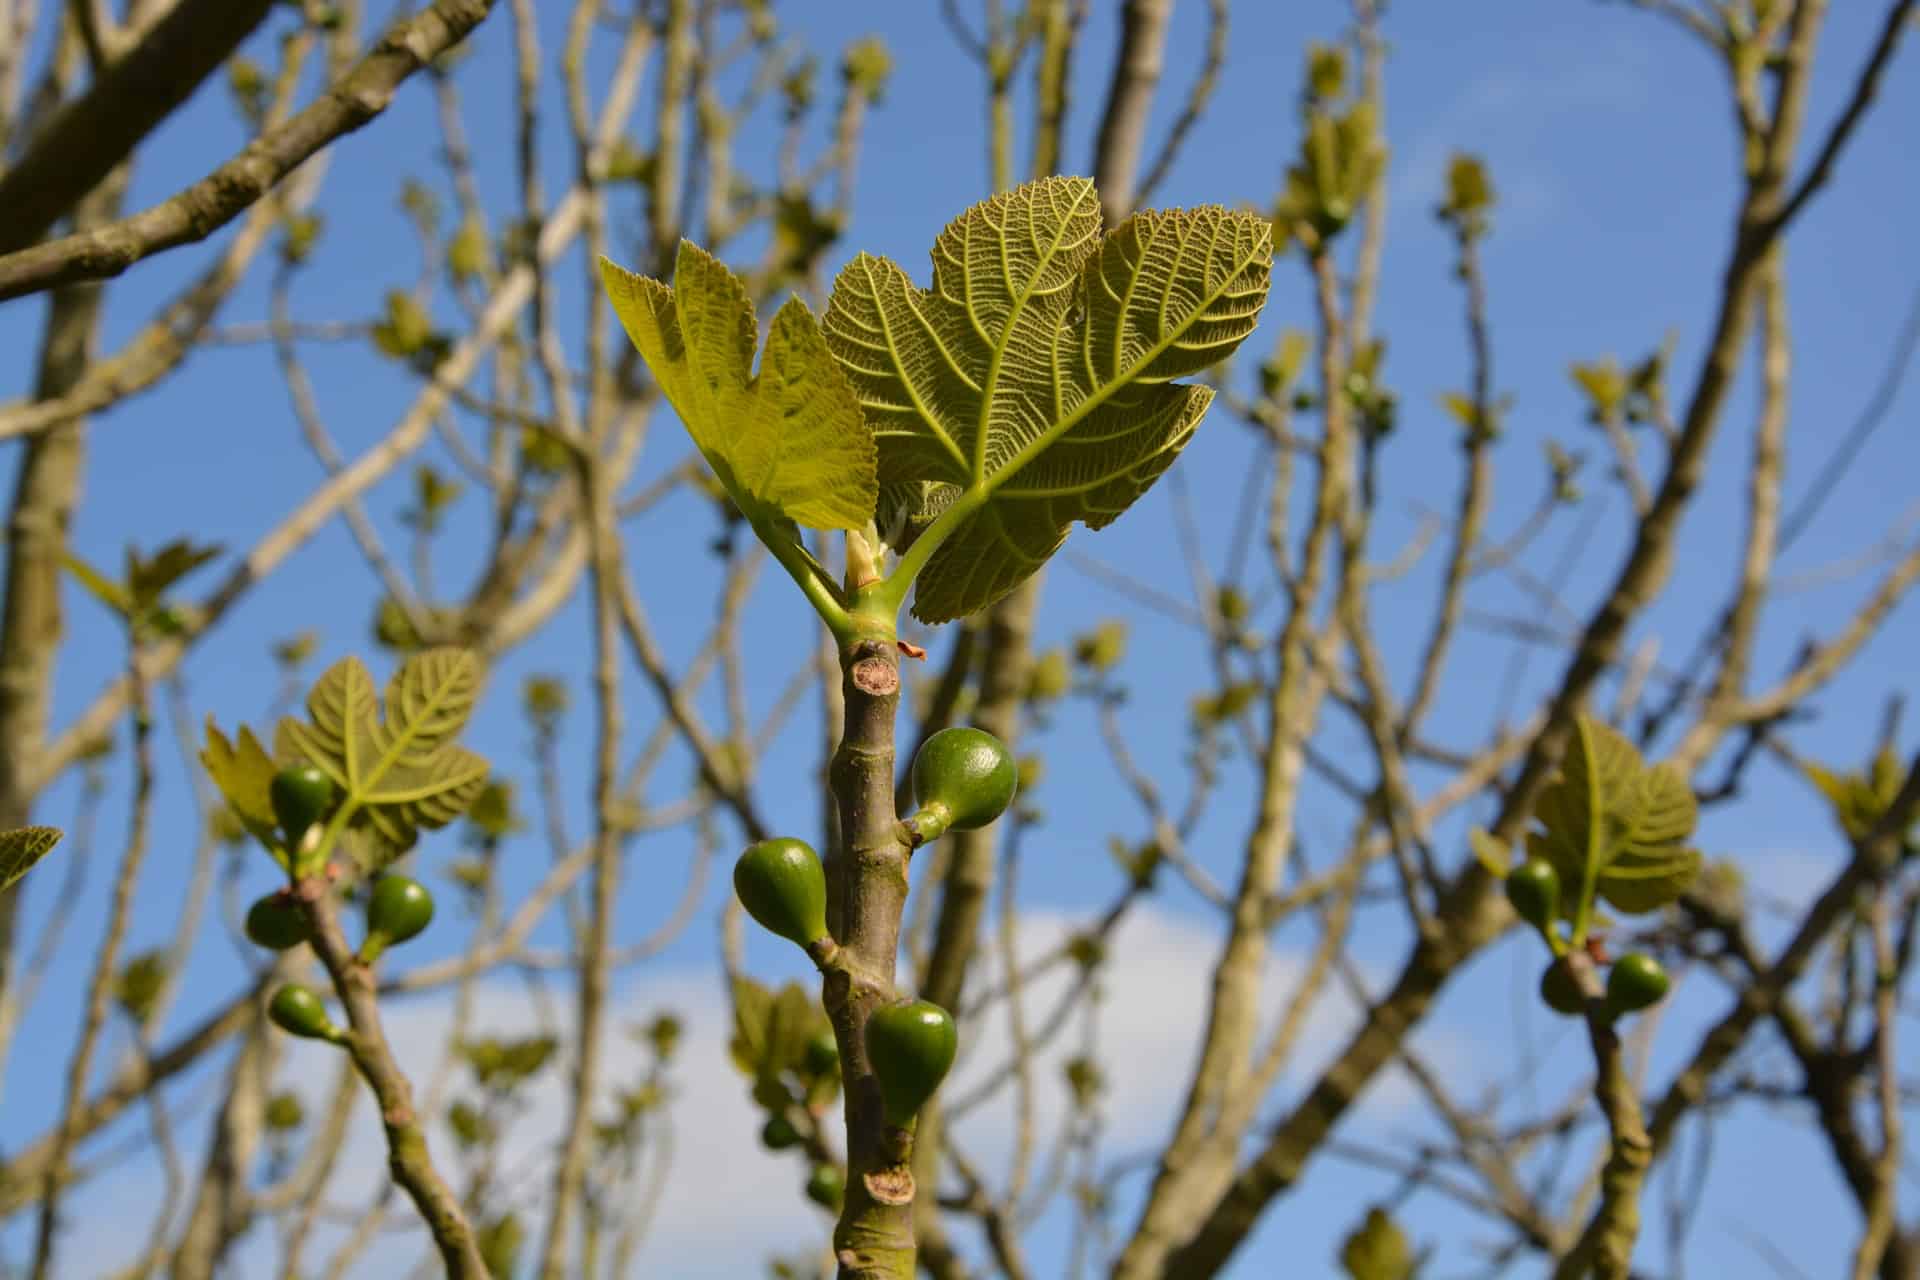
The best time to take fig cuttings is during the late winter to early spring when the tree is still dormant, but the buds are beginning to swell. This timing ensures that the plant is strong enough to produce roots before the growing season starts.
Selecting the Perfect Cutting
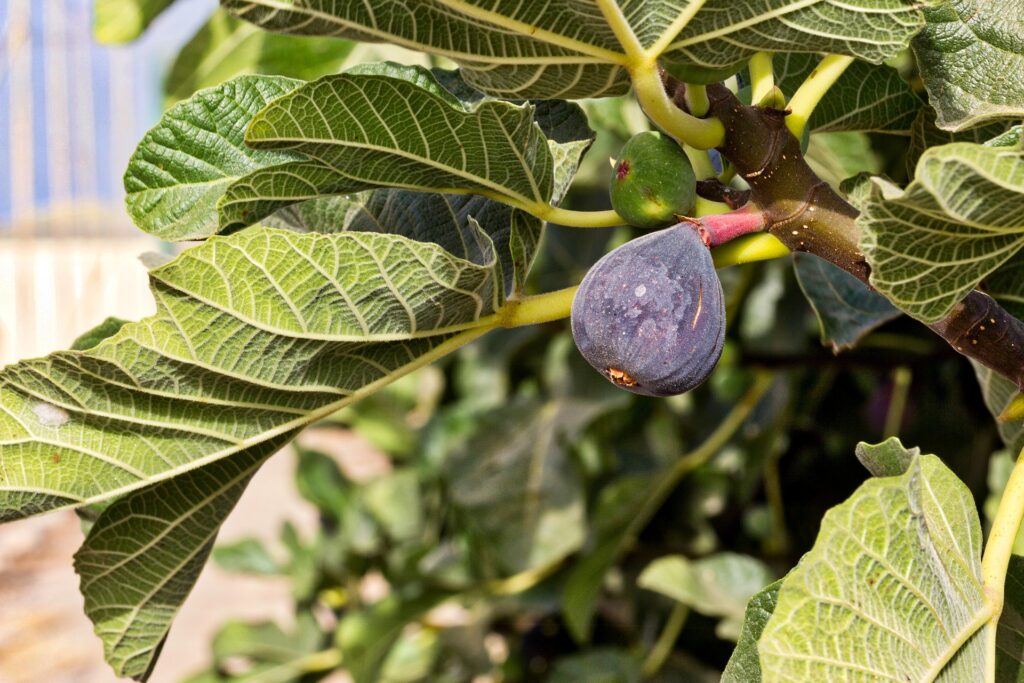
Choose a Healthy Parent Plant: Ensure that the mother fig tree is robust and free from diseases or pests. A healthy tree will produce the best cuttings.
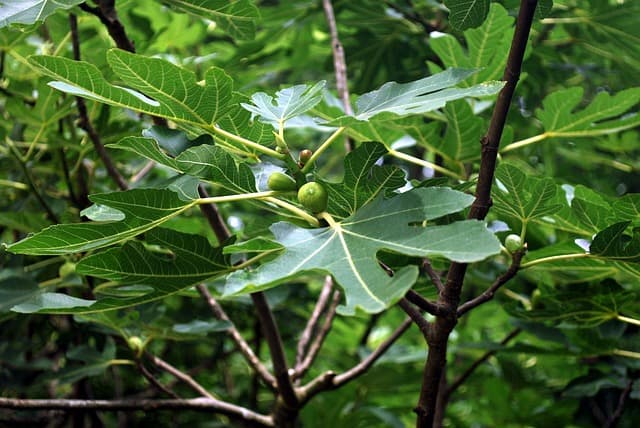
Cutting Length and Diameter: Select a branch that is about 6-12 inches long and ¼ to ½ inch in diameter. Aim for a stem that has several nodes (the small bumps on the stem where leaves grow).
Time of Cutting: Use sharp, clean pruning shears to take the cuttings, making a clean diagonal cut. This encourages better healing and growth.
Preparing the Cutting
Remove Leaves: Remove all but the top two or three leaves from the cutting. This reduces the surface area and helps prevent moisture loss.
Optional – Use Rooting Hormone: While not necessary, applying rooting hormone can enhance the chance of successful rooting. Dip the cut end of the cutting into the hormone before planting.
Planting the Cuttings
In Soil
Soil Mix: Use a well-draining potting mix, ideally a mix designed for cuttings or a combination of peat, perlite, and sand.
Planting Depth: Make a hole in the soil with your finger or a pencil and place the cutting about 2-3 inches into the soil. Firm the soil around the base to eliminate air pockets.
Watering: Water the cutting gently but thoroughly. The soil should be moist but not soggy.
Container: Place the pot in a warm location with indirect sunlight. A humidity dome or plastic bag can be used to maintain humidity, but ensure some ventilation to prevent mold.
In Water
Water Container: Place the cutting in a glass of water, ensuring that at least one node is submerged. Change the water every few days to keep it fresh.
Light Conditions: Place the container in a bright spot, but avoid direct sunlight, as it can overheat the water.
Root Development: In a few weeks, you should see roots developing. When they are around 2-3 inches long, you can transplant the cutting into soil.
Caring for New Cuttings
After planting, it’s crucial to keep an eye on your cuttings:
Moisture: Keep the soil consistently moist but not waterlogged. Use your finger to check the soil. When it begins to feel dry, it’s time to water.
Light: Ensure your cuttings receive indirect light. Too much direct sunlight can scorch young leaves and inhibit growth.
Fertilization: After a few weeks, when you see new growth, you can begin to introduce diluted liquid fertilizer to encourage healthy development.
Transplanting
Once your cuttings have established strong roots and are showing new growth, they are ready to be transplanted into larger pots or into your garden. Choose a location with plenty of sunlight and well-draining soil.
Harden Off: If you’re moving them outdoors, gradually introduce them to sunlight and wind over a week to acclimatize.
Transplanting: Dig a hole larger than the root ball and place the rooted cutting in it. Backfill with soil and water thoroughly.