In this guide, we’ll provide you with all the information you need to successfully propagate hibiscus, from the best practices to ensure healthy growth to common challenges you might face along the way.
Getting Started: What You’ll Need

Before you start propagating your hibiscus, gather the following materials:
Healthy Hibiscus Plant: Choose a healthy, mature hibiscus from which to take your cuttings.
Pruning Shears: A sharp set of pruning shears to make clean cuts.
Rooting Hormone (optional): This can encourage faster root development.
Potting Mix: A well-draining potting mix is ideal. You might consider using a mixture of peat moss and perlite or sand.
Containers: Small pots or propagation trays with drainage holes.
Plastic Bag or Mini Greenhouse: To create a humid environment for the cuttings.
Step-by-Step Guide to Propagating Hibiscus
1. Choose the Right Time
While hibiscus can be propagated at different times of the year, late spring through summer is ideal since the plant is actively growing. This will increase your chances of success.
2. Take Cuttings
Select a Stem: Look for a healthy stem that has several nodes (the points where leaves emerge). Avoid stems that are flowering or have buds.
Make the Cut: Using your pruning shears, cut a stem that is about 4 to 6 inches long. Ensure that your cut is just below a leaf node. If you prefer, you can remove the lower leaves to avoid rot.
3. Prepare the Cuttings
(Optional) Apply Rooting Hormone: Dip the cut end of your stem into rooting hormone, which can help promote root growth. This step is optional but can be beneficial.
4. Plant the Cuttings
Potting Mix: Fill your containers with the well-draining potting mix. Make a small hole in the center of each container and insert the cutting, ensuring at least one node is buried in the soil. Gently firm the soil around the cutting to hold it in place.
5. Create a Humid Environment
Cover the Cuttings: To maintain humidity, cover the pot with a plastic bag or place it in a mini greenhouse. Ensure that the covering doesn’t touch the leaves but creates a greenhouse effect to keep moisture levels high.
6. Watering
Initial Watering: Water the cuttings lightly right after planting to settle the soil. Keep the soil moist but not soggy; overwatering can lead to rot.
Caring for Your Cuttings
Light: Position your cuttings in a spot with bright, indirect sunlight. Direct sunlight can scorch them, while too little light can hinder growth.
Temperature: Aim for a warm environment, ideally between 70-80°F (21-27°C). Avoid cold drafts or drastic temperature changes.
Patience: Rooting can take anywhere from a few weeks to a few months, depending on the variety and conditions. Be patient and avoid disturbing the cuttings too frequently.
Troubleshooting Common Issues
Wilting: If your cuttings start to wilt, it could be a sign of dehydration. Check the soil moisture and adjust your watering schedule accordingly.
Rotting: Overwatering can lead to root rot. Ensure that your pots have adequate drainage and that you’re not watering too often.
Stunted Growth: If the cuttings aren’t growing, they may not be receiving enough light or warmth. Adjust their positioning to encourage better growth.
Transplanting Your New Hibiscus
Once your hibiscus cuttings have developed a robust root system (you can gently check by tugging slightly on the plant), it’s time to transplant them into larger pots. Be mindful to use fresh potting mix and to continue providing them with proper light and care as they continue to grow.
Steps for Transplanting:
Choose the Right Pot: Select a pot that is slightly larger than the one the cutting is currently in. Ensure it has drainage holes to prevent overwatering.
Prepare the New Potting Mix: Use a well-draining mix to ensure good root aeration. You can use a similar mix to what you used for the cuttings.
Remove Carefully: Gently remove the cutting from its current pot. Be cautious when handling the delicate roots to avoid damaging them.
Plant the Cutting: Place the cutting in the center of the new pot and fill it around the roots with potting mix. Firm the soil gently but do not pack it too tightly.
Water Thoroughly: After transplanting, water the plant generously until water drains out of the bottom. This helps settle the soil around the roots.
Post-Transplant Care: Position the newly transplanted hibiscus in a location with bright, indirect sunlight and maintain a consistent watering schedule—as always, do not allow the soil to dry out completely or to remain soggy.
Enjoying Your New Hibiscus Plants
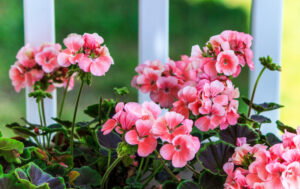
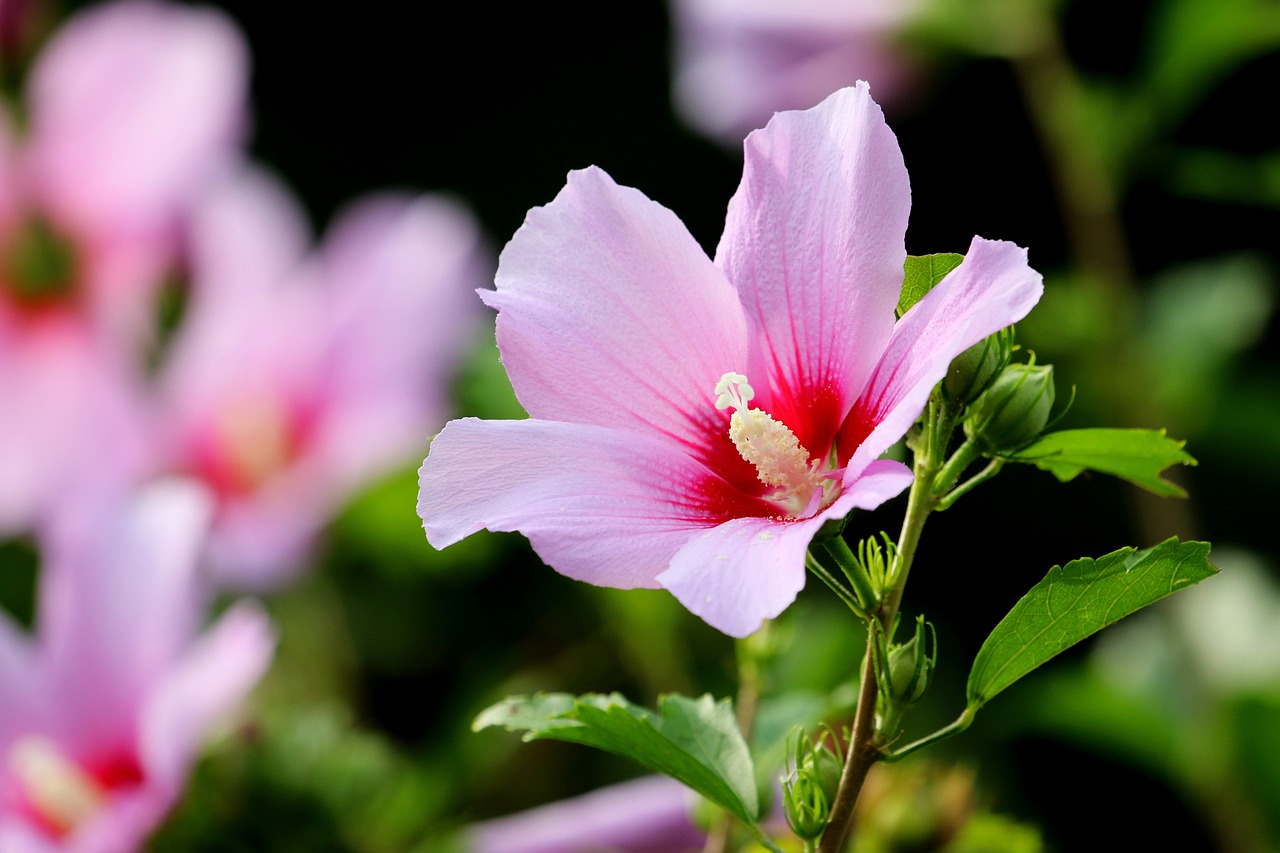
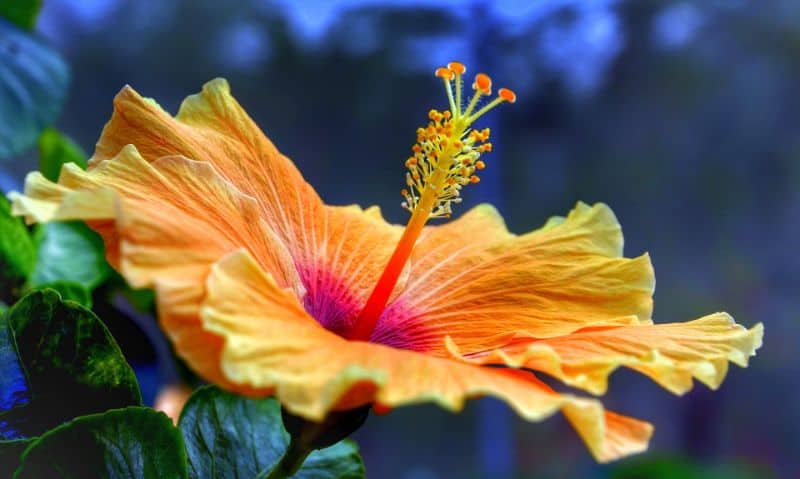
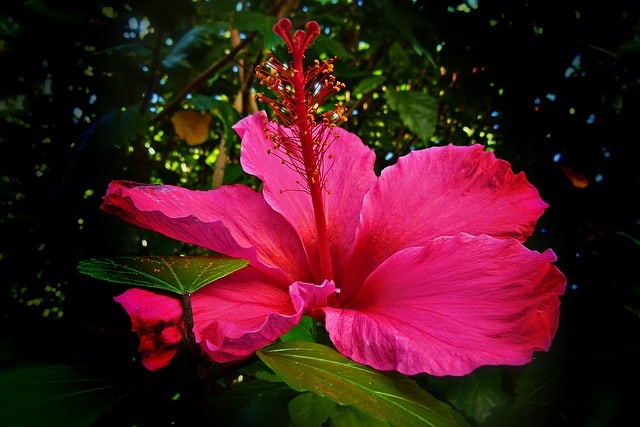
Once your hibiscus plants are thriving, you can look forward to the spectacular blooms that make these plants so special. Depending on the variety, hibiscus can produce flowers that come in a range of colors, from classic reds and yellows to exotic oranges and pinks.
Caring for Established Hibiscus Plants:
Watering: Water the plant regularly, but allow the soil to somewhat dry out between waterings. During the hot months, you may need to water more frequently.
Fertilizing: Feed your hibiscus with a balanced, water-soluble fertilizer every 4-6 weeks during the growing season (spring and summer) to promote healthy growth and blooming.
Pruning: Prune your hibiscus annually to maintain its shape and encourage more blooms. Cut back any dead or yellowing leaves and spent flowers to promote new growth.
Winter Care: If you live in a cooler climate, consider bringing your hibiscus indoors during the winter months. They may enter dormancy but should be kept in a cool, bright spot with reduced watering.
Conclusion
Propagating hibiscus from cuttings is a rewarding process that not only expands your favorite plant collection but also deepens your connection to gardening. With a little patience and care, you’ll be able to enjoy beautiful hibiscus flowers not just in your garden but also in pots positioned throughout your home or shared with friends.
So gather your materials, choose your best hibiscus, and start the journey of propagation today! Before long, you’ll be rewarded with vibrant blooms that brighten any space.