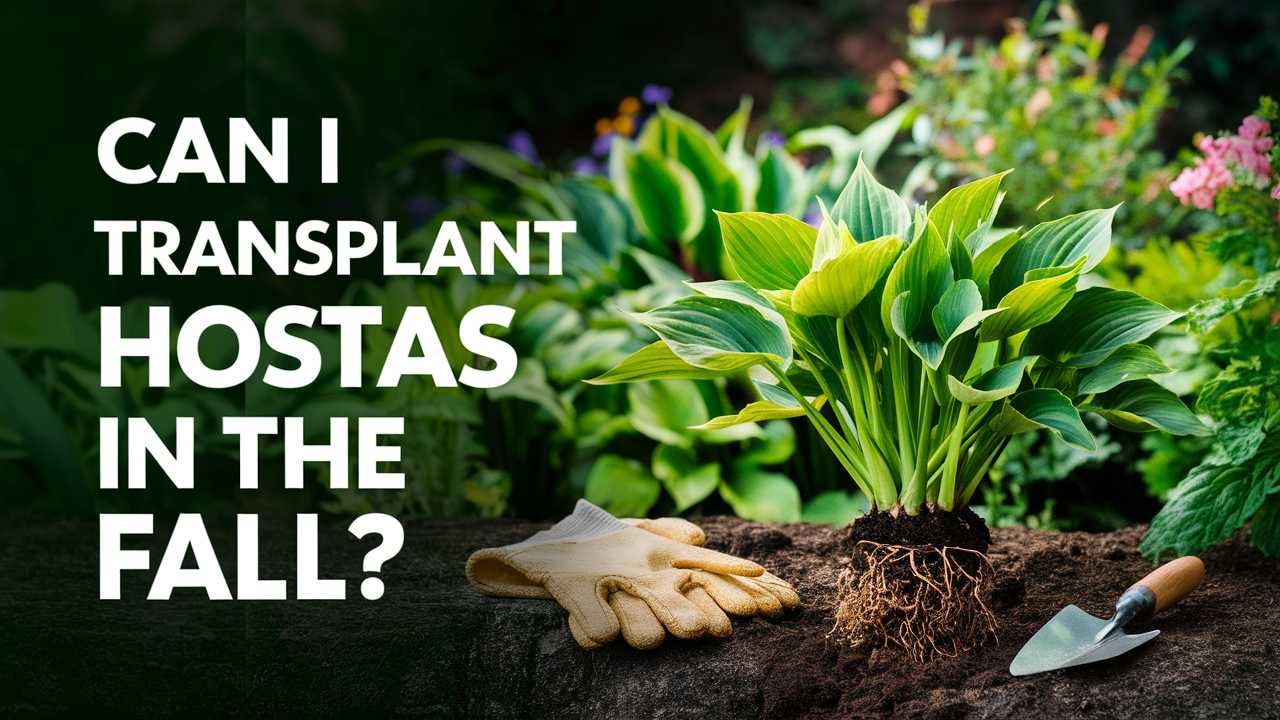
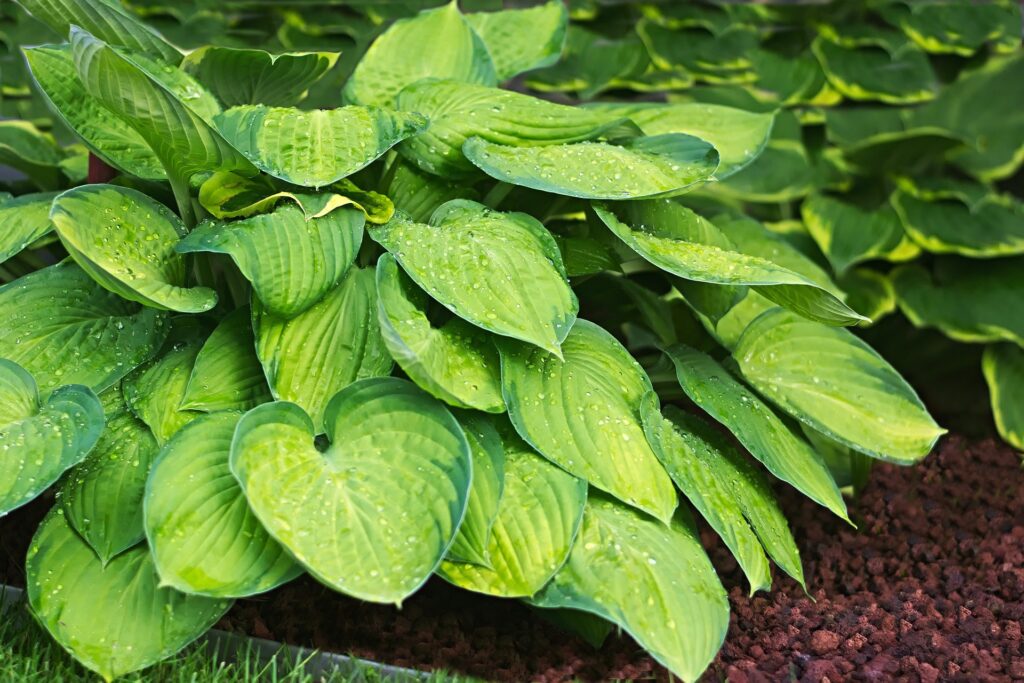
Can I transplant hostas in the fall? This guide will explore the reasons for and timing of transplanting, the specific considerations for fall transplanting, preparation steps, care after transplanting, and much more. Let’s get hands dirty in the garden soil and explore the world of hostas!
Is Fall the Right Time for Transplanting Hostas?
Now, let’s get to the core question: Can you transplant hostas in the fall? The answer is a resounding yes, but with some caveats. Fall can be an excellent time for transplanting hostas, provided certain conditions are met.
Benefits of Fall Transplanting
Reduced Stress: In fall, hostas are entering dormancy. They are less stressed about summer heat and drought conditions. This can be less traumatic for the plant and helps it focus on reestablishing roots rather than sustaining foliage.
Moisture Conditions: Fall generally affords cooler temperatures and increased moisture from rain, ideal conditions that can facilitate successful root establishment.
Less Competition: With many plants dying back for the season, there is less competition for nutrients and water, giving transplanted hostas a better chance to settle in.
Considerations for Timing
However, the timing of transplanting is crucial. Ideally, you should transplant hostas about 4 to 6 weeks before the ground freezes. In many regions, this translates to late summer to early fall. This timing ensures the hostas have enough time to adapt and settle into their new home before winter emerges.
Regional Variations
Keep in mind that climate can significantly affect transplanting. In colder zones, you’ll want to wrap up transplanting earlier in the fall compared to milder climates where the ground may remain workable longer. Always check your local frost dates to plan accordingly.
Preparing for the Transplant
Like any good gardening project, preparation is critical for success. Here are some essential steps to consider before you transplant hostas in the fall.
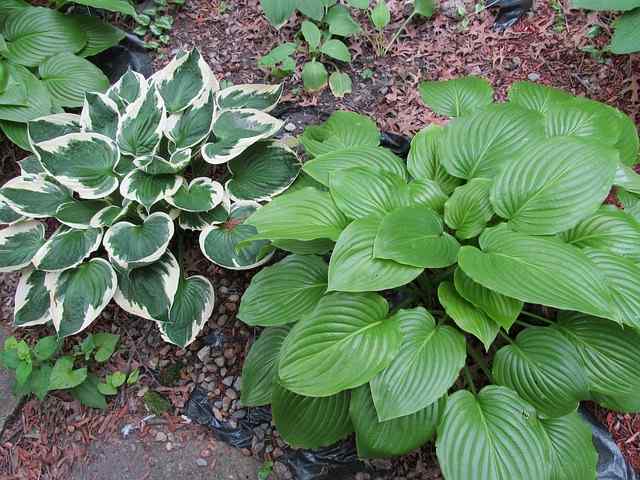
Assess Your Current Hostas
Before you disturb the plants, take some time to assess their health and growth. If your hostas appear wilted or diseased, it may be best to wait until the following spring. Healthy plants, on the other hand, are prime candidates for transplanting.
Select the Right Spot
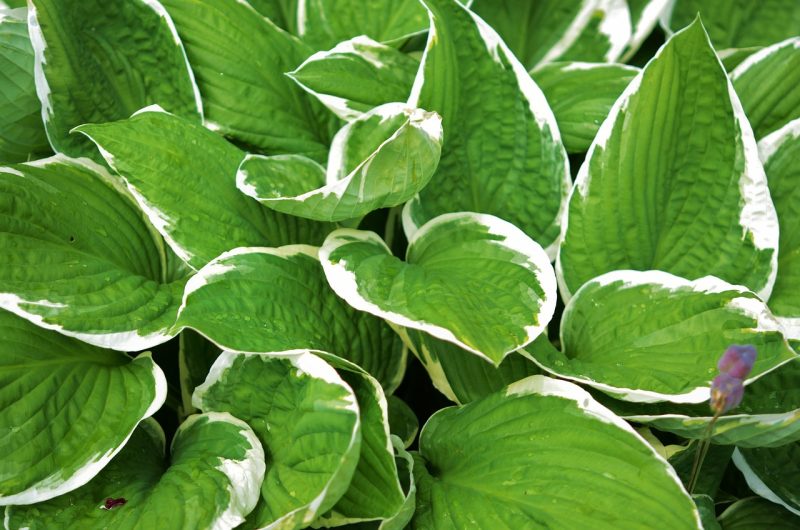
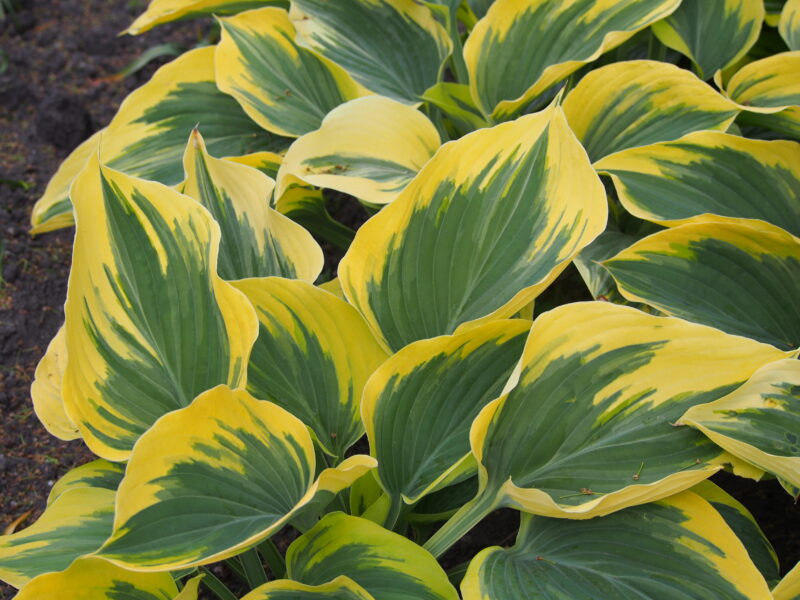
Choosing a new location for your hostas requires careful consideration. Look for a spot that provides the right amount of shade, as most hostas thrive in partial to full shade. Additionally, ensure that the soil is well-draining, as hostas dislike sitting in waterlogged conditions.
Prepare Your Soil
The health of your hostas heavily relies on the soil in which they grow. Before you transplant, amend the new location’s soil with organic matter, such as compost or well-rotted manure. This enriches the soil, providing essential nutrients for your transplanted hostas.
Gather Tools
Having the right tools on hand will make the transplanting process go smoothly. You’ll need a spade, trowel, and possibly some gardening gloves to protect your hands. A watering can is also helpful to ensure your newly transplanted hostas receive adequate moisture.
The Transplanting Process
Transplanting hostas can be a straightforward process when done correctly. Here’s a step-by-step guide on how to transplant hostas in the fall.
Step 1: Water the Plants
Begin by thoroughly watering the hostas you plan to transplant a day before digging them up. Well-hydrated plants are easier to handle and suffer less stress during the relocation.
Step 2: Digging Up Hostas
Using a spade or trowel, carefully dig around the base of the plant, taking care to avoid damaging the roots. Aim for a width of at least 12 to 18 inches around the hosta to ensure you get enough root material. Gently lift the plant, keeping the root ball intact.
Step 3: Preparing the New Hole
At the new location, dig a hole that is slightly larger than the root ball of the hosta. This will allow the roots to spread out comfortably. The hole should be deep enough to place the hosta at the same soil level it was previously growing.
Step 4: Position the Plant
Gently place the hosta into the prepared hole, spreading the roots out cautiously. Fill in the hole with the amended soil, ensuring there are no air pockets. Press down firmly around the base to secure the plant.
Step 5: Water Generously
Once the hosta is in its new home, water it generously. This helps to settle the soil around the roots and ensures that the plant receives immediate moisture as it begins to adapt.
Post-Transplant Care: Ensuring Success
After transplanting hostas in the fall, they will need a little extra TLC to thrive in their new environment. Here’s how to provide the best possible care for your newly relocated plants.
Consistent Watering
During the first few weeks post-transplant, keep the soil consistently moist but not soggy. This watering routine will help the hostas establish their roots. As colder weather approaches, you can gradually reduce watering, as the plants will rely more on their natural resilience.
Mulching for Protection
Applying a layer of mulch around your hostas can be very beneficial after transplanting. Mulch helps retain soil moisture, suppresses weeds, and adds vitally needed insulation during colder months. Use organic mulch to further enrich the soil as it breaks down.
Monitor for Pests and Diseases
Even in the fall, pests and diseases can pose threats to your newly transplanted hostas. Keep an eye out for signs of trouble, such as wilting leaves or discoloration. If you notice any issues, it’s best to address them promptly to avoid compromising the health of your plants.
Potential Challenges and Troubleshooting
Transplanting hostas is generally successful, but challenges can arise. Here are some common issues and how to tackle them.
Wilted Leaves
If you notice wilted leaves post-transplant, it’s often an indication the plant is stressed. Ensure adequate watering and assess if the new location has appropriate light conditions.
Yellowing Leaves
Yellowing could signify a lack of nutrients or overwatering. A soil test can provide essential information on pH and nutrient levels. Adjust your care accordingly based on findings.
Slow Growth
Hostas may take some time to adapt to their new home. Patience is key. Their root system will be busy establishing itself, so new growth may not appear immediately.
Late Frost
Late fall frost can pose risks to newly transplanted hostas. A simple protective cover, such as burlap or frost cloth, can shield them from unexpected cold snap damage.
Conclusion: Embracing Change
Transplanting hostas in the fall is indeed a practical approach for many gardeners seeking to rejuvenate their landscapes. With careful planning, the right timing, and proper post-transplant care, you can successfully relocate your beloved hostas to ensure they thrive in their new environment.