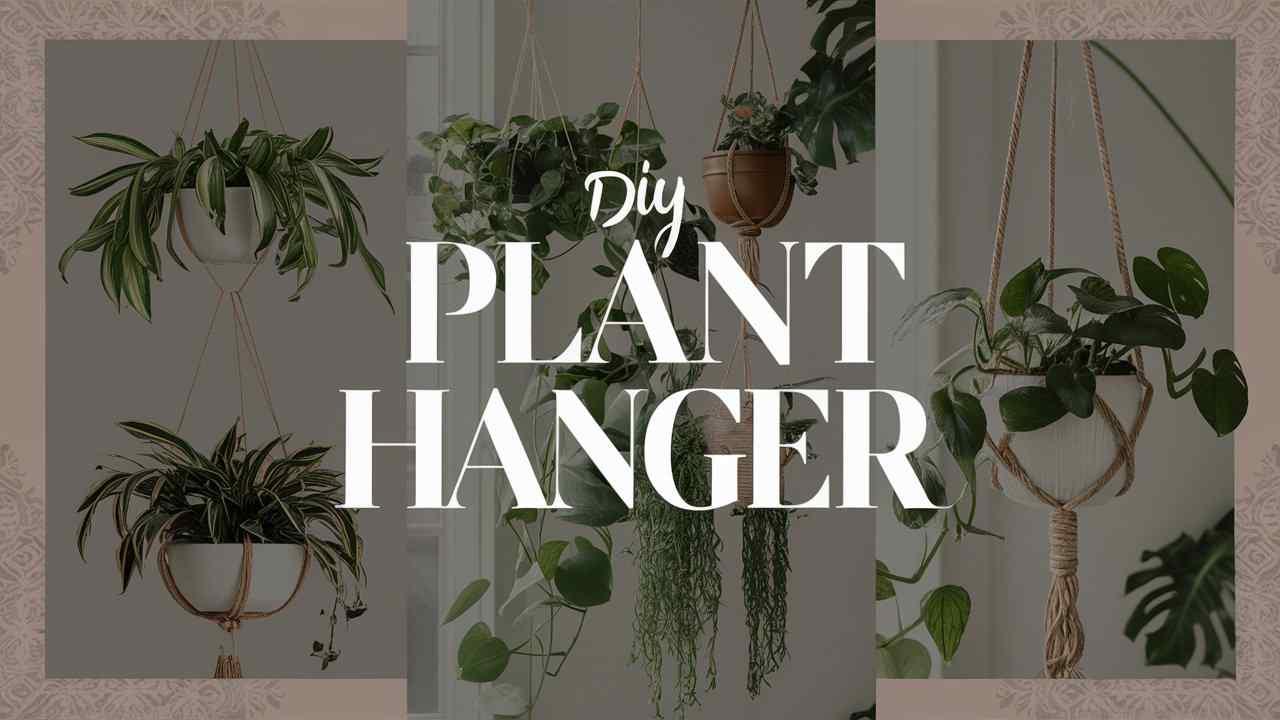
In this detailed guide, we’ll explore how to create a stunning macrame plant hanger in just a few minutes. Whether you are an expert or a beginner in macrame, this project is perfect for everyone.
Why Macrame?
Macrame is a textile art that uses knotting techniques to create various items, from wall hangings to plant hangers. One of the beauties of macrame is that it is not only resourceful but also eco-friendly, using natural fibers and recycled materials for a sustainable craft experience. Plus, there’s something incredibly satisfying about creating something beautiful with your own hands, especially something that can bring a touch of nature indoors.
In this post, you’ll learn about the materials needed, guidelines for creating the macrame plant hanger, and step-by-step instructions to bring your vision to life. Let’s dive in!
Materials Needed for Your Macrame Plant Hanger
Before diving into the project, let’s gather the essential materials you’ll need to create your macrame plant hanger.
1. Macrame Cord
Choosing the Right Cord: The most crucial material for your project is the macrame cord. There are various types of cord available, including cotton, jute, nylon, and other synthetic fibers. For beginners, I recommend using a sturdy yet soft cotton macrame cord, typically in the thickness range of 3mm to 5mm. This thickness is ideal for achieving a good balance of flexibility and sturdiness.
Quantities: For a standard plant hanger, you’ll need multiple lengths of cord. Amanda suggests cutting the cord to about twice the length of how long you want your finished product, plus some extra for tying knots. For instance, if your desired hanger length is about 34 inches, consider cutting your cords to approximately 70 inches for knotting and finishing.
2. Metal or Wooden Ring
Ring Options: Next, you’ll require a ring that will serve as the anchor for your hanger. You can choose a metal ring or a wooden one based on the aesthetic you desire. Gold-colored metal rings give a modern touch, while wooden rings add a rustic charm.
Size: Opt for a ring that is between two to four inches in diameter to accommodate standard plant pot sizes. The size of the ring can affect the overall look of your plant hanger, so choose one that complements your intended design.
3. Scissors
High-Quality Scissors: A good pair of sharp scissors is essential for cutting the macrame cord neatly. Dull scissors can lead to frayed ends, making your final product look unkempt. Invest in quality fabric scissors or specialized macrame scissors for the best results.
4. Measuring Tape
Optional but Recommended: A measuring tape can help ensure that your cord lengths are accurate, particularly if you wish to maintain precise measurements for a more polished look. Measuring tape is not mandatory, but it can enhance your accuracy, especially if this is your first project.
5. Tape
Using Tape for Stability: While not absolutely necessary, using tape can make the knotting process smoother. Applying tape to the surface where you are working can prevent your cords from shifting around during the knotting process.
6. Additional Decorative Items
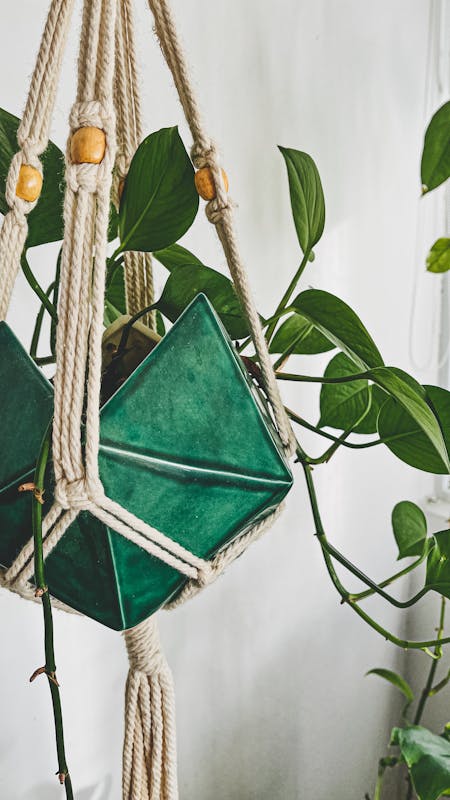
Add a Personal Touch: If you’re feeling creative, consider incorporating beads or additional decorative elements into your plant hanger. Beads can be threaded onto your cords before knotting, adding an elegant touch to the finished product. Choose beads that match the color scheme of your decor for a cohesive look.
Creating Your Macrame Plant Hanger
Now that you have all your materials ready, it’s time to start crafting! Below is a detailed, step-by-step guide to creating your macrame plant hanger.
Step 1: Preparing Your Cord
Cutting the Cords: Start by cutting six equal lengths of cord. Amanda suggests using a length of approximately 28-70 inches, depending on how long you want your finished hanger. If you prefer a longer hanger, adjust accordingly.
Folding the Cords: Once you have your lengths cut, fold them in half. You will now have twelve lengths of cord when you count the folded ends. This fold will help you attach them securely to the ring.
Step 2: Attaching the Cords to the Ring
Creating a Loop: Take the folded ends of the cords and feed them through the ring, creating a loop. Pull the loose ends through the loop to secure the cords to the ring.
Arranging the Cords: Ensure that the ropes are evenly spaced around the ring. This step is crucial as it will affect the overall balance and look of your plant hanger.
Step 3: Starting the Knotting Process
Dividing the Cords: You will now separate the cords into groups. For a basic plant hanger, divide the cords into two sets of three, giving you two separate bundles that will make knotting more manageable.
Tying the First Knot: Begin by creating a knot at the top of each group. This can be a simple square knot, which consists of two square knots tied one after the other. This starting point will provide stability for the rest of your design and will determine how the top portion of your hanger looks once completed.
Maintaining Equal Length: It is important to ensure that the knots are tied at the same height on each side. Use your measuring tape to help guide you, or simply eyeball it to make sure that the first cords you knot are each about 2-3 inches apart.
Step 4: Crafting the Body of the Hanger
Knot Sections: From here, you will start creating sections of knots. A popular approach is to alternate between square knots and spiral knots. For each section that is about 2.5-3 inches long, tie two square knots followed by a few spiral knots to create a textured look.
Reiteration: Repeat this process of knotting (alternating knots) until you’ve created a few sections down the length of your cords. The number of sections can vary based on your preference, but about three or four knot sections should suffice for a standard plant pot.
Step 5: Creating the Basket for the Pot
Connecting the Arms: After you’ve built up the body of your macrame plant hanger with knots, it’s time to form the basket part that will hold your pot. To do this, pair two adjacent cords from separate groups (left and right) and make a square knot to connect the two sections. Repeat this process, moving around the hanger until all your cords are tied together.
Testing Fit for the Pot: Before securing everything tightly, it’s wise to test the fit of your plant pot in the newly formed basket. If necessary, adjust the knots by untangling them and repositioning them slightly up or down to create a better fit.
Final Securement: Once the pot fits comfortably, use another piece of cord (about 30 inches long) to make a final wrapping knot around the base where the knots meet. This will secure your plant in place and prevent it from slipping.
Step 6: Finishing Touches
Cutting Excess Cord: After securing the last knot, you will have some excess cord hanging down from the bottom. Trim this excess to your preferred length. A tassel effect at the bottom can add a nice finished look, so consider leaving around 5-7 inches for a tassel.
Fraying the Ends: If you want to create a more bohemian look, you can also untwist and fray the ends of the cords. Simply take the ends of the cord and gently pull them apart, creating a lovely fringe effect that enhances the overall look.
Final Inspection: Inspect your work to ensure all knots are secure and the hanger appears balanced. If needed, you can slightly adjust the knot placements for symmetry.
Step 7: Display Your Creation
Your macrame plant hanger is now ready to be displayed! Hang it in your desired location using the hook or a sturdy nail, typically in a window where your plant can receive plenty of sunlight. Carefully place your potted plant into the holder, making sure it fits securely.
Tips for Customization and Personalization
Adding Beads: For an extra pop of personality, consider incorporating beads in your design. You can thread them onto the cord before tying knots, or secure them in place with knots to create interesting visual elements.
Using Different Knot Patterns: Explore various knot techniques in macrame to give your plant hanger a unique flair. The basic knots can be substituted with more complex knots as you feel comfortable.
Color Variations: Experiment with colored cords to match your home’s interior colors. Natural cotton cords can be dyed, or you can purchase pre-colored variants.
Adjusting Length for Different Pots: Depending on the size of the plant pot you wish to display, simply adjust your cord lengths for your desired height.
Conclusion
Crafting a macrame plant hanger can be a rewarding and fulfilling experience, allowing you to add a personal touch to your home decor while showcasing your favorite plants. With just a small amount of cord and the right techniques, you can create something beautiful in minutes, all while enjoying the meditative act of knotting.


