In this post, we’ll explore various DIY stepping stone ideas, materials, techniques, and tips to help you create stunning pathways in your garden.
View this post on Instagram
How about these leaf-shaped stepping stones? I love how natural they look, blending right into the garden. It’s a perfect way to add a subtle, whimsical touch to a pathway. Imagine making these with imprints of real leaves; so creative, right? I bet it’s a project that wouldn’t take too much time either.
View this post on Instagram
How about incorporating the look of a tree trunk into your stepping stones? The rustic vibe is so charming, and it feels really connected to nature. I’m imagining these would look great nestled amongst hostas or ferns. They would add such a warm, earthy touch to any garden path and I’m pretty sure you could DIY this with a simple mold!
View this post on Instagram
Isn’t this mosaic stepping stone cool? I love how the artist used different shades of glass to create a rainbow effect. And incorporating bottle caps? Totally unexpected and adds a fun, personal touch! It is a good excuse to drink lots of beer too lol. This design is easy to adapt and personalize with your own color palette and collected treasures.
View this post on Instagram
Okay so how about this turtle? It’s just adorable, right? You could use a mold for the shape, or go freehand if you’re feeling brave. I love the colored glass pieces set into the concrete, really makes it pop. Imagine a few of these little guys making a path through your garden! It just brings a smile to my face.
View this post on Instagram
I’m really digging this natural stone pathway idea! The irregular shapes and the way the grass peeks through the stones gives it a super organic, almost whimsical feel. It just looks so inviting, like it’s been there forever. Plus, using natural materials like this is a great way to blend your garden seamlessly with the environment.
View this post on Instagram
Isn’t that sunshine-themed stepping stone so cheerful? The bold colors and playful design really caught my eye, like it would add a touch of whimsy to any garden path. I really like the way the purple border frames the entire design. It definitely feels like a project that’s achievable, even for someone who’s not a super experienced artist and i think that this design is a real winner. You could customize the colors to match your own flowers too!
View this post on Instagram
Want something a little different? I really like the idea of using tiles to make a mosaic spiral design for your stepping stones. It’s such a unique touch and you can choose your favorite colors to really personalize it. The spiral pattern is surprisingly easy to achieve, even if you’re a beginner at DIY projects. I imagine these leading through the garden to create such a cool effect and really pop. Plus, imagine how impressed your guests will be when they see you made them yourself!
View this post on Instagram
Here’s a mosaic stepping stone that brings a bit of wildlife right into your backyard. I love how the vibrant red of the cardinal pops against the leafy green and white background. You could easily adapt this idea to feature your favorite bird, or even a different animal entirely! Imagine a bright blue jay or a simple robin design. It is all about getting creative and making something really unique.
View this post on Instagram
Isn’t this leaf print stepping stone idea cool? I love how simple it is to press leaves into the wet cement and create a natural-looking texture. You could even add some little pebbles around the leaf for extra flair. It gives it that organic garden vibe that I’m always trying to achieve! Plus, it looks like a fun project you could do with the kids.
View this post on Instagram
I think this pebble stone pathway gives off such a quaint and charming vibe! I love how they’ve used different colored pebbles to create a border and central design, almost like a mosaic. You could totally personalize it with your own color palette or even embed little treasures you find. And how cool is it to add flowers like they did?! It just feels so natural and inviting, like you’re stepping into a secret garden.
View this post on Instagram
These pebble-covered stepping stones have a nice organic feel and really stand out against the dark mulch. Making these could be really fun – gathering small stones and embedding them into the concrete before it sets is a great tactile project. They would look amazing winding through any garden or even just connecting your patio to your lawn. Plus, you can customize the stones to match your own landscaping, so you get a design that feels totally unique to you.
View this post on Instagram
This flower design is just too cute. It looks like it would be so easy to make with a basic mold. I could imagine this bright pink color adding so much whimsy to my garden. Imagine a little path of these leading to a cute bench. Plus, you could totally customize the colors to match your own favorite blooms.
View this post on Instagram
How about creating a stepping stone path with vibrant, hand-painted flowers? It’s such a simple idea to transform plain concrete squares into a personal art gallery right in your garden. I’m really digging how the bold colors pop against the earth and greenery, especially the Lilypad! You could use stencils for crisp edges or let your inner artist flow with freehand designs. Imagine walking along these happy little squares every day!
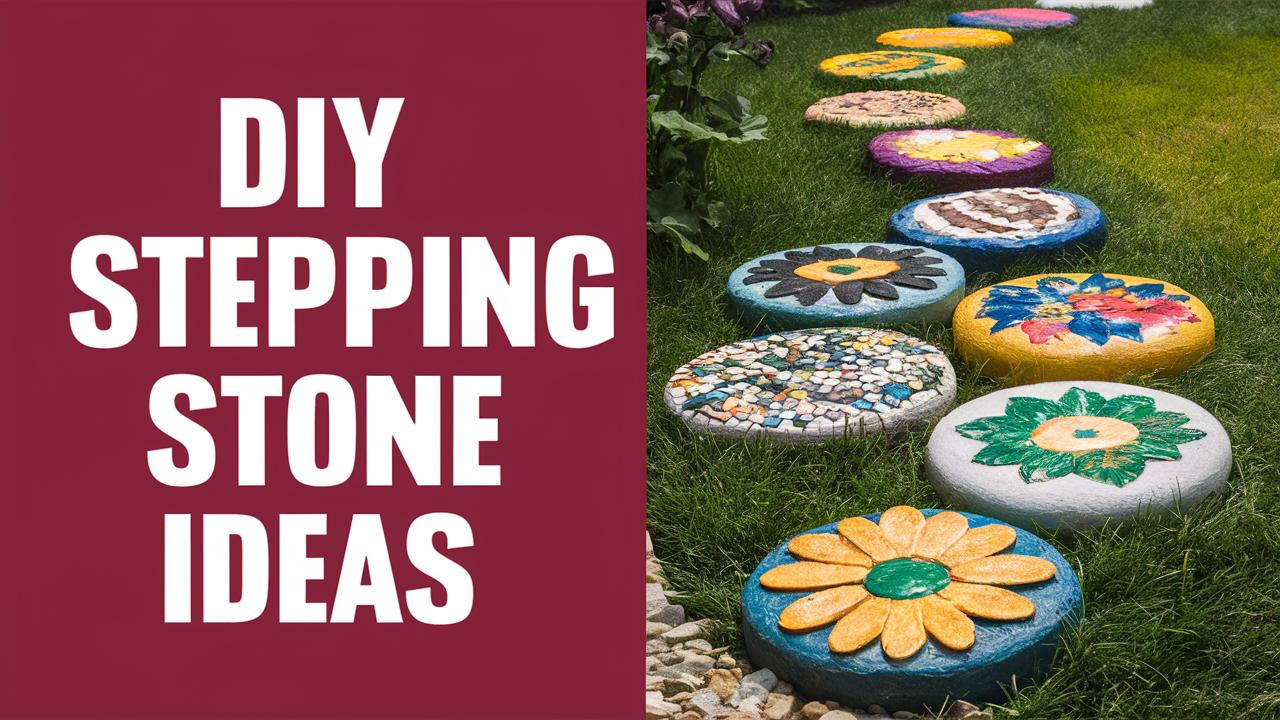
DIY Stepping Stone Ideas: Create Your Own Garden Pathways
Stepping stones are more than mere paths across the garden; they can be beautiful ornaments that enhance your outdoor space while guiding visitors on a delightful journey through your yard. Whether you’re looking to add a personal touch to your landscaping or simply need an efficient way to navigate your garden, crafting your own stepping stones can be an enjoyable and fulfilling project. In this blog post, we’ll explore various DIY stepping stone ideas, materials, techniques, and tips to help you create stunning pathways in your garden.
The Importance of Stepping Stones in Garden Design
Before diving into the myriad of designs and ideas, it’s essential to understand why stepping stones hold a significant place in garden design. At their core, stepping stones serve functional purposes: they provide a stable surface for walking, help to define pathways, and keep foot traffic off the garden beds. However, beyond practicality, they have the power to enhance the aesthetic appeal of your outdoor space.
Stepping stones can add unique character to your garden, reflecting your personality and style. Whether you prefer the rustic charm of natural stones or the modern appeal of colored concrete, incorporating DIY stepping stones can truly transform your garden into a personal oasis.
Basic DIY Stepping Stone Materials
When embarking on your DIY stepping stone project, the first step is selecting the right materials. The great news is you can use a variety of items, allowing your creativity to thrive. Below are some basic materials you may consider:
Concrete Mix: Easy to work with and durable, concrete is the most popular choice for homemade stepping stones.
Molds: You can purchase molds from a craft store or make your own using materials like cardboard, wood, or even plastic containers.
Additives: Personalize your stones with pigments, glitters, or textural elements like pebbles, shells, or glass beads.
Reinforcement: Consider using wire mesh or chicken wire to increase the strength of your stones.
Sealants: A good sealant can protect your stones from moisture and wear, extending their lifespan.
With these materials in hand, you can embark on your DIY journey armed with endless creative possibilities!
Simple Concrete Stepping Stones
A classic choice for stepping stones, concrete offers versatility due to its ease of use and durability. Creating simple concrete stepping stones involves the following steps:
Materials Needed
Quick-setting concrete mix
Water
Molds (plastic or metal)
A mixing bucket
Trowel
Decorative elements (like colored glass or stones)
Instructions
Prepare Your Molds: If you’re using store-bought molds, make sure they are clean and dry. For homemade molds, line them with a plastic bag to ease the removal process.
Mix the Concrete: Follow the instructions on the concrete mix package. Generally, you will combine the mix with water in a bucket, stirring until you achieve a smooth consistency.
Pour the Mixture: Carefully pour the concrete into your molds, making sure to fill them to the top.
Add Decorations: Before the concrete sets, you can press decorative elements into the top. This is where your creativity shines – consider using colorful tiles, shells, or even embedding small tools or toys for a whimsical touch.
Allow to Cure: Let your stones cure as per the mix instructions, usually for a day or two. After they’re fully set, gently remove them from the molds.
Seal the Stones: Once your stones are removed, apply a concrete sealant to protect them from the elements.
These simple concrete stepping stones will not only guide your feet but will also catch the eye with their individualized decorative touches.
Incorporating Natural Elements
If you prefer a more organic aesthetic, consider making stepping stones with natural materials. These can blend seamlessly into a garden or rustic setting.
Materials Needed
Large flat rocks
Moss or creeping plants
Soil
Optional: Paint or wood burning tools for decoration
Instructions
Select Your Rocks: Find large, flat rocks or stones that have interesting textures or colors.
Prepare the Area: Clear a path in your garden where you want to place your stones. Ensure the ground is even and stable.
Lay the Stones: Place the stones evenly spaced along the path. You can opt for a straight line or a more organic, winding path.
Add Natural Motivators: Consider planting moss or low-growing plants around the stones before they are secured in place. This adds greenery and can help integrate the stones into their surrounding environment.
Personal Touches: Use paint or wood burning tools to add your initials, garden motifs, or inspirational quotes to your stones for a personalized look.
By utilizing natural rocks and plants, your stepping stones can appear as if they’ve been a part of your landscape for years.
Creative Mosaic Stepping Stones
A fun and vibrant option is creating mosaic stepping stones. This method allows for tremendous creativity through color and patterns.
Materials Needed
Pre-mixed concrete
Mosaic tiles, glass, or broken pottery
Molds
Grout
A mixing bucket
Trowel
Instructions
Prepare the Molds: Just like before, make sure your molds are clean and possibly lined with plastic for easy removal.
Mix Concrete: Prepare your concrete mix in the bucket according to instructions.
Fill the Molds: Pour the concrete into the molds, filling them about halfway.
Lay the Mosaic: Arrange your mosaic pieces on top of the wet concrete. Feel free to create patterns, images, or abstract designs that bring your stepping stones to life.
Cover with Concrete: Once your mosaic is set, pour more concrete over the top to hold it in place.
Cure and Grout: After the stones cure, remove them from the molds. If you wish to use grout, apply it over the mosaic pieces, filling in the gaps. This will enhance the design and secure everything in place.
Seal Your Stones: As with other stepping stones, apply a sealant to protect your mosaic creations.
This creative approach not only enhances the visual interest in your garden but also provides a fun outlet for personal expression through color and design.
Themed Stepping Stones: Seasonal Inspirations
Creating themed stepping stones can be a delightful project, allowing you to celebrate different seasons or occasions in your garden.
Seasonal Ideas
Autumn Leaves: Press dried leaves into wet concrete to create impressions. Once cured, these stones can evoke the beauty of autumn throughout the year.
Winter Wonderland: Use white concrete and add glitter or small beads for a frosty effect, perfect for those who want to keep a winter theme all year.
Spring Blooms: Embed fresh flowers or flower-shaped molds in wet concrete for a vibrant spring essence that brightens your pathway.
Summer Fun: Create stones with beach motifs, using sand-colored concrete and incorporating seashells or starfish for a beachy feel.
Instructions
Follow the basic concrete creation steps outlined above.
Use specific seasonal decorations based on your theme.
Alter the color of the concrete if desired to match seasonal colors.
Allow curing and sealing as per the usual process.
Using seasonal themes ensures your garden remains dynamic and refreshingly enjoyable throughout the year.
Incorporating Recycled Materials
In the spirit of sustainability, consider using recycled materials in your DIY stepping stones. Old bricks, tiles, or even glass can be repurposed creatively.
Materials Needed
Recycled materials (bricks, tiles, or glass)
Cement or concrete mix
Molds
Optional: Paint for decor
Instructions
Gather Materials: Collect bricks, tiles, or glass from old projects or thrift stores.
Prepare the Molds: As always, clear and line your molds.
Mix Concrete: Prepare your concrete mixture.
Build Your Base: First, lay a layer of concrete in the mold for a base.
Add Recycled Elements: Press the recycled materials into the surface.
Pour More Concrete: Cover the materials with additional concrete mixture for stability.
Cure and Clean: Let them cure, then remove from molds. You can paint or decorate the stones using leftover materials if desired.
Recycling materials not only keeps waste out of landfills but also encourages a unique, eclectic look in your garden.
Creative Use of Lighting on Stepping Stones
A less traditional but innovative idea is to integrate lighting into your stepping stones, illuminating your pathways creatively.
Materials Needed
Solar garden lights
Concrete (if creating stones)
Molds
Decorative elements (optional)
Instructions
Prepare Stones: Create stepping stones with a mold as discussed earlier.
Implement Lighting: Before the concrete sets, embed the solar light fixtures into the center of each stone. Ensure the lights fit comfortably without protruding too high.
Complete the Stone: Pour concrete around the light, ensuring it is secure.
Allow to Cure: Follow standard curing methods, ensuring the lights function.
Enjoy your Path: Once cured, place them in your garden. As the sun sets, your stepping stones will glow, providing both functionality and ambiance.
This method adds safety at night and creates a magical atmosphere, turning your garden into an enchanting retreat.
Maintaining Your Stepping Stones
Now that we’ve explored various creative and functional ideas for DIY stepping stones, let’s talk about how to maintain them to ensure they last for years to come.
Cleaning
Regular cleaning is essential to keep your stones looking great. Depending on the materials used, you can usually wash them with a hose or a gentle scrub applying mild detergent in stubborn areas.
Sealing
If you have used concrete, sealing is crucial. Depending on your local climate, reapply sealant once a year or as needed, especially if you notice wear from the elements.
Repair
For stones that become cracked or damaged, consider patching with concrete or replacing damaged parts. If you’ve used glass mosaics, closely inspect for loose tiles and re-grout as necessary.
Repositioning
Don’t hesitate to rearrange or reposition your stepping stones if you feel a different layout might serve your garden better! The beauty of DIY is that you can adapt as your garden evolves.