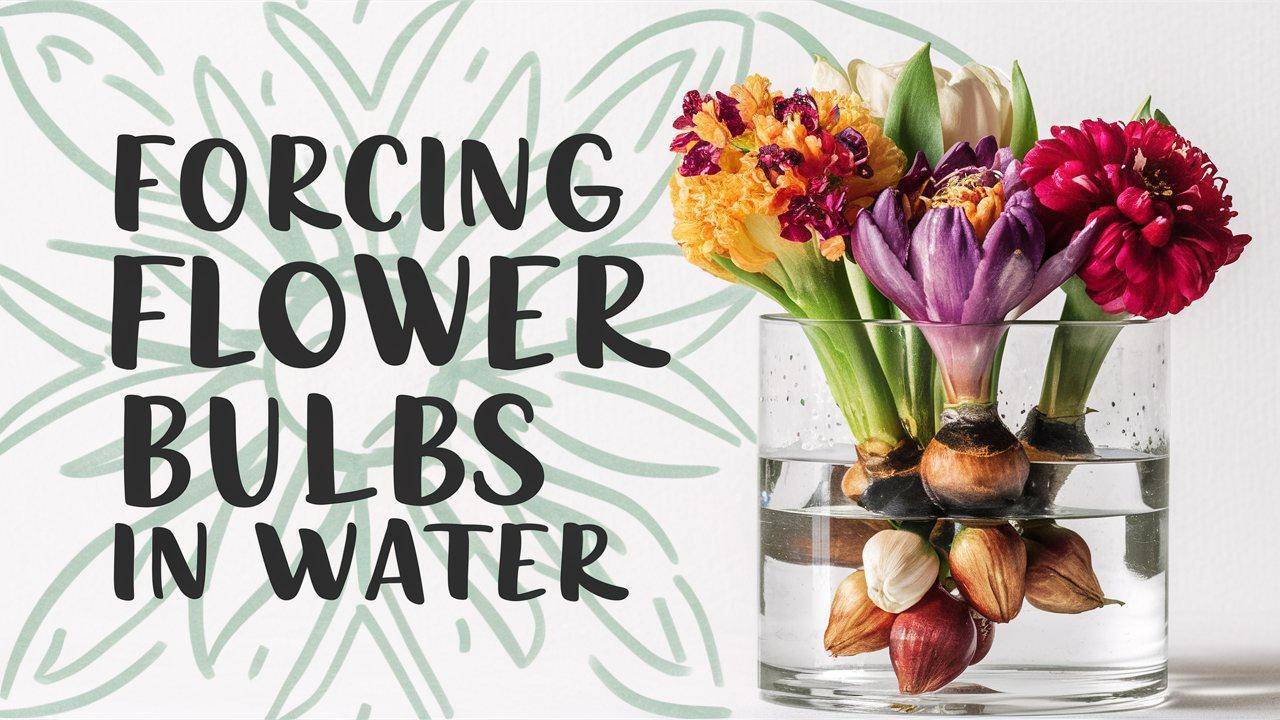
Forcing bulbs in water is an enchanting method to bring the beauty of spring into your home long before the frost has melted in your garden. This technique allows you to coax flowering bulbs, such as hyacinths, daffodils, and amaryllis, to bloom in a controlled manner.
With the right conditions and a bit of patience, you can create a stunning display of flowers that adds life and color to your indoor space. In this blog post, we’ll explore the fascinating process of forcing bulbs in water, including the types of bulbs suited for this method, the materials you’ll need, the step-by-step process, and tips for success.
Understanding the Concept of Forcing Bulbs
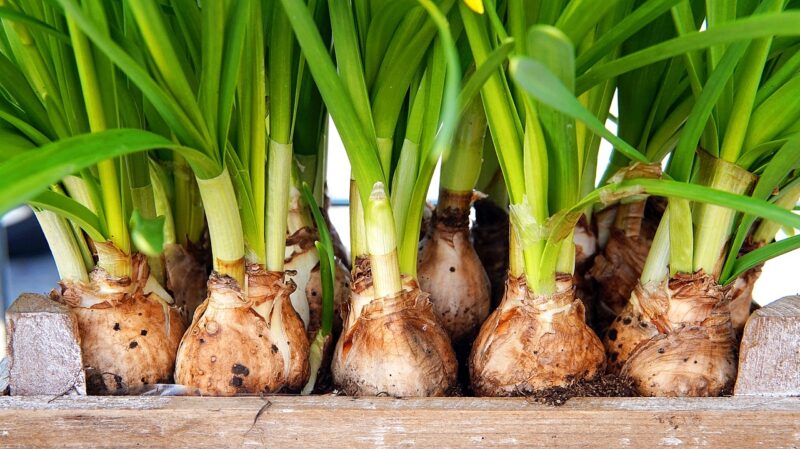
Forcing bulbs is the practice of manipulating the growing conditions for bulbs to stimulate early blooming. This process typically involves simulating the natural cycle that bulbs undergo in the wild, where they experience a period of dormancy followed by a defined sequence of environmental triggers—such as cold temperatures and moisture—that signal it’s time to grow and flower. Bulbs are stored underground, where they accumulate nutrients and energy through photosynthesis. When temperatures warm up, they begin to sprout and bloom in response to increased moisture and warmth.
When we force bulbs in water, we bypass the natural growing season and create an environment in our homes that encourages these plants to grow and flower within a matter of weeks. This method offers the thrill of witnessing nature’s beauty unfold right before our eyes.
Selecting the Right Bulbs
Not all bulbs are suitable for forcing, so it’s essential to choose the right ones for this method. The most popular bulbs for forcing in water are:
Hyacinths: Renowned for their fragrant, dense clusters of flowers, hyacinths bloom in a myriad of colors, making them a favorite for indoor arrangements.
Daffodils: These cheerful yellow and white bulbs are known for their distinct trumpet shape and are usually among the first to bloom in spring.
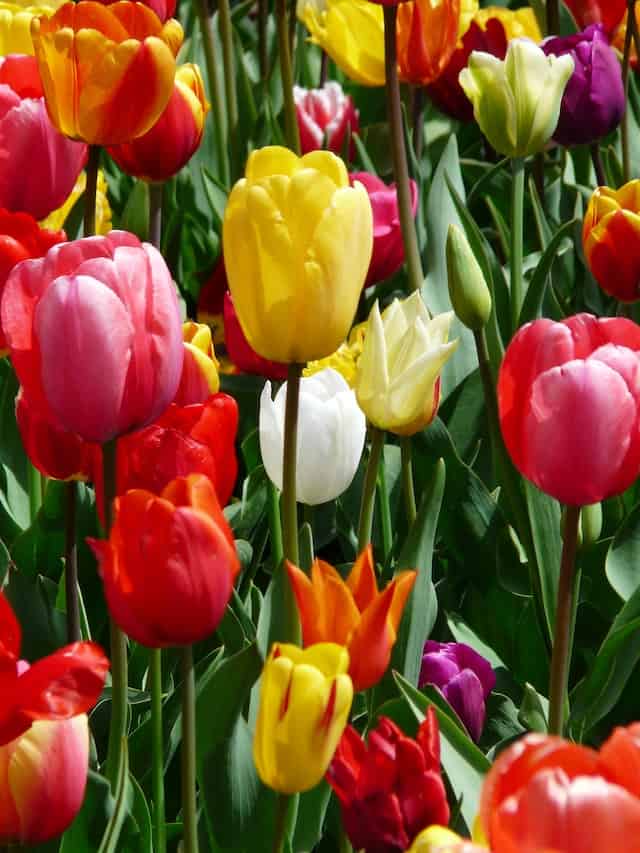
Tulips: With their elegant blooms and diverse color palette, tulips can be a stunning addition to any forced display.
Crocus: These early bloomers offer a delightful array of colors and are perfect for small containers.
Paperwhite Narcissus: This particular type of daffodil is especially popular for forcing. Its delicate white flowers and sweet scent make it a favorite during the winter months.
Amaryllis: Known for their large, dramatic flowers, amaryllis can be forced in water, bringing a touch of tropical flair to your home during the cooler months.
Choosing Quality Bulbs
When selecting bulbs for forcing, quality is key. Look for firm, plump bulbs without any signs of rot, mold, or soft spots. Healthy bulbs will provide the best chance for successful flowering. You may purchase them from local garden centers or online retailers, especially during the fall, as this is when they are typically available.
Required Materials for Forcing Bulbs in Water

Forcing bulbs in water is a simple process that requires minimal materials. Here’s what you’ll need:
Bulbs: As discussed, select your preferred species of bulbs suitable for forcing.
Container: A forcing jar or vase is ideal, particularly one designed with a tapered neck to support the bulb just above the waterline, keeping it dry while allowing the roots to soak up moisture.
Water: Use distilled or filtered water to avoid chlorine and other chemicals found in tap water.
Gravel or Stones (optional): Adding small pebbles or decorative stones can provide additional stability for the bulbs and enhance the aesthetic of your arrangement.
A cool, dark place: A location like a basement or refrigerator may be necessary for the initial chilling period.
Light: After the chilling period, a well-lit spot that receives indirect sunlight will help the bulbs thrive.
Step-by-Step Process of Forcing Bulbs in Water
Forcing bulbs in water follows a straightforward process. Here’s how to do it step-by-step:
Step 1: Chill the Bulbs
Most bulbs require a chilling period to simulate winter conditions. This step is critical as it allows the bulbs to break dormancy. Firm bulbs, like hyacinths and tulips, typically need 10 to 16 weeks of cool temperatures ranging from 35°F to 45°F (2°C to 7°C).
Place the bulbs in a paper bag or box to protect them from moisture and light.
Store them in the refrigerator or a cool area for the required time. Make sure to keep them away from fruits like apples and bananas, as these emit ethylene gas, which can damage the bulbs.
Monitor the chilling period, counting the number of weeks and remembering to check for any signs of decay.
Step 2: Prepare Your Container
Once your chilling period is complete, it’s time to prepare your container:
Fill the container with water until it reaches about two inches below the top of the bulb.
If using gravel, place a layer at the bottom of the container for stability.
Position the bulb so that its base is above the waterline while allowing the roots to touch the water. This setup encourages healthy growth while preventing rot.
Step 3: Place in Light
After setting up your bulbs, find a suitable spot to place your containers:
Position the bulb container in a location with bright, indirect sunlight. Avoid intense, direct sunlight, as it can stress the bulbs and lead to leggy growth.
Rotate the container every few days to ensure even growth and exposure to light for the developing flowers.
Step 4: Water Maintenance
Keeping an eye on the water level is essential for the success of your forced bulbs:
Regularly check the water level and replenish it as needed to maintain consistent moisture.
Change the water every week, rinsing the roots gently to prevent the growth of algae or bacteria.
Step 5: Enjoying the Bloom
With the right care, your bulbs will begin to sprout within a few weeks, followed by flowering:
Continue to monitor light and water as the bulbs grow.
As the flowers begin to open, you can enhance their longevity by moving them to a cooler area at night.
Tips for Success
Ensuring that your bulb forcing experience is successful requires attention to detail and a few helpful tips:
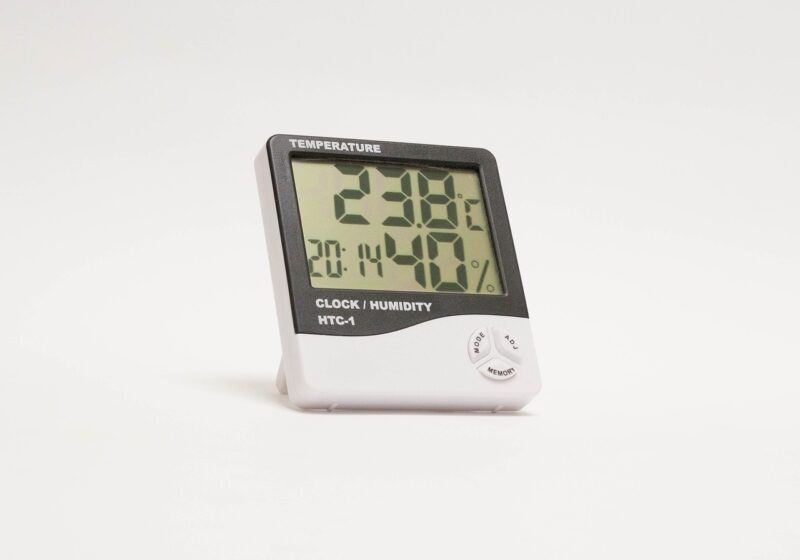
Temperature Control: After the chilling phase, keeping the environment stable is crucial. Fluctuations in temperature can stunt growth or lead to wilting or premature flowering.
Avoid Overcrowding: If you’re forcing multiple types of bulbs in one container, ensure they have enough space to grow without crowding each other. Each type may have different water and light preferences, so monitor them closely.
Fertilization: While forcing in water, added nutrients from soil are unavailable. Use liquid fertilizer diluted to half the recommended strength when roots are established and growth is visible. This provides the necessary nutrients without overwhelming the bulbs.
Timing: Plan your forcing process to align with the bloom time you desire. For instance, starting the process a few months before a holiday event can yield beautiful decorations for gatherings.
Pest Control: Keep an eye out for any pests that may invade your indoor garden. If you notice any, treat them promptly with organic solutions or insecticidal soap.
Common Challenges and Solutions
Even with the best intentions, challenges may arise when forcing bulbs in water. Here are some potential issues and how to troubleshoot them:
Rotting Bulbs: Ensure that the bulb’s base does not sit in water. If rot occurs, remove the affected bulbs and allow the healthy ones to dry briefly before re-placing them.
Leggy Growth: If bulbs appear to be stretching towards the light, consider relocating them to a brighter spot or rotating their position regularly.
Delayed Blooming: If blooms are taking longer to appear, check your temperature and water levels. Increasing light exposure and maintaining consistent temperatures can help accelerate growth.
Creative Display Ideas
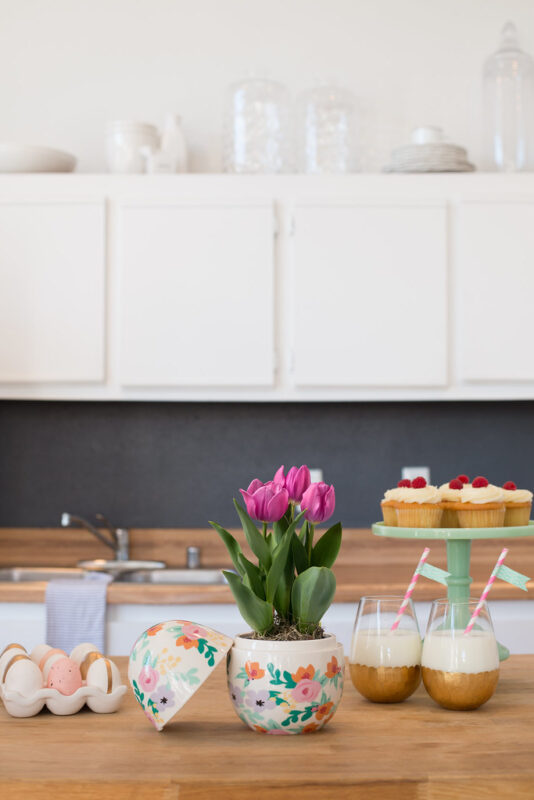
Once your bulbs bloom, the next joy is to display them creatively around your home. Here are some ideas for showcasing your flowering bulbs:
Centerpieces: Use forced bulbs as stunning centerpieces for dining tables or coffee tables. Combine them with candles or decorative stones for added elegance.
Gift Arrangements: For a thoughtful present, gift a potted arrangement of forced bulbs to friends and family. Customizing with seasonal decorations, like holiday ribbon or themed pots, can make it a memorable gift.
Window Displays: Position your bulb containers on window sills or bright countertops to attract attention and brighten up your indoor space.
Layered Arrangements: Use varying heights and types of bulbs in one arrangement for a visually appealing display that introduces different colors and textures.
Conclusion
Forcing bulbs in water is an accessible and rewarding process that allows you to experience the beauty of blooming flowers indoors during the dreary winter months. By carefully selecting your bulbs, providing the right conditions, and nurturing them through the forcing process, you can enjoy an exquisite display that will elevate your home décor.
As you engage with this captivating practice, remember the magic of nature’s cycles and how, with a little inspiration and effort, you can cultivate beauty and joy inside your home, turning cold winter days into a vibrant celebration of growth and renewal. Whether you’re a seasoned gardener or a curious novice, diving into the world of forcing bulbs can open the door to remarkable decor possibilities and the joyful anticipation of spring blossom.


