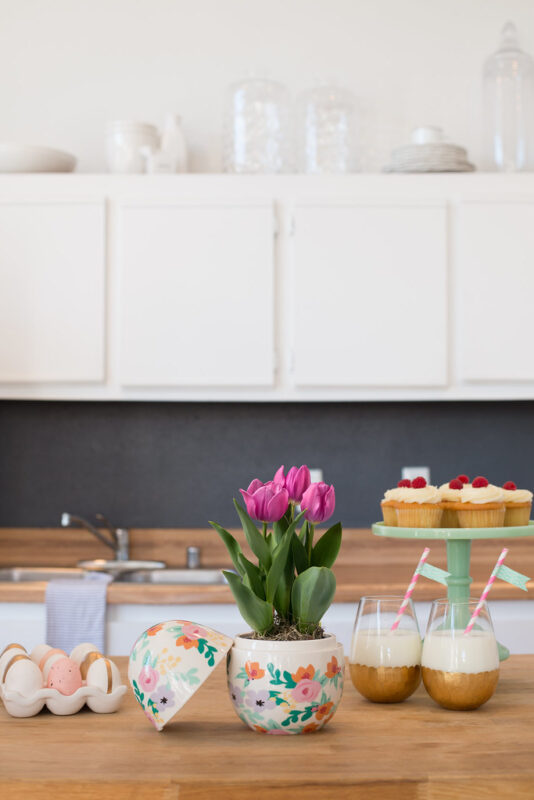
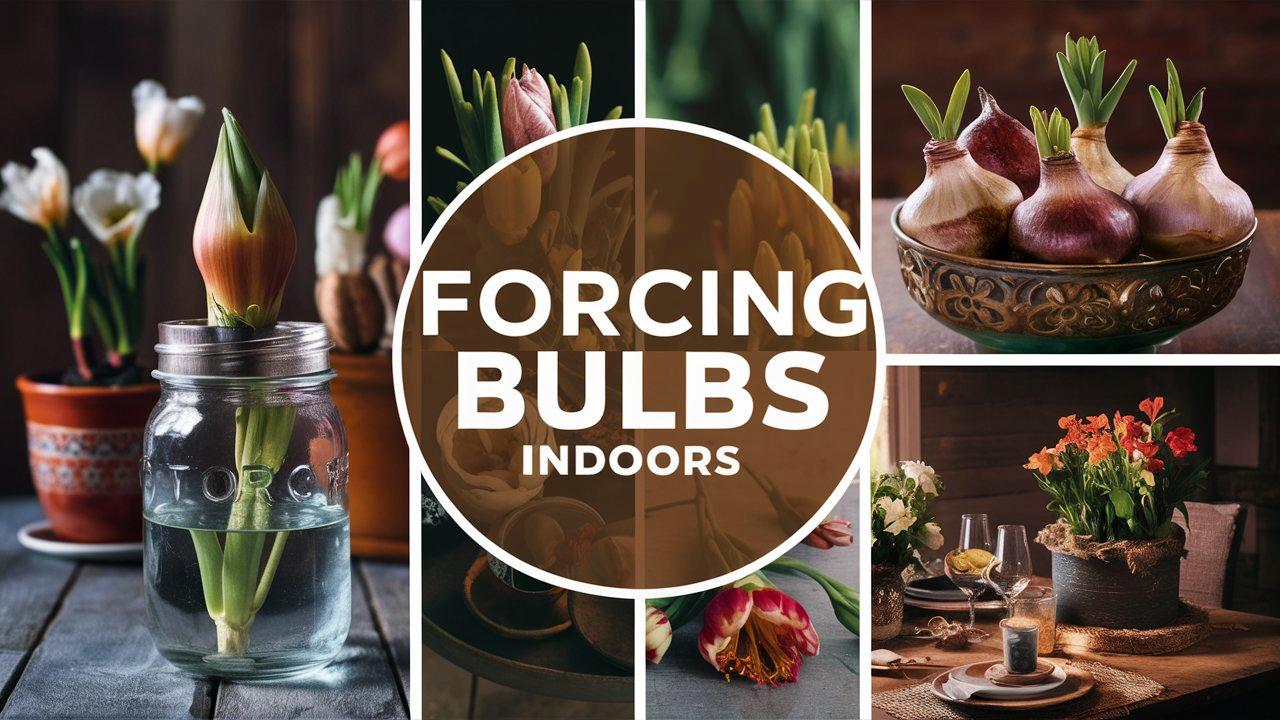
Forcing flower bulbs indoors is a delightful way to bring vibrant colors and fresh fragrances into your home during the colder months. Whether you want to brighten up your living space or enjoy some gardening therapy during winter, forcing bulbs is an accessible and rewarding hobby.
In this comprehensive guide, we will explore the process of forcing flower bulbs, the types of bulbs suitable for this method, the preparation stages, care tips, and troubleshooting common issues.
Understanding Flower Bulbs

Before diving into the forcing process, it’s essential to understand what flower bulbs are and how they grow. Flower bulbs are underground storage structures for plants, storing nutrients and energy necessary for growth. Popular choices for forcing include tulips, daffodils, hyacinths, and crocuses. Each of these varieties has specific requirements and behaves differently during the forcing process.
Types of Bulbs Suitable for Forcing
When choosing bulbs for indoor forcing, it’s crucial to select varieties known to flourish indoors. Here are some popular options:
Tulips: Known for their vibrant colors and graceful shapes, tulips can bring a splash of spring to your home. They typically require around 12 to 16 weeks of chilling.
Hyacinths: These are famous for their aromatic blooms and striking clusters. They require about 10 to 14 weeks of chilling.
Daffodils: With their cheerful yellow faces, daffodils are also excellent for forcing. They require 12 to 14 weeks of pre-chilling.
Crocuses: These early bloomers can bring warmth to a cold room, needing only about 12 weeks of chilling.
Amaryllis: Unlike the above bulbs, amaryllis are large, tropical bulbs that can be forced without pre-chilling. They are perfect for immediate gratification, with blooms appearing in about 6 to 8 weeks after planting.
The Forcing Process: Step-by-Step Guide

Forcing flower bulbs indoors requires patience and attention to detail. Follow this step-by-step guide to achieve blooming success.
1. Choosing the Right Bulbs
Purchase high-quality, healthy bulbs from a reputable source. Inspect the bulbs for any signs of mold or damage. Smoother and firm bulbs are ideal choices. The size of the bulb can also impact its performance; larger bulbs usually produce more substantial blooms.
2. Preparing the Bulbs
Most bulbs require a chilling period before they can bloom indoors. Depending on the type of bulb, chilling times vary:
Tulips & Daffodils: 12-16 weeks
Hyacinths: 10-14 weeks
Crocuses: 12 weeks
Amaryllis: No chilling required, plant directly.
Chilling can be accomplished by placing the bulbs in a cool, dry place or refrigerator, ensuring they are kept away from fruits, which produce ethylene gas that might damage the bulbs.
3. Selecting Your Container
Choosing the right container is crucial for successful forcing. Containers should have drainage holes to prevent waterlogging. You can use traditional pots, decorative bowls, or even glass containers if you want to observe root development. Choose a vessel that allows the bulbs to fit snugly but not be overcrowded.
4. Choosing the Right Soil
A well-draining potting mix is essential for forcing bulbs. A mix designed for bulb planting is ideal. You can create your own by mixing equal parts of peat moss, perlite, and compost. This blend allows air and moisture to permeate the soil, preventing rotting.
5. Planting the Bulbs
When planting, follow these guidelines:
Fill your chosen container with soil, leaving about an inch from the top.
Place the bulbs with the pointed end facing up, giving them enough space to grow. For most bulbs, the general rule is to plant them at a depth of about twice their height.
Fill in with more soil, gently firming it around the bulbs, but do not compress it too much.
6. Watering the Bulbs
Water the bulbs thoroughly after planting. Ensure that the soil is moist but not soggy, as excess water can lead to rot. It’s best to allow the top inch of soil to dry slightly before watering again.
7. Providing the Right Environment
Once planted, the bulbs need to undergo the chilling process. Store them in a dark, cool environment (ideally around 35-45°F) for the specified chilling time. Check weekly for moisture; if the soil looks dry, lightly water it.
After the chilling period, move the bulbs to a warm location. A temperature of around 60-70°F is perfect for kickstarting their growth.
8. Light Requirements
As your bulbs begin to sprout, they will require plenty of light. If possible, place them in a south-facing window that receives bright but indirect sunlight. If natural light is limited, consider using fluorescent grow lights.
9. Nutritional Support
While bulbs contain nutrients to support their initial growth, providing extra nutrition may help promote healthier blooms. After leaves appear and show growth, you can use a diluted, balanced fertilizer (such as a 20-20-20 NPK) every 2-4 weeks to support their development.
Care and Maintenance During Forcing

Once you’ve activated the growth process, specific maintenance tasks will help ensure your bulbs thrive indoors.
1. Watering Tips
Keep the soil consistently moist, avoiding dry spells that can stress the bulbs. Drainage is vital, so ensure that excess water can escape the container. Overwatering can lead to root rot.
2. Temperature Management
As mentioned earlier, temperature plays a vital role in flowering. Once the bulbs start growing, keeping a stable temperature is critical. A drop in temperature after the bulbs start growing can trigger bolting and poor blooming, so aim to maintain the warmth.
3. Support for Tall Blooms
Certain forced bulbs, particularly tall varieties like tulips, may require staking or gentle support as they grow. It helps prevent them from toppling over or bending awkwardly, affecting their aesthetic value.
4. Pest Management
Indoors, you might encounter pests like aphids or spider mites. Monitor your plants for signs of infestation. If you spot pests, use insecticidal soap or a gentle neem oil solution to treat them.
Troubleshooting Common Issues
Even with careful planning, you might run into some common troubles while forcing bulbs indoors. Here are solutions to frequently faced challenges:
1. Blooms are Delayed
If your blooms are slower than expected, it could be due to inadequate chilling or warmth after the chilling period. Ensure you have followed the chilling requirements accurately and check the ambient temperature to maintain growth.
2. Stunted Growth
Stunted growth can result from insufficient light or nutrients. Ensure your bulbs receive ample sunlight (or supplemental light) and consider fertilizing them according to their growth stage.
3. Water Issues
Signs of overwatering include yellowing leaves or mushy bulbs. If you suspect rot, take the bulbs out of their soil to inspect them carefully. If they are mushy, discard them.
Conversely, too little water will lead to shriveled leaves and growth failure. Maintain a consistent moisture level while keeping an eye on drainage.
Enjoying Your Forced Blooms
Once your bulbs bloom, enjoy the beautiful display they create indoors. Forcing bulbs can be an emotionally uplifting experience. Their vibrant colors can transform your living space, and their scents can evoke memories of spring and renewal. Arrange your flowers in vases, create stunning centerpieces for your dining table, or simply place them around your home to enjoy.
Conclusion
Forcing flower bulbs indoors is a delightful way to harness nature’s beauty and bring the magic of gardening inside during the colder months. With the right tools, preparation, and care, you can bring life and color into your space all winter long.
Whether you’re an experienced gardener or a curious novice, this rewarding process allows you to enjoy gardening year-round. So gather your bulbs, pots, and soil, and prepare to witness the captivating growth of your forced flowers bloom indoors. Let the fragrant show of spring unfold even before the season arrives outside!


