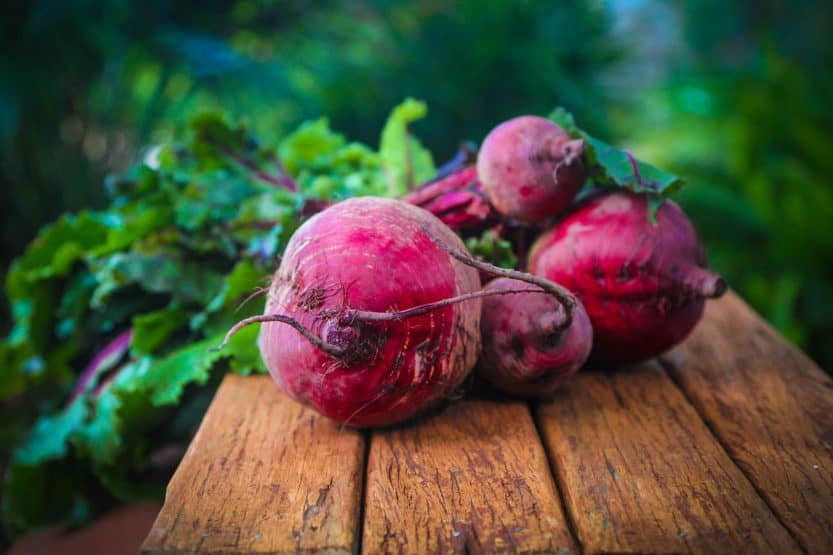
In this in-depth guide, we will walk you through the entire process of growing beets in containers, from selecting the right variety to harvesting your crop. Let’s dig in!
Choosing the Right Beet Varieties
When it comes to growing beets in pots, selecting the appropriate variety is crucial. Beets come in several types, each with distinct flavors, colors, and growing habits. Here are some popular varieties well-suited for container gardening:
Chioggia: Known as the candy cane beet, Chioggia features striking concentric red and white rings when sliced. This variety is not just visually appealing; it has a mild flavor, making it perfect for salads.
Bull’s Blood: This variety is famous for its dark maroon color and tender leaves. Bull’s Blood beets are not only delicious when cooked but their greens are also a nutritious addition to your salads.
Detroit Dark Red: A classic choice, Detroit Dark Red is a strong performer in containers. It produces round, deep red roots that are sweet and tender, making them ideal for roasting and pickling.
Golden Beet: For something a bit different, consider the Golden Beet. Its vibrant yellow color adds a lovely touch to your dishes, and it has a sweet, mild flavor that chefs love.
When selecting a variety, consider the space you have for growing, the flavors you like, and how you plan to use the beets in your cooking. Each variety has its own growth characteristics and can be a delightful addition to your container garden.
What You’ll Need
Before you embark on your beet-growing adventure, assembling your supplies will make the process smoother. Below, find a comprehensive checklist of equipment and materials essential for successfully growing beets in pots.
Equipment / Tools

Hand Trowel: This small gardening tool is essential for digging, planting, and loosening soil without disturbing your pots too much.
Garden Gloves: Protecting your hands from dirt, soil, and potential irritants is crucial for comfort and hygiene.
Watering Can or Hose: A reliable watering tool that allows you to deliver water directly to your pots is vital. A can with a narrow spout can help prevent excess water from spilling.
Pruning Shears: These come in handy for trimming beet greens when they outgrow the pot or to encourage new growth by pruning.
Soil Sifter: A helpful tool for breaking up dense potting soil and removing stones or debris that may hinder root growth.
Materials
Potting Soil: Using a high-quality potting mix specific to container gardening will provide your plants the nutrients they need. Look for a mix that includes organic matter, such as compost or peat, which improves drainage and moisture retention.
Fertilizer: A balanced, slow-release fertilizer will support the healthy growth of your beets. Look for a formula with equal parts nitrogen, phosphorus, and potassium or an organic alternative to kickstart your plants.
Seeds: Purchase beet seeds from a reputable source, whether local nurseries or online shops. Consider choosing heirloom seeds for unique flavors and greater genetic diversity.
Mulch: Organic mulch, such as straw or shredded leaves, can help retain moisture in your pots and regulate soil temperature.
Collecting these supplies ahead of time will streamline your planting process and ensure your beets start off on the right foot.
Choose and Prepare Containers
Choosing the right containers for planting your beets is crucial for their growth and health. Exploring different types of pots and preparing them correctly can lead to a thriving container garden.
Type of Pot
Various pot types offer different advantages and drawbacks:
Plastic
Plastic pots are practical and lightweight, making them easy to relocate. They hold moisture well, which can be helpful during hot weather; however, they might also retain too much heat. Ensure the pots are UV-resistant to prevent degradation from sunlight. Opt for recycled or eco-friendly plastic options for sustainability.
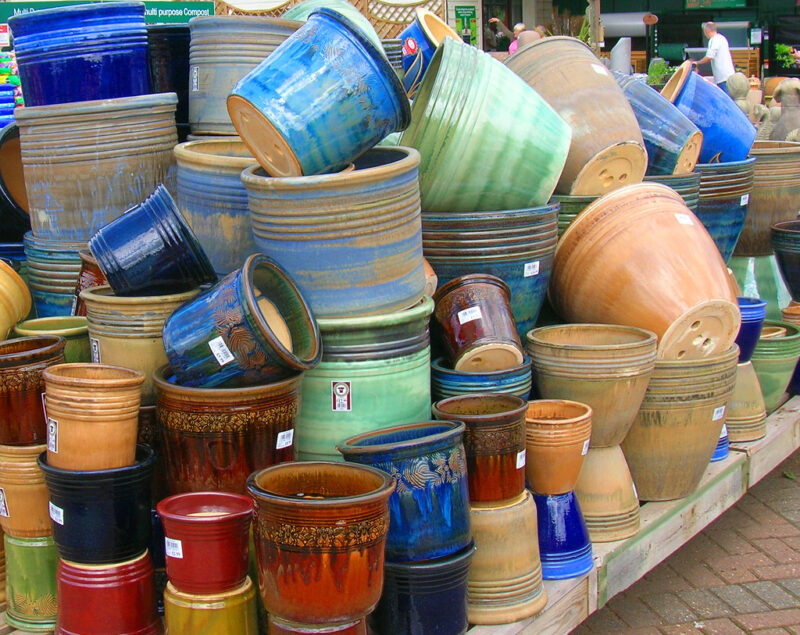
Clay
Clay pots are aesthetically pleasing and allow for excellent airflow to the roots. They help prevent waterlogging, but they tend to dry out more quickly. Make sure your clay pots have proper drainage holes. Consider soaking clay pots in water before planting to reduce moisture loss as they will absorb some water from the soil.
Size
Beets can thrive in various container sizes, but depth is particularly important to accommodate root growth. A container with a depth of at least 10-12 inches provides sufficient room for beets to mature. For each beet, plan for a space approximately 12 inches apart. If you’re planting multiple beets, a 5-gallon container can accommodate about 3-4 plants, ensuring they have enough airflow and nutrients.
Drainage
Proper drainage is vital for container gardening. Too much moisture can lead to root rot—a frequent issue for beets planted in poorly draining soils. Pots should have at least 3-4 drainage holes at the bottom. If they don’t, drill additional holes to promote water escape. You can also place a layer of small stones or gravel at the bottom of the pot before adding the soil to enhance drainage.
By carefully selecting and preparing your containers, you create an environment that encourages healthy beet growth and yields a productive harvest.
Planting Instructions
After you’ve chosen your beet varieties, gathered materials, and prepared your containers, it’s time to plant! Here’s a step-by-step guide to ensure successful planting.
Prepare the Potting Soil
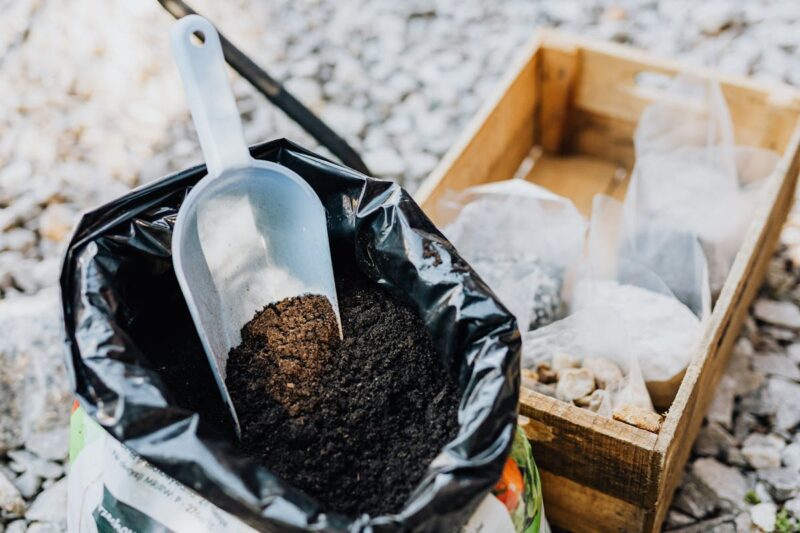
Start by filling your chosen container with potting soil. Leave about an inch of space from the top of the pot to prevent soil spilling during watering. Consider mixing your potting soil with a few handfuls of compost to boost nutrient availability. For optimal texture, lightly fluff the soil to avoid compaction, which can hinder root development.
Water
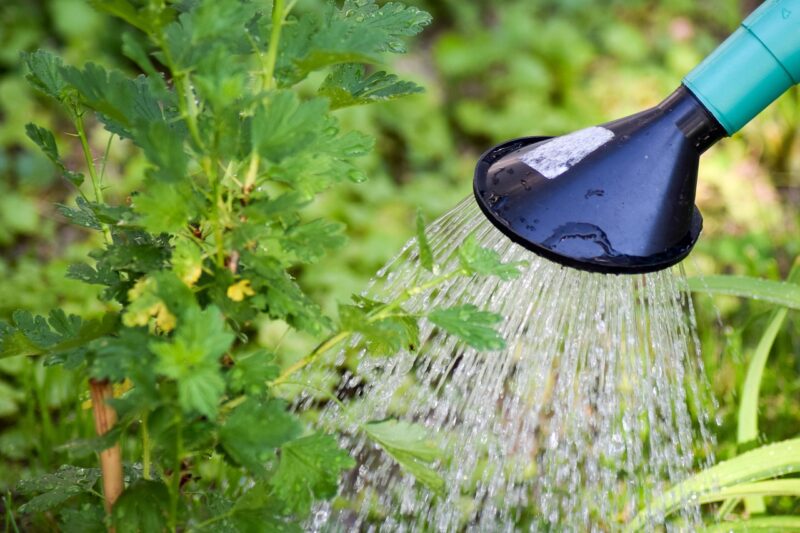
Before planting your beet seeds, thoroughly water the potting soil to reach the optimal moisture level. The soil should feel damp but not soggy. This initial watering helps settle the soil and creates a foundation for germination. Checking moisture levels is essential; if the soil feels dry more than an inch down, it’s time to rehydrate!
Fertilize
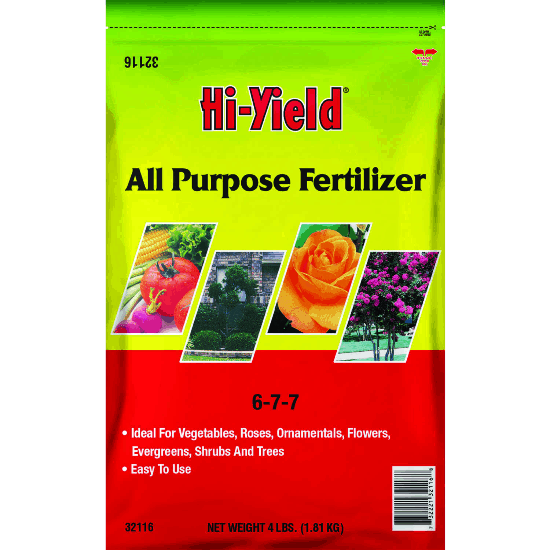
Fertilizing prior to planting gives your beets a strong start. Follow the fertilizer package instructions closely for application rates. If using organic options such as compost or fish emulsion, mix them into the top couple of inches of soil, ensuring an even distribution of nutrients. Having this nutrient-rich base will enhance their growth and health throughout their lifecycle.
Care Instructions
As your beets grow, caring for them properly is essential for ensuring they thrive in their containers. Here are some key care tips to keep in mind:
Sun Exposure

Beets thrive in full sun, so select a location that receives at least 6-8 hours of sunlight daily. If you have a balcony or patio, observing the light patterns throughout the day will help you choose the best spot. In hotter climates, consider moving pots to areas that receive afternoon shade to reduce the risk of stress and maintain adequate moisture levels.
Stick to a Water Schedule

Beets prefer consistent moisture; hence, establish a regular watering schedule that adjusts with the season’s temperature changes. Monitor the soil moisture level around the base of the plant; the top inch should feel dry before watering again. It’s best to water deeply and less frequently rather than a little bit every day, which encourages deeper root development. Watering in the morning is ideal, allowing excess moisture to evaporate during the day.
Protect From Excessive Heat and Freezing Temperatures
While beets are hardy, extreme weather can adversely affect growth. In cold climates, mulch can help insulate the roots during winter months, while in hotter climates, move your pots into a shaded area during heat waves. If you’re growing beets in the fall, consider covering them with garden cloth or bringing them indoors during unexpected frosts to protect young plants.
Taking these precautionary measures will ensure your beets remain healthy and productive throughout their growing season.
Harvesting Beets in Pots/Containers
The culmination of your gardening efforts arrives with the rewarding process of harvesting beets. Knowing when and how to harvest will help you enjoy the sweetest roots possible.
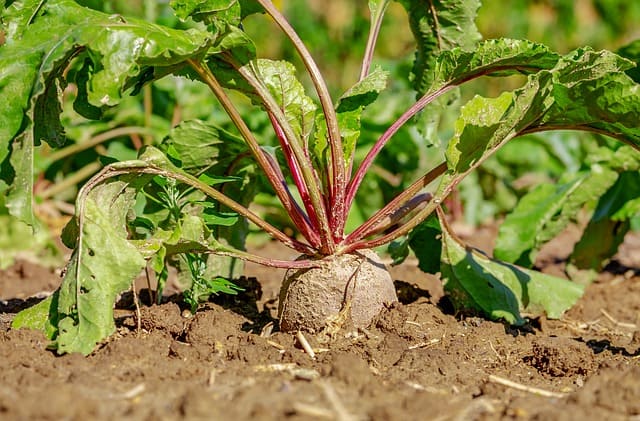
When to Harvest
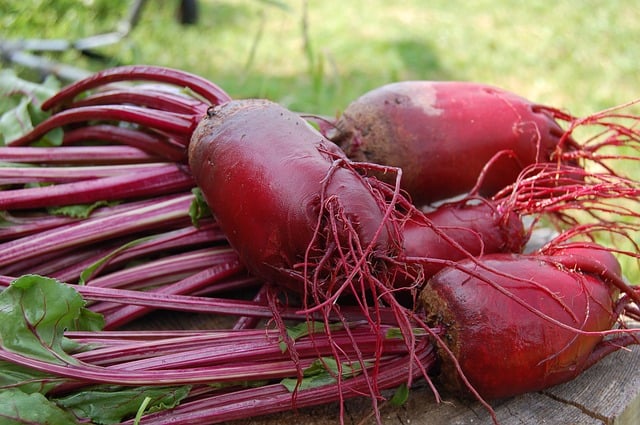
Beets typically mature in 50 to 70 days, depending on the variety and weather conditions. Look for signs of readiness: when your beets reach about 1-3 inches in diameter, they are at their peak for flavor and tenderness. Additionally, you can assess the greens; healthy, vibrant tops indicate thriving roots.
How to Harvest
Carefully grasp the tops of the beet plant and gently pull the root from the pot. Use a hand trowel or garden fork to loosen the soil without damaging the roots if they resist coming out. Aim to harvest in the late afternoon or early evening when the sun’s rays are less intense, reducing the stress on both you and the plant.
What to Do After Harvesting
After harvesting, wash the beets gently to remove soil debris, being careful not to damage the skin. Store unwashed beets in a cool, dry place with good airflow, or place them in the refrigerator in a perforated plastic bag. The greens can be stored separately and enjoyed within a few days for their best quality. Use them in stir-fries, salads, or smoothies for added nutrition!
Repotting Instructions

If you notice any signs of overcrowding or slowed growth in your pots, it might be time to repot your beets. Repotting can rejuvenate their growth and allow for a more abundant harvest.
When to Repot
Typically, beets can remain in their original pot for their entire growing cycle. However, if you observe roots protruding from the drainage holes or detachment of the foliage, repotting is necessary. Additionally, if your beets appear stunted or exhibit poor growth, consider allowing them more room to grow.
Repotting Steps
Remove the Beet: Gently lift the beet from its pot, being cautious not to injure the roots.
Prepare a New Container: Select a larger pot (2-4 inches deeper and wider than the old one). Ensure it has good drainage by checking for holes at the bottom.
Transfer and Water: Place the beet into the new pot, covering it with fresh potting mix. Water thoroughly to help the roots settle into their new environment.
Repotting is not only beneficial for growing larger beets; it can also provide a better overall foundation for your plants and promote healthier growth moving forward.
Pests and Diseases

Just like any garden plants, beets can fall victim to various pests and diseases. Understanding potential threats and learning how to deal with them effectively can help protect your container-grown beets.
Common Pests
Aphids: These small, green insects often congregate on the undersides of leaves, sucking sap and weakening the plants. You may notice distorted leaves and stunted growth. Controlling aphids is crucial—they can be removed using insecticidal soaps or by releasing beneficial insects such as ladybugs in your container garden.
Flea Beetles: Easily recognizable by their tiny jumping profile, flea beetles can create many small holes in the leaves, undermining the plant’s health. Prevent damage by using row covers during their peak activity and check for them regularly.
Common Diseases
Root Rot: This is particularly common in poorly draining pots and manifests as soft, mushy roots. Ensure proper watering techniques and choose pots with excellent drainage to avoid root rot. If roots show signs of rot, removing affected plants immediately can save the remaining ones.
Downy Mildew: A fungal disease that appears as fuzzy grayish spots on leaves, downy mildew thrives in cool, humid conditions. To minimize risk, increase airflow around your plants by spacing them correctly in the pot and avoiding overhead watering, which can contribute to fungal growth.
Regular inspections and preventive measures, such as maintaining optimal soil moisture and guarding against overcrowding, will keep your beet garden healthy and flourishing.
FAQ
Q: Can I grow beets year-round in pots?
A: Beets prefer cooler weather, making spring and fall ideal planting seasons. In regions with mild winters, you can grow beets year-round by providing proper protection against frost—consider using row covers or cloches for extending the growing season.
Q: How long do beets take to mature in containers?
A: The maturation period for beets can vary by variety, but typically they take between 50 and 70 days to reach harvestable size when grown in containers. Monitoring their growth regularly will help you gauge when they’re ready.
Q: Can I eat beet greens?
A: Absolutely! Beet greens are not only edible but also nutritious, providing vitamins A, C, and K. They can be enjoyed both raw in salads or sautéed as a side dish.
Q: How often should I fertilize my beets in pots?
A: Depending on the type of fertilizer you choose, fertilizing every 4-6 weeks throughout the growing season is usually effective. Monitor the growth of your beets; if they seem to be slowing down, consider additional fertilization.
Final Thoughts
Growing beets in pots or containers is a fantastic way to incorporate fresh and flavorful vegetables into your home cooking. With the right variety, container selection, care instructions, and pest management strategies, anyone can successfully cultivate healthful beets—even with limited space.