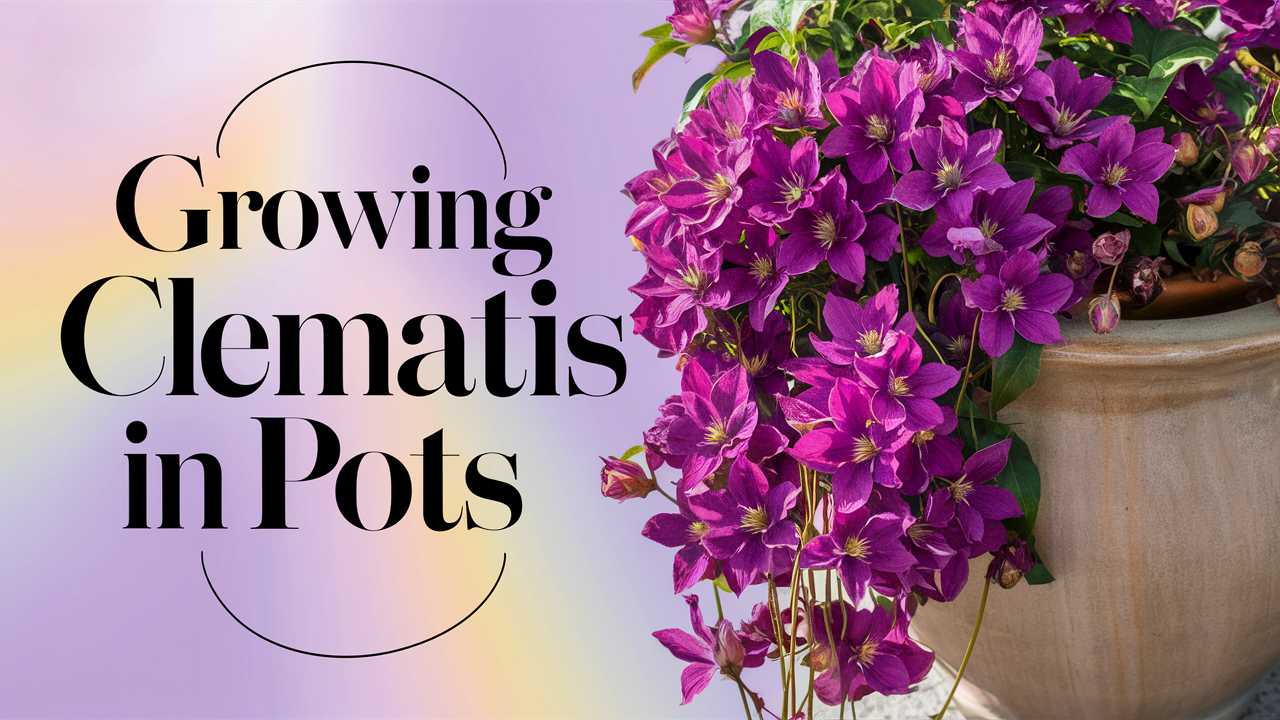
In this guide, we’ll explore the various aspects of growing clematis in containers, from choosing the right varieties to ensuring they receive the best care.
Choosing the Right Clematis Varieties
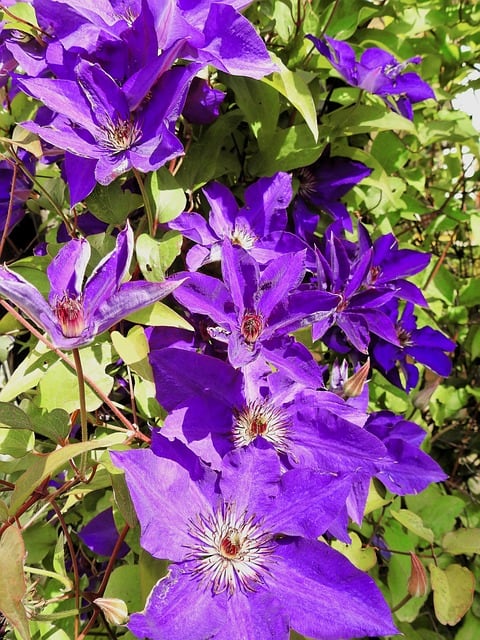
Selecting the correct clematis variety is crucial for the success of container gardening. Various clematis species vary in size, color, and blooming habits. Here are some ideal candidates to consider:
Clematis ‘Jackmanii’
This classic variety is favored for its vigorous growth and prolific blooming. It features large, deep purple flowers that create a stunning visual impact. ‘Jackmanii’ can grow up to 10-12 feet tall, needing a sturdy support system like a trellis or a tall pot with stakes.Clematis ‘Nelly Moser’
Known for its unique two-tone flowers and excellent adaptability, this variety displays striking pink and white petals. ‘Nelly Moser’ is also less aggressive than some other varieties, making it suitable for smaller pots and more contained growth. Its compact nature makes it a perfect choice for urban gardeners.Clematis ‘Betty Corning’
This delightful cultivar features soft, sky-blue flowers with a delightful fragrance. Not only is ‘Betty Corning’ visually appealing, but it is also a reliable bloomer that thrives well in containers. Its relatively modest height (around 6-8 feet) means it can often be grown without extensive support.Clematis ‘Piilu’
A compact variety known for its small, delightful pink flowers that bloom from late spring until early fall. The plant typically grows to around 3-6 feet tall, making it ideal for hanging baskets and smaller spaces. It can thrive in partial shade, making it versatile for various light conditions.Clematis ‘Sweet Summer Love’
This enchanting variety offers not only beautiful flowers but also a delightful fragrance. The blossoms transition in color as they mature, creating an evolving display that captivates observers. Its compact growth habit of about 4-6 feet is perfect for containers, and it can be paired with trailing plants for a stunning effect.
When choosing your clematis, consider your local climate, available sunlight, and your overall gardening goals. Also, make sure to research the specific care requirements of the varieties you choose to ensure happy and healthy growth.
What You’ll Need
Equipment / Tools

Having the right tools on hand will simplify the process of growing clematis in containers. Here’s an expanded list to equip you for success:
Pruning Shears: Necessary for cutting back dead or unwanted growth, pruning shears help keep your clematis healthy and promote vigorous blooming.
Trowel: This small spade is perfect for digging holes in your potting soil and moving soil around when planting or repotting.
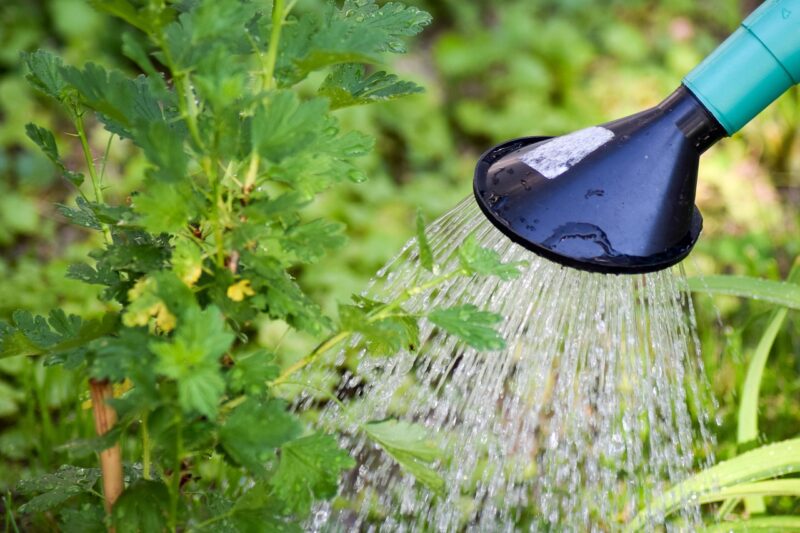
Watering Can or Hose: Consistent watering is fundamental for container gardening. Choose a watering can with a narrow spout for easy watering or a hose with a spray nozzle setup that allows you to control the flow.
Support Structures: Options this category include trellises, cages, or stakes that provide essential support for climbing varieties. Some gardeners also use decorative elements, like bamboo poles or archways, to add aesthetic value to their setups.
Soil Moisture Meter: While this isn’t strictly necessary, it can be helpful, especially for beginners. A moisture meter takes the guesswork out of watering and allows you to ascertain when your clematis actually needs water.
Materials
Prepare the following materials before you dive into planting your clematis:
Potting Soil: Choose a high-quality potting mix formulated for flowering plants. It should be lightweight, rich in organic matter, and well-draining to promote healthy growth.
Mulch: Natural mulches made from wood chips, straw, or shredded leaves help retain moisture and regulate soil temperature. Mulch also adds an aesthetically pleasing finish to the top of your container.
Slow-Release Fertilizer: A balanced, slow-release fertilizer ensures that your clematis receives consistent nutrients over time. Look for one specifically formulated for flowering plants to enhance bloom quality and vibrancy.
Containers: An array of pot options will be discussed in the next section, but make sure to select durable, aesthetically pleasing pots that match your garden’s theme.
Choose and Prepare Containers
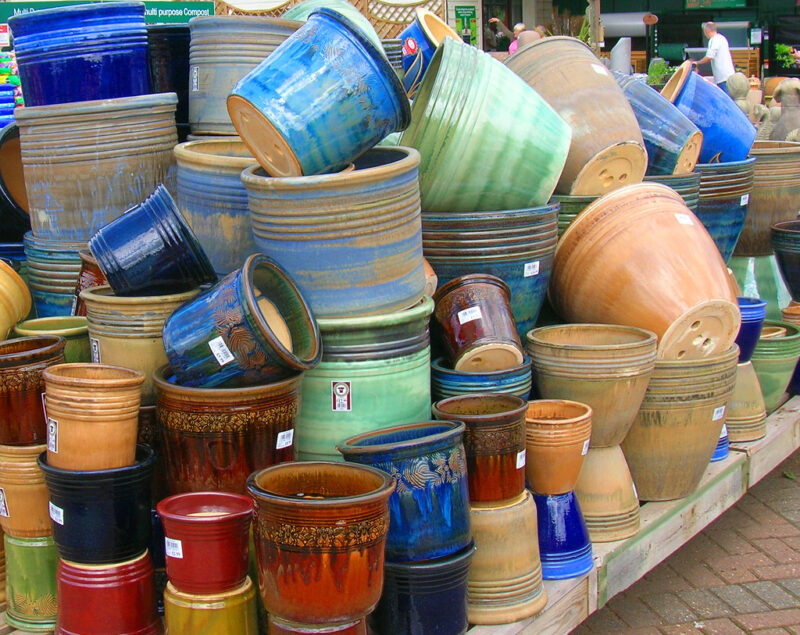
The right container will provide the foundation necessary for healthy and vibrant clematis growth. Here’s how to choose the correct pot and prepare it for planting.
Type of Pot
Choosing the right material for your pots can influence your plant’s health:
Plastic Pots: These are lightweight and easy to move around, which can be particularly beneficial for changing growing conditions. Look for pots with a textured exterior for improved grip and aesthetics. They tend to retain moisture well, reducing the frequency of watering.
Clay Pots: Clay offers a traditional look but has a porous nature that results in better airflow and drainage. However, they can dry out quickly, so you may need to water more often. They’re great for gardeners seeking a rustic aesthetic but may be less ideal for those with hotter climates due to higher evaporation rates.
Size
The size of your container is critical in accommodating clematis root systems. A pot that is at least 12-18 inches in diameter and deep will provide enough room for growth. However, bigger is usually better; a slightly larger pot will allow for increased root growth, improving the overall health of your plant. Remember that clematis develop extensive roots, and a larger pot lessens the need for frequent repotting.
Drainage
Proper drainage is vital for any potted plant, particularly clematis, which can be sensitive to waterlogged conditions. Always ensure that your pots have multiple drainage holes at the bottom. If you’re using a decorative pot with no drainage holes, consider placing a smaller pot inside that has holes or add a layer of pebbles or gravel to the bottom to facilitate excess water drainage.
Planting Instructions
Once you’ve prepared your pot and selected your clematis variety, it’s time to plant! Follow these steps for the best results.
Prepare the Potting Soil
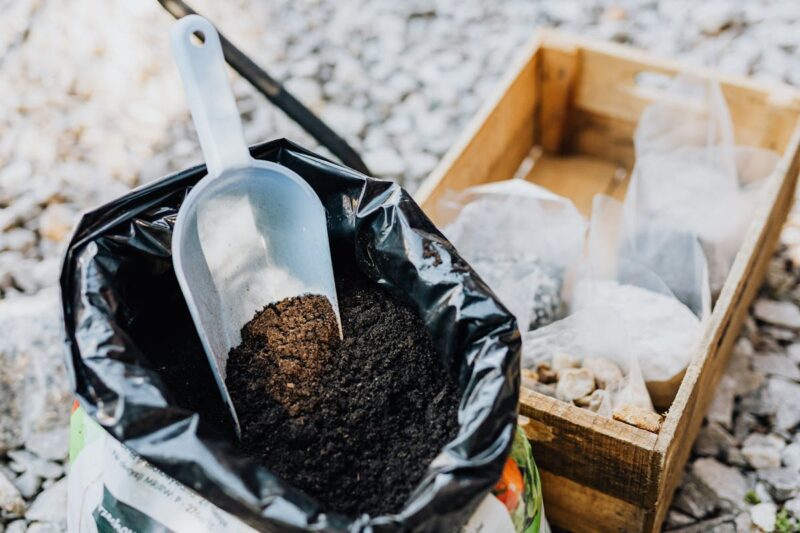
Start by filling your containers with a mix of high-quality potting soil. Aim for a blend that allows for both moisture retention and excellent drainage. A mixture that includes peat moss, compost, perlite, and slow-release fertilizer provides a robust environment. Fill the pot, leaving about an inch or two of space at the top to accommodate watering without overflow.
Water
Before planting, adequately soak the clematis root ball in water. This step is essential, especially if your plant has been in a nursery pot. Allow the root ball to absorb water for about an hour. Once well-hydrated, remove the clump gently and place it in the center of the prepared pot, ensuring the roots are spread out comfortably, and fill in around the roots with potting soil, pressing down gently to eliminate air pockets.
Fertilize
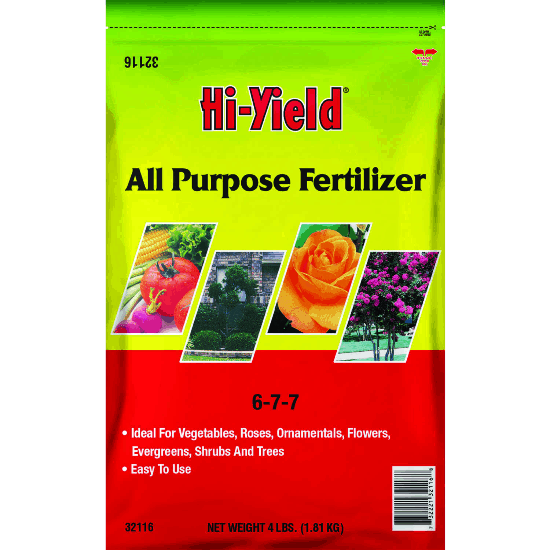
Incorporate a slow-release, balanced fertilizer into the top few inches of soil when planting. This practice will provide the necessary nutrients to support new growth as the plant establishes itself. Additionally, consider applying liquid fertilizer every four to six weeks during the growing season to boost blooming and improve overall health.
Care Instructions
Caring for your clematis while it grows in a pot requires diligence and an understanding of the specific needs of your chosen variety. Follow these care guidelines for a thriving plant.
Sun Exposure

Clematis plants thrive best in an environment that provides a mix of full sun and partial shade. They should receive at least six hours of sunlight daily, especially in the morning, which encourages vigorous blooms. If your clematis receives too much blazing afternoon sun, it can stress them out. To mitigate this, provide shade using a garden umbrella or plant taller companions nearby that can offer afternoon relief.
Stick to a Water Schedule

Container-grown plants can dry out more quickly than those in the ground, so developing a consistent watering schedule is key. Initially check for moisture levels weekly, but adjust it based on weather conditions. During particularly hot spells or dry periods, you may find yourself needing to check the soil daily, as containers can dry out rapidly. Signs that your clematis is thirsty include wilting leaves or soil pulling away from the edges of the pot—both clear indicators that it’s time to water.
Protect From Excessive Heat and Freezing Temperatures
In extremely hot climates, consider moving your pots to a shaded area during the peak afternoon sun. This action can prevent overheating, as excessive heat may stress the plants and prevent blooming. Conversely, if you live in areas prone to freezing temperatures, you’ll want to take steps to safeguard your container plants during the winter months. If possible, move them to a garage or covered porch, or wrap the pots with insulating materials such as burlap or bubble wrap to protect the roots from freezing.
Repotting Instructions

Repotting your clematis ensures its health and provides the room necessary for further growth. As your plant outgrows its container, it will typically need repotting every 2-3 years. Here’s what you should do:
Choosing a new container: When the time comes to repot, select a new pot that is one size larger (at least 2-4 inches wider in diameter). This extra space allows for new root growth and helps sustain the plant’s vigor.
Gently removing the plant: Carefully slide the plant out of the original container. If it appears stuck, try to tap the sides or gently squeeze the pot to loosen the soil and roots.
Trimming Roots: Assess the roots upon removal. If you notice any dead or excessively tangled roots, trim them back with sterilized pruning shears. This approach will encourage fresh, healthy root growth.
Replanting: Place the clematis in the new pot with fresh potting soil, ensuring that the root ball sits level with the surface of the soil. Reapply water and fertilizer as needed, and ensure the plant is properly supported for continued growth.
Pests and Diseases

While clematis is generally hardy, these beautiful plants may face challenges from pests and diseases. Keeping a close eye on them, particularly during the growing season, can help mitigate issues before they escalate. Here’s what to watch for:
Aphids: These tiny, soft-bodied pests can be detrimental to your clematis. Their presence can lead to stunted growth and distorted leaves. To manage aphids, consider introducing beneficial insects like ladybugs or spray the plants with insecticidal soap to effectively deter them.
Spider Mites: Often appearing in dry conditions, spider mites can leave a telltale webbing and cause yellowing or wilting leaves. Regular misting of your clematis can help maintain humidity levels and deter these pests. If necessary, you can also use neem oil or insecticidal soap for treatment.
Powdery Mildew: This common fungal disease presents as a white powdery coating on leaves and tends to thrive in humid conditions. Managing this issue involves improving air circulation around your clematis by spacing out plants and trimming overcrowded areas; avoid overhead watering as well. If the problem persists, consider using fungicidal sprays or homemade solutions like a mixture of milk and water.
Proactive plant care and good management practices will significantly reduce the chances of encountering pests or diseases and ensure that your clematis grows healthy and vibrant.
FAQ
Q: Can I grow clematis in a hanging basket?
A: Certainly! Compact varieties such as Clematis ‘Piilu’ or ‘Betty Corning’ work wonderfully in hanging baskets. Just be sure to provide a suitable support structure within the pot to help them grow upright.
Q: How often should I water clematis in containers?
A: Watering needs can differ based on weather and plant maturity, but a good rule of thumb is to check the soil moisture weekly. During warmer weather, daily checks may be necessary, particularly if the top inch of soil feels dry.
Q: Will clematis survive freezing temperatures?
A: Many clematis varieties are hardy and can survive freezing temperatures, but container-grown plants may require protection. Moving them to a sheltered area, wrapping the pots, or insulating their roots can help prevent freezing damage.
Q: When should I prune clematis in pots?
A: Pruning timing varies by clematis type, but generally, late winter or early spring before new growth appears is best. This practice ensures that you remove any dead or weak stems and promotes healthy flowering.
Q: Do clematis need a lot of fertilizer?
A: While clematis benefit from periodic feeding, over-fertilization can lead to excessive foliage growth. A balanced slow-release fertilizer typically provides sufficient nutrients for healthy, vibrant blooms.
Final Thoughts
Growing clematis in pots allows you to enhance vertical interest in your outdoor space while enjoying the beauty and charm of these climbing vines.