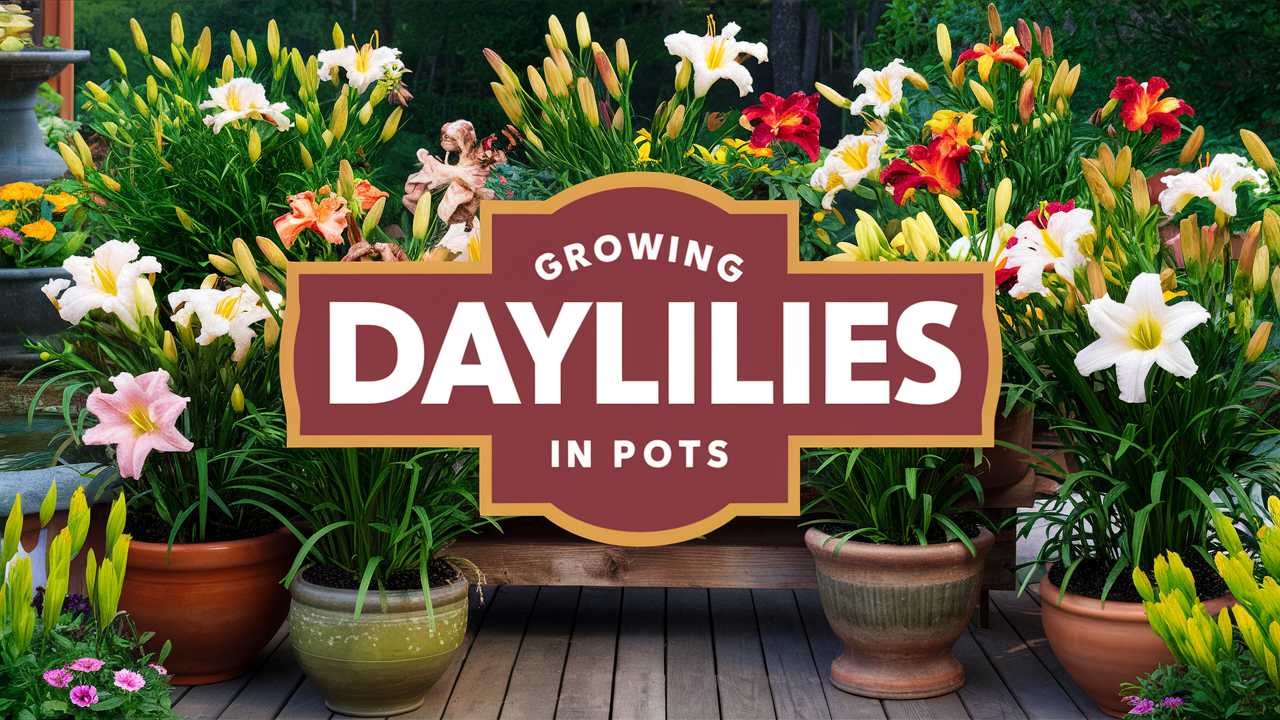
In this guide, we’ll explore the key aspects of choosing the right daylily varieties, the materials and tools you’ll need, step-by-step planting instructions, and ongoing care to ensure your plants thrive.
Choosing the Right Daylily Varieties

Before stepping into the world of container-grown daylilies, it’s essential to select the right varieties. Daylilies (Hemerocallis) come in thousands of cultivars, each with unique colors, sizes, and bloom times. Choosing the right variety will set the stage for a vibrant display.
Considerations for Choosing Varieties
Climate Adaptability: Different daylily varieties are suited to different climates. If you’re in a hot, arid area, look for drought-tolerant varieties that can withstand those conditions. Conversely, if you’re in a cooler climate, select varieties known for their cold hardiness. Always check the origins and growing requirements of each cultivar before making a selection.
Bloom Time: Understanding bloom time is key to ensuring a continuous display of flowers. Early bloomers may start flowering in late spring, while late bloomers might not open until late summer. By planting a mix of early, midseason, and late-blooming varieties, you can create a staggered bloom cycle that keeps your containers vibrant throughout the growing season.
Height and Spread: Daylilies range from dwarf varieties that grow only 12 inches tall to those that can reach heights of 5 feet. Consider the visual balance of your containers—taller plants can act as a backdrop, while shorter varieties can be placed in the foreground. Understanding the mature spread of each variety will also help prevent overcrowding in your pots, which can lead to poor air circulation and increased susceptibility to diseases.
Color Preferences: Daylilies come in an impressive array of colors and patterns, ranging from solid hues to intricate bi-color and triple-color combinations. Think about how these colors will coordinate with your existing outdoor décor and flowers. If you want to create harmony, choose complementary colors; for a bold statement, consider contrasting shades.
Popular container-friendly varieties include:
‘Stella de Oro’: Known for its prolific blooming and compact size, this beloved daylily offers sunny yellow flowers that bloom from late spring to summer, providing a cheerful display when your garden needs it most.
‘Happy Returns’: This repeat bloomer features delightful yellow flowers and is well-suited for containers, known for its ability to bloom multiple times throughout the season, ensuring bursts of color.
‘Crimson Pirate’: A striking red daylily that not only brings drama but also attracts pollinators to your garden. It’s perfect for containers where its vibrant blooms can shine.
What You’ll Need
To successfully grow daylilies in pots, you’ll need a few essential tools and materials. Gathering these before you begin will make the process smoother.
Equipment / Tools

Having the right tools at hand will make planting and maintenance much easier:
Hand Trowel: A versatile tool for digging, transferring, and achieving the right soil depth will be essential throughout the planting process.
Watering Can or Hose with Spray Attachment: Ensure that your watering implements allow for gentle application to help avoid washing away soil or damaging delicate roots.
Gardening Gloves: Protect your hands from dirt, sharp objects, and potential irritants. Comfortable gloves that provide good grip are essential for handling pots and plants.
Pruning Shears: To keep your plants healthy, pruning shears will come in handy for deadheading and maintaining foliage.
Materials
You’ll also need some materials to ensure your daylilies have a strong start:
Containers: Specific pot types are essential for encouraging optimal growth. Think about aesthetics as well as functionality.
Potting Soil: A quality mix formulated for flowering plants or specific to container gardening helps to ensure good drainage and aeration.
Fertilizer: Opt for a slow-release fertilizer, which provides a steady supply of nutrients over time. You can also consider organic options, such as compost or fish emulsion, for sustainable feeding.
Choose and Prepare Containers
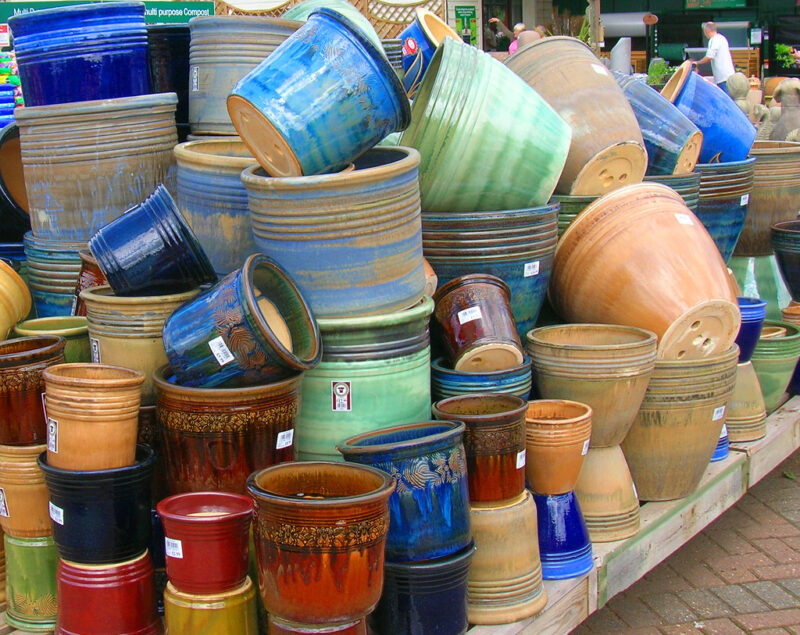
Choosing the right container for your daylilies is crucial for their growth and overall health. Let’s delve into what you should consider when selecting and preparing your containers.
Type of Pot
Plastic Pots: Lightweight and often less expensive than other materials, plastic retains moisture well, which can help reduce the frequency of watering. They are easy to move around, making them convenient for rearranging your display. However, be aware that they can become quite hot in direct sunlight, so you may need to monitor moisture levels closely.
Clay Pots: These traditional pots offer excellent breathability for roots, helping to promote healthy growth. While they can be more aesthetically pleasing and add a rustic charm to your garden, they are also porous, which means they may dry out faster, requiring more frequent watering.
Ceramic or Glazed Pots: These pots combine both aesthetics and functionality. They come in various colors and styles, making them an attractive choice for decorative purposes. Just ensure they have adequate drainage holes as well.
Size
Size matters significantly when it comes to daylilies in pots. Ideally, select pots that are at least 12 inches in diameter for a single plant. This allows room for root growth and helps maintain moisture levels. For multiple plants, consider larger pots or groupings that provide ample space to avoid overcrowding.
Drainage
Good drainage is essential for the health of daylilies in containers. Ensure your container has drainage holes at the bottom to prevent water from pooling, which can lead to root rot. If your chosen pot lacks these holes, you can create a drainage layer—add at least an inch of gravel or broken pottery pieces at the pot’s base.
Additionally, it’s a good idea to elevate pots slightly using pot feet or stones. This elevates the pot off the ground and encourages excess water to escape, while also improving airflow around the roots.
Planting Instructions
Now that you’ve chosen your container and materials, it’s time to plant your daylilies! Follow these comprehensive steps to give your plants the best start possible.
Prepare the Potting Soil
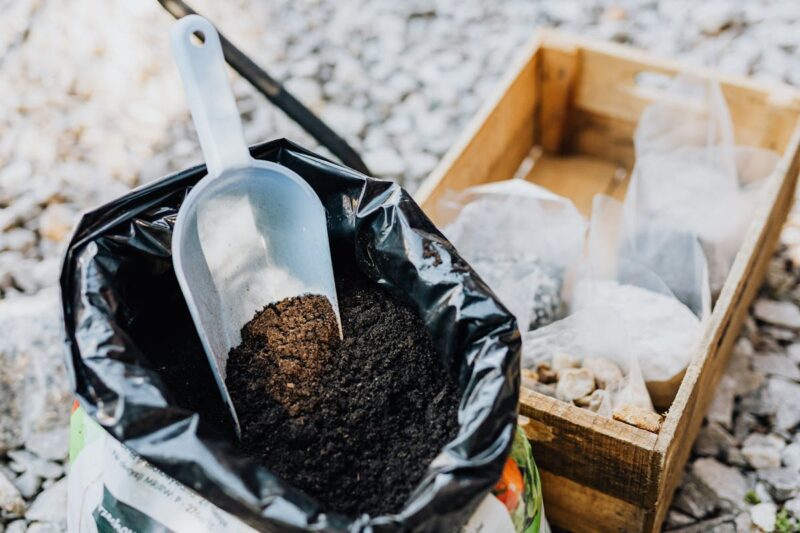
Selecting and preparing the right potting soil is crucial for container gardening success. Look for a high-quality potting mix designed for flowering plants. You can create your mix by combining equal parts of compost, peat moss, and perlite or vermiculite for added aeration and drainage.
The ideal soil pH for daylilies ranges from 6.0 to 6.8. If you are unsure about the pH of your soil, consider using a pH test kit, available at garden centers.
Water
Before planting, soak the potting soil so that it’s damp but not waterlogged. You can do this by adding water to the dry mix in a bucket or container until it is evenly moist. This pre-wetting helps the soil settle in the pot and ensures an easier planting process. When you are ready to plant, ensure that the soil has a crumbly texture without any standing water.
Fertilize
Incorporate a slow-release fertilizer into the soil at the time of planting. A balanced 10-10-10 fertilizer is effective, providing equal parts nitrogen, phosphorus, and potassium—key nutrients for healthy plant growth. Depending on your preference for organic gardening, consider options like compost or well-aged manure to boost nutrient levels in your potting mix.
Planting Step-by-Step
Fill the Container: Add the prepared potting soil to the pot, filling it to about two inches below the rim. This ensures you have room for watering to prevent overflow.
Remove the Daylily from Its Nursery Pot: Gently slide it out, being careful to keep the root structure intact. If the roots are tightly bound, you may need to slightly loosen them to encourage outward growth.
Placement: Position the daylily in the center of the container, ensuring the crown (the top of the roots where the foliage meets the soil) is level with the soil line. Avoid burying the crown too deep, as this can cause rot.
Backfill: Fill around the roots with potting soil, lightly pressing down to eliminate air pockets but taking care not to compact the soil too much.
Water Again: After planting, water the daylily thoroughly to help settle the soil around the roots. Ensure that excess water drains to avoid waterlogging.
Care Instructions
Once your daylilies are planted, maintaining their health and vibrancy is essential. Good care practices will ensure your plants flourish and bloom beautifully.
Sun Exposure

Daylilies thrive in full sun conditions, requiring at least 6 hours of sunlight a day. Position your containers in a sunny spot, ideally facing south or west, where they can soak up that warm sunshine. For those in hotter regions, consider providing some shade in the afternoon to protect the plants from the scorching heat; using shade cloth or strategically placing larger plants nearby can help.
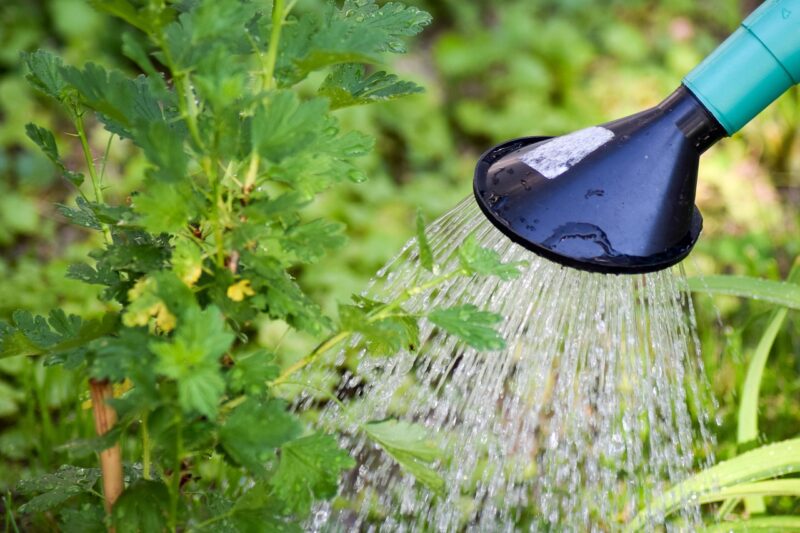
Stick to a Water Schedule

Daylilies enjoy consistent moisture, but they do not like soggy roots. Developing a watering routine is vital to their success in pots. As a rule of thumb, water your containers at least once a week, checking the top inch of soil; it should be dry to the touch before watering again. On particularly hot days, or if you notice wilting leaves, you may have to water more frequently.
Since potting soil can dry out faster than garden soil, always monitor moisture levels closely, especially during peak summer months. Consider using mulch on top of the soil surface to help retain moisture and regulate temperature, preventing excessive evaporation.
Protect From Excessive Heat and Freezing Temperatures
In extreme summer heat, provide temporary shade during the hottest parts of the day to prevent sunscald and excessive wilting. You can easily create shade using garden umbrellas or draping lightweight fabric over a support.
For winter, it’s essential to protect your potted daylilies from freezing temperatures. Ideally, place them in a sheltered area, such as an unheated garage or covered porch during harsh weather. If that’s not an option, you can wrap the pots in bubble wrap or hessian burlap to insulate the roots and prevent them from freezing. Alternatively, you might even consider grouping pots together for added warmth during frigid spells.
Repotting Instructions

As your daylilies grow, they may eventually outgrow their containers. Signs that it’s time to repot include:
Root systems reaching the drainage holes: If you see roots coming out of the bottom, it’s time for a larger pot.
Stunted growth or yellowing leaves: These can be indicators that the plant is root-bound and needs more space.
How to Repot
Timing: The best time to repot daylilies is in early spring, just before new growth begins. This timing helps reduce shock to the plants.
Choose a Larger Pot: Select a pot that’s at least 2 inches larger in diameter than the current one. Ensure it has drainage holes and is filled with the same potting mix that you used originally.
Prepare the New Container: Follow the same instructions for preparing your potting mix as you did for the initial planting—ensuring it has the right moisture balance and nutrients.
Gentle Removal: Carefully remove the daylily from its current pot. You can gently tap the sides of the pot to loosen it. Take care to keep as many roots intact as possible, minimizing any disturbance.
Replant: Place the daylily in the new pot and adjust the soil and watering as necessary. Water thoroughly after repotting and monitor soil moisture closely for the first few weeks until the plant is established.
Pests and Diseases

While daylilies are generally hardy, they can face issues with pests and diseases. Identifying problems early and treating them promptly can keep your plants healthy.
Common Pests
Aphids: These tiny, sap-sucking insects can gradually weaken the plant and lead to distortions in leaves. If you spot them, control them with insecticidal soap or Neem oil, applying it according to the product’s instructions.
Spider Mites: Visible as fine, webbing and often causing stippled leaves, these pests thrive in hot, dry conditions. Increasing humidity around your daylilies can deter them, or you can use a strong water spray to dislodge them.
Common Diseases
Root Rot: Overwatering can lead to root rot, a potentially fatal condition for daylilies. To prevent this, ensure your pots have good drainage and adjust watering schedules accordingly.
Fungal Infections: Fungi can thrive in damp conditions. To mitigate these risks, keep foliage dry by watering at the base of plants rather than overhead, and providing plenty of airflow by not overcrowding your containers.
Regularly inspecting your daylilies for signs of stress, discoloration, or disease will allow you to intervene early and keep your plants flourishing.
FAQ
Q: Can I grow daylilies from seed in containers?
A: Yes, you can start daylilies from seed, but it’s a slower process, often taking a few seasons to bloom. Growing from established plants or divisions is typically more rewarding for immediate blooms.
Q: How often should I fertilize my potted daylilies?
A: Apply slow-release fertilizer during planting for initial growth and supplement with a water-soluble fertilizer every month throughout the growing season for the best results.
Q: Do daylilies need to be deadheaded?
A: Deadheading, or removing spent blooms, can promote more flowering and improve the plant’s overall appearance. While not strictly necessary, it can enhance the aesthetic appeal of your potted daylilies.
Q: Are daylilies deer-resistant?
A: Generally, daylilies are considered deer-resistant due to their fibrous leaves. However, hungry deer may occasionally nibble on them, so take precautions if deer are prevalent in your area.
Final Thoughts
Growing daylilies in pots is a fulfilling gardening adventure that brings vibrancy and joy to your outdoor living spaces. With their spectacular blooms, diversity in colors, and ease of care, daylilies are an excellent choice for container gardening.