In this guide, we’ll provide you with a heartfelt exploration into the methods of successfully growing these delightful plants in containers, ensuring a thriving display of color throughout their blooming season.
Choosing the Right Dianthus Varieties
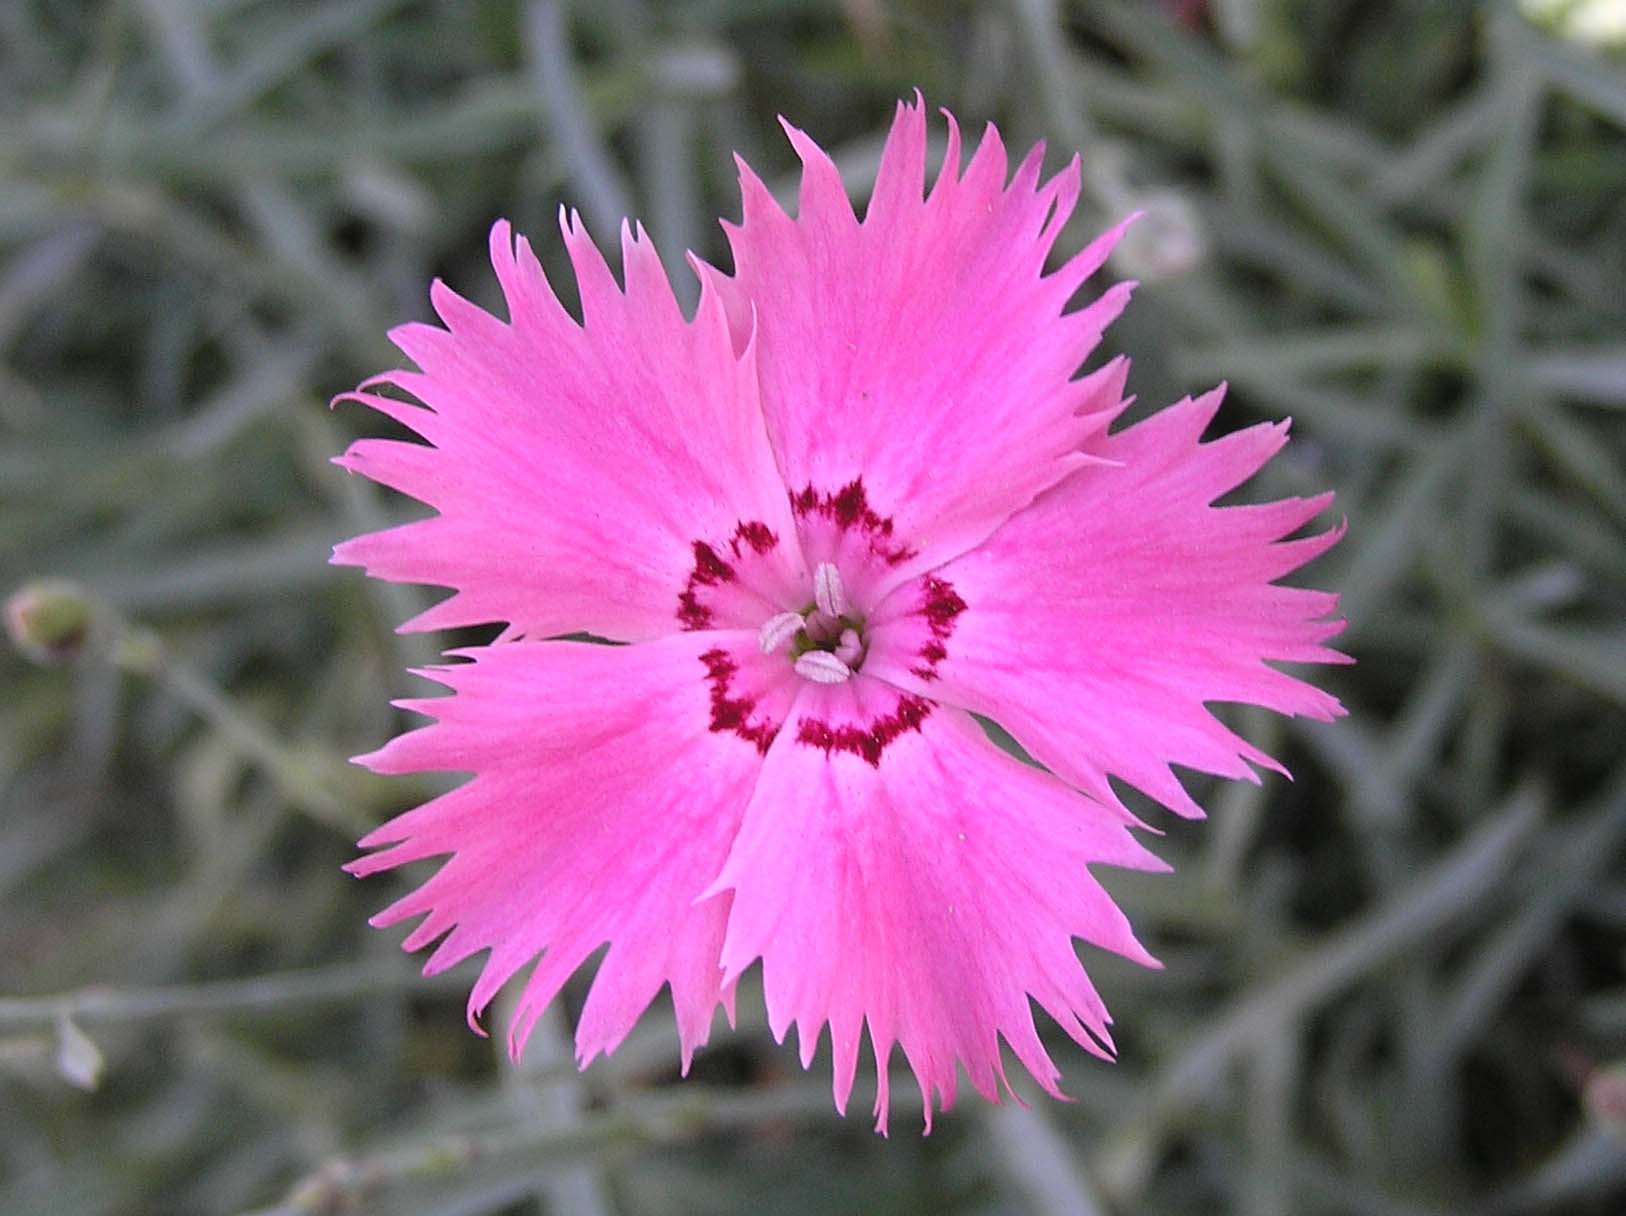
The first step in creating a beautiful container garden featuring Dianthus is to carefully select the right varieties for your space. With a multitude of species and cultivars available, here’s a look at some popular Dianthus options that thrive in pots:
Dianthus caryophyllus (Carnation): Renowned for their ruffled petals and delightful fragrance, carnations are classic favorites. Available in myriad colors, they possess tall, sturdy stems, making them perfect for pots that can feature them prominently. They prefer full sun and well-draining soil, which is easy to manage in a container.
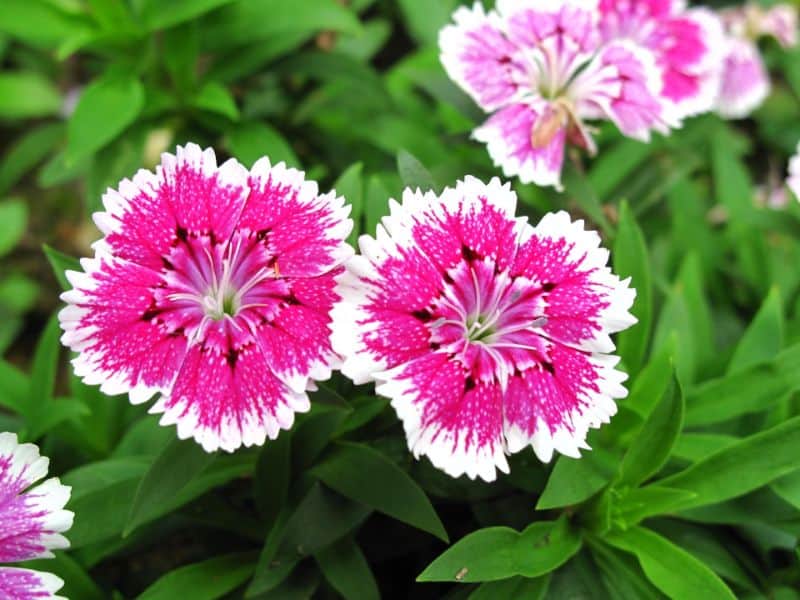
Dianthus barbatus (Sweet William): Characterized by its short, compact growth and vibrant flower clusters, Sweet William offers a charming presence in containers. With varieties that bloom in white, pink, red, and purple, they create a striking display. This variety also attracts beneficial pollinators, adding life to your container garden.
Dianthus deltoides (Maiden Pink): The Maiden Pink is a delightful ground-cover type featuring vibrant flowers that can cascade over the edges of pots, creating a beautifully layered effect. Growing only 8-12 inches in height, these are excellent for hanging baskets or large containers where they can spill over gracefully.
Dianthus gratianopolitanus (Cheddar Pink): This cultivar is famed for being drought-tolerant and low maintenance, making it perfect for beginners. Its gray-green foliage adds texture, while its charming pink flowers create a lively accent in any container arrangement. This variety is particularly resilient in rocky or sandy soils and can thrive on less frequent watering.
Dianthus chinensis (China Pink): China Pinks are recognized for their vivid flowers and ease of growth. They bloom abundantly in early summer, making them a fantastic choice for seasonal color. These plants generally grow 8-12 inches in height and can thrive in smaller pots or window boxes.
When selecting a variety, consider your local climate, the amount of sunlight your chosen space receives, and how much room you have in your containers. Mixing different varieties can enhance visual interest while allowing you to enjoy when individual flowers bloom at different times, increasing the duration of beauty in your pots.
What You’ll Need
Embarking on your Dianthus-growing journey requires a few essential tools and materials. Being prepared with everything on hand can make the process enjoyable and efficient.
Equipment / Tools

Hand Trowel: A versatile tool for digging holes and transferring soil, a hand trowel can help you create the perfect spot for your Dianthus plants. Choose one with a comfortable grip to ease the strain during longer planting sessions.
Pruning Shears: Investing in a quality pair of pruning shears will allow you to keep your plants tidy by removing spent flowers, which encourages further blooming. Regular maintenance helps maintain an attractive appearance and promotes bushier growth.
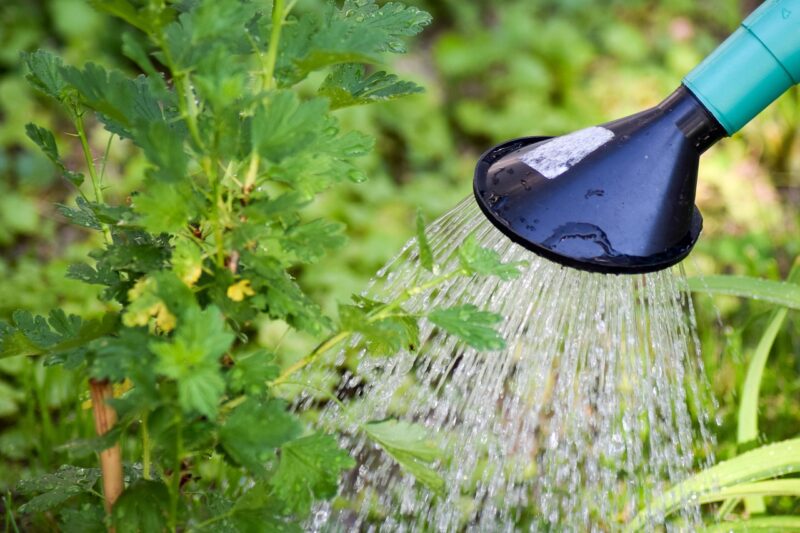
Watering Can or Hose: A watering can equipped with a narrow spout makes it simple to direct water precisely where you need it without over-saturating areas of the soil. For larger container gardens, a garden hose with a spray nozzle can provide efficient watering, especially during hotter months.
Garden Gloves: Protect your hands while gardening with a pair of comfortable gloves. They not only keep your hands clean but also provide support and grip when using tools.
Ruler or Measuring Tape: Useful for spacing plants accordingly, especially when planting multiple varieties in one container, ensuring that each one has ample room to grow without competing for resources.
Materials
Containers: Your choice of pots will play a pivotal role in the success of your Dianthus. Keep in mind the aesthetic you desire while ensuring the pots have adequate drainage.
Potting Soil: Opt for a high-quality potting mix designed for container plants. Look for mixtures that retain moisture while allowing proper drainage, as roots need oxygen to thrive.
Mulch: While not a requirement, a layer of organic mulch atop the soil can help with moisture retention and weed suppression. Mulch breaks down over time, enriching the soil with organic matter.
Fertilizer: Use a balanced, slow-release fertilizer to provide essential nutrients throughout the growing season. Organic options like compost or a specialized flower fertilizer can be particularly beneficial for containers.
Water: Reliable access to fresh, clean water will be fundamental to your Dianthus’s success. Using rainwater can be a sustainable option that ensures your plants are hydrated without the chemicals found in tap water.
Choose and Prepare Containers
Selecting the appropriate container and preparing it correctly is critical to nurturing your Dianthus. The container will be their home, providing necessary room for growth while ensuring a healthy environment.
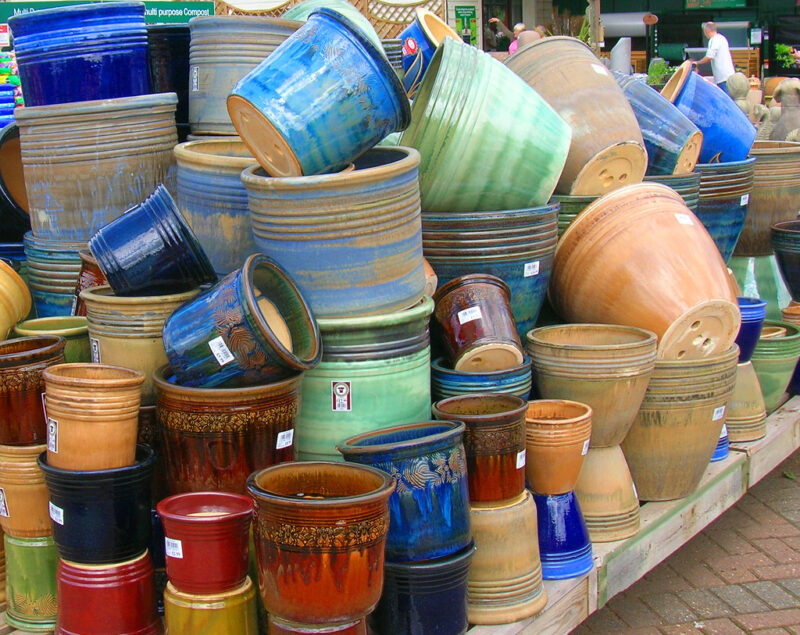
Type of Pot
Plastic Pots: Lightweight and typically more affordable, plastic pots are excellent for retaining moisture, which can be beneficial in dry climates. They come in a variety of styles and colors, allowing for aesthetic choices that match your garden theme. Just make sure they have plenty of drainage holes.
Clay Pots: While clay pots are beautiful and breathable, they can dry out faster than plastic ones. They are an excellent choice if you live in a cooler climate since they moderate soil temperature well. Always ensure adequate drainage, as overly wet conditions can harm your Dianthus.
Ceramic Planters: Glazed ceramic pots can add a decorative touch to your garden, but be cautious; they often retain more moisture than needed. It’s essential that they also have proper drainage to avoid root diseases.
Hanging Baskets: If you’re short on space but want to add vertical interest to your garden, consider using hanging baskets filled with trailing Dianthus varieties. Not only do they look appealing, but they also free up space on the ground.
Size
The size of the container significantly impacts the success of your Dianthus. A pot that’s too small can restrict root growth, and even though some varieties can tolerate being root-bound, it’s not ideal for healthy, robust plants.
For most Dianthus varieties, a pot with a diameter of at least 6 to 8 inches is sufficient. However, if you plan to mix several plants together for a lush display, consider opting for a larger pot (10-14 inches in diameter). Each plant will need space to flourish without overcrowding, which can lead to competition for nutrients and moisture.
Drainage
Proper drainage is perhaps the most crucial element in container gardening. Excess water at the bottom of the pot can lead to root rot, which can quickly destroy your plant. Explore these effective drainage strategies:
Pre-Drilled Holes: Always choose pots with pre-drilled holes to allow excess water to escape easily. If your chosen containers lack drainage holes, you may need to drill them yourself.
Layering: Before filling your pot with soil, consider adding a layer of gravel or stones at the bottom to aid in drainage. This prevents the potting soil from clogging the drainage holes and encourages water to flow out freely.
Pot Feet: Elevating your pots slightly with pot feet or risers can provide the necessary airflow beneath and help ensure that excess water can escape easily.
Planting Instructions
With your chosen varieties, containers, and tools at hand, you’re ready to plant your Dianthus. Following careful planting instructions will set the stage for healthy growth and vibrant blooms.
Prepare the Potting Soil
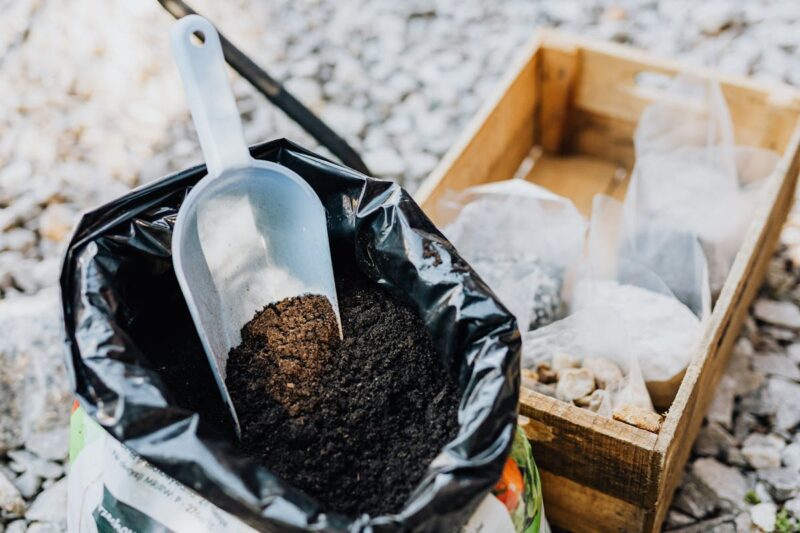
Starting with a quality potting mix is vital to ensure your plants thrive. Your potting soil should blend organic matter with materials that promote adequate drainage to foster a healthy root environment.
Choosing a Mix: Look for a potting mix designed for flowering plants, often containing components like peat moss, perlite, and compost. This mixture provides nutrients while maintaining the ideal level of moisture.
Enhancing Drainage: If you want to tailor your mix further, add in perlite or coarse sand to improve drainage. A light, fluffy mixture will encourage the roots to spread and access water easily.
Filling the Container: Pour the prepared potting soil into the container, leaving about an inch of space from the rim. This gap will help catch water when watering and prevent spillage.
Water
Proper hydration is critical when establishing your Dianthus in its new home. Moistening the soil before planting ensures better contact with the root system.
Moisten the Soil: Before inserting your plants, use a watering can or hose to lightly moisten the soil until it is damp but not soggy. The goal is to have a consistent level of moisture to help reduce transplant shock.
Watering After Planting: Once the plants are in place, gently water the container again until you see a small amount of water draining from the bottom of the pot. This action helps settle the soil around the roots.
Fertilize
Fertilization plays a key role in the growth and blooming of your Dianthus. A healthy, nutrient-rich blend will counterbalance the depleting nutrients common in container gardening.
Selecting Fertilizer: Choose a slow-release fertilizer specifically made for flower plants, which typically has a balanced ratio like 10-10-10. This ensures your Dianthus receives the right nutrients over time.
Application: Follow the instructions on the fertilizer packaging for application rates. A general guideline is to mix it into the top layer of soil during initial planting and reapply every 4-6 weeks during the growing season.
Organic Options: As an alternative to synthetic fertilizers, consider using compost or well-rotted manure. These organic options not only provide essential nutrients but also enhance soil structure and moisture retention.
Care Instructions
Taking care of your Dianthus is essential to their health and vibrant display. Implementing a structured care routine will reap beautiful rewards in the form of colorful blooms.
Sun Exposure

Dianthus thrives in full sunshine and requires at least 6 hours of bright, direct sunlight each day. Consider the following factors to optimize their sun exposure:
Location: Position your containers where they receive morning sun and some afternoon shade, particularly in the hottest climates. If you’re growing indoors, place them near south-facing windows for maximum light.
Monitor Growth: If you notice your plants stretching towards the light or becoming leggy, they may not be receiving enough sunlight. Move them to a brighter spot as needed.
Rotating Containers: To encourage even growth, consider rotating your containers every week. This action ensures all sides receive adequate sunlight and helps maintain balanced foliage.
Stick to a Water Schedule

Watering consistency is vital for Dianahtus health. Establishing a regular watering schedule helps prevent both dehydration and overwatering.
Checking Soil Moisture: Use your finger to check the top inch of soil. Only water when it feels dry to the touch. Overwatering can lead to root rot, especially in container environments.
Watering Technique: When watering, direct water towards the soil and base of the plant, avoiding the leaves. This method helps reduce the risk of fungal diseases that can arise from wet foliage.
Seasonal Adjustments: During hotter months, you may need to water daily or every other day. Conversely, reduce watering in cooler months when your plants may be dormant.
Protect From Excessive Heat and Freezing Temperatures
Dianthus is generally hardy, but they can be sensitive to extreme weather conditions. Here’s how to shield them from adverse situations:
Summer Heat: In peak summer, consider moving pots to a spot that offers partial shade during the hottest part of the day. This will help to avoid sunburn on the foliage and flowers.
Winter Protection: In colder climates, if temperatures drop below freezing, move your pots indoors or to a sheltered area (like a garage or shed). Layer with protective fabrics designed for plants like frost cloths or burlap if you prefer to leave them outside.
Use of Mulch: A light layer of mulch can also help insulate the pots from freezing temperatures while retaining moisture during hot days. Be mindful not to heap mulch against the stems, as this can encourage rot.
Repotting Instructions

As your Dianthus matures, it may outgrow its initial container or the potting mix may become depleted. Knowing when and how to repot is crucial to maintaining their health.
When to Repot
Signs of Crowding: If you see roots growing out of the pot’s drainage holes or your leaves appear yellow and stunted, it is time to consider repotting.
Timeframe for Repotting: Generally, every 2-3 years is ideal for refreshing potting soil, but you may need to repot more frequently if you have mixed several varieties that require more nutrients.
Best Timing: Early spring is optimal for repotting as this gives your Dianthus time to recover before the growing season begins. Avoid repotting during the hot summer months when plants are stressed.
Preparing to Repot
Selecting a New Pot: Choose a new pot that is ideally 1-2 inches larger in diameter than the old one. If adding more than one plant to a container, ensure there’s enough space.
Soil Preparation: Prepare fresh potting soil according to the guidelines mentioned above—the right mix can reinvigorate tired plants.
Gathering Tools: Have your gloves, trowel, and watering can ready before starting. This efficiency will help minimize stress on the plants.
Removing the Plant
Gentle Extraction: Start by loosening the soil around the edges of the pot. Carefully tip the pot on its side, gently coaxing the plant out while supporting the root ball. Avoid pulling on stems as they can easily snap.
Root Inspection: Once out, check for any signs of rot or overcrowding in the root system. Trim away dead or mushy roots with sharp pruning shears.
Replanting
Settling the Roots: Place the Dianthus in the center of the new pot, setting it at the same depth it was previously growing. Fill in with fresh potting mix around the sides, gently firming the soil without compacting it.
Watering After Repotting: Thoroughly water your newly repotted plant to help settle the soil, ensuring all roots are adequately hydrated.
Post-Repot Care: Give your Dianthus a week of reduced sunlight to help it acclimate to its new environment before returning it to full sun exposure.
Pests and Diseases

While Dianthus is relatively resilient, they can still be affected by pests and diseases. An early and proactive approach can help maintain their health.
Pests
Aphids: These small insects often cluster on stems and buds, sucking sap and inhibiting growth. Regularly inspect your plants; a quick rinse with water can dislodge them, or use insecticidal soap if their population becomes large.
Spider Mites: These microscopic pests thrive in dry conditions. Signs include fine webbing and yellow stippling on leaves. To combat them, maintain higher humidity around plants, and if necessary, apply neem oil.
Whiteflies: These tiny white insects can appear on the undersides of leaves. Sticky traps can help capture them, and insecticidal soap can eliminate larger populations.
Diseases
Root Rot: These are generally the result of overwatering or poor drainage. Prevent this by ensuring your pots have adequate drainage and avoiding waterlogging of the soil.
Powdery Mildew: Often seen in warm, humid weather, this fungal disease manifests as a white powdery substance on leaves. To avoid powdery mildew, ensure good air circulation around plants, and avoid watering leaves in the evening.
Bacterial Leaf Spot: If you notice dark spots on your leaves, this could be a bacterial infection. It’s crucial to remove affected leaves and maintain conditions that promote good air circulation and prevent excess moisture.
Maintaining a clean garden by removing debris and damaged plant material can also minimize the chances of disease occurrence.
FAQ
Q1: Can I grow Dianthus indoors?
Absolutely! Dianthus can flourish indoors as long as they receive plenty of sunlight. Finding a spot with bright, direct light for at least 6 hours a day is key. Consider rotating the pots regularly to ensure even light exposure.
Q2: How often should I fertilize my Dianthus?
Fertilize every 4-6 weeks during the growing season (spring through summer) with a balanced fertilizer. Organic compost can also be reapplied in early spring to promote blooming without the risk of nutrient burn.
Q3: What should I do if my Dianthus starts to wilt?
Wilting may indicate overwatering or underwatering. Check the soil—if dry, water deeply; if overly moist, allow the plant to dry out and evaluate the roots for decay before replanting in fresh soil.
Q4: What type of sunlight do Dianthus prefer?
Dianthus species prefer full sun, requiring at least 6 hours of direct sunlight daily to thrive. In extremely hot regions, some afternoon shade can help prevent the leaves from scorching.
Q5: Do Dianthus require deadheading?
Yes! Regularly removing spent blooms, known as deadheading, encourages the production of new flowers, prolonging the overall blooming period.
Final Thoughts
Cultivating Dianthus in pots or containers can lead to a rewarding and fragrant addition to your home or garden space. By selecting the right varieties, using quality materials, and adhering to specific care routines, you can ensure a thriving display of color and joy in your life.