For those who may not have the luxury of garden space, growing elderberries in pots or containers transforms them into versatile plants suitable for balconies, patios, and even small backyards. This post will meticulously guide you through the various stages of growing elderberries in pots, ensuring you’re well-equipped for a bountiful harvest.
Choosing the Right Elderberry Varieties
The first step in successfully cultivating elderberries in pots is choosing the appropriate variety. Not all elderberry plants are created equal; certain types are more suited for container gardening due to their growth habits, size, and adaptability.
Popular Elderberry Varieties for Containers
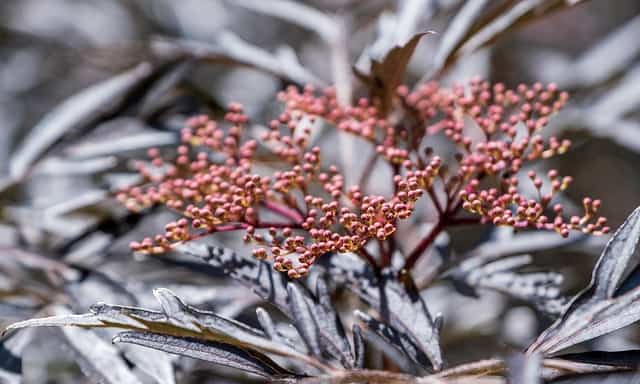
Black Lace: This variety offers strikingly dark purple foliage, delicate white flowers, and a vigorous growth habit. In addition to its aesthetic appeal, Black Lace produces flavorful berries that are excellent for syrups and jams. Its compact nature (typically reaching 5 to 7 feet) makes it manageable to grow in pots, and it can be pruned to maintain size.
York: Known for its heavy yields, this elderberry variety can offer clusters of berries in abundance. The plants typically grow to about 6 to 8 feet in height, but a diligent pruning schedule will allow you to keep them more compact. The York elderberry is also exceptionally cold-hardy.
Blue Elderberry: With its beautiful blue-hued berries and lush foliage, the Blue Elderberry is not only a wildlife-friendly choice (birds love these berries!) but is also a resilient option for container growing. This variety can grow quite tall without careful management, but it often adapts well to pot constraints, particularly if pruned.
European Elder (Sambucus nigra): This variety is prized for its culinary uses. The European Elder is versatile, providing beautiful flowers used in culinary applications (like elderflower cordial) while also yielding black berries. This attractive shrub can be kept manageable in pots with annual pruning.
When selecting the right type of elderberry, consider your intended use—whether for personal consumption, decorative purpose, or attracting wildlife—and choose accordingly. Local climate conditions should also dictate your choice; some varieties are more tolerant of specific temperatures and soil conditions than others.
What You’ll Need
Successful elderberry cultivation begins with ensuring you have all the necessary materials and tools at your disposal. Having the right equipment can streamline your process and set your plants on the path to flourishing.
Equipment / Tools

Essential Gardening Tools
Garden Gloves: Exposing your hands to soil can be therapeutic, but gloves will protect your skin from potential irritants and keep your hands clean.
Trowel: This tool is essential for digging, planting, and transferring soil. A trusty trowel will help you plant your elderberry seedlings with precision.
Pruning Shears: Keeping your elderberry plants healthy involves regular pruning. Sharp pruning shears are crucial for cutting back growth, ensuring better air circulation and fruit production.
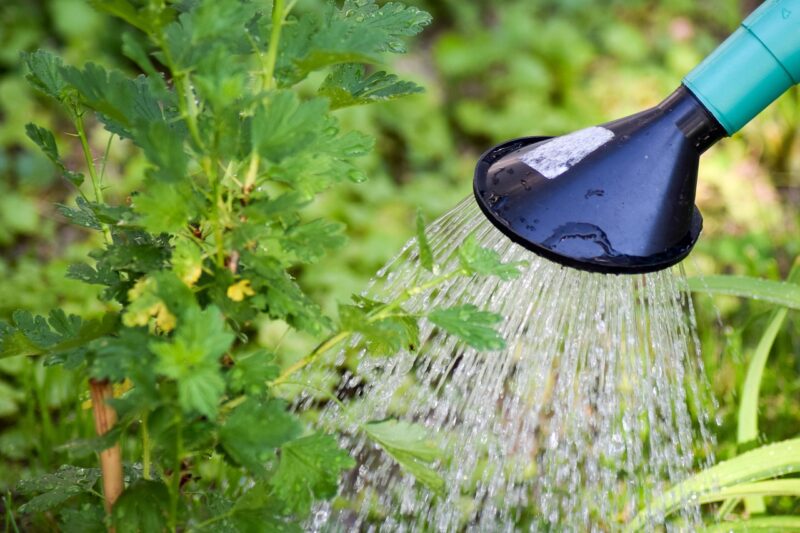
Watering Can or Hose: Maintaining consistent moisture is vital for your elderberries, so a good-quality watering can or hose with spray attachment makes it easier to hydrate your plants appropriately.
Essential Ingredients for Planting
Containers: Start with selecting pots that offer enough depth and width for healthy root growth. It’s beneficial to have several plastic or ceramic containers handy for initial growth.
Potting Soil: A suitable potting mix must provide adequate drainage while retaining moisture. Look for specialized potting soil for fruits and vegetables or consider creating your own mix.
Fertilizer: Choose an organic, slow-release fertilizer specifically designed for berry plants, or one that includes essential nutrients like nitrogen, phosphorus, and potassium to help foster healthy growth and fruit production.
Mulch: An organic mulch such as wood chips or straw can help retain soil moisture, suppress weeds, and keep the roots cool in the summer.
Choose and Prepare Containers
Choosing the right containers is critical for the overall health and productivity of your elderberries. The materials, sizes, and drainage capabilities of your pots will play a significant role in their growth.
Type of Pot
Selecting the Best Container Material
Plastic: Lightweight and easy to handle, plastic pots are available in many colors and styles. They retain moisture well, but care should be taken to avoid overwatering—just ensure they come with drainage holes.
Clay: Traditional clay pots are breathable and beneficial for moisture control. The porous nature of clay helps regulate temperature but may result in needing more frequent watering.
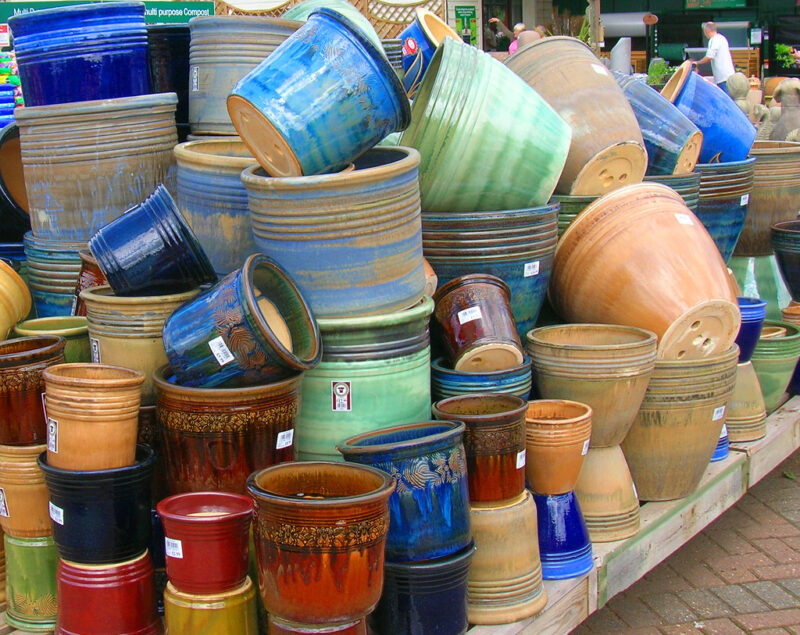
Glazed Ceramic: Glazed ceramic pots add aesthetic appeal to your garden while providing good moisture retention. However, be mindful as they tend to be heavier and can be more costly than other materials.
Fabric Pots: Increasingly popular in gardening, fabric pots offer excellent aeration for roots, preventing them from becoming root-bound. They’re lightweight, durable, and can be moved easily.
Size
Selecting the appropriate size container is integral to the success of your elderberries. For larger varieties, 5 to 10-gallon pots are ideal, while more compact varieties may thrive in slightly smaller containers. If you choose a pot that’s too small, the roots may become constricted and affect plant health.
Drainage
Adequate drainage is paramount in preventing root rot, which can be fatal for elderberries. Ensure your chosen containers have multiple drainage holes. If using pots without premade holes, consider adding a layer of gravel to the bottom to promote drainage.
Planting Instructions
Once you have your containers ready, it’s time to plant your elderberries. This stage involves proper soil preparation and thoughtful care to set your plants up for a successful growing season.
Prepare the Potting Soil
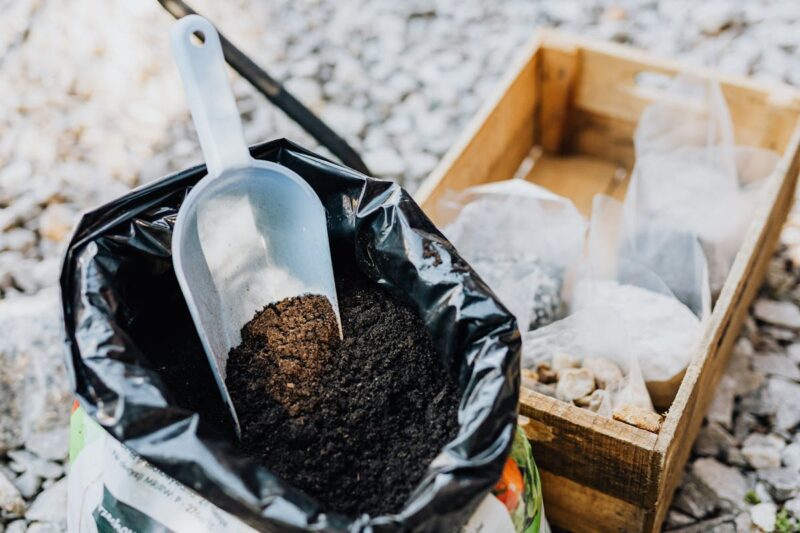
Potting soil is essential for ensuring your plants thrive. A good mix will facilitate drainage while retaining necessary moisture.
Creating a Potting Mix
Combine equal parts of high-quality potting soil, peat moss, and perlite or vermiculite.
The inclusion of compost can also enrich the soil mix, providing necessary nutrients for your elderberry plants.
Ensure your soil is well-aerated to promote healthy root growth.
Water
When planting, it’s important to ensure that the soil is well-hydrated.
Pre-soaking: Moisten the potting soil before adding it to your container. Aim for a consistency that is damp but not soggy.
After Planting: Once you’ve placed your elderberry plant in the pot, water it thoroughly. This helps settle the soil and eliminate air pockets around the roots.
Fertilize
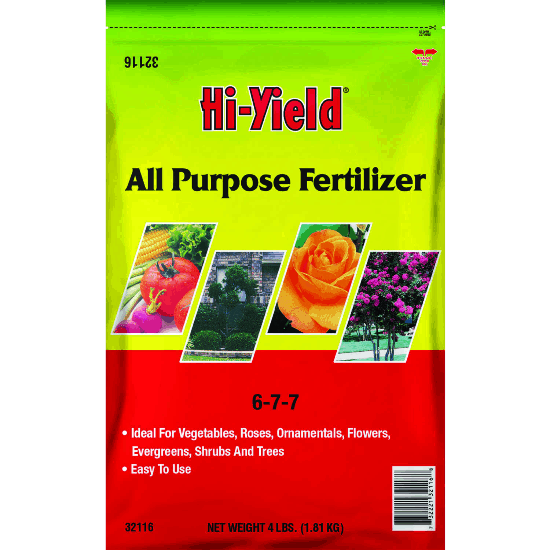
Incorporating fertilizer into your potting mix will give your elderberries a solid nutrient base.
Choosing Fertilizer: Select an organic, slow-release fertilizer meant for berry plants. This ensures a balanced release of nutrients as your elderberries grow.
Application: Follow the manufacturer’s instructions for application rates, as over-fertilization can be detrimental. Typically, it’s advisable to mix the fertilizer into the top layer of soil when planting and then reapply every four to six weeks during the growing season.
Care Instructions
Proper care is fundamental to the health and productivity of your elderberries. This section will address vital factors such as sunlight, watering schedules, and temperature protection.
Sun Exposure

Elderberries flourish best in adequate sunlight, requiring a delicate balance between sun exposure and protection.
Optimal Light Conditions: Aim for at least 6 to 8 hours of direct sunlight daily. Monitor your plants throughout the day to see how they respond to light exposure.
Partial Shade: In regions with intense afternoon heat, providing partial shade can protect your plants from potential leaf scorch. Using a sheer shade cloth can be beneficial during particularly hot spells.
Stick to a Water Schedule

Establishing a consistent watering routine enhances the growth and fruit production of elderberries.
Moisture Guidelines: Containers can dry out more quickly than garden beds, needing regular checks. Ideally, water your elderberries when the top inch of soil feels dry.
Watering Techniques: Deep watering is essential—this encourages roots to grow deeper into the soil. Use a slow drip rather than a quick rinse to avoid run-off and ensure water soaks into the soil effectively.
Protect From Excessive Heat and Freezing Temperatures
Elderberries are hardy plants, but often containers need special attention regarding heat and cold.
Hot Weather: During excessively hot days, consider moving pots to shaded areas or grouping them together to create a microclimate that retains moisture.
Cold Protection: In winter, if you live in a colder climate, you may want to move pots into a sheltered area such as a garage or basement, or wrap them in insulating materials to prevent freezing.
Harvesting Elderberries in Pots/Containers
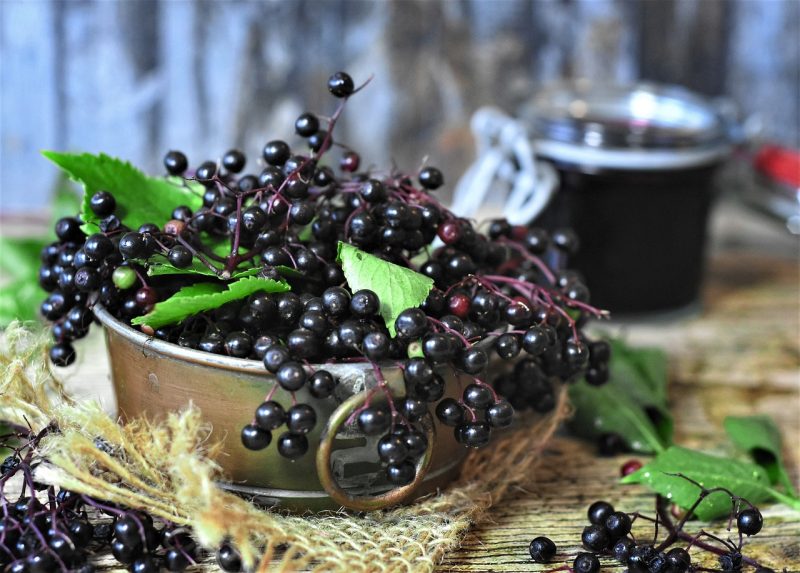
The joy of growing elderberries culminates in harvesting their nutrient-rich, delicious fruit. This section will provide essential tips on when and how to harvest your elderberries correctly.
Timing Your Harvest
Elderberries typically reach maturity between late summer and early fall. Factors like the variety and geographical location can influence the exact timing, but here are some guidelines:
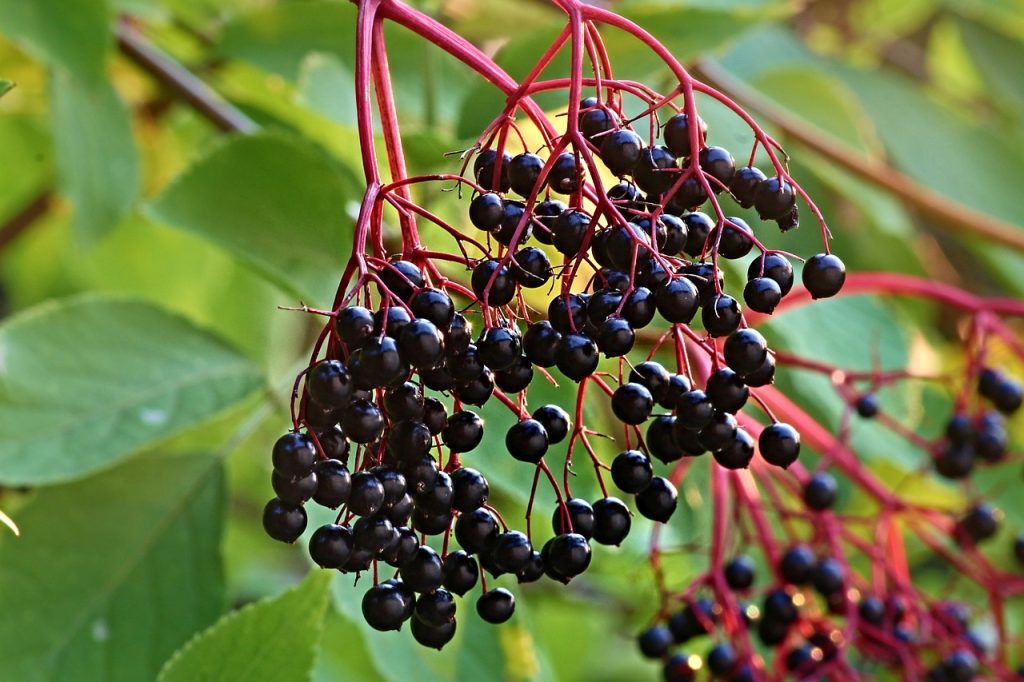
Berry Color: Harvest when the berries have a deep black or dark purple color.
Cluster Evaluation: Wait until entire clusters of elderberries have turned color. If some berries are still green, allow them more time on the plant.
Harvesting Techniques
Proper harvesting protects the plant and ensures you get the best flavor from the berries.
Tools for Harvesting: Use sharp, clean garden shears or scissors to cut through the berry clusters.
Technique: Gently hold the cluster and cut the stem where it meets the main branch. Leave a few berries behind—this encourages the plant to keep producing.
Post-Harvest Processing
Elderberries, when eaten raw, can be toxic if consumed in large quantities. Always ensure to process them properly before consumption.
Cooking: You can make jellies, syrups, wines, or pies using cooked berries. Cooking breaks down the toxic components.
Freezing: If you cannot process all the berries at once, freezing them for later use is an excellent option. Spread them out on a baking sheet to freeze individually before transferring them to freezer bags.
Repotting Instructions

As your elderberries grow, they may eventually outgrow their pots, requiring repotting. This section tackles the signs indicating your plants need a larger home and the steps for a successful transition.
Recognizing When to Repot
Watch for these telltale signs that your elderberry needs a new container:
Root Visibility: If roots are poking out of the drainage holes or breaking through the top of the soil, it’s time to repot.
Stunted Growth: If your elderberry seems to have stopped growing or the leaves appear smaller than normal, this can indicate root crowding.
Steps for Repotting
Choose a New Container: Select a new pot that is 2 inches wider in diameter and a few inches deeper than the existing pot.
Remove the Plant: Carefully take the elderberry out of its old pot. Slide it out gently; you may need to squeeze the sides of the plastic pot to loosen it from the sides.
Inspect Root Health: Check for any damaged or overly long roots. Trim them with your pruning shears if necessary to encourage healthy regrowth.
New Soil: Place the plant in the center of the new pot and fill in with fresh potting mix, ensuring that the root ball sits about 1 inch below the top rim.
Water Again: After repotting, thoroughly water your elderberry to eliminate air pockets around the roots and help it settle into its new home.
Pests and Diseases

Even in pots, elderberries can face challenges from pests and diseases. Being aware of these issues and knowing how to manage them is vital for maintaining healthy plants.
Common Pests
Aphids: These small sap-sucking insects can cause damage by weakening the plant. They reproduce quickly and can be addressed with insecticidal soap or neem oil.
Spider Mites: These microscopic pests thrive in dry and hot conditions. Increase humidity levels around your plants, and regularly mist the foliage to deter these pests.
Scale Insects: These pests resemble small bumps on stems and leaves. Removing them often requires physical intervention, such as scraping off or using rubbing alcohol on a cotton swab.
Common Diseases
Powdery Mildew: A common fungal disease that appears as a white powder on leaves. Increase air circulation around your plants and make sure to avoid overhead watering to manage this condition.
Root Rot: Caused by overwatering or poor drainage, root rot can quickly kill your elderberries. Ensure your pots are adequately drained and avoid letting plants sit in water.
Prevention Tips
Regular Inspection: Regularly examine your plants for any signs of pest infestations or diseases. Addressing issues early can save your plants.
Maintain Cleanliness: Remove debris, fallen leaves, and any diseased plant material from around your pots to reduce pest habitats.
Rotate Pots: Occasionally changing the location of your pots can deter some pests from establishing themselves in one place.
FAQ
As you embark on your journey of growing elderberries in pots, you may have some lingering questions. Here are some frequently asked questions that might provide further clarity:
How long does it take elderberries to produce fruit?
Typically, elderberry plants take two to three years after planting to start producing fruit. Some younger plants may yield a few flowers in their first year, but a significant harvest usually begins in the second to third year.
Can I grow elderberries indoors?
While elderberries generally prefer outdoor conditions with ample sunlight, it is possible to grow them indoors if you can provide sufficient light and space. A bright, south-facing window or supplementary grow lights will be necessary to replicate optimal growing conditions.
What should I do if my elderberry flowers drop?
Flower drop can be attributed to several factors including stress from environmental conditions (like excessive heat), pest issues, or nutrient deficiencies. Maintain consistent watering and provide appropriate nutrients, and consider relocating the plants to an area with better light.
Can I harvest elderberries the first year?
While you might see some blossoms in the first year, it’s best to wait until the second or third year for a full harvest. This approach allows the plant to establish itself better, leading to healthier, more abundant crops.
Are elderberries safe for pets?
While elderberries carry health benefits for humans, they can be toxic to pets if consumed in large quantities—especially raw berries. Always supervise where your pets are around elderberry plants.
Final Thoughts
Growing elderberries in pots is a gratifying endeavor that rewards gardeners with both visual beauty and flavorful fruit. Whether you’re searching for fresh ingredients for your homemade syrups, jellies, or simply wanting to enjoy the aesthetic value of flourishing plants, elderberries in containers can thrive with the right knowledge and care.