This in-depth guide will provide you with all the information needed to successfully cultivate elephant ears in containers, covering everything from the right variety selection to ongoing care and maintenance. Let’s explore each essential aspect of this rewarding gardening journey.
Choosing the Right Elephant Ear Varieties
Selecting the right variety of elephant ear is the foundation of successful container gardening. This choice impacts not only the visual appeal but also how well the plant thrives in your specific conditions. Here’s a deeper look into popular varieties and additional factors that can influence your choice:
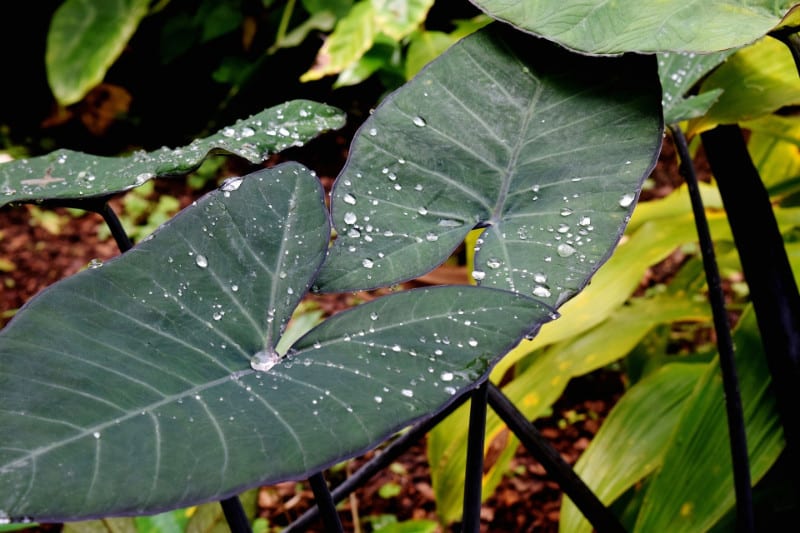
Alocasia
Alocasia varieties are celebrated for their striking leaf shapes and colors, often resembling ancient sculptures. Two popular varieties include:
Alocasia macrorrhiza: Known as the giant taro, it can produce enormous, paddle-shaped leaves, creating a dramatic impact.
Alocasia ‘Polly’ (African Mask Plant): This variety features arrow-shaped leaves with striking white arched veins and grows to moderate heights, making it ideal for smaller spaces.
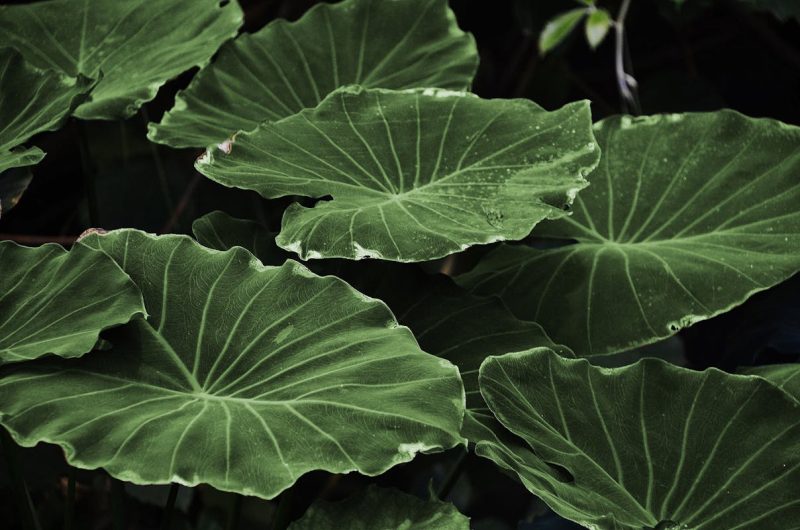
Colocasia
Colocasia offers a mix of distinct leaf shapes and textures that add unique character to any setting. Some notable varieties include:
Colocasia esculenta (Taro): Commonly grown for its edible tubers, this plant thrives in moist conditions and can produce broad leaves that are perfect for creating a lush atmosphere.
Colocasia ‘Black Magic’: With deep purple, almost black leaves, this variety adds drama and intrigue, particularly in contrasting plant compositions.
Xanthosoma
While not as commonly grown as Alocasia and Colocasia, Xanthosoma varieties are excellent for containers due to their adaptability. For instance:
Xanthosoma ‘Lime Zinger’: This variety boasts striking lime-green leaves and can handle a range of growth conditions, making it an exciting choice for plant collectors.
What You’ll Need
Creating a successful growing environment for your elephant ears begins with gathering the necessary supplies. Proper tools and materials simplify the process and enhance your gardening experience.
Equipment / Tools

Shovel or Trowel: A small shovel or trowel is essential for digging and moving soil while planting.
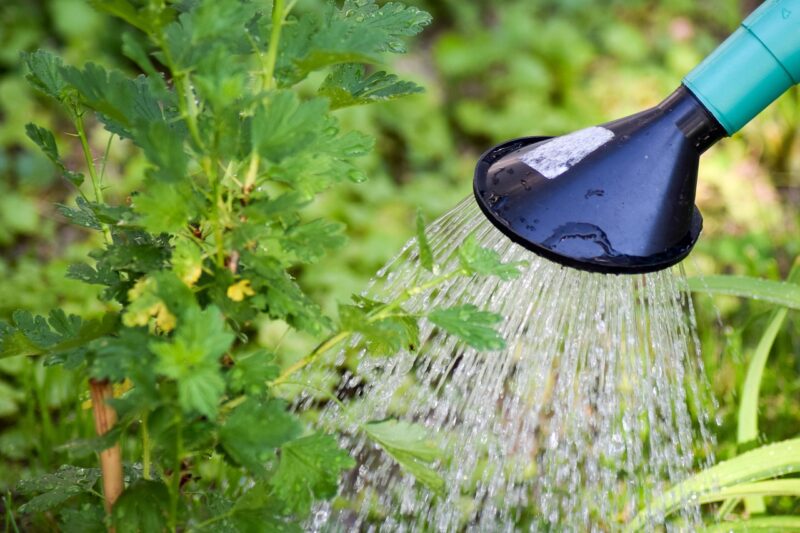
Watering Can with a Rose Head: This tool allows for gentle watering, which is crucial to avoid disturbing the soil around your newly planted elephant ears.
Pruning Scissors: Keeping your plants tidy is vital; pruning scissors will be invaluable for removing damaged or unhealthy leaves.
Gloves: Wearing gloves protects your hands from soil irritation and helps maintain cleanliness while working.
Measuring Cups and Spoon: Accurate measurement of fertilizer and soil amendments ensures your plants receive the correct amount of nutrients without the risk of over-fertilization.
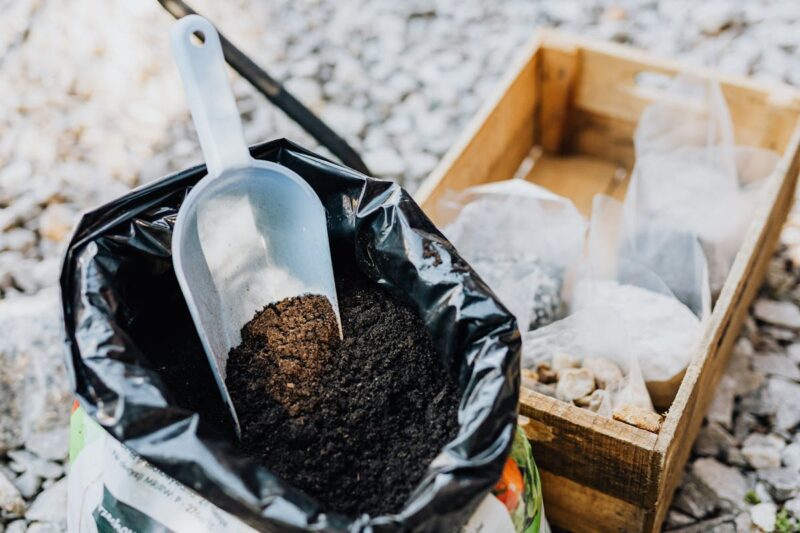
Materials
Gathering the right materials can help optimize plant health:
Quality Potting Soil: Look for potting mixes designed for tropical plants, ensuring good aeration while retaining enough moisture.
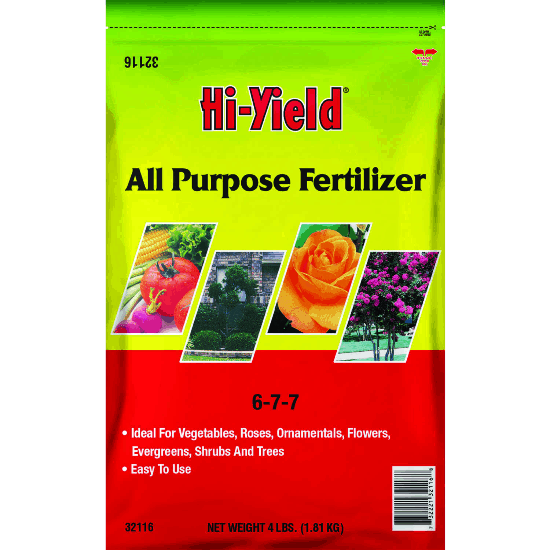
Slow-Release Fertilizer: Essential for providing a consistent supply of nutrients, choose one that has a balanced NPK ratio to support overall plant health.
Mulch (organic or inorganic): Adding mulch on top of the soil can regulate moisture levels and reduce the frequency of watering, while also suppressing weeds.
Perlite or Vermiculite: These materials improve soil aeration and drainage, essential for preventing root rot.
Choose and Prepare Containers
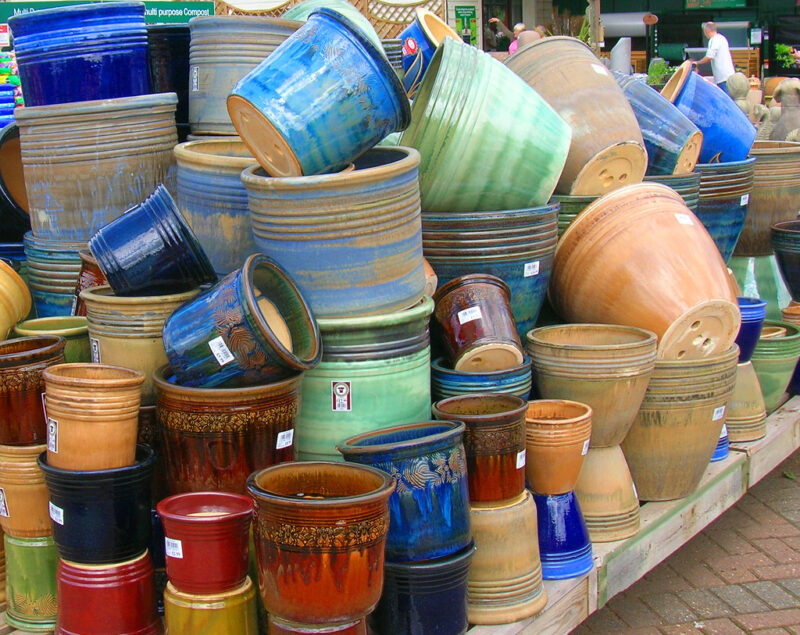
Choosing the right container and preparing it properly enhances the health and growth potential of your elephant ears, so let’s take a closer look at what to consider.
Type of Pot
Plastic: They are lightweight, come in various colors and styles, and retain moisture well, which helps prevent the soil from drying out. However, they also may need regular monitoring to ensure they don’t become waterlogged.
Clay: Clay pots are good for air circulation but can dry out more quickly. They provide a more natural aesthetic and are great for outdoor use, especially in warmer climates. Ensure they are thoroughly soaked before planting to minimize water evaporation.
Self-Watering Pots: These pots have reservoirs at the bottom to maintain consistent moisture levels. They’re ideal for busy gardeners who may not have time to water daily and offer an efficient way to promote healthy growth.
Size
When it comes to choosing the size of your pot, it’s vital to consider the growth potential of your elephant ear variety. Start with a pot that is at least 12 inches in diameter. For a fully grown plant, ensure you have a container with a depth of at least 18 inches to accommodate the extensive rooting system. As the plant matures, you may need to upgrade to a larger container every couple of years to promote continued growth.
Drainage
Good drainage is crucial for healthy elephant ears. Without it, excess water can lead to root rot, a common disease among container plants. Double-check that your chosen pots have drainage holes; if you’re unable to drill holes, consider using a layer of gravel or rocks at the bottom to assist with drainage. This will allow excess water to escape while keeping the soil structure intact.
Planting Instructions
Once your container and materials are ready, it’s planting time! Here’s a detailed step-by-step guide to ensure your elephant ears get off to a great start.
Prepare the Potting Soil
Enhancing your potting mix with amendments allows for optimal growth conditions. Use a high-quality potting soil, and mix in perlite or vermiculite to improve drainage. The resulting mix should be light, fluffy, and retain moisture without becoming soggy. Consider adding organic compost to boost nutrients and further enrich the soil.
Water
Before you plant, thoroughly moisten your potting mix. Water the soil until it feels consistently damp, without being saturated. Allow any excess water to drain out through the drainage holes. This pre-watering not only prepares the soil but also helps the plant establish itself more quickly after planting.
Fertilize
Integrating slow-release fertilizer into your potting mix enhances the nutrient profile from day one. Depending on the brand, follow the manufacturer’s recommendations to avoid overwhelming your plants. A well-balanced fertilizer will support vigorous growth and lush foliage. Always add fertilizer at the recommended rate for the specific growth stage of your plants.
Care Instructions
Caring for your elephant ears involves understanding their specific needs related to light, water, and temperature. Below are insights to help ensure they flourish.
Sun Exposure

Elephant ears usually prefer bright, indirect sunlight. Too much direct sun can scorch their large leaves, especially in hotter climates. A location that receives morning sunlight and afternoon shade is often ideal. If you can’t find a partially shaded spot, consider using sheer curtains to diffuse harsh sunlight when growing indoors. Monitor the plant, moving it if you notice any signs of leaf burn or yellowing.
Stick to a Water Schedule

As a rule of thumb, check the top inch of soil for dryness before watering. Elephant ears thrive in consistently moist soil, but overwatering can lead to soggy conditions which, as previously mentioned, can result in root rot. Consider setting a watering schedule based on the season—more frequent watering is necessary during hotter months. Investing in a moisture meter can also help eliminate guesswork regarding watering needs.
Protect From Excessive Heat and Freezing Temperatures
In hot climates, elevated temperatures can stress the plants. Move pots into shaded areas during the hottest parts of the day to help mitigate heat stress and prevent leaf burn. In cooler regions, elephant ears do not tolerate frost well. As temperatures begin to drop, plan to bring pots indoors or cover them with frost fabric during colder nights. Establishing a temperature threshold (around 50°F/10°C) helps you decide when to move plants inside for their protection.
Repotting Instructions

Repotting is a necessary part of maintaining healthy elephant ears as they grow. Here’s how to manage this process effectively to support ongoing health.
When to Repot
You may need to repot your elephant ears every 1-2 years, especially if you notice that the roots are growing out of the drainage holes or if growth seems to stagnate. Spring is the best season for repotting, aligning with the plant’s natural growth cycle. Observing your plant for changes in size and vigor will help you detect when repotting is necessary.
How to Repot
Choose the New Pot: Select a container that is 2-4 inches larger in diameter than the original pot, ensuring it has adequate drainage holes.
Water the Plant: Water the plant thoroughly the day before repotting. This helps minimize stress and loss of soil when removing the plant from its original pot.
Gently Remove the Plant: Carefully tip the pot on its side and slide the plant out without damaging the root ball. Tap the sides of the pot if necessary to loosen the soil.
Untangle Roots: If the roots are tightly bound, gently loosen them with your fingers. This encourages new growth by allowing the roots to spread more freely in the new container.
Add Fresh Soil: Place a layer of fresh potting soil at the bottom of the new pot, then position your elephant ear plant. Ensure it’s planted at the same depth it was previously. Fill in around the sides with potting mix, gently pressing the soil to eliminate air pockets.
Water After Repotting: Once repotted, water the plant thoroughly, allowing excess water to drain from the bottom. This helps settle the soil around the roots.
Pests and Diseases

Vigilance and regular inspection can drastically reduce the likelihood of pests and diseases affecting your elephant ears. Let’s examine the most common threats and how to handle them.
Common Pests
Aphids: These tiny sap-sucking insects can lead to wilting and stunted growth. If you spot them, use insecticidal soap or neem oil to treat the infestation. You can also introduce beneficial insects such as ladybugs, which are natural predators of aphids.
Spider Mites: These pests thrive in arid conditions. Look for webbing on the leaves, indicating damage. Increase humidity around your plant and wash the leaves with a strong jet of water to dislodge them. Chemical miticides can be used for serious infestations.
Mealybugs: These white, cottony lumps can be found on stems and leaf joints. Persistently check for their presence and address them by dabbing them with a cotton swab dipped in alcohol to eliminate them.
Diseases
Leaf Spot: Fungal issues arise primarily due to overwatering or inadequate air circulation. Implement a consistent watering routine and ensure that foliage remains dry during watering to minimize disease risk. If leaf spots appear, remove affected leaves and apply a suitable fungicide if necessary.
Root Rot: This shock is often caused by excessive moisture. Ensure your pots have adequate drainage and avoid overwatering. Signs of root rot include yellowing leaves, mushy roots, and a general decline in plant vitality. If you suspect root rot, check the roots; if they’re brown and mushy, trim away the affected parts and repot in fresh, dry soil.
Regular monitoring and prompt action will help you safeguard your elephant ear plants from potential threats.
FAQ
How often should I water my elephant ears?
An average guideline is to check the soil every 3-4 days. However, if your environment is particularly hot or dry, you may need to water daily. Always assess soil moisture before watering.
Can I leave my elephant ears outside in the winter?
Elephant ears are sensitive to frost; bringing them indoors or providing adequate cover when temperatures fall below 50°F (10°C) is critical. In colder areas, consider lifting and storing the corms during winter.
Do elephant ears need a lot of fertilizer?
Using a balanced slow-release fertilizer during the growing season is typically sufficient to provide the necessary nutrients. Monitor for signs of nutrient deficiencies, such as yellowing leaves, which may indicate a need for additional feeding.
Can I grow elephant ears indoors?
Yes! With proper light and temperature control, elephant ears can thrive indoors. Ensure ample indirect sunlight and maintain humidity levels to mimic outdoor conditions.
Why are the leaves of my elephant ears turning yellow?
Yellowing leaves can indicate various issues, from overwatering and root rot to nutrient deficiencies. Assess your plant’s environment and care routine to diagnose the issue accurately.
Final Thoughts
Growing elephant ears in pots opens a world of creative possibilities, allowing you to enhance your living spaces with these magnificent plants. By carefully selecting the right varieties, using proper containers, and observing maintenance practices, you’ll cultivate thriving, lush growth year after year