In this comprehensive guide, we will take you through the steps necessary to successfully grow chrysanthemums in pots or containers.
Choosing the Right Chrysanthemum Varieties
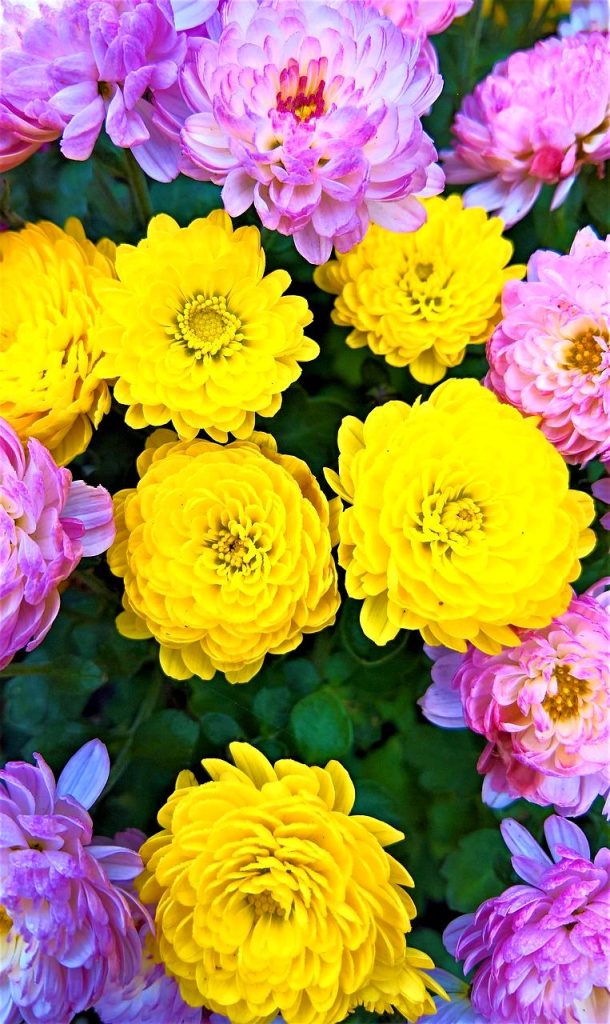
The first step towards a successful chrysanthemum garden is selecting the right variety. With numerous options available, understanding the characteristics of different types of chrysanthemums can guide your decision.
Florist Mums: These are the classic chrysanthemum varieties that are often used in floral arrangements. Florist mums are known for their large, showy blooms and are available in a range of colors from bright yellows and pinks to softer whites and purples. While they are commonly used indoors, they can also thrive in pots outdoors with the right care. Florist mums typically bloom earlier in the season and can be an excellent way to bring a splash of color to your garden during late summer.
Garden Mums: Hardy garden mums are perennial flowers, meaning they can return year after year with proper care. These varieties are particularly popular for fall plantings. They provide a long-lasting floral display and are known for their ability to withstand cooler temperatures. When grown in containers, they not only beautify your surroundings but also attract pollinators like bees and butterflies, contributing to the local ecosystem.
Dwarf Varieties: For those with limited space or seeking pots that won’t outgrow their settings, dwarf varieties, such as ‘Chantico’ or ‘Cushion Mums,’ are ideal. These plants maintain their compact size while offering vibrant blooms, making them perfect for small spaces like balcony railings, patio tables, or indoor displays. Dwarf varieties can be equally stunning and often bloom profusely, creating a lovely show without occupying too much space.
Annual vs. Perennial: Understanding the difference between annual and perennial chrysanthemums helps you plan your gardening strategy. Annual chrysanthemums generally bloom for one season and are typically used in landscaping or container arrangements meant to provide instant color. In contrast, perennial chrysanthemums come back each year, gradually increasing in size and bloom production. Consider your long-term gardening goals and whether you’d like to invest in plants that will offer ongoing beauty season after season.
Understanding these basic distinctions can save you time and effort, ensuring you select the chrysanthemum that best suits your gardening style and desired outcomes.
What You’ll Need
Before you embark on your chrysanthemum-growing adventure, gathering the right equipment and materials is vital. This preparation will set you up for success and ease your gardening tasks.
Equipment / Tools

Equipping yourself with the appropriate gardening tools not only enhances efficiency but also makes the whole experience enjoyable. Here’s a detailed list of essential tools you’ll need:
Gloves: Gardening gloves are essential to protect your hands from dirt, thorns, and any potential irritants in the soil. Choose a pair that fits well and provides dexterity, allowing you to handle delicate plants without risk of damage.
Trowel: This handheld shovel is ideal for digging, planting, and rearranging soil. A durable trowel helps you transplant young chrysanthemums into their pots easily.
Pruning Shears: Maintaining the health and appearance of your chrysanthemum plants requires regular pruning. A good pair of pruning shears will help you deadhead spent blooms and shape your plants, encouraging fuller growth.
Watering Can: A watering can with a spout will allow for targeted watering. This is particularly important for delicate seedlings or closely spaced plants, as it prevents waterlogging and directs moisture where needed.
Soil Knife: Both versatile and practical, a soil knife can cut through tough roots and cleanly divide root balls if you decide to propagate or repot existing plants. Additionally, it’s useful for loosening and aerating soil.
Materials
The materials you choose to use will significantly impact your chrysanthemums’ growth and overall health. Here’s what you should gather before getting started:
Container/Pot: Choose a pot that suits the size of your chrysanthemum plant and complements your garden aesthetics. Look for pots that allow flexibility and style—consider colors and materials as part of your visual design.
Potting Soil: A high-quality, well-draining potting mix is essential. Look for soil that is specifically formulated for container gardening, as it should retain moisture but still provide good drainage capabilities. You may also consider adding peat moss, coconut coir, or compost to enhance the soil’s quality.
Fertilizer: A balanced, slow-release fertilizer will provide the necessary nutrients that encourage blooming and healthy foliage. A fertilizer with a higher phosphorus content promotes flowers, while one with nitrogen supports leafy growth.
Mulch (optional): While not necessary, mulch can help retain moisture and regulate soil temperature. Organic mulches, such as shredded leaves or bark, not only improve aesthetics but also contribute to soil health over time as they break down.
With the right tools and materials, you’ll be more than prepared to cultivate vibrant chrysanthemums in your chosen pots!
Choose and Prepare Containers
Container selection and preparation are vital to the success of your potted chrysanthemums. A suitable pot not only enhances aesthetics but also influences the health and growth of your plants.
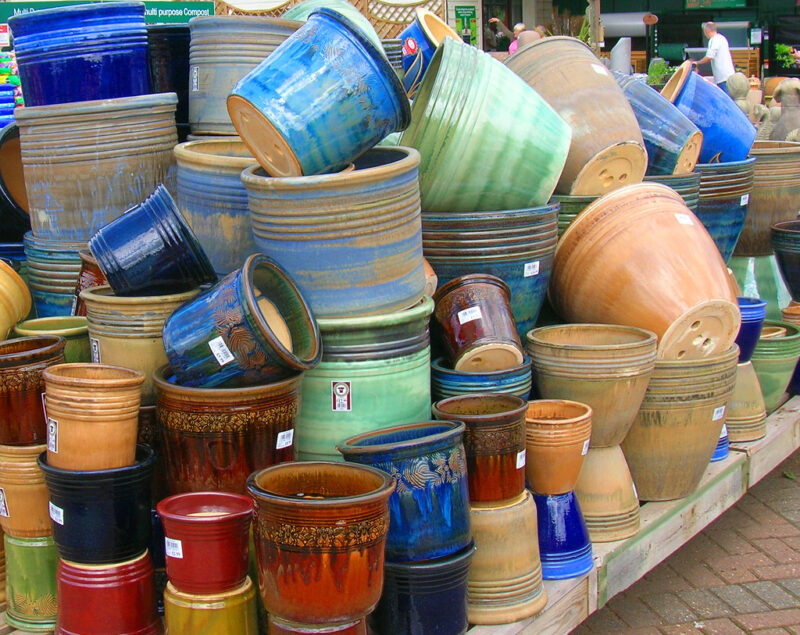
Type of Pot
There are various types of containers available, each with its pros and cons. It’s essential to choose wisely based on your personal preference and the needs of your chrysanthemums.
Plastic Pots: Plastic pots are lightweight and budget-friendly. They come in various colors and designs. One advantage is that they retain moisture better than other materials, an essential factor in warm climates. However, don’t forget that they can heat up under direct sunlight, which might stress the roots. To mitigate this, you can choose light-colored pots or place them in locations where they receive filtered sunlight.
Clay Pots: Terra cotta or clay pots are excellent for allowing air and moisture to reach roots. Their porous nature helps to regulate soil temperature, making them a preferred choice for many gardeners. However, plant care may require more frequent watering because clay absorbs moisture. Consider using a sealed clay pot if you wish to reduce moisture absorption for plants that need consistent hydration.
Size
Choosing the right size for your container is a critical step in ensuring healthy growth.
For smaller chrysanthemum varieties or when planting young seedlings, a pot size of 6-8 inches in diameter is usually sufficient. As your flowers mature, assess whether they need more space for root growth.
Larger varieties, such as garden mums, will require pots that are 10-12 inches wide. Extra room will allow roots to spread without constraint and will promote more robust plant growth.
Drainage
No matter the type or size of your container, proper drainage is essential for the health of your chrysanthemums. Waterlogged soil can lead to root rot—a condition often fatal to plants.
Always ensure your chosen pots have drainage holes at the bottom. If you’re working with non-draining pots, it’s a good idea to create a drainage layer. Fill the bottom with a few inches of gravel, rocks, or broken pottery shards to facilitate drainage.
Pay attention to outdoor conditions; the materials, such as wood or metal, can wreak havoc with drainage if they retain too much moisture. By understanding your pot’s material and characteristics, you can take steps to ensure your chrysanthemums thrive.
Planting Instructions
Now comes the exciting part—planting your chrysanthemums! Follow these steps carefully to ensure a strong start for your plants.
Prepare the Potting Soil
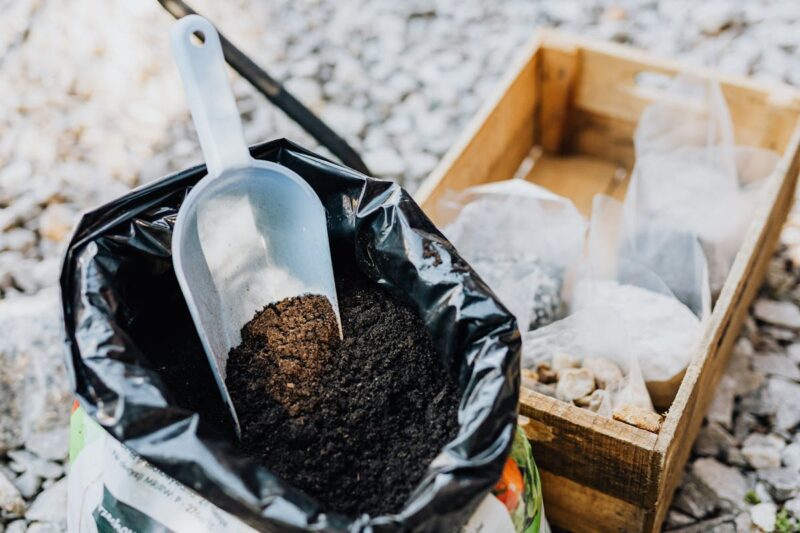
The preparation of potting soil is fundamental for the establishment and growth of your chrysanthemums. Begin by choosing a quality potting mix that can retain moisture without becoming overly soggy.
Add organic matter, such as compost or aged manure, to enhance the nutritional value of the soil. This not only enriches the mix but also improves drainage capabilities.
Mixing in perlite or vermiculite helps to further aerate the soil, promoting healthy root systems.
Fill the pot to within an inch of the rim, leaving enough space to prevent soil from spilling over during watering. This gap will help keep the surface clean and allow for adequate moisture distribution.
Water
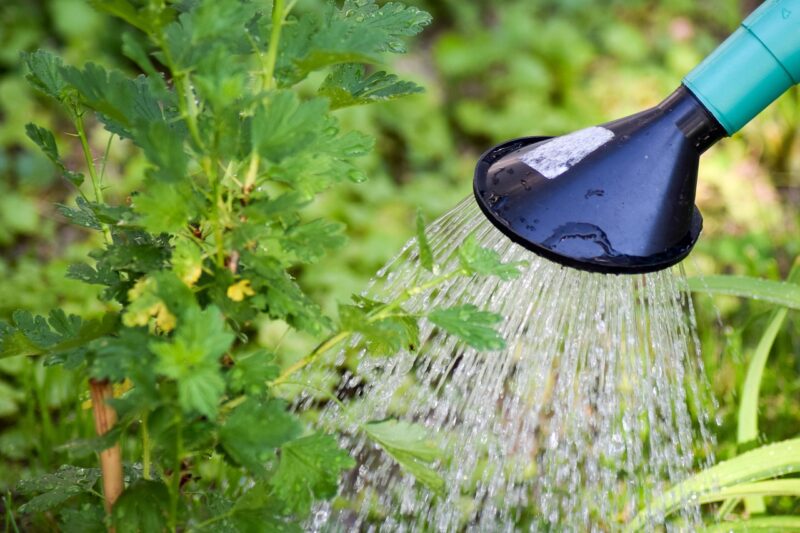
Proper watering is the backbone of strong chrysanthemum health.
Begin by soaking the soil thoroughly before planting. This ensures the entire root ball is hydrated and helps reduce transplant shock.
When planting, consider the watering technique; gentle watering during and after planting will help settle the soil around the roots without causing unprecedented displacement.
Fertilize
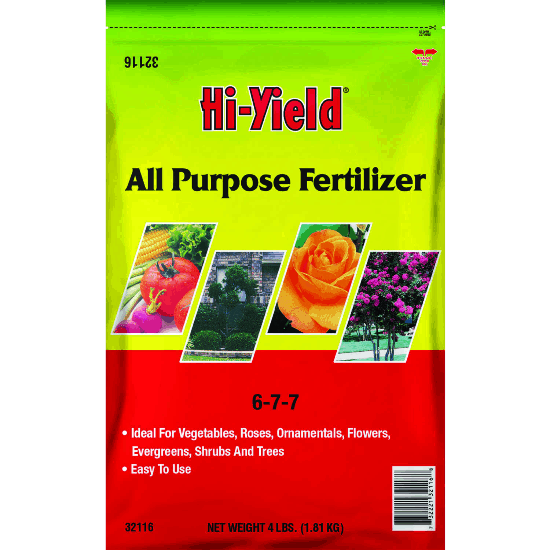
Fertilization supports strong, healthy growth and promotes vibrant blooms.
Use a balanced fertilizer with an N-P-K ratio of around 10-10-10 or a formula higher in phosphorus (like 5-10-5) to encourage blooming. Follow the manufacturer’s instructions for application rates.
For a slow-release option, mix granular fertilizer into the top few inches of soil before planting. Liquid fertilizers can be applied after planting to provide an immediate nutrient boost.
Fertilizing should happen primarily during the growing season, but be mindful to taper off as fall approaches to allow your plants to harden off for the winter.
With these steps, your chrysanthemums will have an excellent start, setting the stage for abundant, stunning blooms!
Care Instructions
Now that your chrysanthemums are planted, it’s essential to provide the right care. Proper maintenance ensures health and vitality as the flowers develop.
Sun Exposure

Sunlight plays a pivotal role in the growth cycle of chrysanthemums.
Position your pots in a location that receives at least 6 hours of direct sunlight daily. Ideally, morning sun is best as it reduces humidity levels in the foliage, lowering risks for fungal diseases.
In regions with particularly hot afternoons, consider providing partial shade to protect plants from potential wilting or scorched leaves.
Stick to a Water Schedule

Establishing a watering routine is vital for the ongoing health of your chrysanthemums.
Monitor the soil’s moisture levels by checking the top inch. Water when the soil feels dry to the touch—ensure you’re watering deeply so the moisture reaches the roots.
Containers naturally lose moisture faster than in-ground plants, so adjust your watering frequency based on temperature, humidity, and the potting mix’s drainage capacity. In hotter months, consider watering more frequently, while cooler temperatures may require less.
Protect From Excessive Heat and Freezing Temperatures
Chrysanthemums can be sensitive to extreme weather.
In peak summer heat, moving containers to a shaded area in the afternoon can help prevent stress. You can also use shade cloths to shield your pots during heatwaves.
For fall and winter, pay attention to colder temperatures. If your area experiences freezing conditions, consider moving pots indoors to a well-lit but unheated space. If left outdoors, insulate the pots by wrapping them with burlap or using layers of mulch to protect the roots from frost.
By taking appropriate protective measures, you can ensure your pots thrive year-round!
Repotting Instructions

Repotting is a significant aspect of chrysanthemum care, as these flowering plants benefit from refreshed soil and room to grow.
Steps to Repot
Choose a New Pot: Opt for a container that is 1-2 inches larger in diameter than the original, providing the plant room to expand.
Remove the Plant: Handle the plant gently; tap the sides of the pot or slide a soil knife around the edges to help loosen it. Hold the base of the plant, avoiding any pressure on the stems or leaves.
Loosen and Trim Roots: Check for root-bound conditions. If the roots are densely tangled, gently loosen them with your fingers, and trim excessively long roots to encourage new growth.
Add Fresh Soil: Start by placing a base layer of fresh potting mix in the new container. Position the chrysanthemum firmly in the center and fill around the root ball with fresh potting mix, ensuring that the plant is at the same depth it was previously.
Water Thoroughly: After repotting, ensure you water the plant well to help settle the soil and hydrate the roots.
Repotting every couple of years or when you notice signs of stress will refresh your chrysanthemums, allowing them to thrive!
Pests and Diseases

Being aware of common pests and diseases will help you preemptively address potential threats to your chrysanthemums. Early detection and intervention can save your plants from serious harm.
Common Pests
Aphids: These tiny sap-sucking insects are often found on younger foliage. They can cause leaves to curl and become distorted. To control aphids, consider spraying with insecticidal soap or neem oil, both of which are effective organic solutions.
Spider Mites: These pests thrive in dry conditions, leading to stippled foliage and webbing. Increasing humidity, misting the plants regularly, and hosing them down can help control their population, in addition to using spray insecticidal soaps.
Whiteflies: When disturbed, whiteflies fly away, making them challenging to control. Introducing beneficial insects, such as ladybugs, can help keep their populations in check, or you can use yellow sticky traps to monitor their presence.
Diseases
Maintaining awareness of common plant diseases can assist you in taking preventive measures.
Powdery Mildew: This white powdery fungus appears on leaves, particularly in high humidity. To prevent mildew, increase air circulation and avoid overhead watering to ensure that leaves dry off quickly after watering.
Root Rot: Root rot is often caused by overwatering or poorly draining soil, leading to a decline in plant health. To protect against this, routinely check the drainage and ensure that pots have sufficient holes. Let the top inch of soil dry out between waterings to minimize moisture accumulation.
Should you notice any signs of pests or diseases, don’t hesitate to seek guidance from local gardening experts or extension services for specific management strategies.
FAQ
Can I grow chrysanthemums indoors?
Absolutely! Growing chrysanthemums indoors is entirely feasible; however, they require plenty of sunlight to thrive. Place your pots in south-facing windows that get ample light throughout the day. Regularly monitor the humidity levels, as indoor climates can often be drier.
How long do potted chrysanthemums bloom?
Typically, chrysanthemums bloom from late summer to late fall, providing several weeks of floral display. Depending on the variety and environmental conditions, florist mums may last longer, sometimes blooming into winter if conditions are favorable.
Do chrysanthemums need deadheading?
Yes, deadheading is significant in extending the blooming period of your chrysanthemums. Removing spent blooms encourages the plant to redirect energy toward producing more blossoms instead of seed production. Regularly inspect your plants for fading flowers!
What do I do if my chrysanthemums stop blooming?
If your chrysanthemums are not blooming, factors such as insufficient sunlight, inconsistent watering practices, or a lack of nutrients may be at play. Assess their growing conditions and adjust light exposure, watering frequency, and fertilization levels accordingly.
Final Thoughts
Growing chrysanthemums in pots brings joy and beauty to any space, allowing you to showcase their stunning blooms wherever you please. By understanding the nuances of pot selection, proper care, and maintenance, you’ll be able to create an inspiring display in your garden or home.