Growing potatoes in pots or containers is an excellent way for beginners to enjoy gardening without needing a traditional garden space. Container gardening allows you to have control over your soil quality, makes it easier to manage your plants, and provides flexibility in terms of placement.
This comprehensive guide will walk you through everything you need to know about growing potatoes in pots, focusing on essential information for new gardeners.
Why Grow Potatoes in Containers?
Space Efficiency
Container gardening is particularly advantageous for those who have limited outdoor space, such as those living in apartments, condos, or homes with small yards. Potatoes can be grown on balconies, patios, or even rooftops, making them an ideal crop for urban gardeners. In tight spaces, you can use vertical gardening techniques or tiered plant stands to optimize your planting area, allowing for a productive garden without needing extensive landscaping.
Enhanced Soil Control
By growing potatoes in containers, you have full control over the soil quality. Potatoes thrive in loose, well-drained soil rich in organic matter. Container gardening allows you to create the perfect soil mix tailored to your plants’ needs without the complications of your native garden soil, which may be too compacted or of poor quality. This customization can contribute to healthier tubers and better yields.
Mobility
One of the most significant advantages of growing potatoes in containers is mobility. As your plants grow, you can move the containers to better locations that receive optimal sunlight or protection from harsh weather conditions. Container gardening makes it easy to experiment with different placements until you find the best environment, allowing for flexibility as the seasons change.
Selecting the Right Container
Choosing the right container is crucial for successful potato cultivation. Here are key considerations:
Pot Types
Plastic Pots
Pros: Lightweight, inexpensive, and easily available. They retain moisture well, which can benefit potatoes that need consistent water.
Cons: They may not provide the best aeration, which can lead to root rot if not monitored.
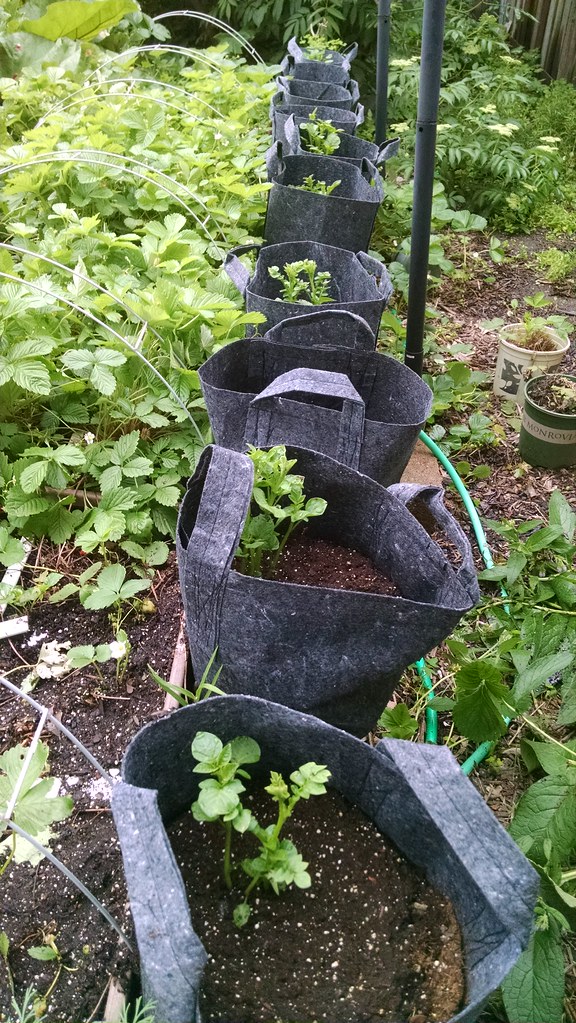
Fabric Pots
Pros: These breathable containers encourage healthy root development and allow excess moisture to escape, reducing the risk of overwatering. Fabric pots also offer better soil aeration, making them ideal for potatoes, promoting vigorous plant growth and higher yields.
Cons: They can dry out more quickly than plastic or solid containers, requiring more frequent watering.
Wooden Containers
Pros: Aesthetic appeal and excellent for those looking to use sustainable materials. Wooden crates or planters can be crafted at home, making them customizable for your garden’s style.
Cons: They must be treated properly to prevent rot, and care must be taken that they don’t harbor pests.
Metal Containers
Pros: Stylish and durable, offering good drainage if designed correctly.
Cons: They can heat up quickly in direct sunlight, which may stress the plants during hot weather.
Size Considerations
For growing potatoes, a rule of thumb is to select containers that are at least 12 inches in diameter and deep enough to accommodate their root systems—ideally 12 to 18 inches deep. A general guideline is to allocate about 5 to 10 gallons of soil per plant. Larger pots will yield larger crops, but in limited spaces, smaller pots can still produce a decent harvest.
Choosing the Right Potato Varieties
When container gardening, selecting potato varieties suited for smaller spaces is essential. Here are some ideal choices:
Fingerling Potatoes: These small, elongated potatoes are known for their nutty flavor and are perfect for growing in limited spaces. Varieties like ‘French Fingerling’ and ‘Purple Peruvian’ are popular choices.
New Potatoes: Harvested early in the growing season, new potatoes are tender and have a creamy texture. Varieties such as ‘Yukon Gold’ and ‘Red Bliss’ are excellent for growing in containers, as they do well in smaller spaces and mature relatively quickly.
Dwarf Varieties: Compact varieties like ‘Huckleberry’ or ‘Jellybean’ are specifically bred for smaller gardens and containers. These plants remain small while still producing a good yield of tubers, making them suitable for the container gardening enthusiast.
Choosing the right variety is essential to ensure a successful harvest. It’s best to consult local gardening resources or your local agricultural extension office to find out which varieties do well in your specific climate.
Preparing the Soil
Creating the right soil mix for your potatoes is crucial for healthy growth and larger yields.
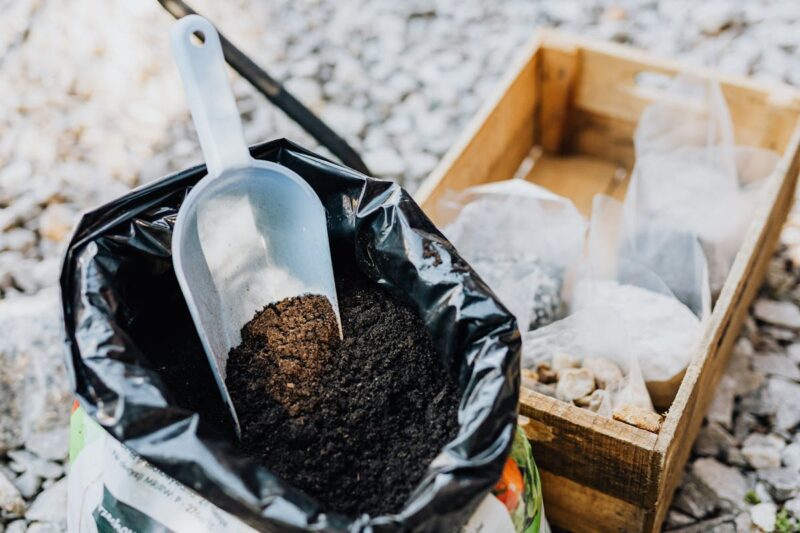
Recommended Soil Mix
Using a high-quality potting mix rather than garden soil is essential for container gardening. Potting mixes are designed to retain moisture while providing excellent drainage, which is vital for root health.
A good mix includes:
50% Potting Soil: Look for a well-balanced potting mix that contains peat moss, vermiculite, or perlite to enhance drainage and moisture retention.
50% Compost or Well-Rotted Manure: This organic matter improves soil fertility, providing essential nutrients that promote the healthy growth of potatoes. Compost also enhances soil structure, allowing for better aeration and moisture retention.
Additionally, consider mixing in some bone meal or fish emulsion as a slow-release source of nutrients to provide your potatoes with the sustenance they need throughout the growing season.
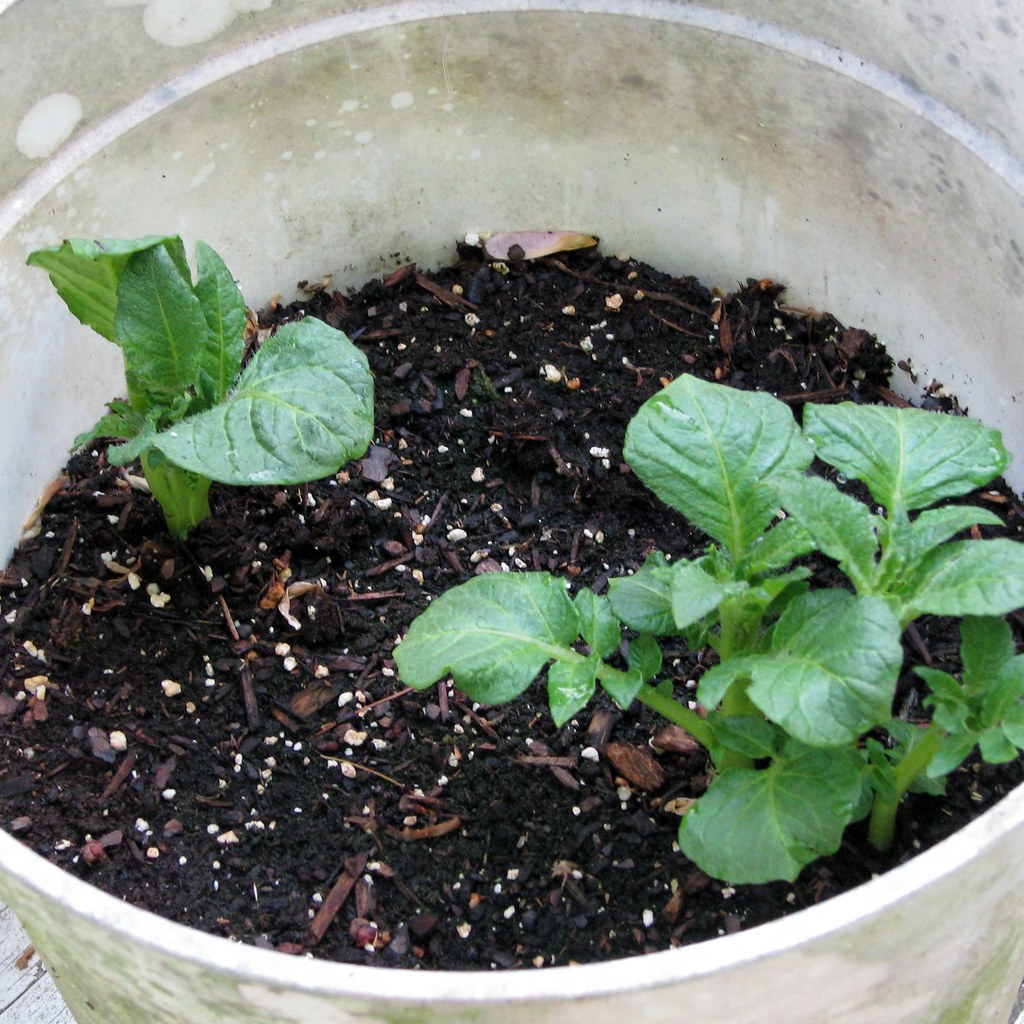
Planting Potatoes in Containers

After selecting your container and preparing the soil, it’s time to plant your potatoes. Follow these steps:
Preparing Seed Potatoes
Purchase Certified Seed Potatoes: Always choose certified seed potatoes from reputable garden centers or nurseries. These potatoes are disease-free and ensure a healthier crop.
Cutting Larger Seed Potatoes: If your seed potatoes are large, cut them into smaller pieces, each containing at least one eye (the small buds from which the plant sprouts). Allow the pieces to dry for 24 to 48 hours; this process helps to form a protective callus that reduces rot risk when planted.
Planting Instructions
Fill the Container: Begin by filling your container with around 6 inches of the prepared soil mix, creating a suitable base for your potatoes.
Placing the Seed Potatoes: Lay the seed potatoes down with the cut side facing down. Space them 6 to 8 inches apart to provide ample room for tuber growth.
Covering with Soil: Add another 6 inches of soil over the seed potatoes, ensuring they are fully buried to protect them from light while they sprout.
Water Thoroughly: After planting, water your container thoroughly until the soil is moistened but not soggy. Overwatering can lead to rot.
Caring for Your Container Potatoes
Proper care will maximize your yield and plant health. Here are the essentials:
Watering
Consistent moisture is vital for potatoes. A general guideline is to provide 1 to 2 inches of water weekly, ensuring the soil remains moist but never waterlogged. During hot, dry spells, you may need to water more frequently.
To monitor soil moisture, insert your finger about an inch into the soil; if it feels dry, it’s time to water. Early morning is the best time to water, as it reduces evaporation and fungal disease risks.
Fertilizing
Potatoes are considered heavy feeders. Begin with a balanced, all-purpose fertilizer at planting—look for a ratio such as 10-10-10. Apply this fertilizer according to package instructions.
Once the plants begin to bloom, switch to a fertilizer higher in potassium, as this nutrient is crucial for tuber development. Fertilizing every couple of weeks will encourage a hearty plant and maximize your yield.
Hilling
Hilling involves covering the lower stems of the plants with soil as they grow. This process enhances tuber formation and supports the plant:
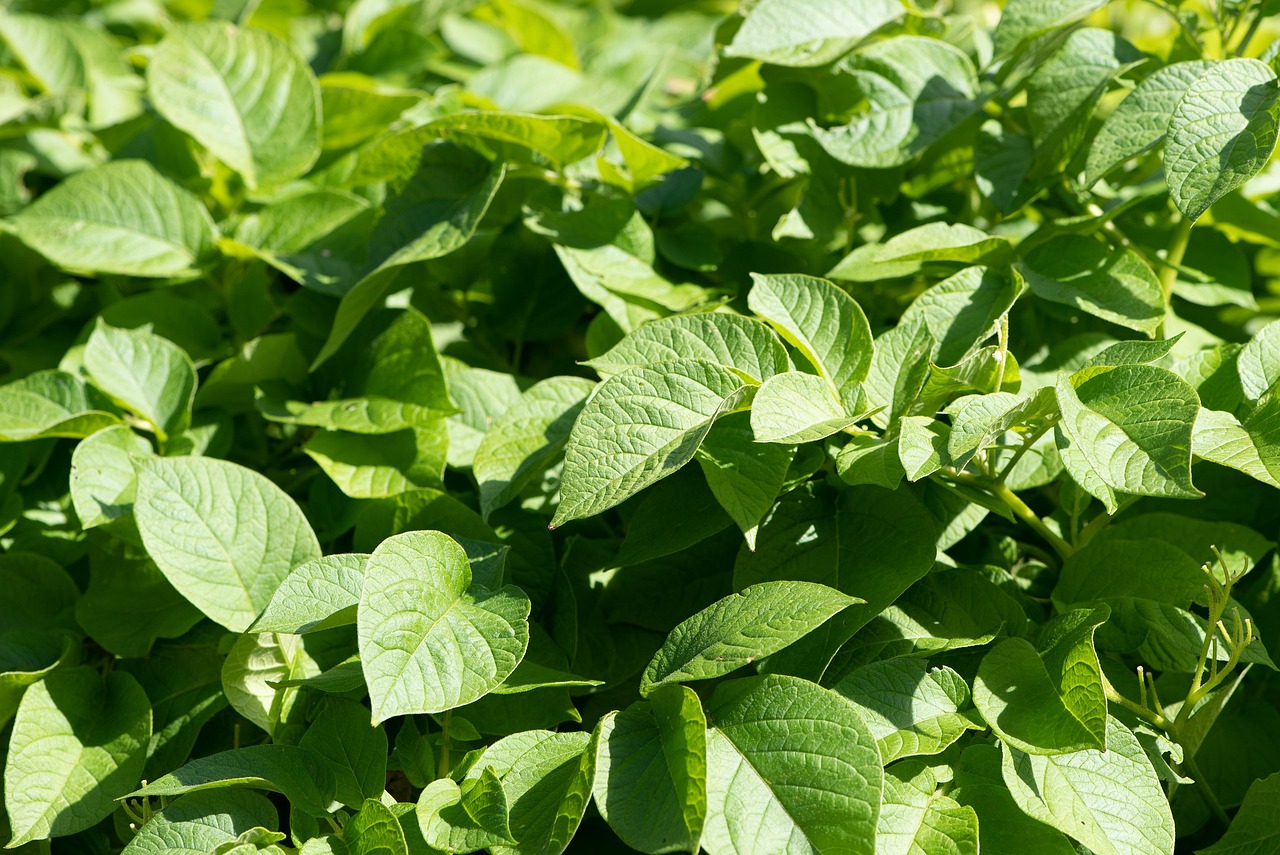
Wait for Growth: Once your potato plants reach about 6 inches in height, it’s time to hill.
Add More Soil: Gently mound soil around the base of the plants, leaving the top leaves exposed. Use your hands or a small shovel, taking care not to damage the plants.
Repeat as Necessary: Continue adding soil as the plants grow taller, typically about every two to three weeks.
Managing Sunlight and Temperature
Sunlight Requirements
Potatoes thrive in full sun and require at least six to eight hours of direct sunlight daily. Choose the sunniest spot available, whether on a balcony or patio, to ensure maximum growth.
Temperature Considerations
Potatoes prefer cooler weather, ideally between 60°F and 70°F (15°C to 21°C). If you live in an area with hot summer temperatures, consider providing some afternoon shade using a shade cloth or by moving containers to cooler spots during heatwaves. Proper temperature control can prevent stress and improve tuber quality.
Pest and Disease Prevention
Monitoring your potatoes for pests and diseases is crucial for a successful harvest. Here are common threats and management strategies:
Common Pests
Aphids: Small, soft-bodied insects that suck sap from plants. Control them by spraying a mixture of water and mild dish soap on your plants or by introducing beneficial insects like ladybugs.
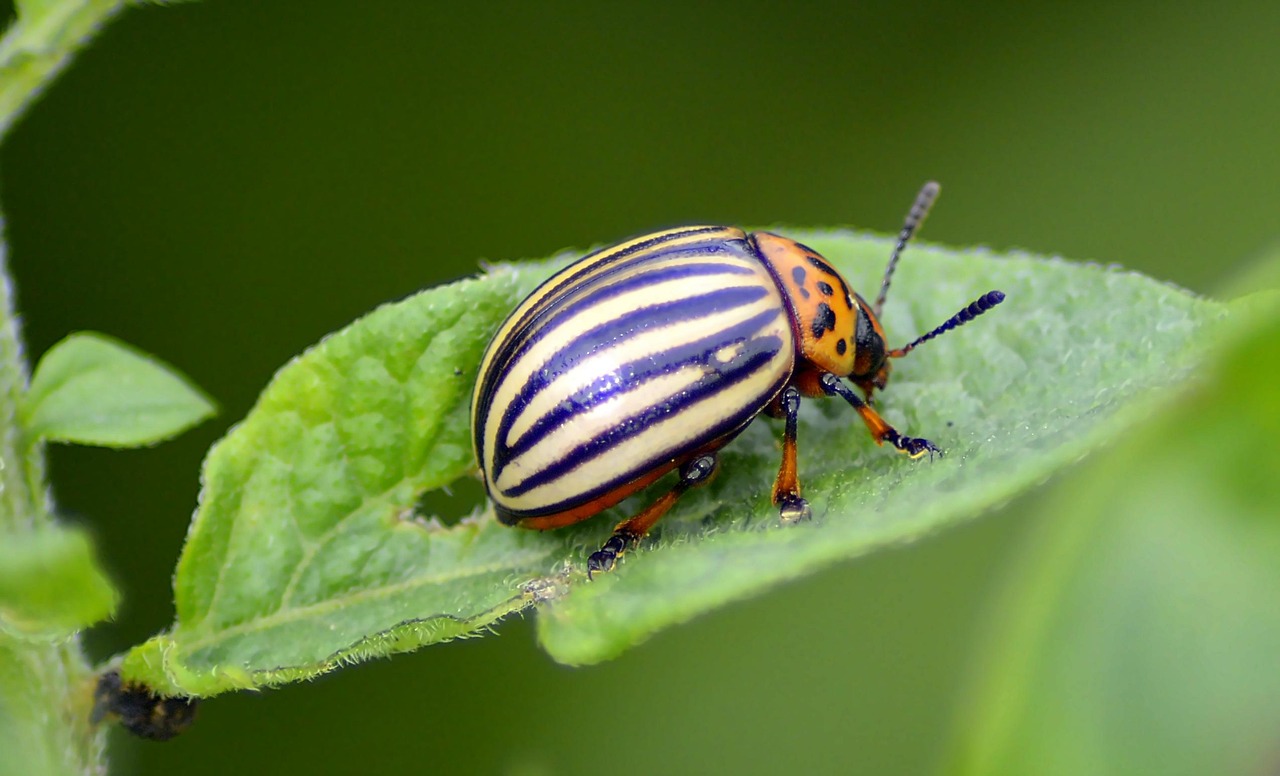
Colorado Potato Beetles: These pests can quickly devastate your potato plants. Handpicking them or using organic pesticides can help keep their populations in check.
Slugs: These can cause significant damage to potato foliage. Remove them by hand or set up beer traps, where slugs are attracted to the beer and drown in it.
Disease Management
Potatoes can suffer from several diseases, including blight and root rot. Here are preventative measures:
Practice Crop Rotation: Avoid planting potatoes in the same containers or area year after year. Rotating crops helps disrupt the life cycles of pests and diseases.
Avoid Overhead Watering: Watering at the base of the plant reduces humidity and lowers the risk of fungal diseases.
Ensure Good Air Circulation: Space plants properly within containers and ensure adequate airflow around the foliage.
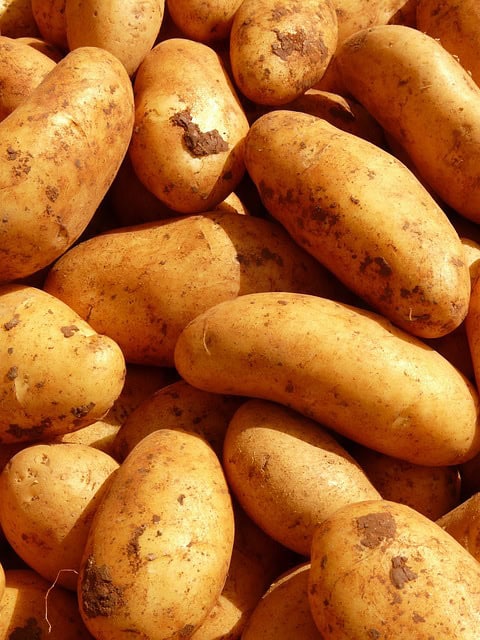
Harvesting Your Potatoes
Knowing when and how to harvest your potatoes is crucial for maximizing taste and quality.
Harvest Timing
Your potatoes are typically ready for harvest 70 to 120 days after planting, depending on the variety. Generally, you’ll know it’s time when the plants begin to yellow and die back. For new potatoes, you can start harvesting when the plants are still green, as they often produce smaller, tender tubers.
Harvesting Method
Carefully harvest your potatoes using the following method:
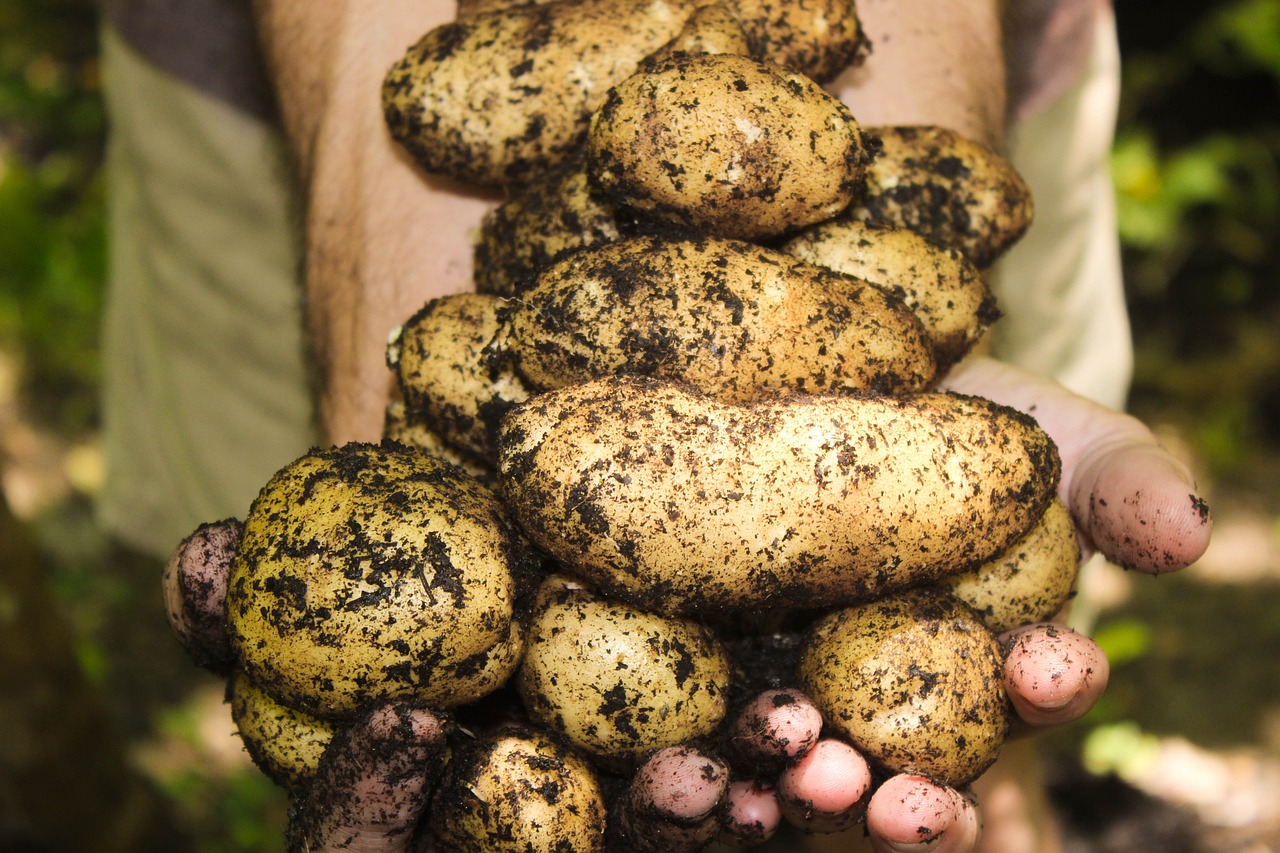
Gently Dig: With a hand trowel or your hands, gently dig into the soil around the base of the plant, being careful not to pierce the tubers.
Remove the Tubers: Lift the tubers out of the soil one by one. Brush off any excess soil but avoid washing them at this stage, as moisture can promote rot.
Harvesting Frequency: If you desire new potatoes, lift only a few of the smaller tubers, allowing the remaining ones to grow larger. For a full harvest, wait until the plants die back completely.
Storing Your Harvest
Once harvested, proper storage will keep your potatoes fresh longer.
Curing Process
Before storage, cure your potatoes in a cool, dark, and well-ventilated area for about two weeks. Curing allows cuts or bruises to heal, which extends their shelf life.
Ideal Storage Conditions
After curing, store your potatoes in a dark, cool location—ideally between 45°F to 50°F (7°C to 10°C). Avoid exposing them to sunlight, as this causes them to green and produce solanine, a toxic compound.
Use breathable containers such as burlap sacks or cardboard boxes with air holes. Avoid plastic bags, which trap moisture and can lead to rotting.
Conclusion
Growing potatoes in pots or containers is an accessible and rewarding gardening venture for beginners. With the right containers, soil mix, and care procedures, you can cultivate healthy potato plants and enjoy a bountiful harvest. Always experiment with container types and potato varieties, and embrace the joys of gardening. Soon, you’ll be savoring the unique flavors of your homegrown potatoes, adding fresh and delicious produce to your meals