In this comprehensive guide, we will walk through each step of the zinnia growth process in pots, providing valuable insights and tips to help you cultivate a stunning display.
Choosing the Right Zinnia Varieties
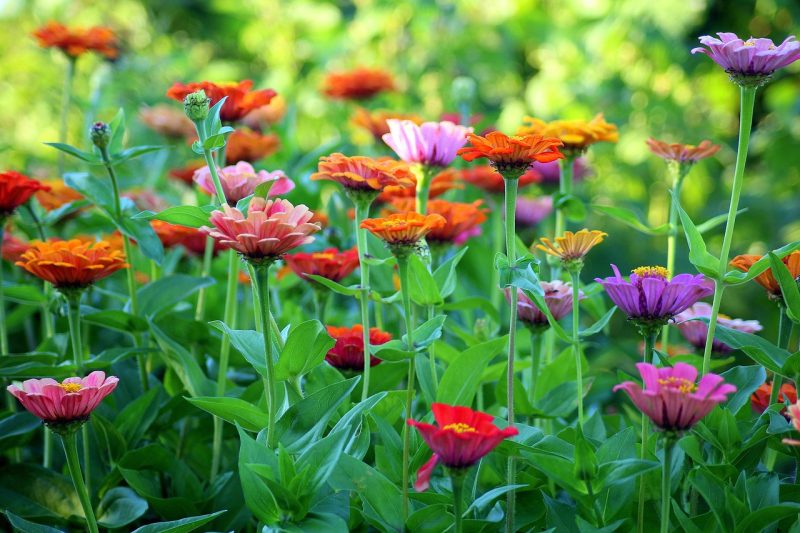
Selecting the right zinnia varieties is essential for a successful and colorful container garden. With so many options available, familiarizing yourself with the most popular and suitable types will ensure you choose the ones that best fit your gardening goals and climate conditions.
Zinnia elegans (Garden Zinnias): One of the most commonly grown zinnia species, Zinnia elegans is known for its broad range of colors and sizes, from small pom-poms to large, showy blooms. They are ideal for cut flower arrangements, with popular varieties such as ‘State Fair’ known for their tall stature and sturdy stems, which can reach up to 36 inches. Additionally, the ‘Cut and Come Again’ variety produces an abundance of smaller flowers and is a favorite among flower arrangements due to its longevity in vases.
Zinnia angustifolia (Narrow-Leaf Zinnias): This species includes smaller, more drought-tolerant varieties that are perfect for edging borders or filling in gaps in container gardens. These compact plants typically reach heights of 12 to 24 inches and produce smaller, yet vibrant blooms. They are hardy and low-maintenance, making them a suitable choice for first-time gardeners or container flower arrangements.
Zinnia ‘Zahara’: This hybrid variety is highly sought after for its heat tolerance and disease resistance. It blooms in vivid colors and has a compact growth habit that makes it well-suited for pots. ‘Zahara’ zinnias can withstand harsh summer conditions while producing continuous blooms throughout the season.
Zinnia ‘Profusion’: Renowned for its self-cleaning habit and resilience, the ‘Profusion’ series is ideal for container growth. This variety showcases a range of vibrant colors and features compact plants that stay tidy and don’t require constant deadheading. Its bushy shape allows for plenty of blooms, which makes it a popular choice among gardeners who want low-maintenance yet striking displays.
What You’ll Need
A successful container garden relies on the proper tools and materials. Here’s a detailed overview of the essential equipment and materials you will need to grow zinnias.
Equipment / Tools

Hand trowel: A must-have for digging, planting, and mixing soil in your container. Look for a sturdy, ergonomic design that fits comfortably in your hand.
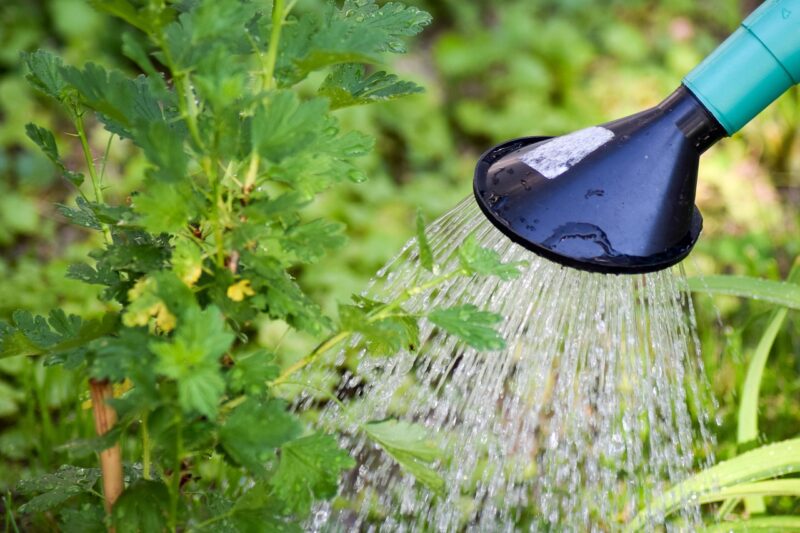
Watering can or hose: While a hose with a gentle spray attachment can work well for larger gardens, a watering can with a suitable spout is advantageous for careful watering in confined spaces. Choose one with a capacity that allows for easy maneuvering without being too bulky.
Gardening gloves: Protect your hands from thorns, sharp edges, and dirt with a sturdy pair of gardening gloves. Opt for lightweight, breathable materials that provide dexterity while keeping your hands clean.
Pruning shears: A quality pair of pruning shears will help you trim dead flowers, making room for new blooms and enhancing aesthetics. Look for a pair that can handle light to moderate pruning with ease.
Labels or markers: Essential for keeping track of different varieties or sowing dates, especially if you have mixed varieties in various containers. Consider waterproof labels that can resist fading in sun exposure.
Materials
Zinnia seeds or seedlings: Decide whether you want to start your garden from seeds or purchase young plants. For seeds, seek high-quality, fresh seeds from a garden center or online source. If opting for seedlings, ensure they are healthy, vibrant, and free from pests.
Potting soil: Selecting the right potting mix is crucial. Look for soilless potting mixes formulated to optimize drainage and aeration. Suitable mixes often contain ingredients like peat moss, perlite, or vermiculite to hold moisture without compacting, which is especially important for potted plants.
Slow-release fertilizer: A balanced slow-release fertilizer provides essential nutrients over an extended period. Look for a formula specifically designed for flowers, with higher phosphorus content for blooming (e.g., a 10-20-20 N-P-K blend).
Mulch (optional): Organic mulch such as shredded bark, straw, or wood chips can assist in retaining moisture and suppressing weeds, ensuring your zinnias have a healthy habitat to thrive.
Having these tools and materials at hand will ensure you are well-prepared to begin your zinnia-growing journey, leading to a successful and productive experience.
Choose and Prepare Containers
Container selection is a key aspect of growing zinnias, as the right pot will provide both good drainage and adequate space for the plants. Here are important factors to consider when choosing and preparing your containers:
Type of Pot
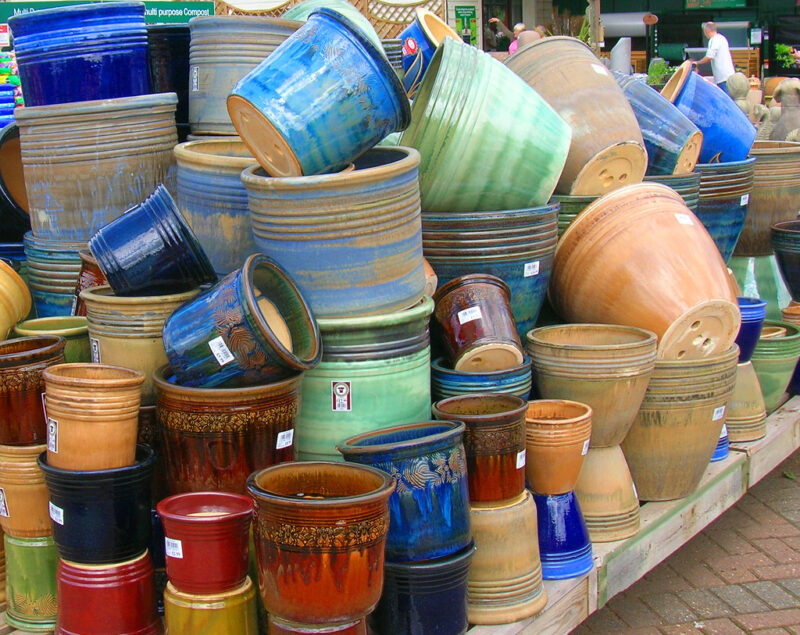
Zinnias thrive in a variety of pot types. Your choice can impact not just aesthetics but also plant health:
Plastic pots: Lightweight and easy to move around, plastic pots are available in a plethora of colors and designs. They do a fantastic job of retaining moisture while resisting cracking under high temperatures. When selecting plastic pots, look for those labeled UV-stabilized to enhance durability against the sun’s rays.
Clay pots: Traditional clay pots offer a rustic aesthetic while allowing air and moisture to penetrate the container’s walls, promoting root health. However, they tend to dry out faster than plastic, so you’ll need to monitor moisture levels closely during hot conditions.
Ceramic pots: Often more decorative, ceramic pots can combine beautiful designs with functional drainage if they have appropriate holes. They offer a porous option like clay but may be heavier and less manageable for regular movement.
Size
Choosing the correct size pot is essential for your zinnias’ growth. A minimum pot size of 10-12 inches in diameter is suitable for most varieties, allowing ample room for their root systems to expand. Larger pots (at least 14-16 inches for tall varieties) provide extra space and moisture retention, crucial during hot, dry conditions.
When planting multiple zinnias in one container, choose a pot that is at least 12-14 inches wide to accommodate their roots without overcrowding. Crowded roots can lead to stunted growth and reduced flowering.
Drainage
Effective drainage is a non-negotiable aspect of container gardening. Without proper drainage, excess water can lead to root rot, a deadly condition for your zinnias. Ensure that all your chosen containers have drainage holes at the bottom. If using decorative pots without holes, consider adding a layer of small rocks or gravel at the bottom to aid drainage.
Additionally, you can improve drainage by mixing in some perlite or pumice with your potting soil. This mix helps ensure that excess water flows through freely while maintaining enough moisture for your plants.
Planting Instructions
With your pots chosen and prepared, it’s time to get planting. Here’s a simple, detailed step-by-step guide to ensure your zinnias get off to a great start.
Prepare the Potting Soil
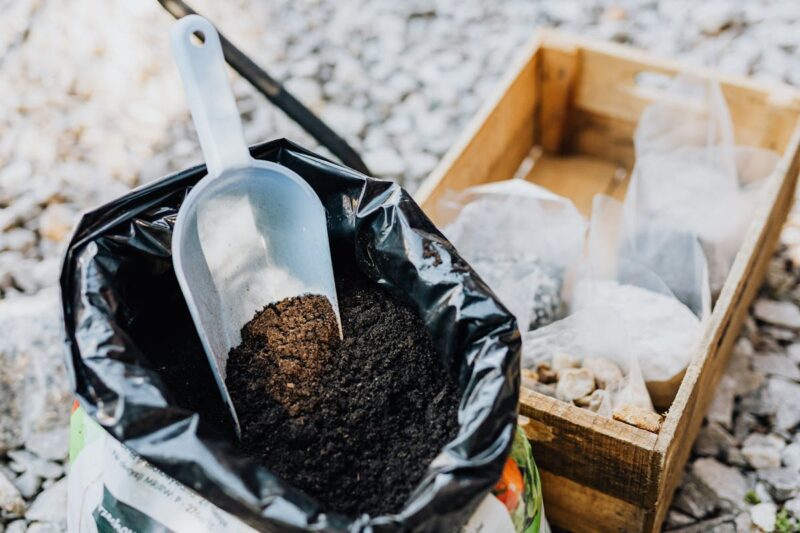
Start by filling your containers with quality potting soil specifically designed for container plants. Leave about an inch of space at the top. This gap will make watering easier and prevent soil from spilling out.
Once your containers are filled, it’s a good idea to mix in some additional amendments, if needed. If you notice your potting mix is heavy or dense, consider incorporating perlite, sand, or coconut coir to improve drainage and aeration.
Water
Before planting, lightly moisten the potting soil. Water it enough to ensure it feels damp but avoid making it soggy. When planting seeds, you want the soil to be moist to facilitate germination, but if transplants are being put in, ensure they aren’t sitting in overly saturated soil.
Fertilize
Adding fertilizer during planting gives your zinnias a nutrient boost to support their initial growth. Incorporate a slow-release fertilizer into the soil according to the package directions. A balanced formula with higher phosphorus content (like 10-20-20) encourages healthy root development and vibrant blooms.
After planting, water the containers thoroughly to help dissolve the fertilizer and encourage it to seep into the soil.
Care Instructions
Proper care is crucial to the success of your zinnias in pots. Here are detailed tips covering sunlight, watering, and temperature protection to ensure your plants thrive.
Sun Exposure

Zinnias flourish in full sun, requiring at least six hours of direct sunlight each day. Find a location where your containers can bask in the sun to support growth and blooming. If you’re in a warm climate, watch for signs of stress, such as wilting or scorched leaves, especially during the hottest part of the day. If needed, you can use garden fabric, shade cloth, or even umbrella shade during extreme heat.
Be sure to rotate your containers periodically to ensure that all sides of the plant receive an adequate amount of sunlight, which helps in even growth and prevents leggy plants that lean toward the light.
Stick to a Water Schedule

Establishing a consistent watering schedule is vital for zinnias in pots. Check the top inch of the soil daily—if it feels dry, it’s time to water. As a rule of thumb, zinnias like their soil to be kept moist but not saturated. Water until you see it draining from the bottom of the pot.
In hotter conditions or throughout dry spells, you may need to water more frequently. Early mornings are the best time for watering since it allows plants to absorb moisture before the sun’s heat evaporates it. Ensure that any excess water can drain easily to prevent drowning the roots.
Protect From Excessive Heat and Freezing Temperatures
Zinnias are resilient but can suffer in extreme heat or frost. When temperatures soar above 90°F (32°C), be vigilant about providing shade during peak sun hours, especially for younger plants. A shade cloth can help protect them from scorching.
In temperate climates, zinnias will continue to thrive until frost threatens. As the growing season winds down, monitor nighttime temperatures, and cover containers or bring them indoors if frost warnings are issued. If growing zinnias in regions with freezing winters, consider teaming up with indoor potting, allowing you to enjoy blooms year-round.
Repotting Instructions

As your zinnias grow, they may become root-bound and require repotting. Recognizing when to repot your flowers will help you maintain a vibrant container garden.
Signs of Needing Repotting
Root-bound: If roots are coming out of the drainage holes or circling around the edge of the pot, it’s time to upgrade to a larger container.
Stunted growth: If your flowers appear to be healthy but fail to grow taller or produce blooms, inadequate space for roots may hinder progression.
How to Repot
Choose a new pot: Select a pot that is 2-4 inches wider in diameter. Ensure it has good drainage.
Remove the plant: Gently grasp the base of the plant and wiggle it free from its current pot. You can tap the sides of the pot or gently pull at the base to help dislodge it from the soil.
Prepare the new pot: Fill the bottom of the new pot with fresh potting soil. Place the zinnia in the center, ensuring it sits at the same soil level as in the previous pot.
Backfill with soil: Add potting soil around the sides of the plant, tamping it down gently to remove air pockets while keeping the plant upright.
Water thoroughly: After repotting, give your zinnias a thorough watering to help settle the soil and provide moisture to the roots.
Regular monitoring and repotting as necessary will keep your zinnias healthy and blooming, allowing you to enjoy their beauty longer.
Pests and Diseases

While zinnias are generally robust flowers, they’re not immune to pests and diseases. Understanding potential issues will help you take proactive measures and maintain the health of your plants.
Common Pests
Aphids: These tiny insects proliferate on tender new growth. You may notice them clustering around leaf undersides or along stems. They suck sap from the plant, leading to curled leaves and weakened growth. To manage aphid infestations, spray them off with water or apply insecticidal soap as needed.
Spider mites: Infesting zinnias in dry conditions, spider mites can be challenging to spot. Look for fine webbing on the leaves, particularly on the undersides. A regular misting of the plants can help raise humidity levels and deter spider mites.
Whiteflies: Similar to aphids and spider mites, whiteflies can be pervasive pests. Their presence is often indicated by white, flying insects when leaves are disturbed. Use sticky traps or insecticidal soap to manage infestations effectively.
Common Diseases
Powdery mildew: This fungal infection appears as white or grayish spots on foliage, especially in humid conditions. Plant zinnias with adequate spacing for airflow, and consider using fungicidal sprays if infections are severe.
Zinnia leaf spot: Characterized by dark spots on leaves, this fungal disease can be minimized with good cultural practices. Ensure proper air circulation, avoid overhead watering, and promptly remove any infected leaves.
Prevention Tips
Regular inspection: Inspect your zinnias frequently for early signs of pest problems or diseases. Look closely at both the leaves and stems.
Cleanliness: Maintain clean containers and remove any fallen debris or dead foliage promptly to reduce habitats for pests.
Companion planting: Consider integrating companion plants that naturally deter pests as part of your gardening strategy. Plants like marigolds can distract pests from your zinnias while also enhancing the overall visual appeal.
By staying proactive and observant, you can help keep your zinnias free from pests and diseases.
FAQ
Can zinnias grow in partial shade?
While zinnias prefer full sun and thrive in bright conditions, they can potentially tolerate partial shade if necessary. However, this may lead to fewer blooms and taller, leggy plants as they reach for light. Ideally, aim for at least six hours of direct sunlight each day for vibrant growth.
How often should I fertilize my potted zinnias?
Using a slow-release fertilizer at planting time can typically last several weeks. As your zinnias grow, consider applying a diluted liquid fertilizer every 4-6 weeks to maintain nutrient levels, especially during active growing periods.
Why are my zinnias wilting?
Wilting can stem from underwatering, resulting in a dehydrated plant, or overwatering, which leads to root rot. Regularly check the moisture level in the soil to assist in determining the right watering schedule.
Can I save zinnia seeds for next season?
Absolutely! Zinnias are self-seeding flowers. To collect seeds, allow a few of the blooms to dry on the plant completely. Harvest the seeds when they are dry and store them in a labeled envelope in a cool, dry location to save for the next growing season.
Final Thoughts
Growing zinnias in pots or containers offers a rewarding and accessible opportunity for gardeners of all experience levels. Their splendid blooms, easy care, and adaptability to various environments make them a delightful addition to your gardening repertoire.