In this post, we’ll guide you through the process of harvesting aloe vera, ensuring that you can make the most of this amazing plant.
Understanding Aloe Vera
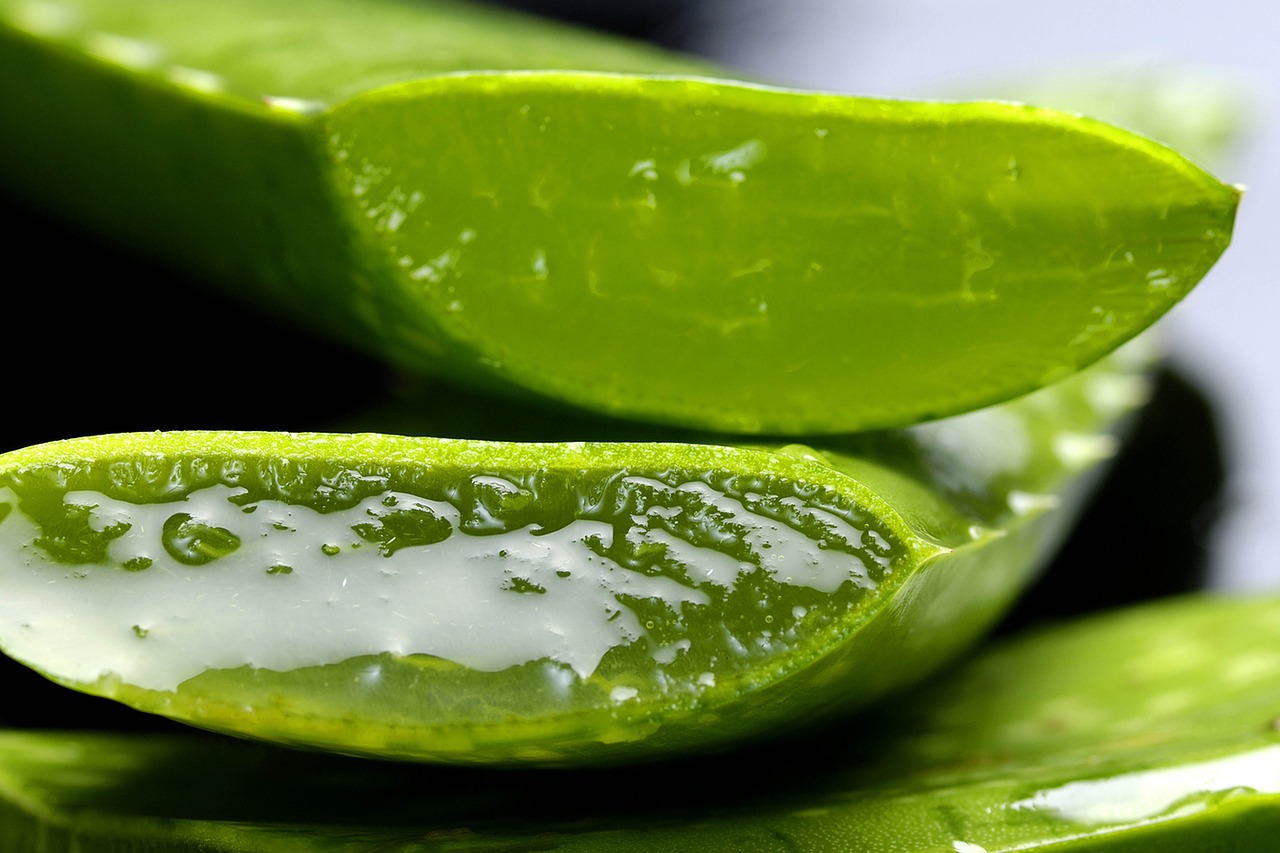
Before we jump into the harvesting process, let’s take a moment to understand what aloe vera is. Known for its thick, fleshy leaves that contain a gel-like substance, aloe vera is famous for its soothing and healing properties.
When to Harvest Aloe
Timing is everything when it comes to harvesting aloe vera. The best time to harvest leaves is when the plant is at least 1-2 years old and has several mature leaves. Look for leaves that are thick and have a rich green color—these are indicators that the plant is healthy and has accumulated plenty of nutrients. It’s generally best to harvest in the morning, as this is when the sap is at its fullest.
Selecting the Right Leaves
When you’re ready to harvest, choose outer leaves that are mature and healthy. The leaves closer to the center of the plant are still developing and should be left to grow. A good rule of thumb is to select leaves that are at least 8-10 inches long. These leaves will contain more gel and nutrients than smaller ones.
How to Harvest Aloe Vera
Here’s a simple step-by-step guide to harvesting aloe:
Gather Your Tools: You’ll need a sharp, clean knife, a cutting board, and a bowl or container to collect the gel. You might also want some gloves, as the sap can be irritating to some skin types.
Prepare the Plant: Gently wipe the leaves with a damp cloth to remove any dust or debris. This will help maintain cleanliness and prevent any impurities from getting into your gel.
Make the Cut: Locate the outermost leaf you’ve chosen for harvesting. Using your knife, cut the leaf as close to the base of the plant as possible without damaging other leaves. You want to avoid cutting into the center of the plant to allow it to continue growing.
Let the Sap Drain: After cutting, hold the leaf upright for a few minutes to let any yellow sap (aloe latex) drain out. Aloe latex can be an irritant, so ensuring it’s drained away is crucial.
Extract the Gel: Lay the leaf flat on your cutting board. Carefully slice off the skin on one side, exposing the clear gel inside. Use a spoon or knife to scoop out the gel and place it in your bowl. You can also cut the gel into smaller pieces for easier use.
Store the Gel: Fresh aloe gel can be stored in an airtight container in the refrigerator for about a week. For longer storage, consider freezing it in ice cube trays for easy access in the future.
Benefits of Using Fresh Aloe Gel
Once you’ve harvested your aloe, you can enjoy its many benefits:
Skincare: Aloe vera is well-known for its soothing properties, making it ideal for treating sunburns, cuts, and minor irritations. Its moisturizing effect is also perfect for dry skin.
Hair Care: Aloe can nourish and hydrate hair, promoting healthy growth and shine. You can apply the gel directly to your scalp or mix it with your conditioner for added benefits.
Digestive Health: Consuming aloe vera juice can help soothe your digestive system and promote gut health, but be sure to research proper dosages and methods.
Final Thoughts
Harvesting aloe vera is an empowering skill that can bring a wealth of benefits to your wellness routine. By following these simple steps, you can nurture your plant and enjoy the fresh, natural goodness that aloe has to offer. Whether you use it for skin care, hair care, or for internal health, the rewards of cultivating your own aloe vera are truly worth the effort.