Whether you’re an experienced gardener or a newbie, knowing how to properly harvest celery can significantly impact both the quality and quantity of your yield. This blog post will guide you through the steps of harvesting celery, ensuring you get the most out of your garden.
Understanding Celery Growth
Before we get into harvesting, it’s essential to understand how celery grows. Celery typically takes about 85-120 days from seed germination to being ready for harvest. It thrives in cool weather and requires consistent moisture and nutrient-rich soil. Knowing the timeline will help you determine when your celery is ready for harvest.
Signs That Celery is Ready to Harvest
The best time to harvest celery is when the stalks reach about 8 to 10 inches in height. Look for the following signs to ensure your celery is ready:
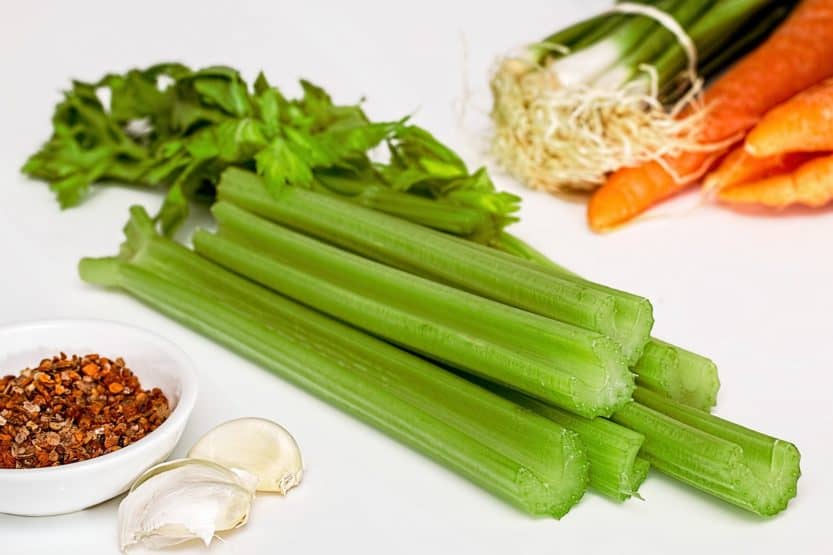
Stalk Thickness: Mature celery stalks will be thicker and more substantial than younger ones. Allow them to grow until they are at least the thickness of a pencil.
Color: Healthy celery stalks will have a vibrant green color. If your celery is starting to yellow, it may be a sign that it’s overripe or lacking nutrients.
Number of Stalks: If you have been growing multiple plants, aim to harvest those that have the most robust stalks. Generally, celery plants with 12 to 15 stalks per plant are a good indicator of maturity.
Root and Leaf Health: Healthy roots should be white and firm. The leaves should also be vibrant and lush. If the leaves are wilting, it’s time to consider harvesting.
How to Harvest Celery
Now that you know when to harvest, let’s look at the steps to do it correctly.
Preparation: Gather your tools before starting. You will need a sharp knife or garden shears to cut the stalks cleanly. If you prefer to save some extra time, it’s helpful to have a basket or container ready for your harvested stalks.
Cutting Techniques:
Begin by cutting the stalks at the base. Instead of pulling the stalks out, which can damage the plant, use your knife to slice them off just above the soil line.
If you want to harvest the entire plant, simply cut it off at the base. Make sure to remove any yellowing leaves before storing.
Harvesting Individual Stalks: If only a few stalks are ready, you can harvest them individually. This method allows the plant to continue growing, providing you with a more extended harvesting period.
Timing: Harvest in the morning on a dry day for the best flavor and crunch. Celery can lose moisture as the day progresses, making morning the ideal time for harvesting.
After Harvest Care
Once you have harvested your celery, it’s crucial to handle it properly to maintain its freshness:
Cleaning: Rinse the stalks under cold water to remove dirt and debris. Pat them dry with a kitchen towel.
Storage: Place your celery in the refrigerator. It will stay fresh longer if you wrap it in aluminum foil or store it in a plastic bag with a damp paper towel to maintain moisture.
Cooking and Usage: Celery can be eaten raw or cooked. It’s a fantastic addition to salads, soups, and stir-fries. Don’t forget about the leaves, which are also edible and full of flavor!
Troubleshooting Common Issues
While harvesting celery may seem straightforward, some common issues can arise:
Pests and Diseases: Watch out for common pests like aphids and diseases like celery rot. Regular inspection can help prevent problems. If you notice any pest infestations, try using organic insecticides as a first line of defense.
Stigmas of Bolting: If celery flowers prematurely, it’s known as bolting. This often happens in hot weather. Once this occurs, the flavor may decrease, and the texture becomes woody. If you see this occurring, it’s best to harvest what you can before it affects the entire crop.
Conclusion
Harvesting celery can be a rewarding experience, providing you with fresh produce right from your garden. By following these tips and guidelines, you’ll be able to enjoy the crisp and refreshing taste of homegrown celery while maximizing your yield.


