If you’re growing your own kale and wondering when and how to harvest it, you’re in the right place. This guide will provide you with everything you need to know about harvesting kale, ensuring you get the most out of your garden or container.
Understanding Kale Growth Stages
Before you harvest your kale, it’s essential to understand its growth stages. Kale can be grown from seeds, transplants, or as a fall crop. Depending on the variety, kale typically takes about 55 to 80 days to reach maturity.
Baby Kale vs. Mature Kale
Baby Kale: These are harvested when the leaves are young and tender, usually 25 to 30 days after planting. They have a milder flavor and tender texture, making them perfect for salads or smoothies.
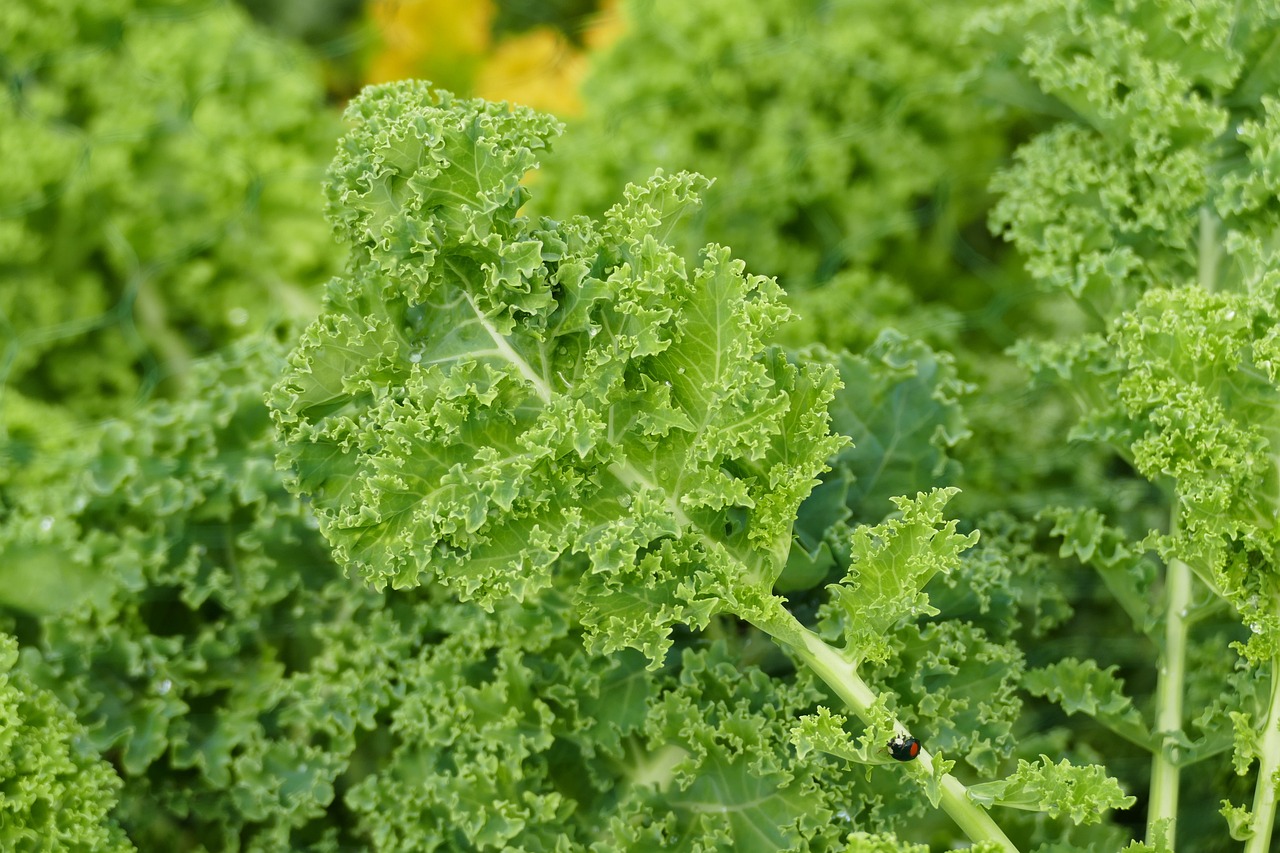
Mature Kale: Full-sized leaves are harvested when they are 10 to 12 inches long. Mature kale is great for cooking, as the flavor is more robust and the leaves are heartier.
When to Harvest Kale
Timing is essential when it comes to harvesting kale. Here are some indicators to help you know when your kale is ready:
Size: For both baby and mature kale, you want to wait until the leaves are fully developed. Baby kale is typically ready at about 4 to 6 inches tall, while mature kale leaves should be at least 10 inches.
Color: Healthy kale leaves are a vibrant green color. Avoid harvesting kale that appears yellow or wilted, as this can indicate stress or illness.
Texture: Leaves should be firm and crisp. If they are limp or have holes, they may not be suitable for harvesting.
Season: Kale is a cool-season crop, thriving in temperatures between 60°F and 70°F. Harvesting right before a frost can enhance its flavor, making it sweeter and more delicious.
How to Harvest Kale
The method of harvesting kale can impact the health of your plants and the quality of your harvest. Here’s how to do it right:
Tools You’ll Need
Sharp scissors or garden shears: A clean cut prevents damage to the plant.
Harvesting Steps
Choose Your Leaves: Start with the outer leaves, as these are the oldest and tend to be the largest. If you wait too long to harvest, they can become tough.
Make the Cut: Use your scissors or shears to snip the leaf stems about an inch away from the base of the leaf. Avoid pulling the leaves, as that can damage the plant.
Leave the Inner Leaves: Always leave the inner leaves intact to allow the plant to continue growing. This way, you can ensure a steady supply of kale over time.
Wash and Store: Once harvested, wash your kale thoroughly to remove any dirt or pests. To store, place it in a plastic bag or container in the fridge, where it can stay fresh for about a week.
Pro Tips for a bountiful Kale Harvest
Regular Harvesting: If you consistently harvest your kale, the plant will produce more leaves. Aim to harvest every week or two.
Water and Fertilize: Ensure your kale plant receives enough water and nutrients. Kale thrives in well-draining soil and benefits from a balanced fertilizer.
Pest Management: Keep an eye out for pests like aphids and cabbage worms. Natural remedies like neem oil can help manage these issues without harming the plant.
Culinary Inspiration
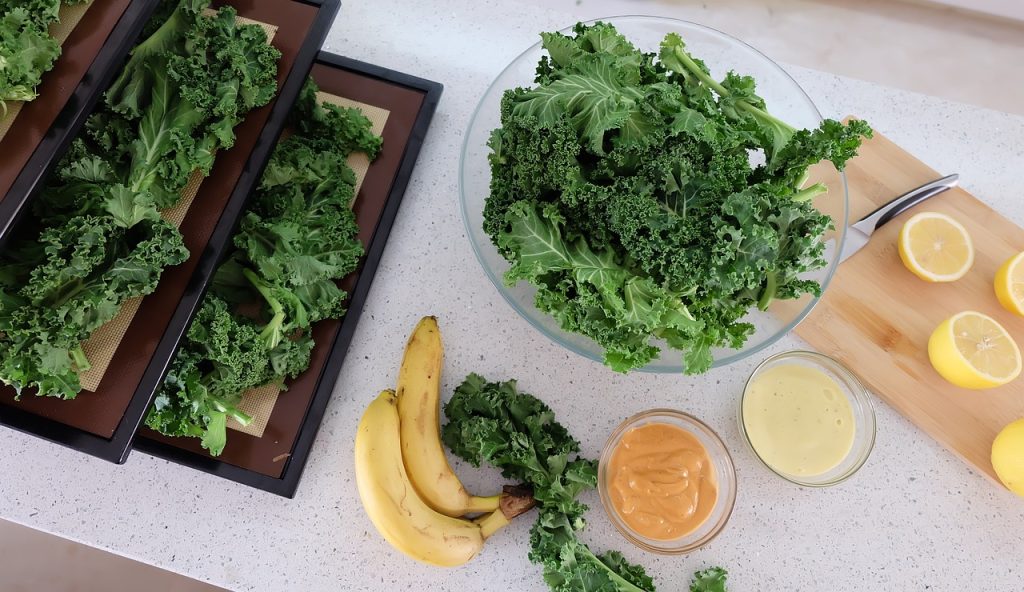
Once you’ve harvested your kale, it’s time to get cooking! Here are a few delicious ideas to make the most of your fresh greens:
Kale Salad: Toss raw baby kale with olive oil, lemon juice, and your favorite toppings like nuts, seeds, and cheese.
Smoothies: Blend baby kale into your morning smoothie for an extra nutrient boost.
Sautéed Kale: Quickly sauté mature kale with garlic and olive oil for a simple side dish.
Kale Chips: Bake kale leaves with a light coating of olive oil and seasoning for a crunchy snack.
Conclusion
Harvesting kale can be an enjoyable and rewarding experience. With proper timing, technique, and care, you can ensure a continuous supply of this superfood right from your garden.
Enjoy the journey of growing and harvesting kale, and savor the delicious, healthy benefits it brings to your table! Whether you’re a seasoned gardener or a beginner, kale is an excellent addition to your growing repertoire.


