If you’re looking to expand your gardening skills and cultivate sustainability, here’s everything you need to know about harvesting kale seeds.
Understanding Kale Varieties
Before you begin the seed-harvesting process, it’s essential to understand the varieties of kale. Kale belongs to the Brassica family and is closely related to cabbage, broccoli, and Brussels sprouts. The most common types you may be familiar with include:
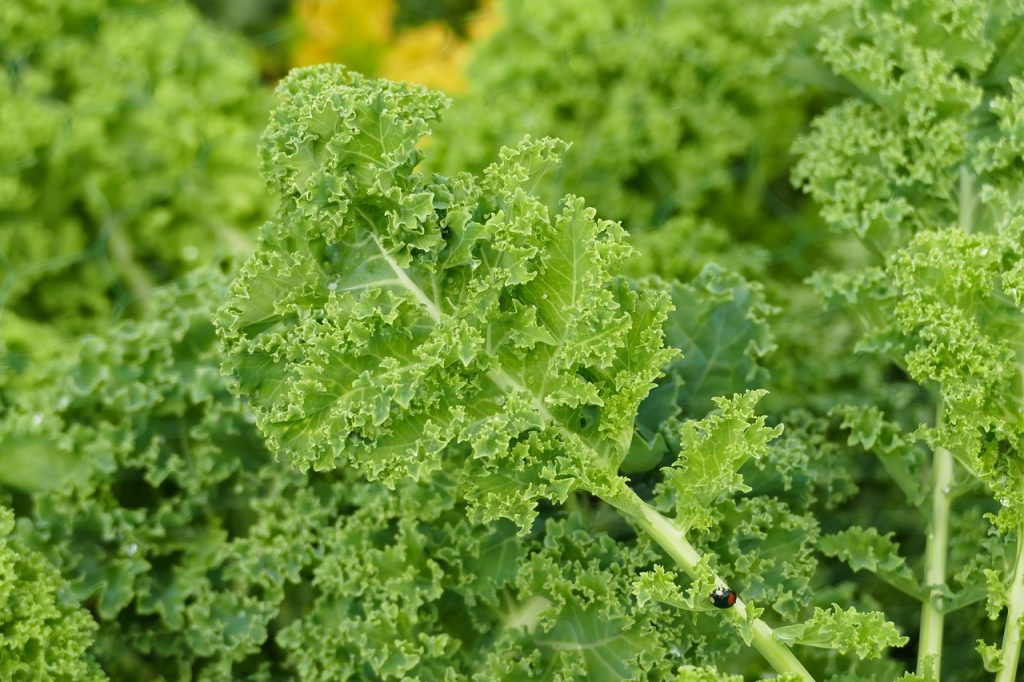
Curly Kale: Characterized by its frilly, curled leaves, and a robust flavor.
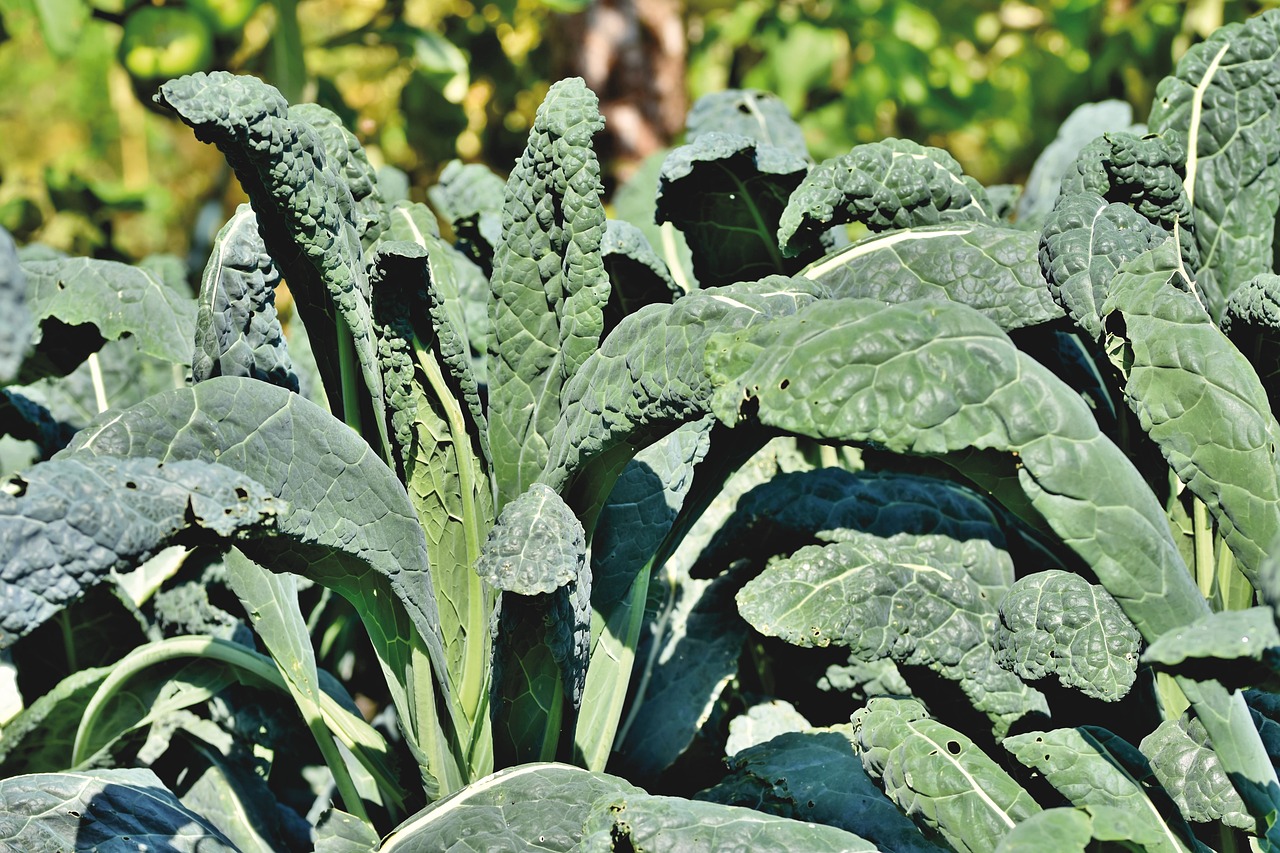
Lacinato Kale (Dinosaur Kale): Known for its dark green, textured leaves and milder taste.
Red Russian Kale: Features flat leaves with a hint of purple, providing a slightly sweet flavor.
Each of these varieties has unique characteristics, and if you are growing multiple kinds of kale, be aware that cross-pollination can occur. To maintain the purity of a specific variety, keep different types at least 300 feet apart or harvest seeds from only one variety each season.
When to Harvest Kale Seeds
Kale plants produce seeds in their second growing season. If you planted your kale as an annual, allow it to overwinter before allowing it to flower the following spring. The flowering stage is critical for seed production, and you can expect to see flowering from late spring into early summer.
You’ll know your kale seeds are ready for harvest when the seed pods, or siliques, turn brown and begin to dry out. The process usually takes a few weeks, so keep a close watch during this period. It’s best to harvest seeds on a dry day to avoid moisture getting into your seed pods.
How to Harvest Kale Seeds
Once the pods are dry and brown, it’s time to collect your seeds. Here’s a step-by-step guide:
Cut the Flower Stalks: Use a sharp pair of garden shears to cut the flower stalks from the base of the plant. Aim for cutting at a height that you are comfortable working with later.
Place Stalks in A Container: Collect the cut stalks in a paper bag or another container to catch any falling seeds.
Allow to Finish Drying: If the pods are not completely dry, let them air-dry indoors in a dark, cool location. This ensures that seeds are fully mature and reduces the risk of mold.
Extract Seeds: Once dry, gently crush the seed pods in your hands or use a rubber mallet to break them open. Be careful while doing this, as the seeds themselves are quite small.
Separate the Seeds: Use a fine mesh sieve to sift through the chaff and debris, leaving you with cleaner seeds. You may also want to place the seeds in a bowl of water and allow any lighter debris to float to the top for easy removal.
Store Properly: Dry the seeds completely before storage. Place them in an envelope or a small glass jar, labeling with the date and kale variety. Store in a cool, dry place to extend their viability, which can range from 3 to 5 years.
Tips for Successful Seed Harvesting
Plan for Space: If you’re interested in saving seeds, consider dedicating a small area of your garden to your kale plants, allowing them sufficient room to grow and mature.
Monitor for Pests: Keep an eye out for pests that may be attracted to the flowering plants, and take appropriate measures to protect your kale before it begins producing seeds.
Experiment with Different Varieties: Enjoy the process of experimenting with different kale strains and discover which ones thrive best in your garden conditions.
Final Thoughts
Harvesting kale seeds not only contributes to a more sustainable gardening practice, but it also enhances your connection to the plants you cultivate. By saving seeds, you’re not just guarding your budget; you’re also paving the way for healthier plants adapted to your environment. As you embark on this rewarding journey, take the time to enjoy the process, and revel in the joys of homegrown greens year after year.