In this post, we’ll cover everything you need to know about harvesting kidney beans successfully.
Understanding Kidney Beans
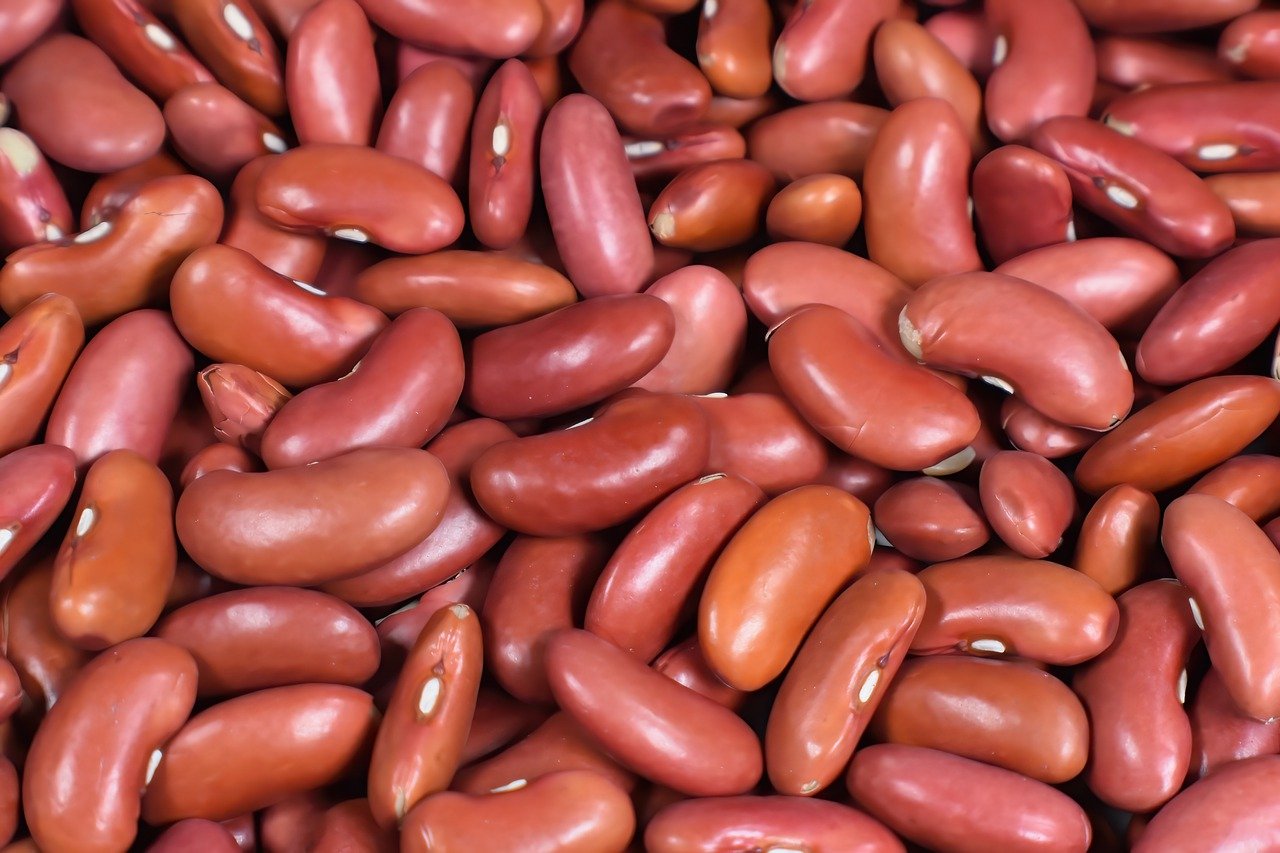
Kidney beans, named for their resemblance to a human kidney, are a nutrient-rich legume with a distinct flavor and texture. They are packed with protein, fiber, and essential vitamins, making them a staple in many cuisines. The most common varieties include the dark red, light red, and white kidney beans, all of which can be harvested and stored for later use.
Growing Cycles and Timing
Kidney beans are typically planted in late spring after the threat of frost has passed. Depending on the climate and variety, they usually take about 3 to 4 months to mature. Knowing when to harvest is vital; beans that stay on the vine too long may split and lose their quality.
Signs of Maturity:
Pod Color: The pods of mature kidney beans will transition from a vibrant green to a yellow or brown hue. This color change is a clear sign that the beans are ready for harvest.
Pod Dryness: When the pods are dry and crisp to the touch, along with a hard snap when bent, this indicates that the beans inside have reached maturity.
Bean Feel: If you can feel the beans moving around inside the pod easily, it’s another strong indication that they are ready to be harvested.
Timing: Aim to harvest kidney beans approximately 10-14 days after the first pods have reached their full size. Monitor the pods regularly for best results.
Harvesting Techniques
When the time comes to gather your kidney bean harvest, the following methods can help you do so effectively:
1. Hand Harvesting:
Tools Needed: A pair of garden shears or scissors, and a bucket or basket for collecting the pods.
Process:
Approach the plant gently to avoid damaging it.
Cut the pods from the plant, leaving a small portion of the stem attached.
Place the harvested pods into your collection container.
2. Whole Plant Method:
For extensive plantings, you may opt to remove the entire plant.
Process:
Grasp the base of the plant firmly and gently pull it from the soil.
Shake off any excess dirt and place the plants upside down in a dry, sheltered location to finish drying.
3. Mechanical Harvesting:
If you’re managing a large scale or commercial operation, consider using a mechanical harvester. This equipment can save you time and labor but can be costly for small-scale gardeners.
Post-Harvest Processing
After harvesting, it’s essential to handle the beans properly to maintain their quality:
Drying: If the pods are still slightly moist, they should be dried in a well-ventilated area to prevent mold growth. Lay them out in a single layer on a clean surface.
Shelling: Once the pods are completely dry, you can shell the beans. This can be done by hand or by gently squeezing the pods until they open.
Cleaning: Remove any debris or leftover pod pieces from the beans.
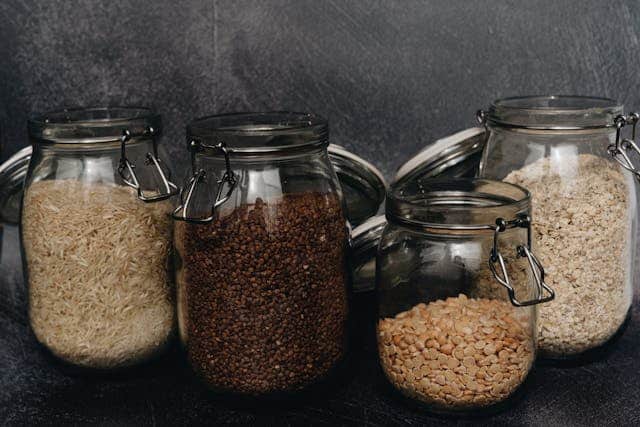
Storage: Store the dried kidney beans in airtight containers in a cool, dark place. Proper storage ensures your beans remain fresh for months, if not years. Consider using glass jars, vacuum-sealed bags, or breathable cloth bags.
Final Tips for Successful Harvesting
Timing is Key: Don’t rush the harvesting process. Wait for the right moment to ensure maximum flavor and nutrition.
Monitor Weather Conditions: If rain is in the forecast just before or during your expected harvest time, consider harvesting a bit earlier to avoid mold issues.
Hand-Pollination: If you’re experimenting with growing kidney beans, you may want to look into techniques like hand-pollination for a better yield.
Rotate Crops: Consider rotating your kidney beans with other crops in subsequent seasons to maintain soil health and prevent diseases.