Whether you’re looking to enhance your culinary creations, brew refreshing herbal teas, or simply enjoy the vibrant greenery, knowing when and how to harvest mint will ensure that you get the most out of your plants. Here’s a guide to help you easily and effectively harvest mint, whether you are a seasoned gardener or just starting out.
Growing Mint: A Brief Overview
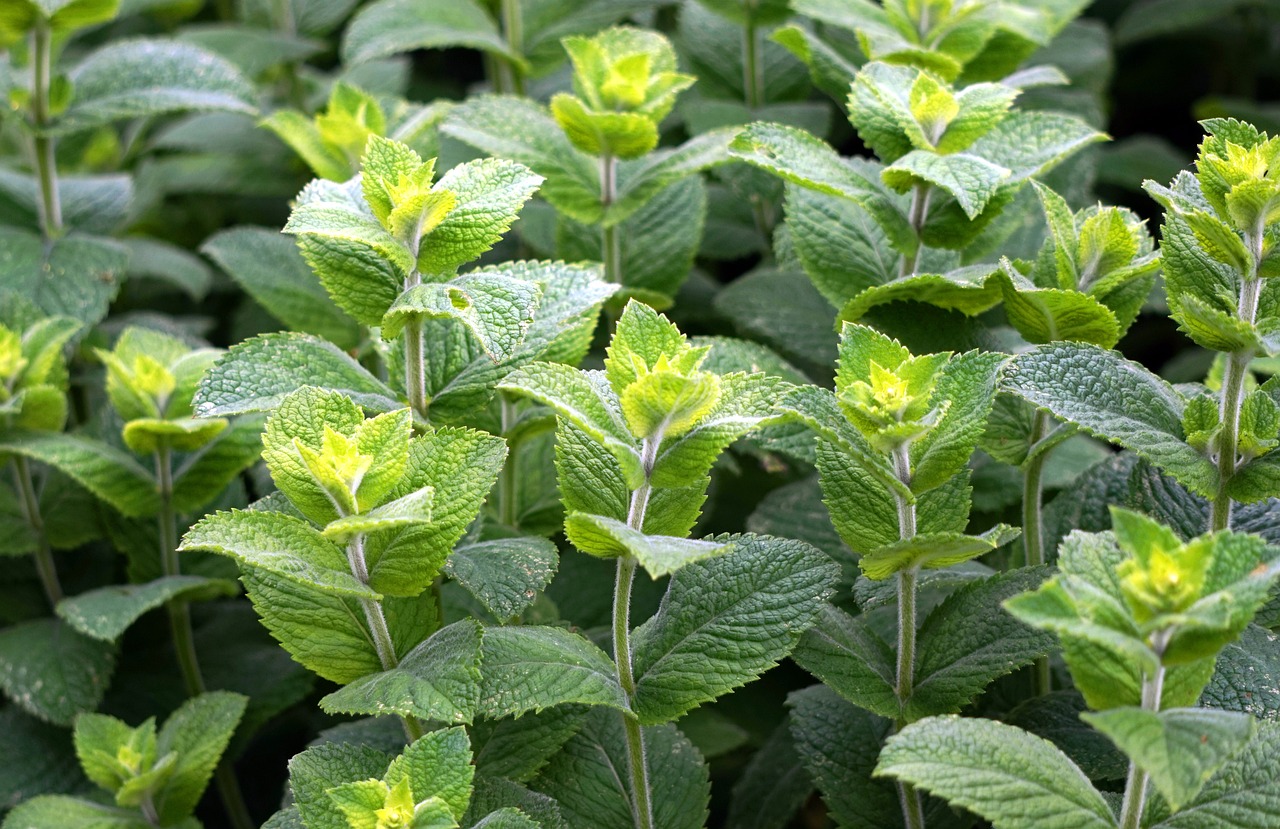
Mint (Mentha) is one of the most popular herbs for home gardeners due to its hardiness and ability to thrive in a variety of conditions. It grows well in pots or garden beds and can be enjoyed year-round in many climates. Mint prefers well-drained soil with a slightly acidic to neutral pH and thrives in partial to full sunlight.
Popular Mint Varieties
When planning to grow mint, consider these popular varieties:
Peppermint: Known for its strong flavor, perfect for teas and desserts.
Spearmint: Milder and sweeter, ideal for salads, cocktails, and garnishes.
Chocolate Mint: A fun variety with hints of chocolate, perfect for creative culinary uses.
Apple Mint: With a fruity scent, it’s great for refreshing drinks and dishes.
When to Harvest Mint
Timing is key when it comes to harvesting mint. The best time to do so is just before the plant flowers, which is typically late spring to early summer. At this stage, the leaves are most flavorful and aromatic. Look for the following signs:
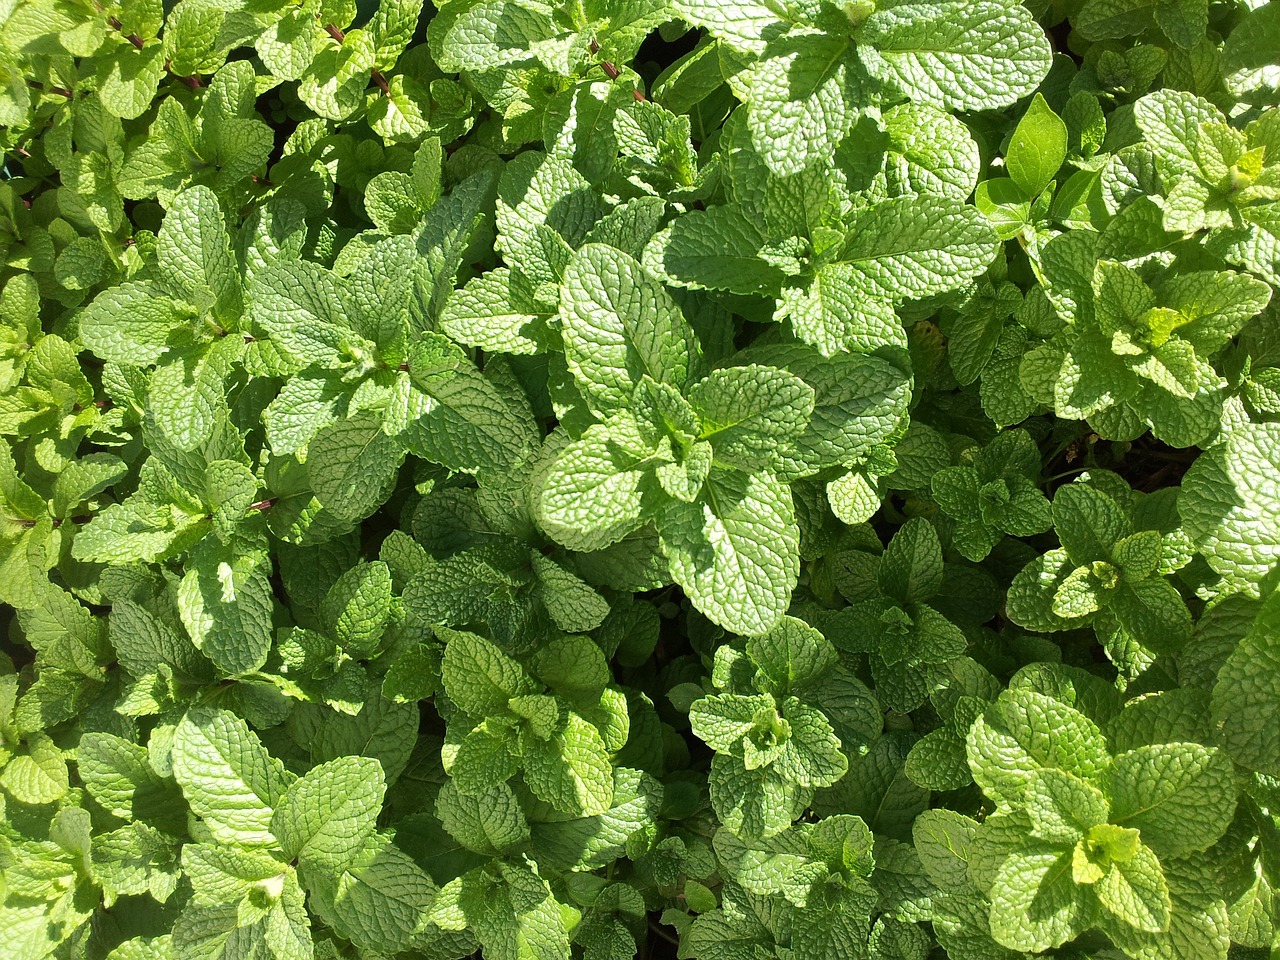
Leaf Health: Choose leaves that are vibrant green and free from damage or pests.
Size: Aim to harvest when the stems are about 6 to 8 inches long, as this indicates a healthy plant.
Flower Buds: If you spot flower buds forming, it’s time to harvest to prevent any loss of flavor in the leaves.
How to Harvest Mint
Proper harvesting techniques will encourage healthy growth and ensure you keep your mint plant flourishing. Here’s how to do it:
1. Gather Your Tools
You’ll need clean, sharp scissors or garden shears to make clean cuts without damaging the plant.
2. Identify What to Cut
Top Leaves: Focus on harvesting the upper leaves and stems. Cut just above a leaf node (the place where a leaf meets the stem), which encourages new growth.
Selective Harvesting: Avoid stripping the plant bare. Take only what you need, leaving enough leaves to help the plant continue to grow robustly.
3. Cut with Care
Using your scissors or shears, cut the stems at a 45-degree angle, which helps with water absorption. If you’re considering a larger harvest, cut back about one-third of the plant, allowing the lower leaves to continue photosynthesis.
4. Time of Day
For the best flavor, harvest mint in the morning after the dew has dried. The essential oils in the leaves are most concentrated at this time, giving you the freshest taste.
Storing Fresh Mint
After harvesting, you’ll want to preserve your mint so you can enjoy it longer:
Refrigeration: Place cut mint stems in a jar of water like a bouquet and cover with a plastic bag. Store in the refrigerator for up to a week.
Drying: To dry mint, hang stems upside down in a cool, dark place. Once fully dried, store the leaves in an airtight container.
Freezing: Chop mint leaves and place them in ice cube trays filled with water. Freeze and transfer the cubes to a freezer bag for later use.
Uses for Mint
The versatility of mint makes it a favorite in the kitchen:
Cooking: Add fresh mint to salads, yogurt, or vegetables for a burst of flavor.
Beverages: Crush mint leaves into cocktails, smoothies, or lemonades for refreshing drinks.
Teas: Brew hot or cold mint tea for a soothing beverage.
Garnish: Use mint as a stunning garnish on desserts or main dishes.
Final Thoughts
Harvesting mint can be a delightful and rewarding experience. With its variety of uses, not only can you enhance your meals and beverages, but you’ll also enjoy the satisfaction of nurturing your own herbs. Whether you’re adding a sprig to your favorite dish or infusing water with its refreshing taste, mint truly is a versatile herb that adds a sparkle to any culinary creation.