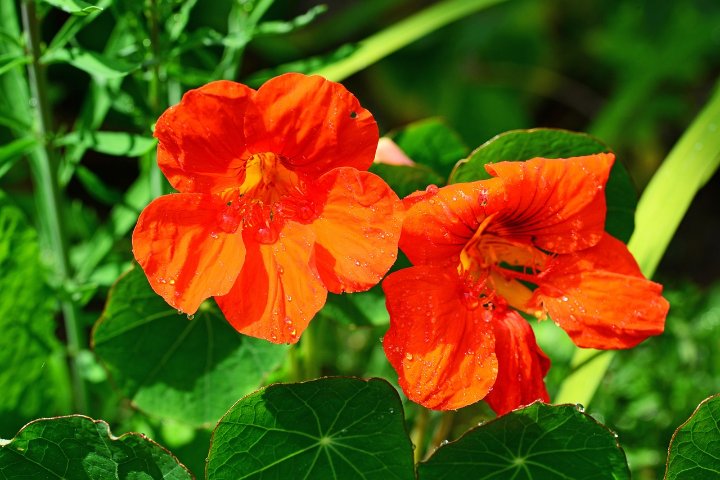
This guide will walk you through the process of harvesting nasturtium seeds, ensuring you can preserve this beautiful plant for seasons to come.
Why Harvest Nasturtium Seeds?
Before we get into the specifics, you might wonder why you should harvest nasturtium seeds in the first place. Here are a few reasons:
Cost-Effective: Growing your own nasturtium plants means you’ll save money on future seeds.
Varietal Preservation: If you have a favorite variety, harvesting seeds allows you to preserve those characteristics for your garden.
Sustainable Gardening: Collecting seeds promotes self-sufficiency in the garden, reducing the need to buy new plants every year.
Identifying the Right Time to Harvest
Nasturtium seeds are typically harvested in late summer to early fall when the flowers have faded, and the seed pods have started to dry. Here are some signs that your seeds are ready for collection:
Color Change: The seed pods will change from green to a brown color, indicating that they are maturing.
Dryness: When you squeeze a pod, it should feel dry and hard.
Easy Release: You may find that the seeds naturally pop out of the pods when you give them a gentle squeeze. This is a clear sign they’re ready to be harvested.
Tools You’ll Need
To get started with harvesting nasturtium seeds, gather the following tools:
Garden Gloves: Protect your hands while handling the plants.
Scissors or Garden Shears: These will help you cut the seed pods without damaging the plant.
Paper or Cloth Bag: Use this to collect the seeds and pods.
Labeling Materials: Keeping track of different varieties can be beneficial, so consider using labels or markers.
The Harvesting Process
Now that you know when to harvest and what tools to use, follow these steps to collect your nasturtium seeds:
Select Healthy Seed Pods: Look for pods that are plump and brown. Avoid any that show signs of mold or decay.
Cut the Seed Pods: Using your scissors or shears, snip the pods off the plant, leaving a little stem attached to each pod to make handling easier.
Collect the Seeds: Place the harvested pods into your bag. Aim to collect seed pods from different plants to ensure genetic diversity.
Allow Pods to Dry: Once you’ve collected enough pods, lay them out in a single layer on a baking sheet or a towel. Allow them to dry for about a week in a cool, dry place, out of direct sunlight.
Extract the Seeds: After they have dried, gently squeeze the seed pods to release the seeds inside. Be careful not to crush them.
Inspect and Clean: Sort through the seeds, discarding any that are damaged or discolored. You can clean the seeds by gently brushing off any debris.
Storing the Seeds
Proper storage of your harvested nasturtium seeds is crucial for successful germination in the future. Here are some tips:
Use Paper Envelopes or Glass Jars: Store seeds in a cool, dark place. Paper envelopes allow the seeds to breathe, while glass jars can keep them secure.
Label Everything: Clearly label your storage containers with the variety and date of collection to avoid confusion later.
Check for Moisture: Keep an eye out for any signs of moisture or mold. If you spot any, it may be a good idea to re-dry the seeds before storing them.
Tips for Successful Germination
When you’re ready to plant your nasturtium seeds next season, keep the following tips in mind:
Soak for Germination: Some gardeners like to soak seeds in water for a few hours before planting to help speed up germination.
Plant in Rich Soil: Nasturtiums thrive in well-draining soil rich in nutrients.
Space Them Out: Give your plants enough space to grow; they can spread quite a bit!
Consider Sunlight: Nasturtiums prefer full sun, so choose a location in your garden that gets plenty of light.
Conclusion
Harvesting nasturtium seeds is a straightforward and satisfying process that enriches your gardening experience. By carefully selecting, collecting, and storing your seeds, you can ensure that these beautiful plants will flourish in your garden for years to come.


