In this guide, we’ll cover everything you need to know about harvesting onions, from recognizing the right time to pull them from the ground to the best practices for curing and storing them. Let’s get started!
When to Harvest Onions
Timing is crucial when it comes to harvesting onions. Here are some signs that your onions are ready:
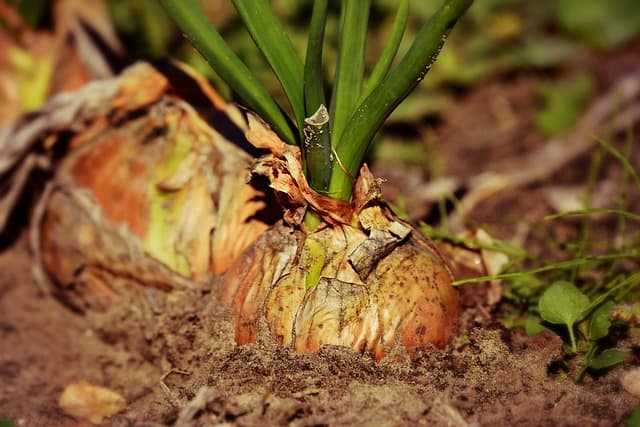
Foliage Changes: One of the most noticeable signs is the health of the onion tops. When the tops begin to yellow and fall over, it’s a good indication that your onions are ready for harvest. This generally happens in late summer to early fall, depending on when you planted them.
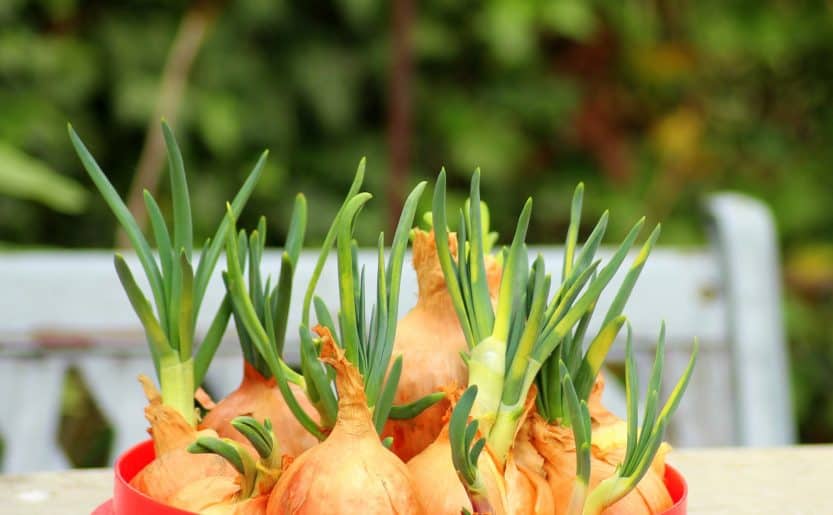
Size Matters: If your onions have reached their desired size — typically about the size of a baseball or larger, depending on the variety — it’s time to take them out. Don’t wait too long, as larger onions can become soft, which is not ideal for storage.
How to Harvest Onions
Harvesting onions is fairly straightforward, but a few tips can make the process smoother and ensure you don’t damage your crop:
Gather Your Tools: You’ll need a garden fork or spade, gloves, and a basket or crate for collecting your onions.
Loosen the Soil: Use a garden fork to gently loosen the soil around the onions. Be careful not to pierce the bulbs themselves, as this can lead to rot during storage.
Pulling the Onions: Once the soil is loosened, grasp the base of the onion (where it meets the soil) and carefully pull the onion out with a gentle twisting motion. If the onions do not come out easily, double-check that the soil is loose enough.
Curing Onions
After harvesting, your onions need to be cured to extend their storage life. Here’s how to do it:
Drying Location: Place your harvested onions in a well-ventilated area away from direct sunlight. It can be a shed, garage, or even on a patio, as long as it’s dry and warm.
Spacing: Lay the onions out in a single layer, making sure they aren’t touching each other. This allows for maximum airflow around each bulb.
Curing Time: Let your onions cure for 2 to 3 weeks. You’ll know they’re ready when the outer skin is papery, and the neck where the green top meets the bulb is completely dry.
Storing Onions
Proper storage is key to enjoying your onions for months to come:
Keep Them Cool and Dark: Once cured, store your onions in a cool, dark place. A basement or pantry works well, as long as temperatures remain between 30 to 50 degrees Fahrenheit.
Choose Your Storage Method: Onions can be stored in a mesh bag, a basket, or even pantyhose. Avoid plastic bags, as they trap moisture and can lead to rot.
Check Regularly: Every few weeks, check your stored onions for any signs of sprouting or decay. Remove any onions that look spoiled to prevent them from affecting the others.
Enjoying Your Onions
There’s nothing quite like the taste of homegrown onions. Use them fresh in salads, caramelized in your favorite dishes, or add them to stews for that extra flavor punch. You can even experiment with pickling or dehydrating your onions for different culinary adventures!
Final Thoughts
Harvesting onions can be a satisfying experience, connecting you directly with the essence of home gardening. With the right timing and techniques, you can enjoy your onions for several months after harvest. So keep your garden journal handy, plan your planting for the next season, and relish in the joy of growing your own food.